
How to Start a Vegetable Garden From Bare Ground This Season
Bare lawn, no beds, and zero experience still give you everything you need for a solid first vegetable garden. The trick is picking the right spot, keeping the plan small, and setting up soil and watering correctly from day one.
Below you will find where to put your beds, how big to make them, what to grow first, and how to keep plants like beginner tomatoes alive through that first season. Add easy pole beans once the soil warms, using the measurements, spacing, and step-by-step actions you can follow this weekend.
Pick the Right Spot in Your Yard
Sunlight makes or breaks a first vegetable garden. Most veggies need 6–8 hours of direct sun, which usually means the south or west side of the yard in North America.
Watch the yard on a sunny day and note where shade from trees and the house falls at 9 a.m., noon, and 3 p.m. Skip spots that stay shaded during two of those times. Prioritize an area within 50 feet of a hose bib.
Avoid low spots where water puddles for more than a day after rain. Constantly soggy soil rots roots on crops like root vegetables. Garlic bulbs dislike the same wet spots, so a gentle slope or flat area with decent drainage is ideal.
Convenience matters more than looks. A small bed near the back door gets weeded and watered more than a "perfect" plot tucked behind the shed. The closer the garden is to your daily path, the more harvest you get from it.
If your soil is heavy clay or filled with tree roots, plan for raised beds that sit 8–12 inches tall. That shortcut beats fighting awful soil for years and lets crops like fast squash get established quickly.
- Sun requirement: Aim for 6–8 hours of direct sun on chosen area
- Hose distance: Keep beds within 50 ft of a reliable water source
- Drainage check: No standing water 24 hours after a steady rainfall
- Future trees: Stay at least 10 ft away from big trunks and dense roots
Use the checklist before you commit lumber, soil, or a weekend of digging.
Do not place a new vegetable bed directly under large trees. Roots will steal moisture and nutrients, and leaves will shade your crops by midsummer.
Decide on Bed Type and Size
Most first gardens work best as either simple in-ground rows or framed raised beds. In-ground beds suit decent soil and smaller budgets, while raised beds shine where soil is poor or you want tidy, contained spaces.
Start smaller than you think. A manageable size for year one is one or two beds measuring 4 ft x 8 ft each. You can reach the middle from either side without stepping on the soil, which keeps it fluffy for roots.
If you already know your soil is compacted or rocky, wooden or metal raised beds filled with a quality mix help crops like leafy greens establish quickly. Cool-season kale also benefits from that looser, warmer soil.
Cost is the main downside of raised beds. Framing, soil mix, and compost add up fast. In-ground beds can work just as well if you invest sweat into loosening soil and adding organic matter.
| Bed Type | Pros | Cons |
|---|---|---|
| In-ground | Cheapest, easy to expand | Harder weed control, depends on native soil |
| Raised bed | Great drainage, neat edges | Higher upfront cost, soil must be imported |
Use the table to choose your first setup, not your forever setup.
If you are torn between styles, build one raised bed and one in-ground bed. You will quickly see which fits your yard and budget long term.
Build Healthy Soil From Day One
Good soil grows good vegetables, even if you make mistakes elsewhere. You want soil that drains but still holds moisture, crumbles in your hand, and includes plenty of dark organic matter.
For in-ground beds, remove sod, then loosen soil 8–12 inches deep with a shovel or garden fork. Mix in 2–3 inches of compost over the top and blend it through that loosened layer so roots from nitrogen-fixing beans and spring peas can explore easily.
For raised beds, a simple mix is 40% topsoil, 40% compost, 20% coarse material like pine fines or bagged raised-bed mix. Avoid filling an entire bed with pure compost, which shrinks and can stay too wet for crops like tuber potatoes.
If you garden in zones colder than zone 5, soil takes longer to warm. Dark mulch or black fabric on beds a couple weeks before planting speeds this up, helping warmth-loving crops such as peppers in cool springs get a better start.
- Compost depth: Add 2–3 inches across the whole bed surface
- Tillage depth: Loosen 8–12 inches for good root penetration
- Soil texture goal: Crumbly, not powdery or sticky
- Amend slowly: Adjust pH and nutrients over a couple of seasons
Treat compost as the base improvement, not a magic fix for every soil problem.
Skip fresh manure in new beds. It can burn roots and add weed seeds; stick with finished compost or bagged organic matter instead.
Choose Beginner-Friendly Vegetables and Herbs
Some crops forgive late watering and imperfect soil, which makes them ideal for a first attempt. Others sulk at the slightest stress and are better saved for year two or three.
Fast, direct-sown crops like radishes, leaf lettuce, and cool spinach varieties give quick wins in cold spring soil. Warm-season staples like slicing tomatoes, cucumbers, and prolific zucchini carry the garden through summer.
Herbs are low-maintenance fillers. Hardy choices include basil, flat-leaf parsley, and perennial chives tucked along bed edges. They tolerate minor crowding and still produce plenty for kitchen use.
For most beginners, a mix like this in a 4 x 8 ft bed works well: one indeterminate tomato, one sweet pepper plant, one hill of summer squash, two short rows of carrots, and a border row of lettuces and herbs.
Leave fussy crops like tight cauliflower heads and long-season Brussels sprouts until after you have one or two seasons under your belt. They demand stricter timing, pests control, and nutrient management.
- Easy first choices: Lettuce, radish, beans, zucchini, cherry tomatoes
- Good starter herbs: Basil, chives, parsley, dill
- Trickier for beginners: Cauliflower, celery, Brussels sprouts, big melons
Choose varieties from the easy column before you chase seed-catalog experiments.
Variety pictures can be misleading. Prioritize days-to-maturity numbers and "disease-resistant" notes on seed packets over glossy label photos.
Plant at the Right Time for Your Zone
Frost dates matter more than the calendar on the fridge. Your last spring frost and first fall frost tell you when to plant each crop so it matures before cold returns.
Gardeners in zone 5 have a much shorter warm season than those in zone 9. Start with zone 5 yards. Then compare that timing with zone 9 gardens and anchor all your decisions to your own frost window, not what a friend three states away does.
Cool season crops laugh at chilly soil. Peas, lettuce, spinach, kale, broccoli, and cabbage go in 2 to 4 weeks before your last expected frost, especially in raised beds that warm faster than native ground.
Warm season crops need real heat. Tomatoes, peppers, cucumber vines, beans, and squash wait until soil is at least 60–65°F and nights stay above 50°F. Rushing these into cold soil just stalls them for weeks.
- Find frost dates: Use your ZIP code on a local extension site and note last spring and first fall frost.
- Cool crops window: Start sowing hardy greens and shelling peas a couple weeks before last frost, then succession plant every 2 weeks.
- Warm crops window: Transplant tomato starts 1–2 weeks after last frost when soil feels warm to the touch.
- Fall crops: Count back days to maturity plus 2 weeks from first frost date to schedule fall carrots, beets, and kale.
Write those dates on a tag or note before seed packets start blurring together.
Fall plantings almost always need to go in earlier than new gardeners expect, especially for root crops.
Water and Mulch So Beds Do Not Dry Out
New gardens fail more from uneven watering than almost anything else. Seedlings and young transplants have shallow roots, so they feel dry spells quickly, especially in raised beds that drain fast.
Forget the daily sprinkler mist. Deep, occasional watering pushes roots down and makes plants sturdier in summer heat, similar to how drought tolerant bermuda lawns prefer infrequent soaking rather than constant dampness.
Aim to give your garden 1 to 1.5 inches of water per week, from rain plus irrigation. In sandy soil, split this into two deep waterings, while heavier clay can often handle one thorough soak.
Mulch is your secret weapon. A 2–3 inch layer of shredded leaves, straw without weed seeds, or compost around plants cuts evaporation, keeps soil cooler, and blocks a lot of weed seeds from sprouting.
- Check moisture: Stick your finger 2 inches into soil. If it feels dry at that depth, it is time to water.
- Water at soil level: Use a soaker hose or drip tape instead of spraying leaves, which reduces disease like mildew on zucchini vines.
- Morning schedule: Water early in the day so foliage dries quickly and you lose less to evaporation.
- Mulch gap: Keep mulch 1–2 inches away from plant stems so they do not rot in constant contact with damp material.
Set the watering routine before hot weather exposes weak roots.
More vegetable gardens fail from inconsistent watering than from pests or fertilizer issues.
Feed Your Vegetables Without Overdoing It
Vegetables are heavy feeders compared to shrubs or trees. Even with good compost, long season crops like sweet corn and indeterminate tomatoes usually need extra nutrients to hit their stride.
Nitrogen drives leafy growth, phosphorus supports roots and flowers, and potassium helps overall plant health. You do not need to memorize NPK chemistry, but you should read labels and match the blend to what the crop uses.
Build a baseline with compost, then top it up with a balanced or slightly higher nitrogen fertilizer early in the season. Leafy crops like spinach rows and kale plants respond quickly, while root crops are happier with milder feeding.
Too much nitrogen at the wrong time causes huge vines and few fruits, especially in tomatoes, peppers, and squash. If foliage is neon green and massive but you see almost no flowers, cut back hard on feeding.
Feed for steady growth, not oversized leaves.
- Before planting: Mix in 1–2 inches of finished compost across the bed and a light application of balanced organic fertilizer.
- Leafy crops: Side-dress with a nitrogen source every 3–4 weeks until harvest is close.
- Fruit crops: Feed pepper plants and tomatoes once at planting and again when they start flowering, then stop heavy nitrogen.
- Use proven schedules: Follow rates similar to vegetable garden fertilizing plans instead of guessing by handfuls.
Stop feeding if growth looks lush but flowers are scarce.
Overfertilizing salts the soil and burns roots, especially in containers or small raised beds.
Stay Ahead of Weeds and Pests
Weeds and bugs rarely wipe out a garden in a weekend. They creep up on you when you skip quick checks, especially right after rain or a heat wave.
Plan on walking your beds 2–3 times per week. Take five minutes to pull young weeds, flip leaves over, and look closely at new growth. Tiny problems are easy to fix compared to a bed choked with crabgrass or aphids.
A sharp hoe or hand weeder is enough if you start early. Slice baby weeds at the soil surface on dry days and leave them to shrivel. A thick mulch layer from that earlier step keeps most of them from even getting started.
For pests, focus on balance instead of carpet bombing everything. Encourage beneficial insects with nearby flowering border plants like yarrow or coneflower, use row cover on high value crops, and keep plants stress free so they can shrug off minor damage.
- Check undersides: Look under leaves of bush beans and broccoli heads for clusters of eggs or tiny caterpillars.
- Hand removal: Knock aphids into a bucket of soapy water or pinch off a few infested leaves instead of spraying the whole bed.
- Row cover: Use lightweight fabric over cabbage plants and broccoli right after planting to block cabbage moths.
- Natural options: For ongoing issues, lean on methods from natural garden pest control strategies before reaching for harsher chemicals.
A five-minute check works best when you know exactly what you are looking for.
Healthy, vigorously growing plants tolerate some chewed leaves. A spotless leaf usually means someone over-sprayed, not that the garden is healthier.
Harvest, Replant, and Learn From Each Season
Harvesting on time matters just as much as planting on time. Many vegetables taste their best across a short window, then turn woody, bitter, or seedy if left hanging during a busy week.
Pick bush green beans when pods are full but still slender, every 2–3 days. Cucumbers get seedy fast, so cut them while skins are still glossy, and keep zucchini squash under 8 inches for tender texture.
As soon as a section of the bed opens up, think about what goes there next. Pull bolting lettuce, toss the roots into the compost, and sow bush beans or a quick crop of radishes rather than leaving bare ground.
Keep basic records, even if it is just notes on your phone. Jot down varieties, planting dates, and which beds gave the best harvests. Those details will help you rotate crops, refine timing, and avoid repeating the same mistake three years running.
- Succession plan: After spring spinach rows fade, replant with summer bush beans, then with a fall crop of carrots or beets.
- Simple rotation: Avoid planting tomatoes, peppers, potatoes, or eggplant transplants in the same spot two years in a row to reduce disease.
- Taste tests: Grow two lettuce or basil varieties side by side and note which ones bolt slower and taste better to you.
- Year-end review: In fall, spend 15 minutes reviewing what thrived and what struggled so you can adjust spacing, varieties, or timing next year.
Those notes turn year one from a guess into useful data.
Your first garden is the test plot for the second. The notes you keep now shortcut years of trial and error.
Pro Tips
- Start with no more than 32 square feet of growing space your first year so upkeep stays realistic.
- Group thirsty crops like cucumbers and leafy greens together, and keep more drought-tolerant plants on a separate drip line.
- Use plant tags or painted stakes with variety names and planting dates; memory disappears by midsummer.
- Mulch beds with 2–3 inches of straw or shredded leaves to reduce weeds and keep soil moisture steadier.
- Walk your garden daily for five minutes to spot wilting, pests, or broken stakes before problems snowball.
- Stagger sowing of fast crops like lettuce and radishes every 2 weeks so harvests keep coming instead of all at once.
- Keep a simple notebook with frost dates, varieties, and yields so you can tweak spacing and timing next season.
Frequently Asked Questions
How big should my first vegetable garden be?
For a first season, keep it small. A bed around 4x8 feet or two that size is plenty to learn watering, weeding, and harvesting without getting overwhelmed.
Can I start a vegetable garden in partial shade?
Yes, but focus on leafy and root crops. Lettuce, spinach, kale, beets, radishes, and carrots all handle 4–6 hours of sun better than fruiting crops like tomato vines or pepper plants.
Should I start vegetables from seed or buy transplants?
Use transplants for heat lovers like tomatoes, peppers, and eggplant seedlings. Direct sow fast growers such as beans, peas, cucumbers, squash, and most root crops to keep costs down and avoid transplant shock.
How soon will I harvest from a new vegetable garden?
Quick crops like radishes and leaf lettuce can be ready in 3–5 weeks. Beans and cucumber vines follow in 6–8 weeks, while tomatoes, peppers, and winter squash usually take 10–14 weeks from transplant.
Do I need raised beds, or can I plant in the ground?
Either works if drainage is decent. Raised beds warm faster and are easier to improve with compost, while in-ground rows are cheaper and hold moisture longer, similar to the tradeoffs in raised versus in-ground beds.
Sources & References
Related Guides
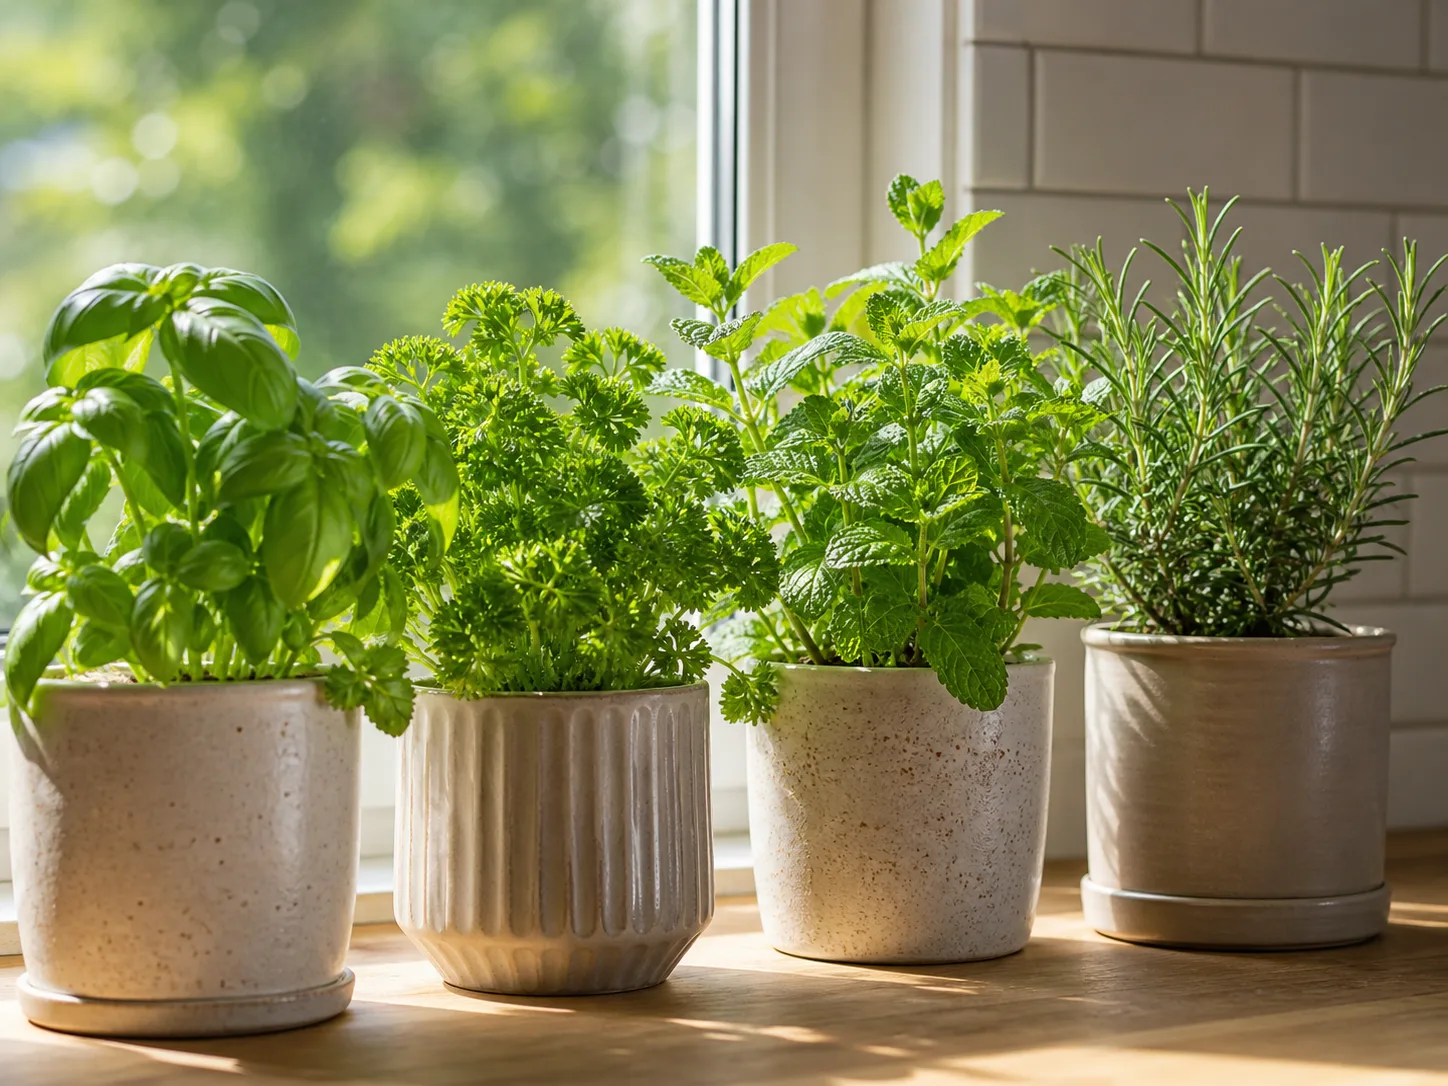
Best Herbs to Grow Indoors for Real Harvests, Not Spindly Pots
Indoor herbs only work when you match the plant to the setup. A sunny kitchen window can keep a few…
10 min readBest Indoor Plants for Every Room and Light Level
Growing plants indoors is one of the simplest ways to make a home feel alive, but picking the wrong…
13 min readBest Low-Light Plants for Dim Rooms and Shaded Corners
This guide helps you pick low-light houseplants that thrive in dim rooms, shows you how to assess…
12 min