
What's Garlic? How to Grow Full Bulbs That Store for Months
Allium sativum Amaryllidaceae
Garlic is a calendar crop more than a summer crop. Big cloves, fall planting depth, spring leaf health, and a dry finish decide bulb size long before harvest day arrives.
Care snapshot
Which Garlic Type Fits Your Winter?
The first real garlic decision is type because hardneck and softneck strains handle winter, storage, and scapes differently. Choosing for your climate and kitchen goal prevents a healthy planting from becoming a disappointing harvest.
Garlic is Allium sativum, a bulb-forming perennial in the Amaryllidaceae family that gardeners renew from individual cloves. Each clove must build spring leaves before it can divide into a full bulb, which ties type, planting time, and leaf health directly to harvest size.
Cold-winter gardeners usually lean hardneck because it handles chill well and makes big, easy-to-peel cloves. Milder regions often prefer softneck because it stores longer and does not spend energy making scapes.
Do not treat garlic like onions. Both are alliums, but onions are often chosen by day length, while garlic is usually chosen by winter fit, clove size, and storage goal.
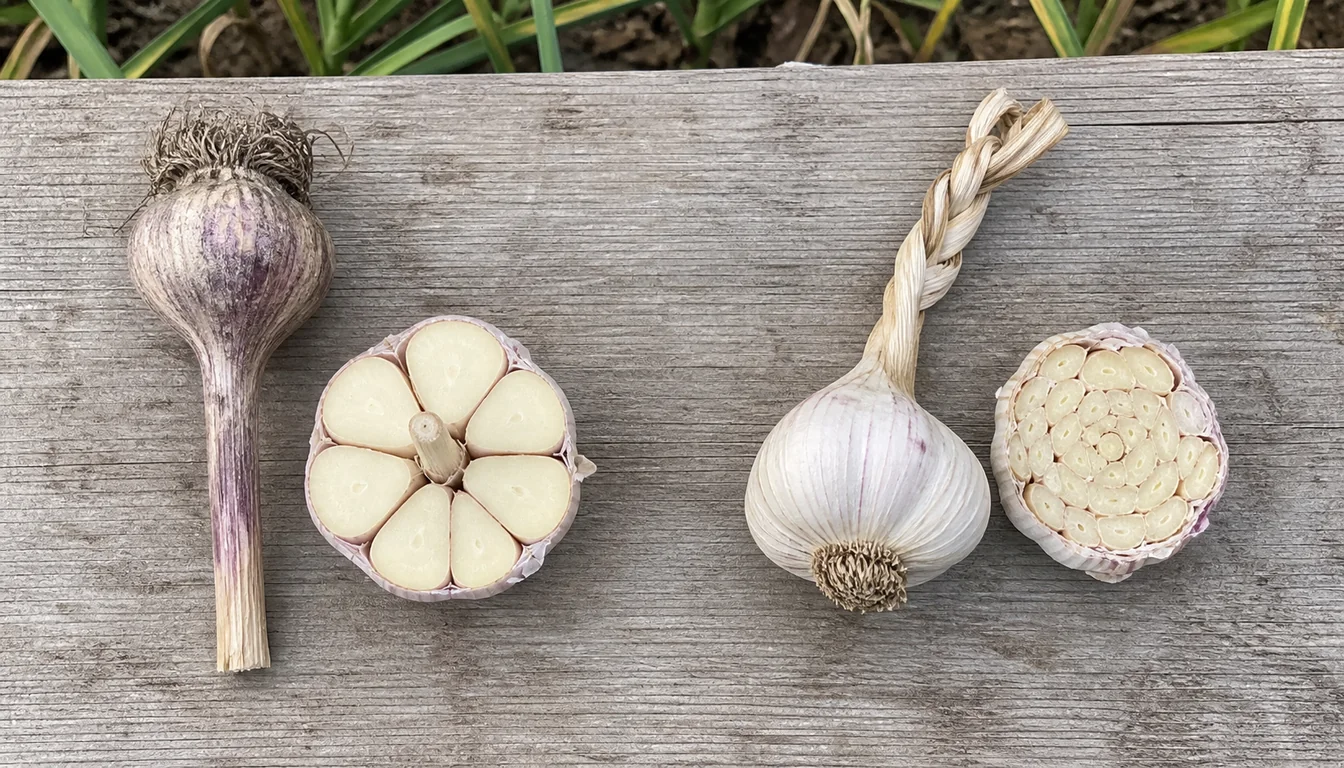
Clove count is a real practical difference too. Hardnecks usually ring 4-12 large cloves around a stiff central stalk, while softnecks pack 12-20 smaller cloves in overlapping layers with no woody core.
- Hardneck
- Better for colder winters, makes scapes, usually fewer but larger cloves.
- Softneck
- Best for longer storage and milder climates, usually no scapes.
- Porcelain and Rocambole types
- Popular hardnecks with strong flavor and good cold performance.
- Artichoke and Silverskin types
- Common softnecks with long storage life and good braid potential.
Where Should You Plant Garlic for Good Drainage?
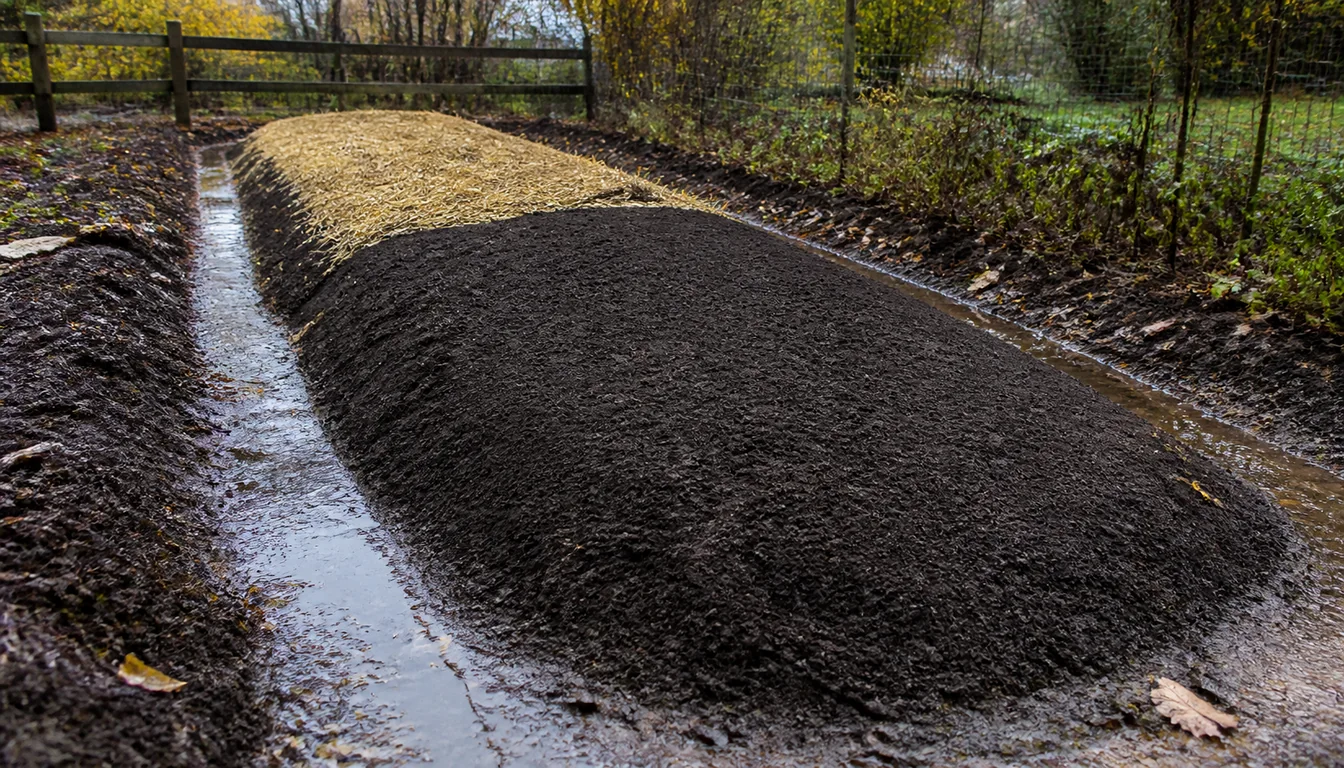
Garlic wants loose, well-drained soil near pH 6.0-7.0, amended with a couple inches of compost before planting. Heavy clay that stays wet through winter can rot cloves before they root, even when the bed is otherwise fertile.
A raised bed or mounded row solves most drainage problems outright in heavy soil, since garlic tolerates cold far better than it tolerates standing water around the roots.
Full sun matters as much as soil, with at least 6 hours of direct light needed to build the leaf canopy spring growth depends on, so a shaded bed rarely produces bulbs worth harvesting no matter how good the soil is.
Avoid planting where onions, leeks, or other alliums grew within the last 3-4 years, since shared soilborne problems build up quietly in that time and rarely announce themselves until a planting fails.
Check the bed after a soaking rain before committing seed cloves, since water that still pools or shines at the surface the next day signals a drainage problem that compost alone will not correct.
- Soil pH
- Roughly 6.0-7.0
- Drainage
- Fast-draining, raised or mounded in heavy clay
- Sun
- At least 6 hours of direct light
- Bed prep
- Work in compost a few weeks before fall planting
When and How Should You Plant Garlic Cloves?
Bulb size starts with seed-clove size. The largest outer cloves usually make the largest harvest heads, while tiny inner cloves often stay small no matter how carefully you water later.
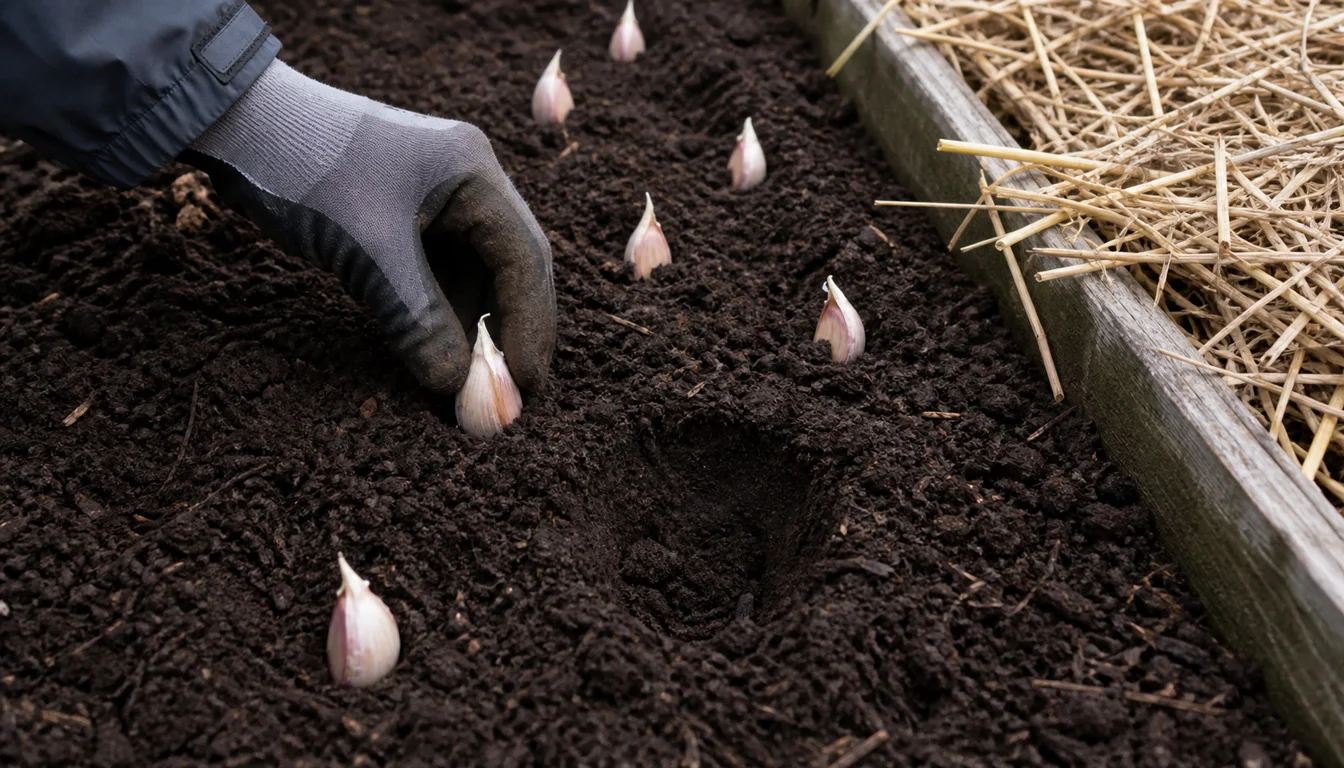
Plant in fall when the soil has cooled but is still workable, roughly 4-6 weeks before the ground freezes solid. That timing lets roots establish without pushing much tender top growth into winter.
Set cloves point-up, about 2-3 inches deep in cold climates, then mulch after the ground cools. In heavier beds, proper depth matters as much as the spacing because wet, shallow cloves are the first to rot.
Store-bought bulbs can grow, but seed stock is safer. Grocery heads are often chosen for shelf life, not garden vigor, and they may bring in problems you would never knowingly plant beside cabbage or other long-season crops.
In regions with unpredictable early winters, a heavier mulch layer, roughly 4-6 inches of straw, buys extra insurance against a hard freeze arriving before roots have fully established.
- Save the largest outer cloves for planting.
- Keep papery wrappers on each clove as you plant.
- Mulch after the soil cools so winter heaving does less damage.
- Prep the bed before planting day so cloves are not waiting in open air.
- Split bulbs only when you are ready to plant the best cloves.
- Water once after planting if the bed is dry, then let winter do the holding work.
Why Do Spring Leaves Decide Garlic Bulb Size?
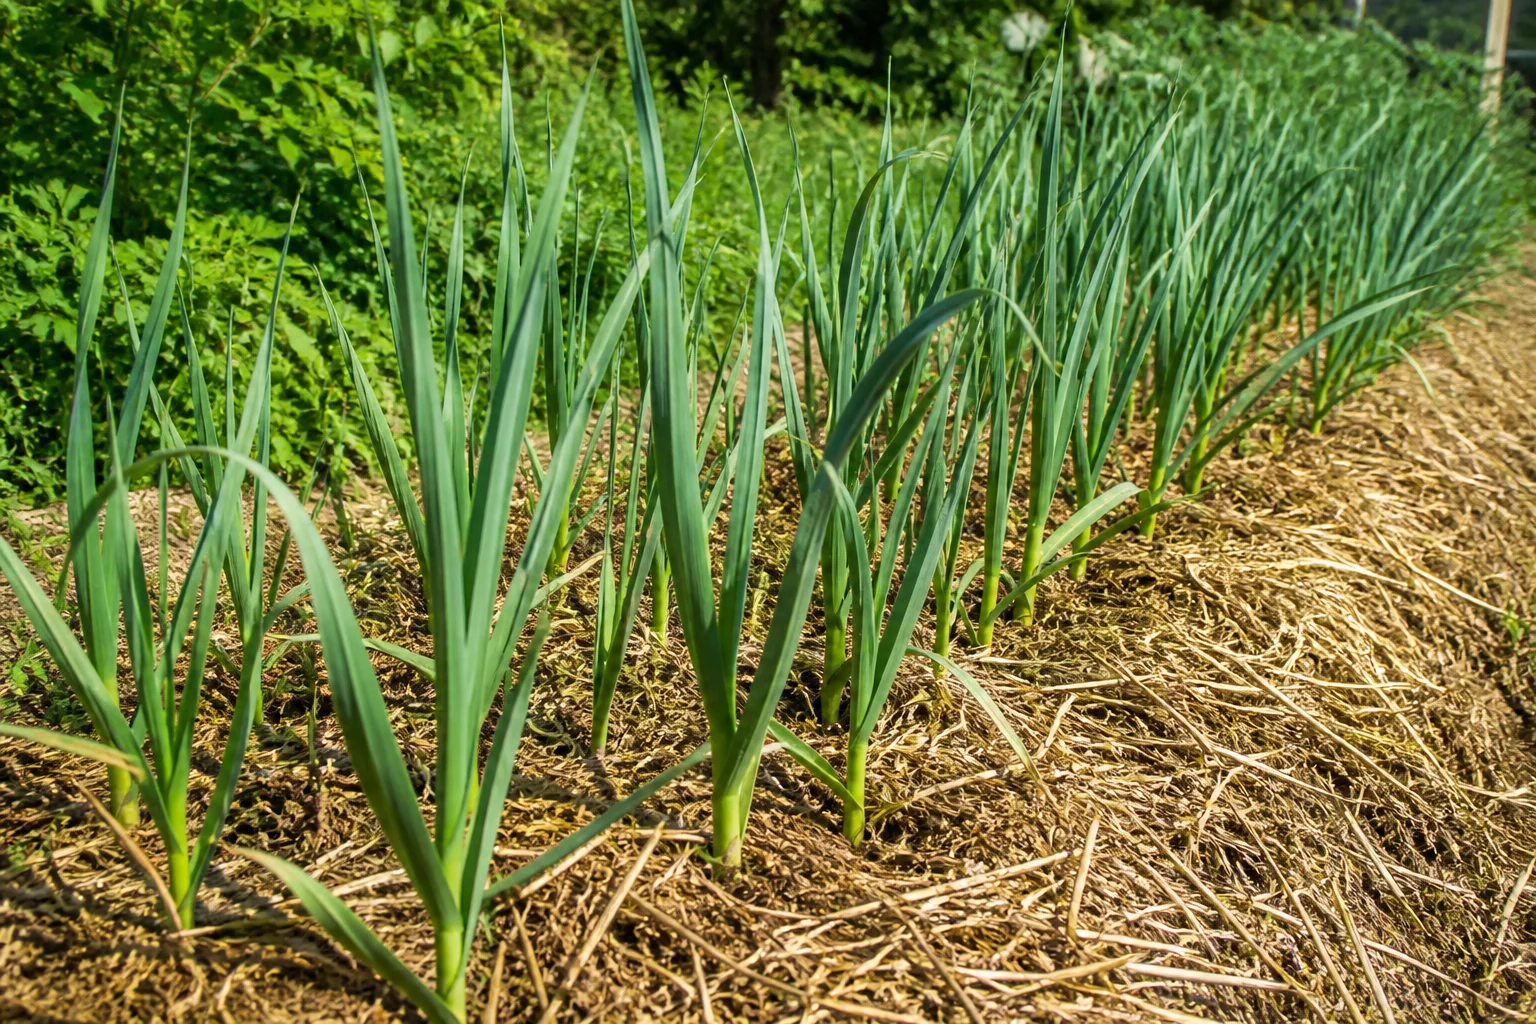
Garlic bulbs are built by the leaves you grow before bulbing starts. Each healthy green leaf supports the wrappers and clove development inside the head, so spring leaf health is not cosmetic, but your future harvest.
Feed modestly as growth starts and keep the row free of weeds that steal early light. This is the stage when a clean row can matter more than the final harvest weather.
If leaves yellow too early, the plant is already losing bulb potential. That signal matters more here than it does on a quick crop like peas, where the harvest arrives before a long storage organ has to size up.
A light nitrogen feeding once growth resumes, followed by a second light feeding a few weeks later, usually covers this stage without overdoing it, since heavy late-season nitrogen can push leaf growth at the expense of bulb formation.
Stop nitrogen once bulbs begin swelling and scapes appear, because late leafy growth delays maturity and leaves thick necks that dry slowly in storage.
Good color and steady upward growth usually predict good wrapper count and better bulbs.
Often means the crop fell behind on fertility, drainage, or weed control while bulbing still depended on leaf power.
Storm or pest damage costs bulb size because every lost leaf takes away one layer of production.
When Should You Stop Watering Garlic?
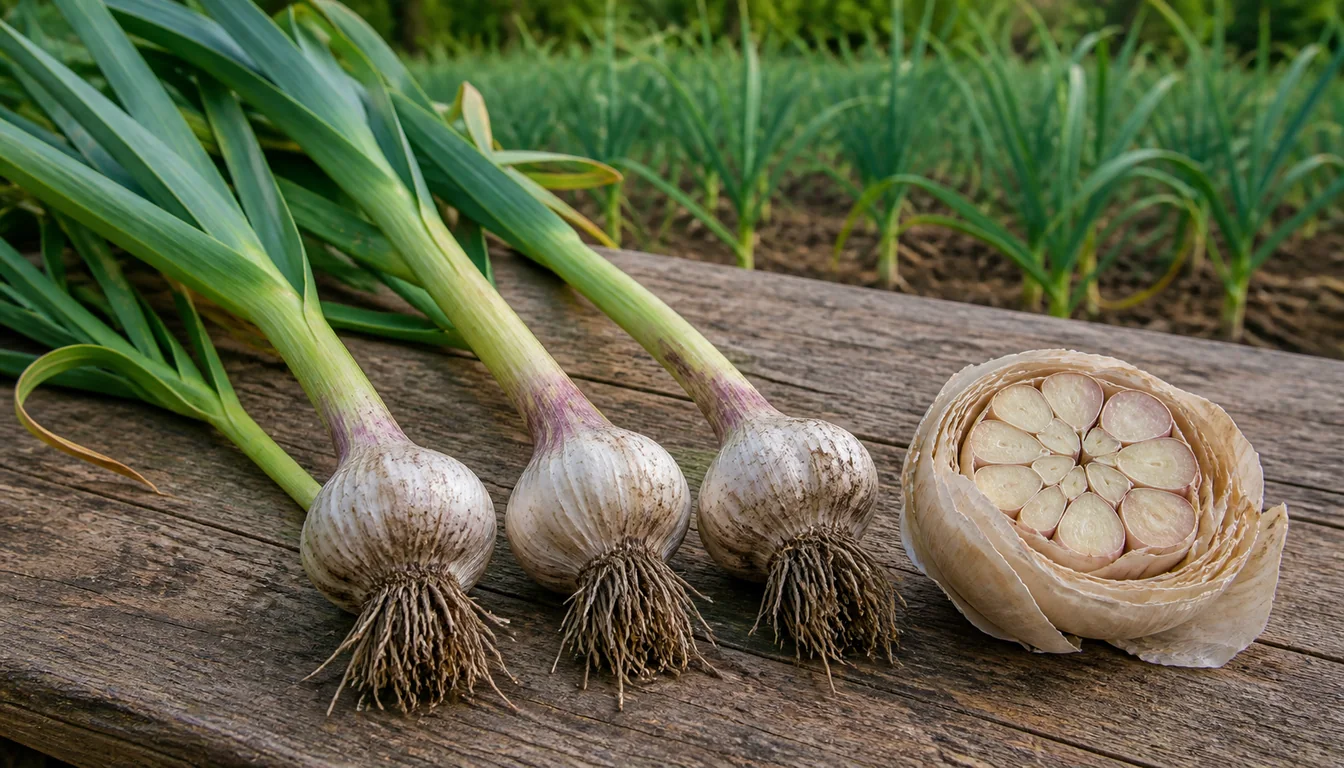
Garlic needs steady moisture through active spring growth and early bulbing, not drought heroics. Dry soil at that stage keeps heads small even when the leaves still look decent.
Late in the season the rule changes. Once lower leaves start browning and the bulbs are mostly sized, too much water can stain wrappers, invite rot, and make curing harder.
Beds differ a lot here. A fast-draining raised bed may need closer watching than a level in-ground row, which is one reason the raised-bed versus in-ground choice changes how you manage garlic.
A rough target is about 1 inch of water a week during active spring growth, counting rainfall, tapering off as the harvest window described later in this page approaches.
- Keep moisture even through spring leaf growth and early bulb swell.
- Back off once the lower leaves start browning and wrappers need a drier finish.
- Do not try to fatten bulbs with late heavy watering; that usually hurts curing more than it helps size.
Should You Cut Garlic Scapes?
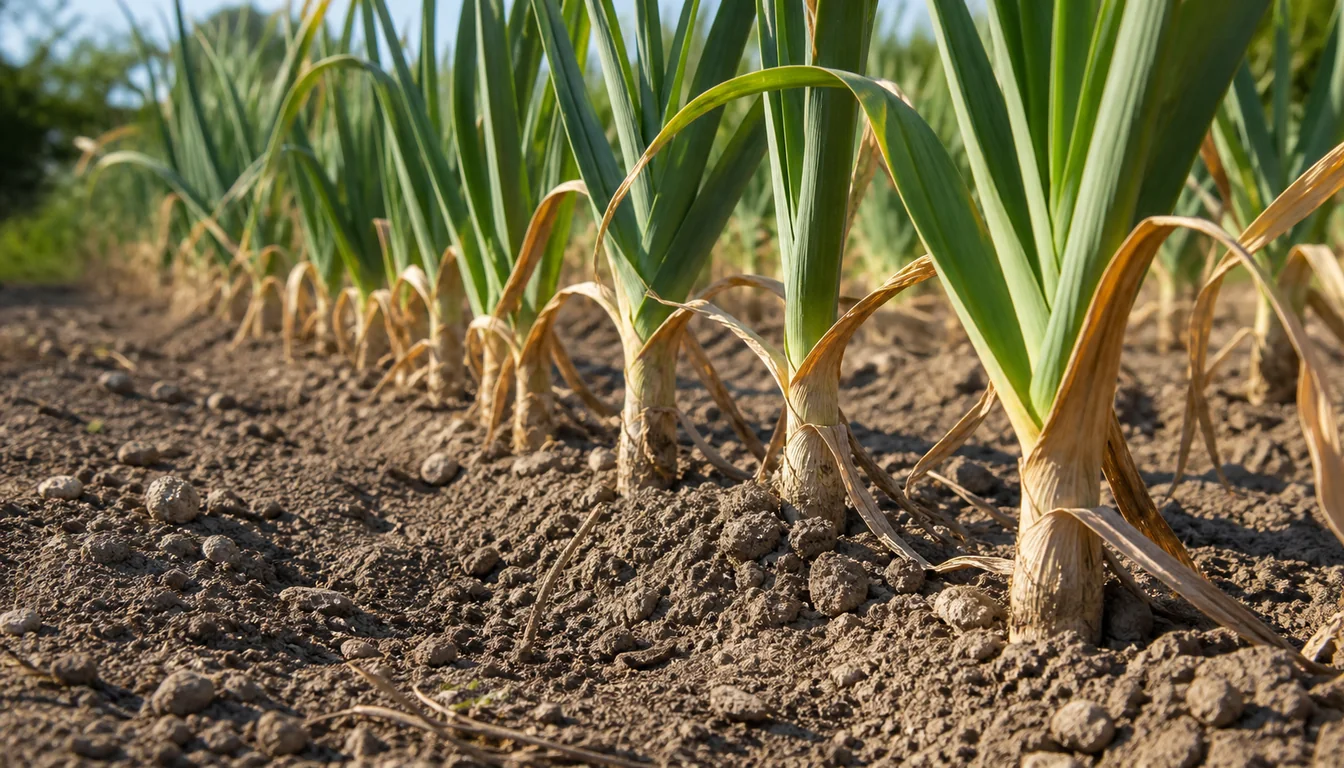
Hardneck garlic sends up a flower stalk called a scape, and that stalk competes with the bulb for energy. Cutting it after one good curl usually pushes more strength back down into the head.
Softneck types usually do not give you that decision at all, which is one reason they feel simpler in warm climates. If you do grow hardnecks, do not wait until the scape goes woody and straight.
Most gardeners cut at one full curl or loop, typically in early to mid summer depending on zone, rather than waiting for a second curl that signals the stalk is already spending more energy than needed.
When Do Garlic Leaves Signal Bulbs Are Ready?
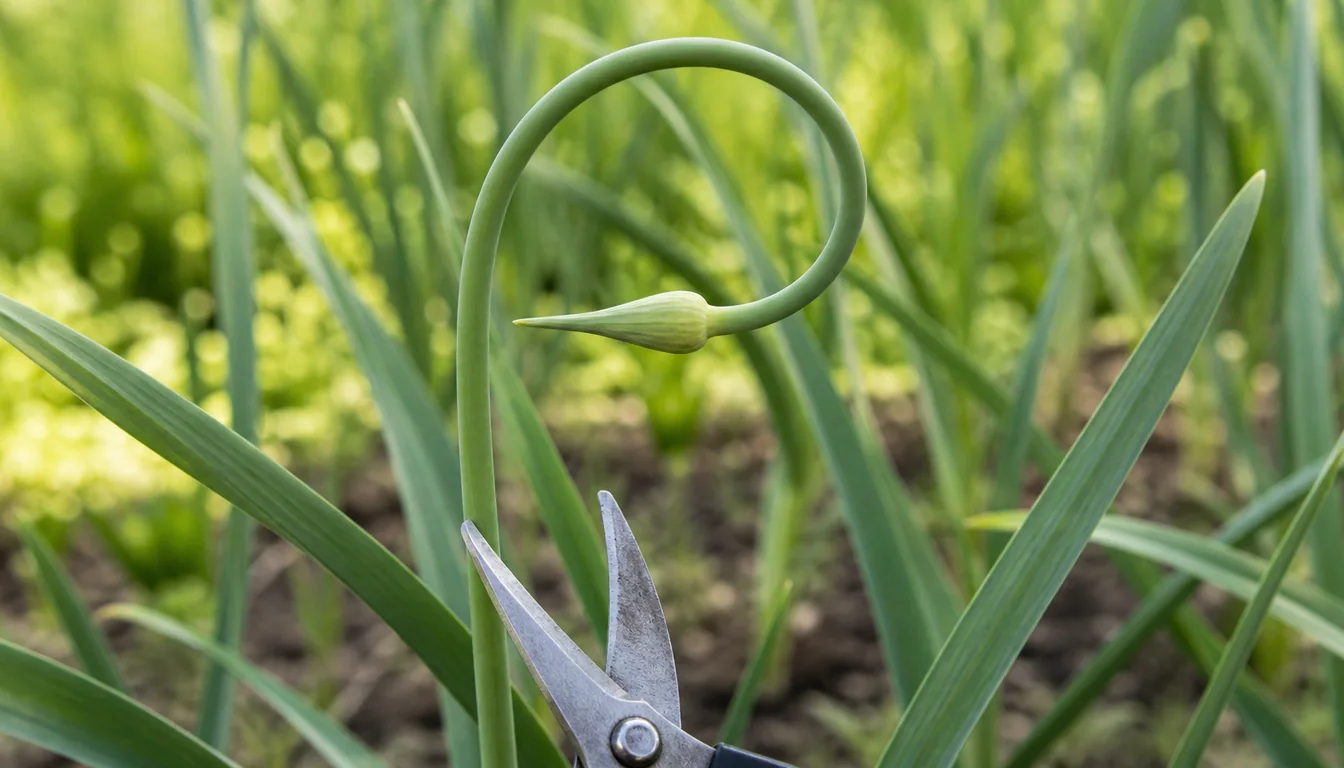
The harvest window opens when the lower leaves have browned but several upper leaves still stay green. Pull too early and the wrappers stay thin, while waiting too long lets them split underground.
Loosen bulbs with a fork instead of yanking by the neck. Fresh heads bruise easily, and neck damage shortens storage life even when the bulb still looks fine in your hand.
- Choose a dry day after irrigation has stopped.
- Loosen soil beside the bulb with a fork.
- Lift by supporting the bulb, not by yanking the neck.
- Move plants into shade immediately.
How Do You Cure Garlic for Long Storage?
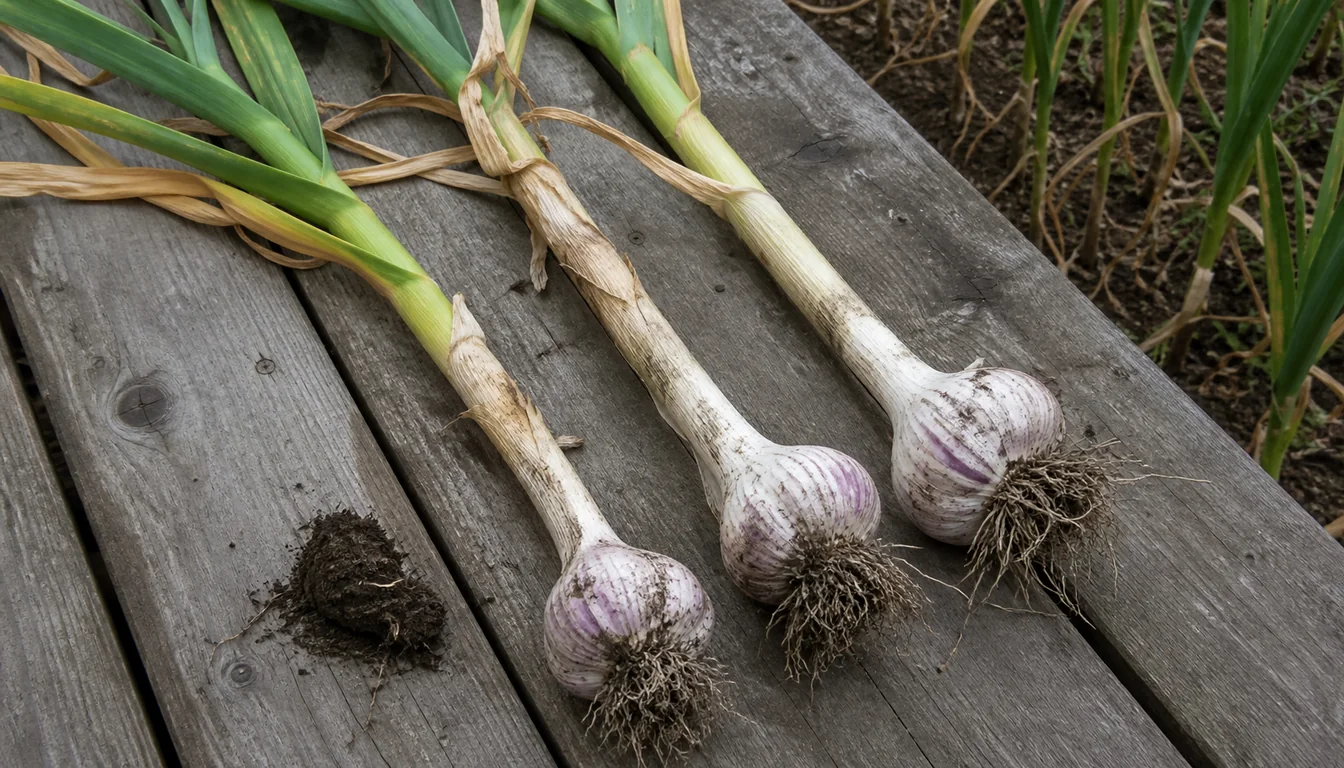
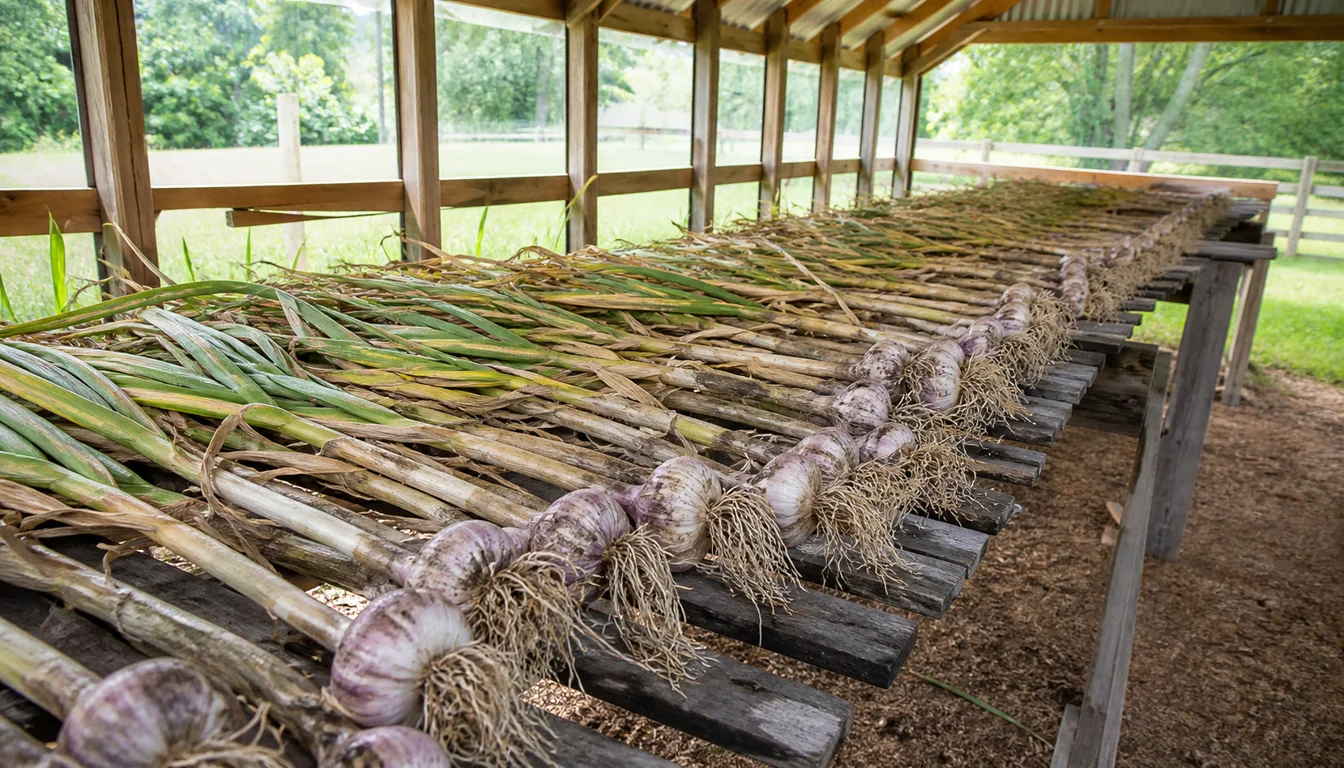
After lifting, cure the plants in a shady, airy place for 2-4 weeks. Do not rush to trim everything clean on day one, since the leaves and roots help finish drying the head.
Once cured, sort hard. The prettiest, firmest, healthiest bulbs become seed stock, while damaged heads get used first in the kitchen alongside quick summer crops like tomatoes.
A bulb that was bruised, trimmed too early, or cured damp will fail first in the pantry even when its wrappers look clean. Sort by firmness and damage before you choose long-storage bulbs.
Storage life differs by type after curing, with hardnecks typically holding 4-6 months and softnecks often lasting 6-12 months, one more reason softneck varieties dominate the braided bulbs sold for long kitchen storage.
Once necks and wrappers are dry, brush away loose soil, trim roots, and either cut or braid the tops according to type.
- Keep firm, unblemished bulbs for long storage.
- Use cut, bruised, or thin-wrapped bulbs first.
- Reserve the largest healthy cloves as next season's seed.
- Store the eating crop dry with airflow, not sealed in plastic.
What Causes Small Bulbs, Leaf Streaks, or White Rot?
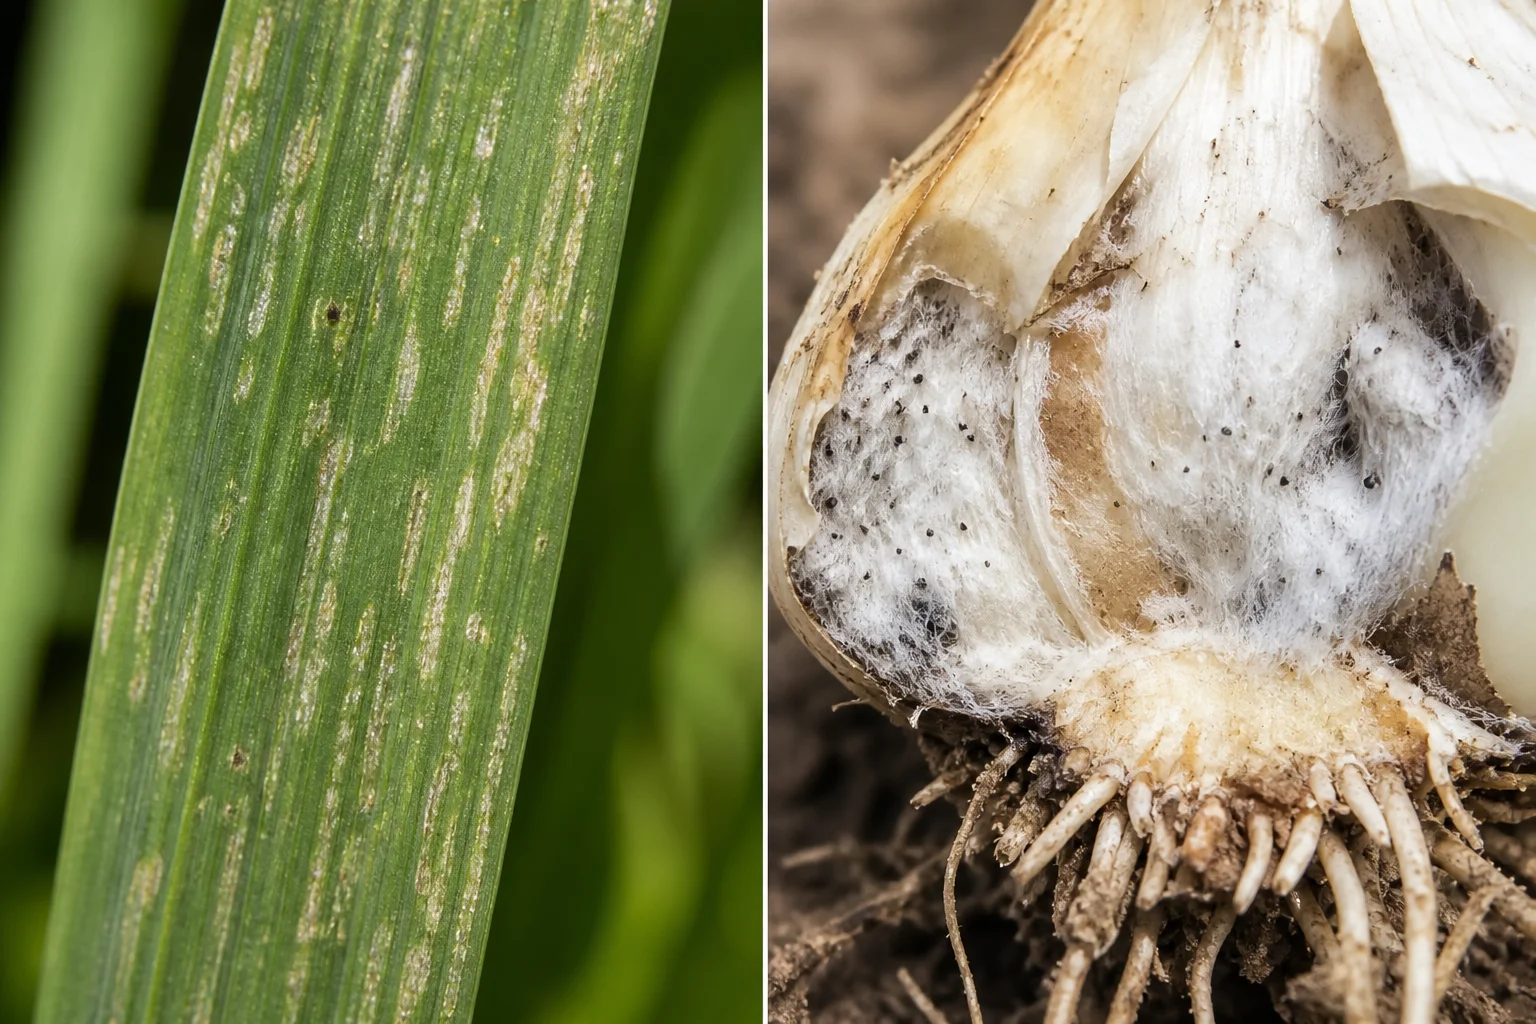
Thrips are the most common insect issue, tiny slivers that rasp silvery streaks into leaves during hot, dry spells and weaken the same leaf canopy spring growth depends on.
Onion maggot larvae tunnel into the base of young plants and are worst in cool, wet spring soil, wilting a plant that looked fine just days earlier.
Crop rotation and clean seed stock prevent more problems here than any spray, since several of these issues build up in soil that grows alliums too often in the same spot.
A floating row cover installed at planting can keep egg-laying onion maggot flies off young shoots entirely, which is often more reliable than trying to treat larvae once they have already tunneled into a stem.
Silvery streaks and stippling on leaves during hot, dry weather.
Wilting young plants with tunneling damage at the base.
Fluffy white fungal growth and black specks at the base, no in-season fix.
Can Pets Eat Garlic, and Which Bulbs Are Safe to Replant?
Unlike many food crops, garlic is not pet-safe. Dogs and cats should not chew bulbs, cloves, or cooked scraps rich in garlic, so curing racks and kitchen trimmings need real separation.
Seed saving has a hygiene rule too. Never save soft, stained, or suspicious bulbs for planting, especially if they grew near chives or other alliums that can share the same problems.
Rotating garlic and other alliums onto a 3-4 year cycle away from the same bed is one of the simplest ways to keep soilborne problems like white rot from building up unnoticed.
Frequently Asked Questions
Can I plant grocery store garlic?
You can try, but it is less reliable than true seed garlic. Grocery bulbs may store well on a shelf but still perform poorly or carry issues you would rather not bring into the bed.
When should I plant garlic in my zone?
Plant after the heat has broken but before deep winter freeze locks the ground. The goal is enough time for roots to start, not enough warmth for a big flush of top growth.
Why are my garlic bulbs so small?
Small bulbs usually trace back to small seed cloves, late planting, weak spring growth, or early drought. By the time you harvest, the real cause often happened months earlier.
Should I cut off garlic scapes?
Yes on hardnecks, usually no action needed on softnecks. Cutting the scape after it curls helps the bulb more than waiting for it to harden.
How long should garlic cure before storage?
Usually 2-4 weeks in a dry, airy, shaded place. The neck should feel dry and the wrappers should tighten before you trim and store the bulbs.
Can I save my own garlic for seed next year?
Yes, as long as you save the healthiest, cleanest bulbs from the bed. Saving weak or questionable heads is one of the easiest ways to carry trouble forward into the next crop.
Sources & References
- Growing Garlic in the Home Garden – University of Minnesota Extension
- Garlic in the Garden – Utah State University Extension
- Garlic – Cornell University Vegetable Growing Guides
- Garlic, Oregon State University Extension Service
- Toxic and Non-toxic Plants: Garlic | ASPCA
- Allium sativum (Clove of Garlic, Cultivated Garlic, Garlic, Serpent Garlic) | North Carolina Extension Gardener Plant Toolbox
Related Plants
Onion
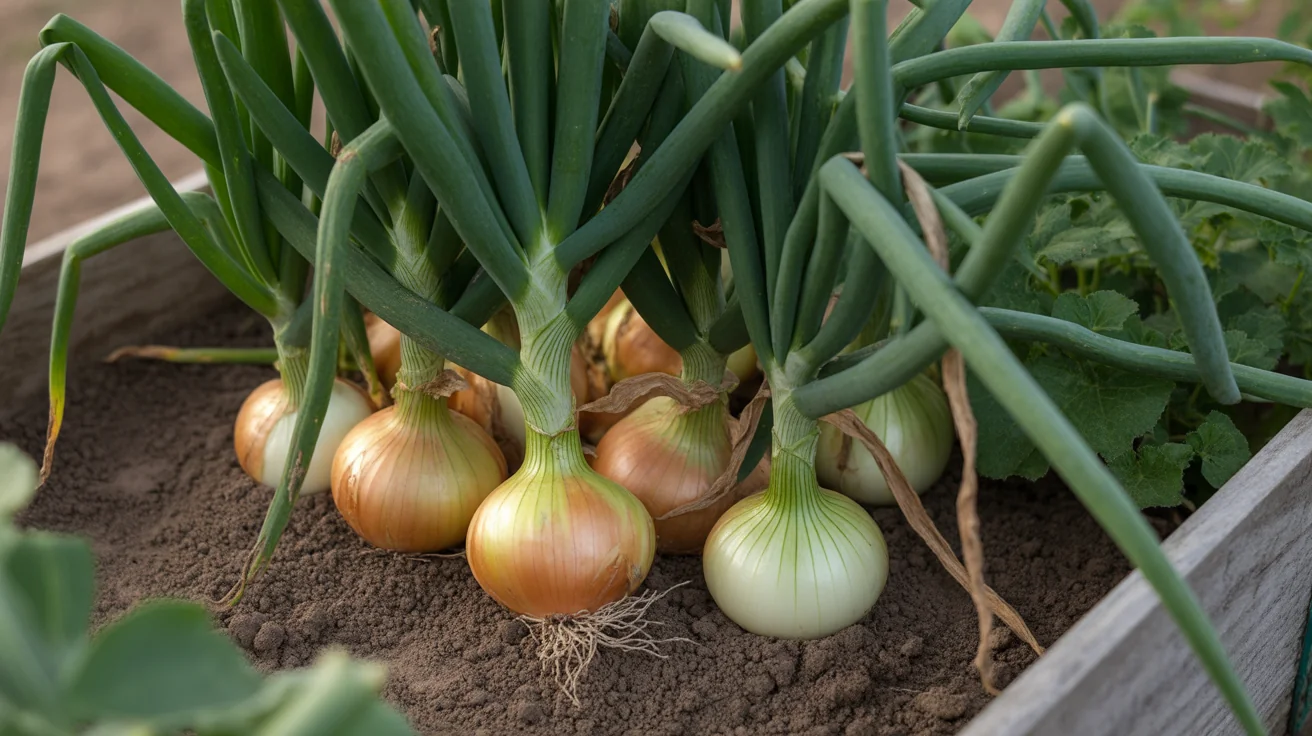
Another allium bulb crop that likes similar spacing and soil prep.
Chives
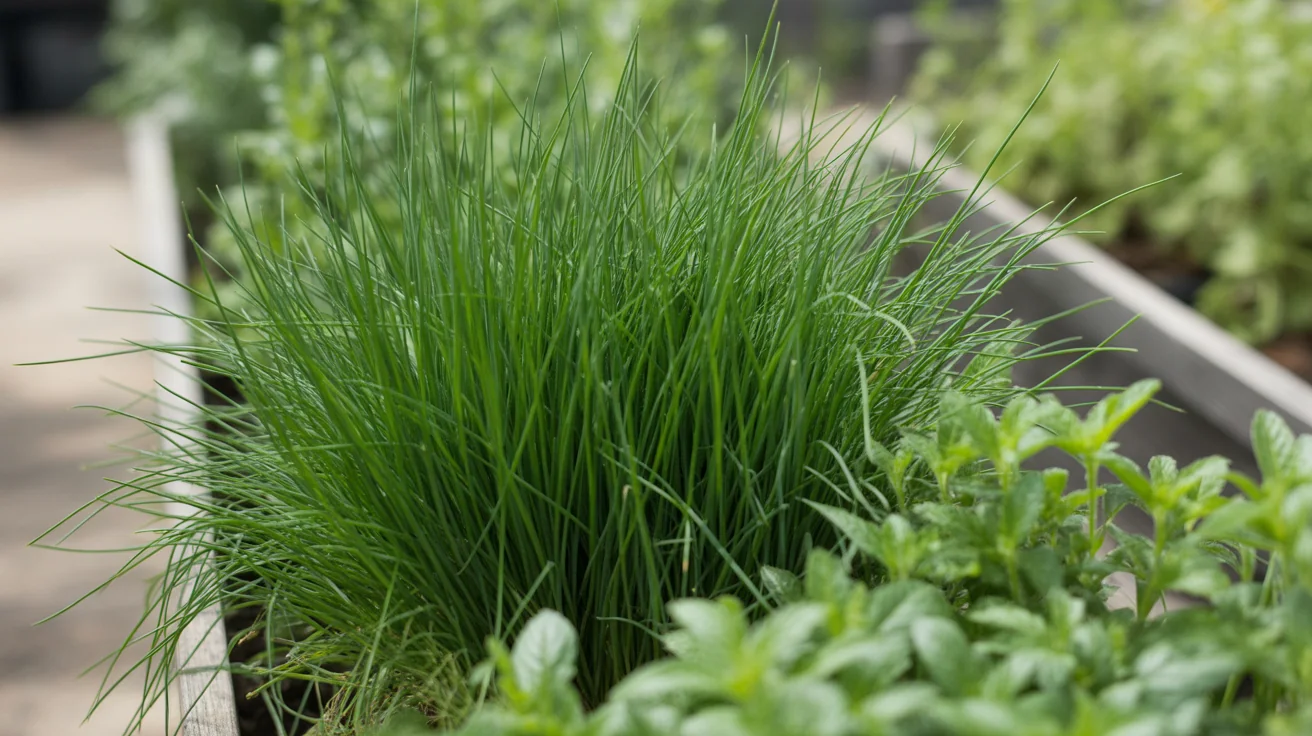
Perennial allium with mild flavor and edible flowers.
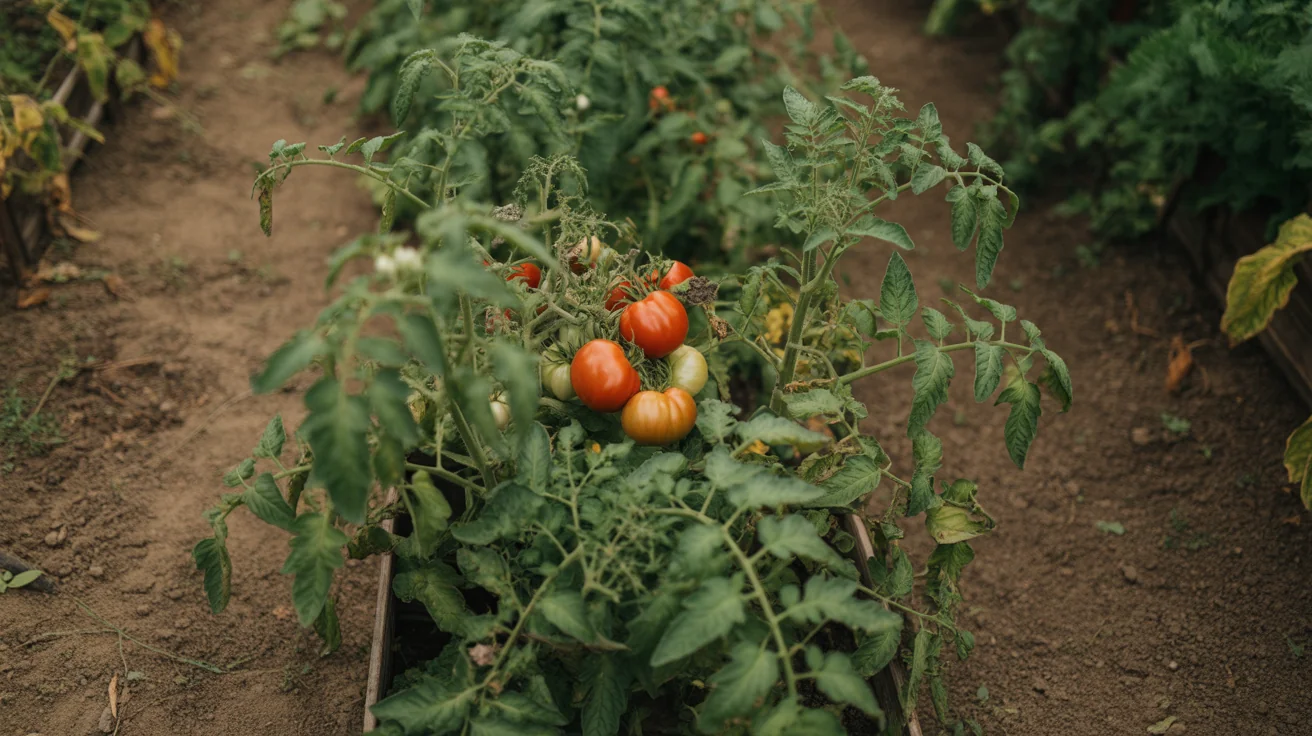
Tomato
Warm-season neighbor that benefits from garlic’s pest-deterring scent.
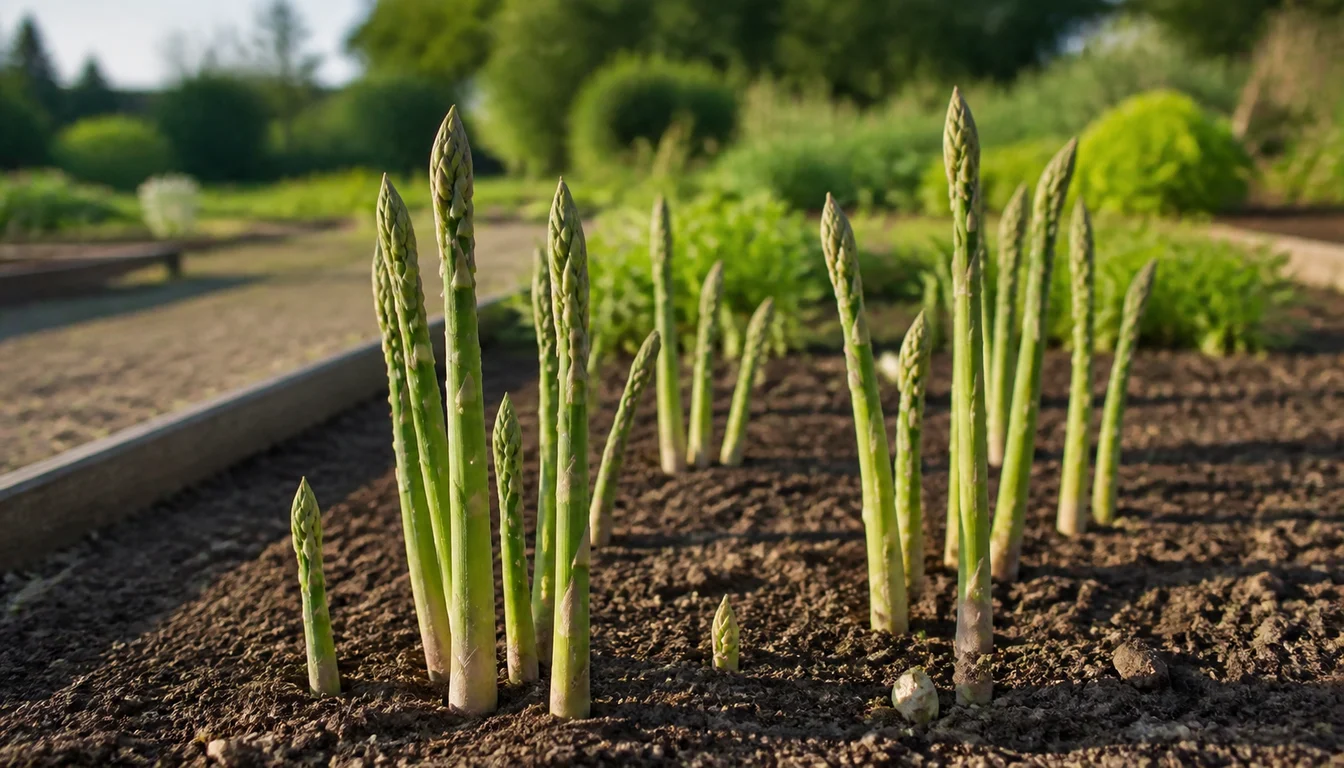
Asparagus
Asparagus rewards careful establishment with spring harvests for many years.
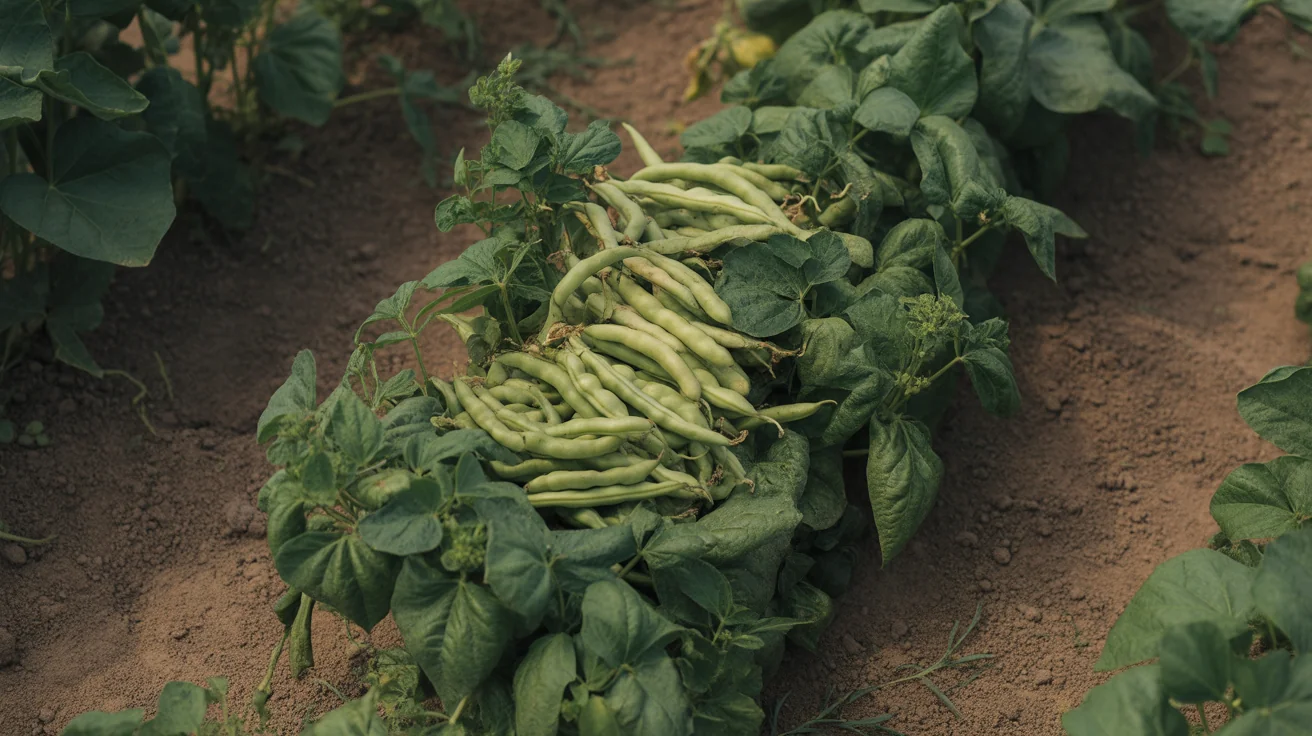
Beans
Two different plants share the name bean, one that stays knee-high and gives most of its crop inside two or three…
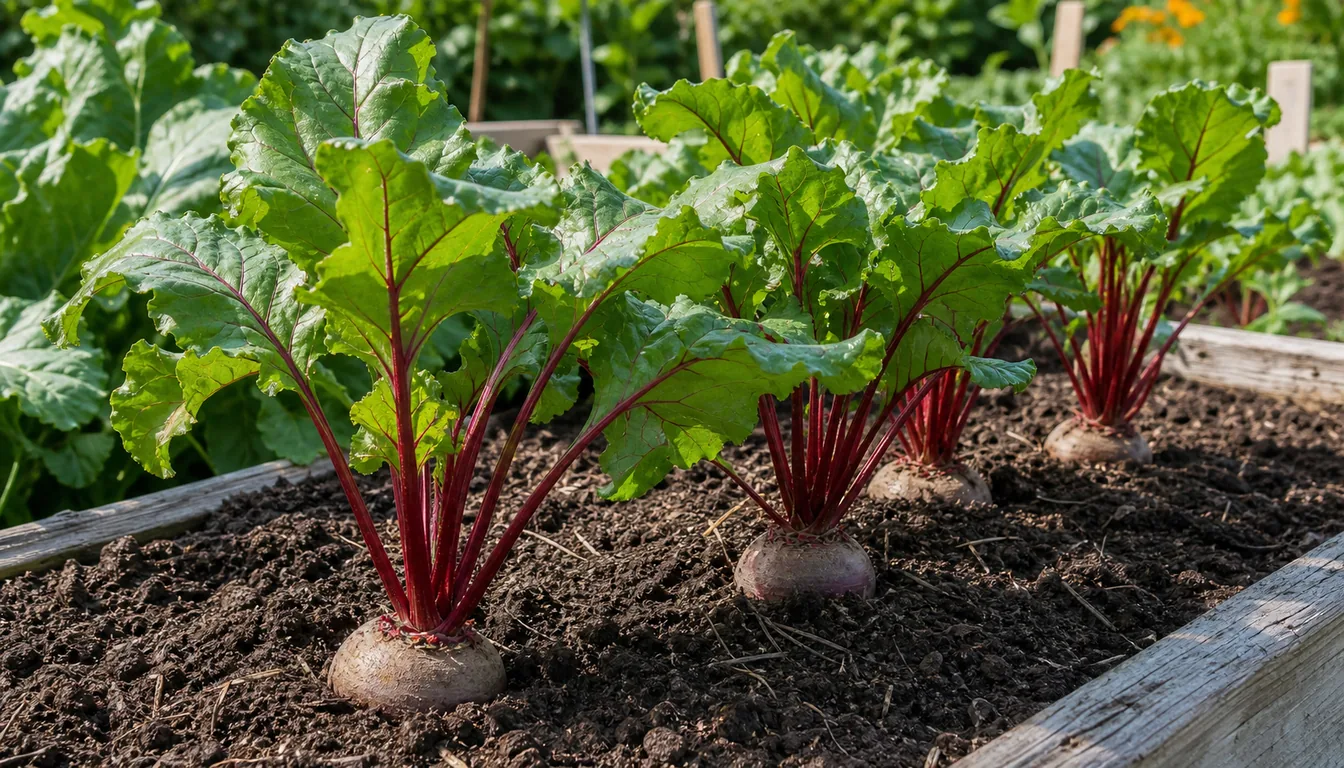
Beet
Beet care starts with one unusual fact. Each seed ball can make several seedlings, so the crop needs early thinning…