
How to Grow a Fiddle Leaf Fig in the Space and Light You Have
Ficus lyrata Moraceae
Fiddle leaf fig needs bright, filtered light and a pot that drains. Water thoroughly after the upper mix dries, keep the root ball from staying soaked or becoming completely dry, and check growing conditions before treating leaf drop.
With enough room for its broad leaves, this tropical tree can become a lasting indoor focal point.
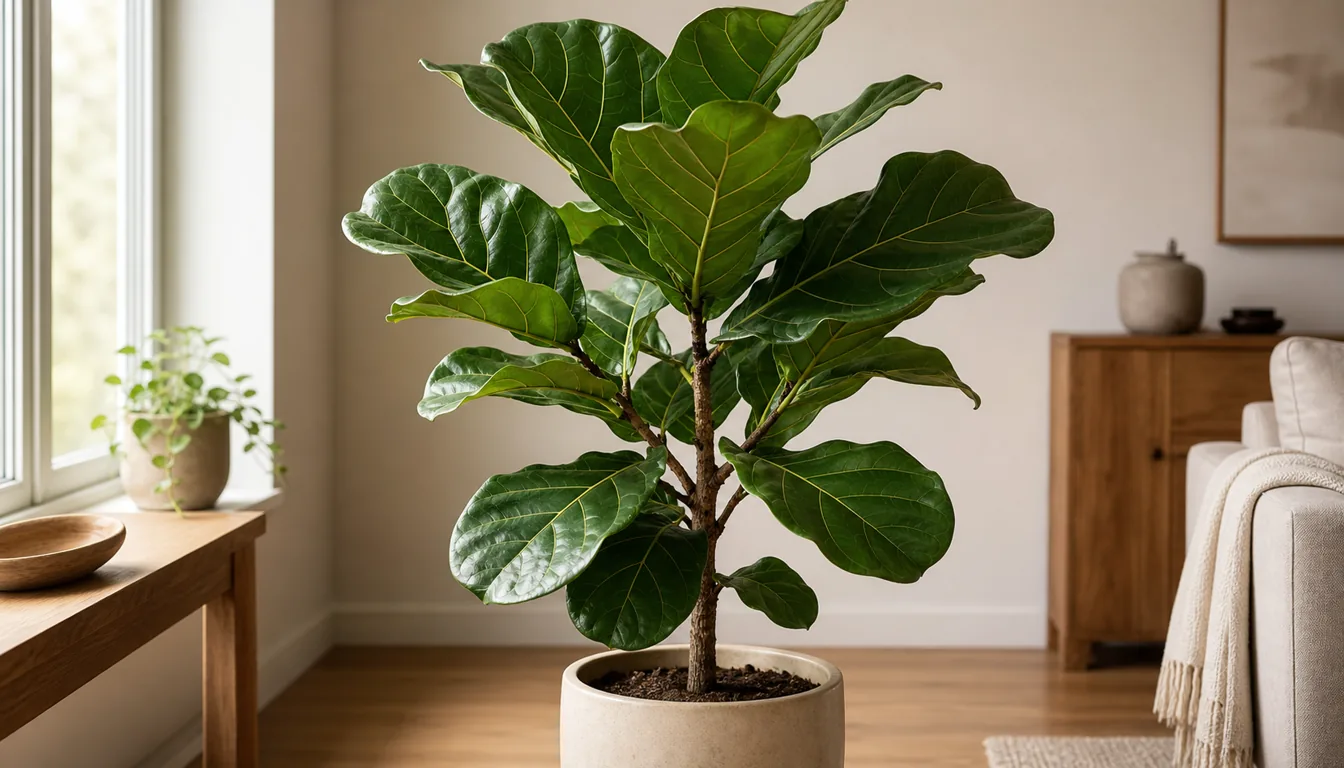
Care snapshot
Will a fiddle leaf fig fit your home?
Ficus lyrata is the fiddle leaf fig, an evergreen tree with leathery leaves that widen toward the tip and often narrow in the middle. Prominent veins and rippled edges give the canopy its heavy texture.
A young plant may fit on a table, but its broad leaves eventually need floor space near suitable light. The usable area includes clearance for curtains, people walking past, and access to water the pot. A tall, narrow trunk does not give the whole canopy a narrow footprint.
A tree with a wet root ball may be awkward to carry. A position where drainage can be collected and removed without an unsafe lift is easier to maintain as the plant grows.
At the store, both sides of the leaves and the leaf-stalk joints are useful inspection points. Insects, sticky deposits, spreading damaged areas, or a soaked pot with an unpleasant smell deserve attention. A healed tear on an older leaf is different from continuing damage, and recent watering affects how heavy the pot feels.
A rubber plant has broader oval leaves rather than the fiddle leaf fig's strongly shaped foliage, so compare their mature silhouettes if you want an indoor ficus. If your available space has little natural light, choose a plant suited to that exposure or plan supplemental lighting. Neither a smaller fiddle leaf fig nor extra fertilizer removes the light requirement.
Choose a bright window without scorching the leaves
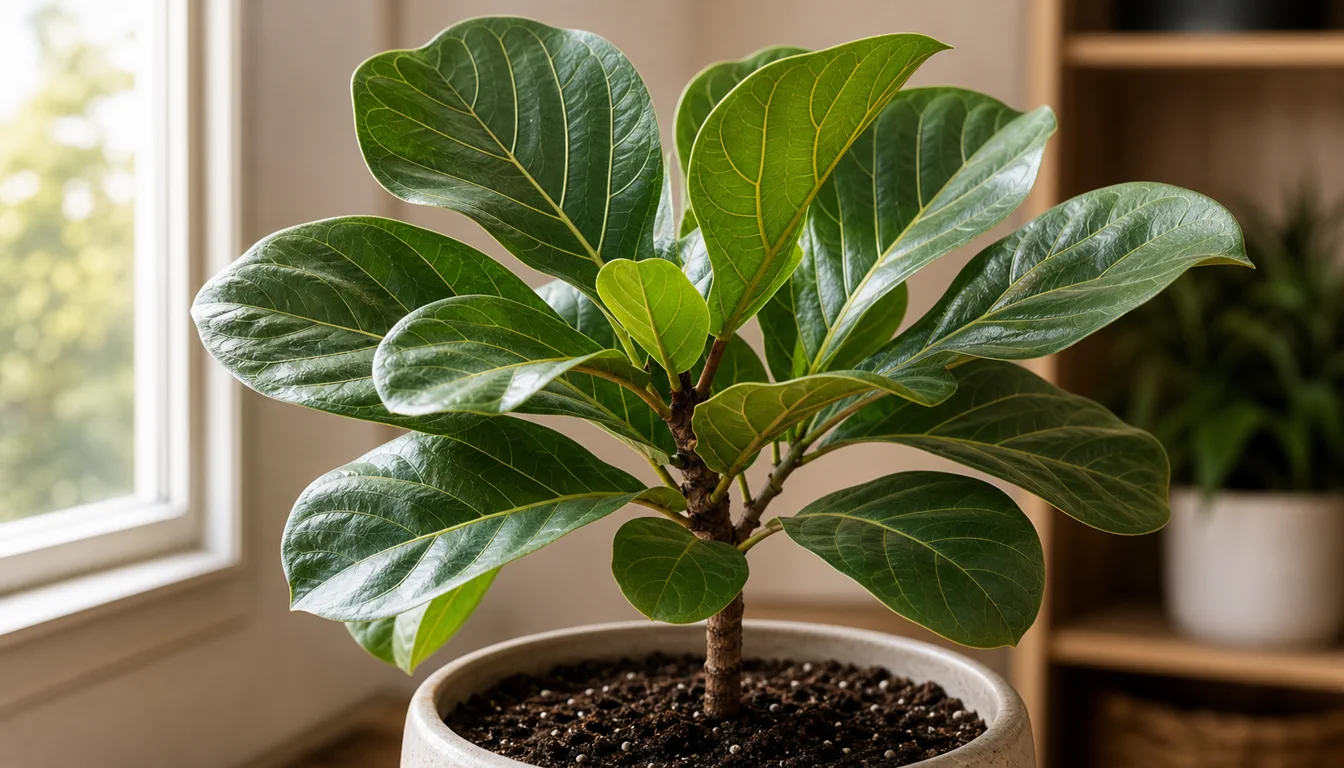
Bright indirect light needs to reach the broad canopy. A tree beside a window can still have much of its foliage shaded by furniture or a wall, even when the room looks bright from the doorway.
Harsh afternoon sun can scorch foliage. A sheer curtain or a less exposed position can soften that light without putting the tree in a dim interior corner. Exposure during the strongest part of the day helps distinguish those choices.
The same location also has a temperature pattern. Heating vents and cold drafts can damage leaves even when light is suitable. Correcting that exposure is useful, while repeated moves without identifying the problem make the plant’s response harder to interpret.
After a move, compare new growth and continuing leaf loss with the watering history. Both excessive and insufficient water can cause leaf drop, so a bright window does not rule out a root-zone problem. Check the mix before assuming that another move is the answer.
Keep existing healthy foliage while you assess the change. Old scorched areas will remain damaged, and a large tree cannot rebuild its canopy immediately. A photograph taken from the same angle can help you track which leaves are new and which marks were already present.
If the only available position is a dim corner, use a houseplant better suited to low light or provide appropriate supplemental lighting. Make that decision before buying a large tree that will block the window or walkway.
How to water a large root ball evenly
Check the upper inch or so of potting mix with a finger. When that layer has dried, assess whether the pot has also become lighter before watering. The goal is a root ball that dries slightly between waterings, not one left bone dry. In a deep container, a dry surface can sit above a still-wet center, so compare more than one observation rather than following a weekly appointment.
Keep the tree in a pot with drainage holes. A decorative outer pot can hide the nursery container, but it must not become a reservoir beneath it. If the tree is too heavy to carry, arrange a way to collect and remove drainage where it stands before you start pouring. Protect the floor with a waterproof tray rather than relying on a woven basket.
Pour room-temperature water slowly over the surface until water drains from the base. Work around the root ball instead of pouring against just one side. Let the excess drain, then empty the saucer or outer pot. The next watering depends on how the mix dries, not on how much water you used last time.
If an overdue root ball has shrunk away from the pot, runoff can escape down the gap while the middle stays dry. Apply water slowly in several passes and check that the mix is accepting it. Immediate runoff alone is not proof that the roots received a thorough watering. Return to moisture checks afterward instead of compensating with daily small pours.
A moisture meter can provide another clue, but do not let one reading overrule a visibly wet mix or water standing below the pot. A tree with drooping leaves in damp soil needs a drainage and root check. Giving that tree the same rescue watering as a dry plant can make the problem worse.
Repot when the roots need space
Use a houseplant potting mix that holds some moisture while allowing excess water to drain. A peat-free container mix with bark or another aerating component is a practical starting point. Do not fill a pot with dense garden soil, and do not expect a layer of stones at the bottom to replace drainage holes.
Check the root ball when water management becomes difficult or growth slows despite suitable light. Roots circling tightly around the outside, repeated rapid drying, and roots crowded through the drainage openings are reasons to consider repotting. One root at a hole does not tell you how much room remains inside. Look at the whole root ball before buying a much larger container.
For a healthy tree, spring is a useful time to repot as growth resumes. Choose a container only slightly larger than the root ball so there is not a large sleeve of unrooted wet mix around it. Support the root ball while removing the old pot, loosen accessible circling roots gently, and set the plant at its previous depth. Fill around it with fresh mix, water to settle it, and let it drain.
If the current pot and roots are in good condition, leave them alone. A top dressing of fresh mix can refresh the surface without turning routine care into a major move. Remove only loose surface material and avoid scraping through roots.
Conversely, a waterlogged, declining plant should not wait for spring merely because that is the preferred season for routine repotting.
Clean the leaves and shape new growth
Support each broad leaf with one hand while wiping dust from the other side with a damp cloth. Work gently around the leaf stalk, which can tear if the leaf is pulled away from the trunk. Leaf-shine products are unnecessary. Cleaning also gives you a regular chance to inspect the undersides and growing tips rather than noticing pests only after leaves fall.
Prune because a shoot has outgrown the available space or because you want a different branching shape. On a healthy tree, shorten the chosen shoot just above a leaf or node with clean, sharp pruners. Late winter or spring is a useful time for this work.
Wear gloves to avoid the milky sap, and protect furniture below the cut. Keep enough healthy foliage to support recovery instead of stripping lower leaves just to create a bare trunk. A cut can encourage growth from buds below it, but it does not guarantee a matching pair of branches or a particular outline.
Give new shoots time to develop before making more cuts. If the trunk leans toward a window, address uneven light and use gentle rotation when practical. There is no need for a special rotation schedule or repeated large changes in placement.
Fiddle leaf figs can be propagated from stem or leaf-bud cuttings. Use healthy growth and include a piece of stem with a bud, the point that can produce a new shoot. A detached leaf is not equivalent to a leaf-bud cutting. For a beginner, a short leafy stem cutting makes the required growing point easier to recognize than a leaf taken alone.
- Insert the cutting into a small container of moist, free-draining propagation mix and keep it warm in bright, indirect light.
- If using a clear cover to reduce moisture loss, keep it off the foliage and ventilate it when condensation persists. Keep the mix moist without standing water.
- Wait for roots and sustained new growth before treating the cutting as established. A green leaf alone does not establish rooting, and rooting time varies.
Find the cause of leaf drop and brown patches
A fallen leaf does not identify the problem. Both too much and too little water can cause leaf drop, while strong sun and temperature changes can damage the leaf surface. Start with the pot and recent conditions, then examine the remaining foliage. Record which leaves changed and when, including any move, cold journey home, or watering lapse.
An occasional older lower leaf can yellow and fall as the plant grows. Continuing loss, damage on several leaves, or a wilted canopy deserves a closer check. Leaf position helps you describe the pattern, but it cannot by itself distinguish drought from wet roots. Do not label every lower yellow leaf as overwatering or assume every brown edge means dry air.
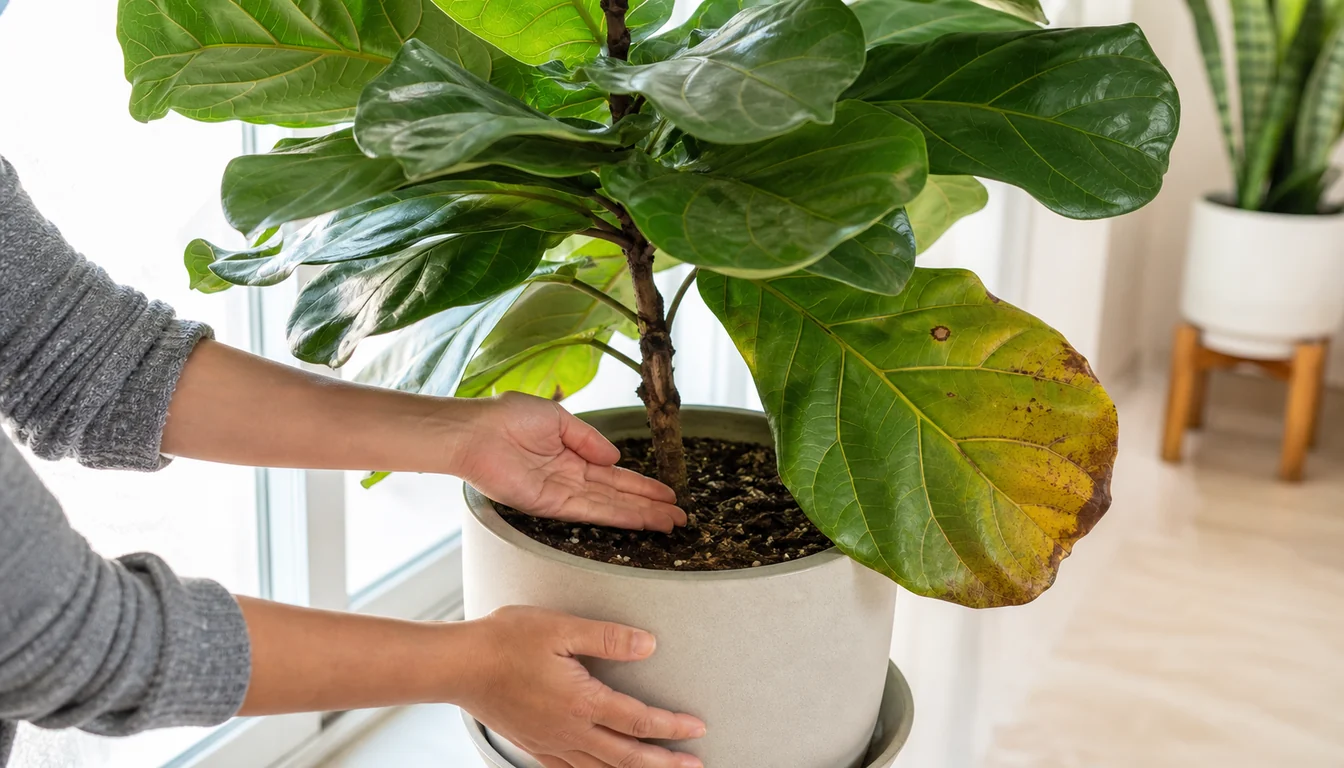
- Dry mix with a light pot
- Water the root ball thoroughly and let it drain. Watch whether wilting improves before adding more water.
- Wet mix with ongoing yellowing or wilt
- Empty trapped water and check drainage. If decline continues, inspect the roots for soft, deteriorating tissue rather than assuming the plant is thirsty.
- Pale or brown patches after stronger sun
- Reduce harsh exposure while retaining bright light. Damaged areas will not turn green again.
- Webbing, sticky deposits, or cottony clusters
- Inspect undersides and leaf joints for pests, and separate the plant from nearby houseplants while identifying the cause.
Look especially for fine webbing and speckled foliage from spider mites, cottony mealybugs tucked into leaf joints, and attached scale insects. A magnifier can help distinguish a pest from dust or a scar. Wash affected foliage where practical and identify the pest before choosing a treatment. If using an insecticidal soap or horticultural oil, follow a product label that allows the pest, plant, and indoor use. Test sensitive foliage as directed rather than mixing a household spray.
If patches keep expanding or new leaves are affected despite suitable growing conditions, ask a local Extension service for help. Supply photographs of the whole tree, both sides of affected leaves, and the pot, along with watering and temperature history. Different root, environmental, and disease problems can look similar, so a fungicide is not a reliable first response to an unidentified brown spot.
Keep useful healthy leaves while the tree recovers. Old damaged tissue stays damaged, so judge progress by whether leaf loss slows and new growth develops normally. Correct an obvious hazard such as standing water or a cold draft immediately. The advice to avoid unnecessary changes should never mean leaving the plant in conditions that are still harming it.
Adjust feeding, humidity, and seasonal care
When shorter days slow growth, the same root ball may stay damp longer. Keep checking the mix and allow the interval between waterings to change naturally. In brighter weather, check more often for drying rather than automatically moving the tree to a different room. A seasonal calendar can remind you to inspect conditions, but it cannot read this pot's moisture.
During active growth, a fertilizer labeled for indoor foliage plants can supply nutrients at its stated dilution and interval. Check whether fresh potting mix already contains fertilizer before adding more. Skip feeding a plant whose roots are waterlogged or whose growth has stalled in weak light. Nutrients support growth after light and root conditions are suitable, and extra fertilizer does not repair a damaged leaf.
Dry heated air can contribute to brown edges, but that symptom overlaps with watering and root problems. Measure room humidity if dry air seems likely instead of diagnosing it from one leaf. A room humidifier can raise humidity around a tall tree more consistently than occasional misting. Keep the pot out of standing water and do not treat wet leaves as a substitute for moisture in the root ball.
Keep foliage away from heating outlets, air-conditioning drafts, and cold window glass. If you move the plant outdoors for summer, start in a sheltered shaded position and introduce brighter exposure gradually. An indoor-grown leaf can scorch when put straight into strong outdoor sun. Bring the plant inside before nights approach 55 degrees F, and inspect it for pests before it rejoins other houseplants. Year-round outdoor planting belongs in a frost-free climate, where this species can become a much larger landscape tree.
Keep sap and chewed leaves away from children and pets
Fiddle leaf fig is not safe for pets or children to chew. Ingestion can irritate the mouth and cause drooling or vomiting, and the milky sap can irritate skin. Place the tree beyond reach where possible and collect dropped leaves or pruning pieces promptly.
If a cat climbs the plant or a dog repeatedly chews it, a plant with a documented non-toxic listing may be a better household choice than relying on the pot’s height. That listing still does not make plant material edible or cover its treatments.
Wear gloves for pruning and wash sap from exposed skin. Keep cuttings and tools away from children and animals while you work. If a person or pet chews the plant or develops symptoms after contact, seek advice from a poison service or veterinarian and identify the plant as Ficus lyrata. Do not improvise a treatment from ordinary gardening advice.
The container also needs a stable base. Test the stand and outer pot with the tree in place, and leave enough access to remove drainage without tipping it. A plant that blocks the walkway or requires an unsafe lift at every watering needs a better location, even if the window light is excellent.
Frequently Asked Questions
Will a bare fiddle leaf fig trunk grow leaves again?
New shoots may develop from stem buds if the plant is healthy, but an old leaf scar will not simply refill with the same leaf.
Improve light and root conditions first.
Pruning can encourage branching, but the location and number of new shoots are not guaranteed.
Can I put a fiddle leaf fig in a windowless room?
Only if appropriate supplemental lighting supplies the light the plant needs.
Ordinary room lighting may be inadequate, especially across a tall canopy.
If you cannot provide suitable light, choose a different location rather than expecting fertilizer to compensate.
Does a fiddle leaf fig produce edible figs indoors?
Ficus lyrata is grown for its foliage and rarely flowers or fruits as a houseplant. It is not the common edible fig, Ficus carica.
Do not treat its leaves, sap, or any fruit as food.
Sources & References
- Ficus lyrata - NC State Extension Gardener Plant Toolbox
- Ficus lyrata - Royal Horticultural Society
- How to grow ornamental figs - Royal Horticultural Society
- Techniques for Propagation of Plants for Interior Decoration - Cornell Cooperative Extension
- Indoor Plant Care — Purdue Extension HO-39-W
- Diagnose Indoor Plant Problems — University of Maryland Extension
- Insects on Indoor Plants — University of Minnesota Extension
Related Plants
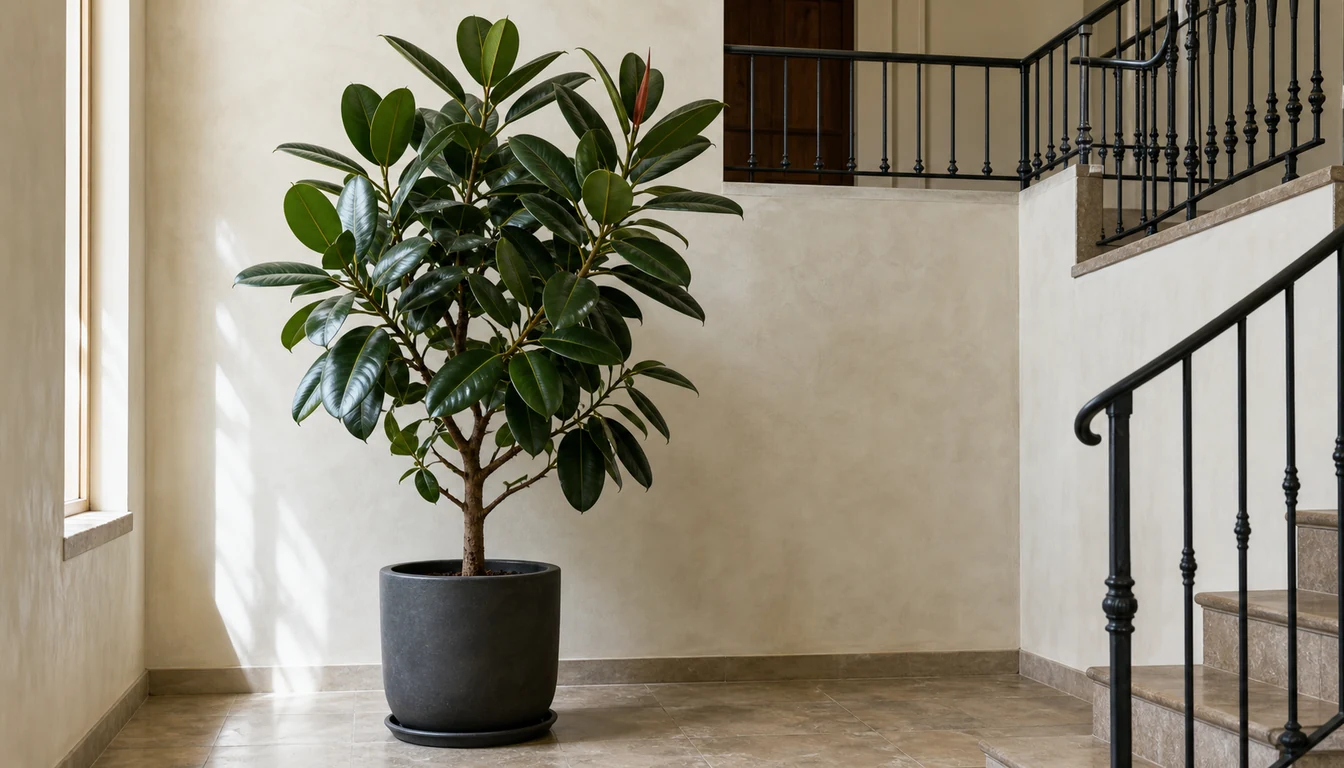
Rubber Plant
An indoor ficus with broader oval leaves, a different silhouette, and several foliage cultivars.
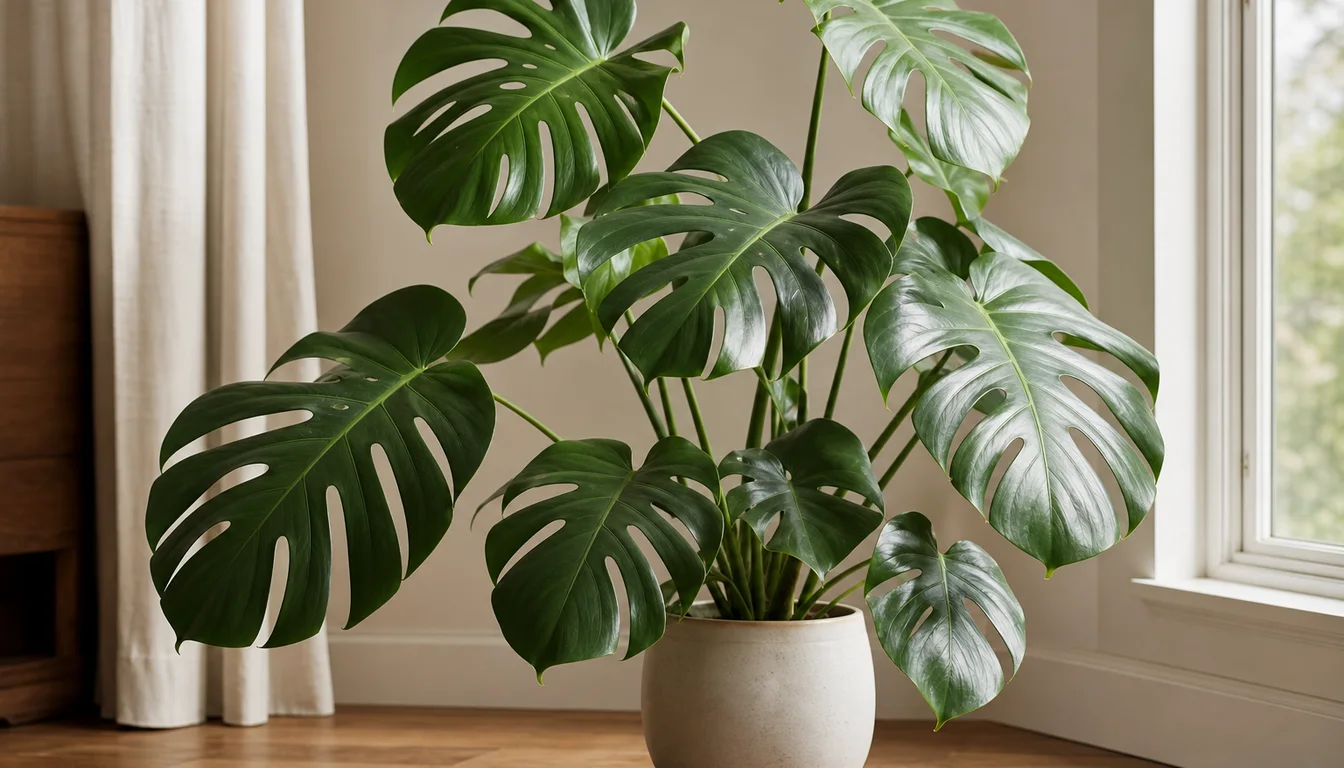
Monstera
A bold-leaf tropical plant that accepts different support and light decisions.
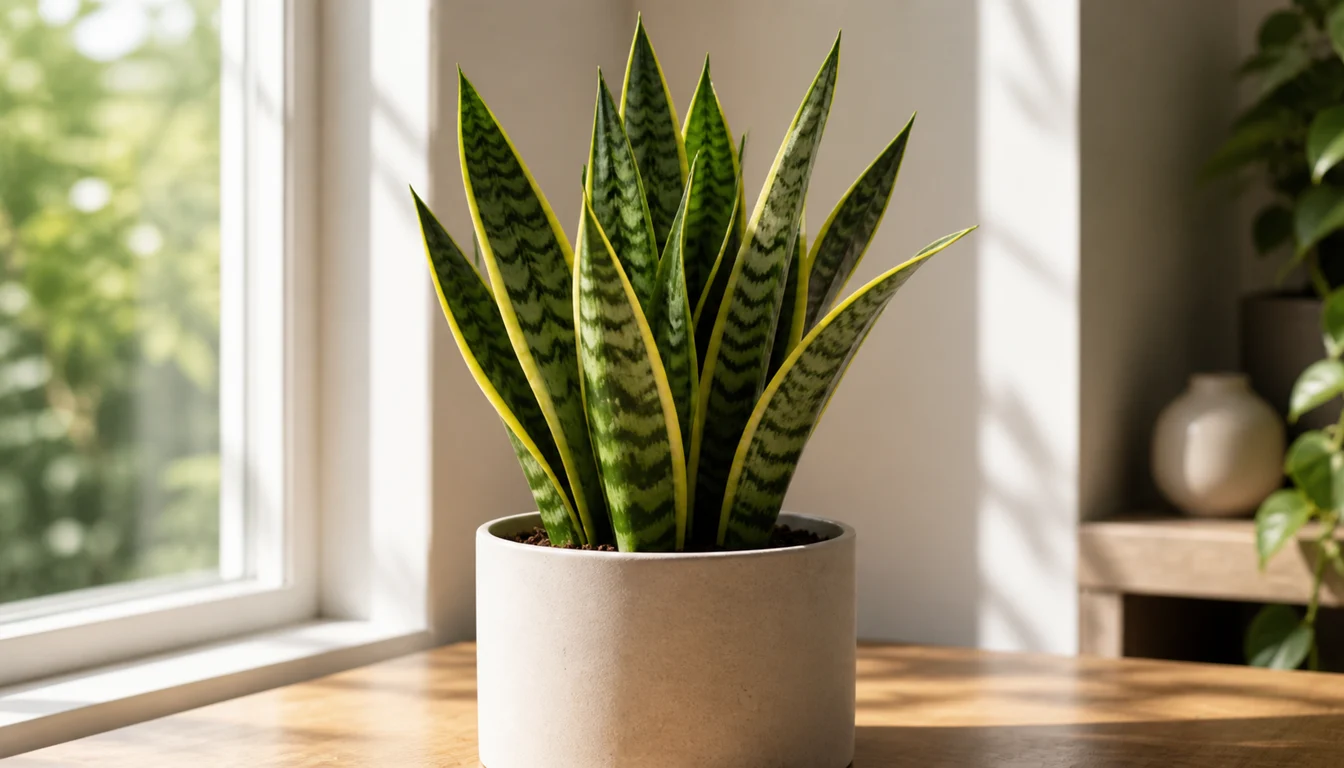
Snake Plant
Upright succulent foliage with different light and watering requirements.
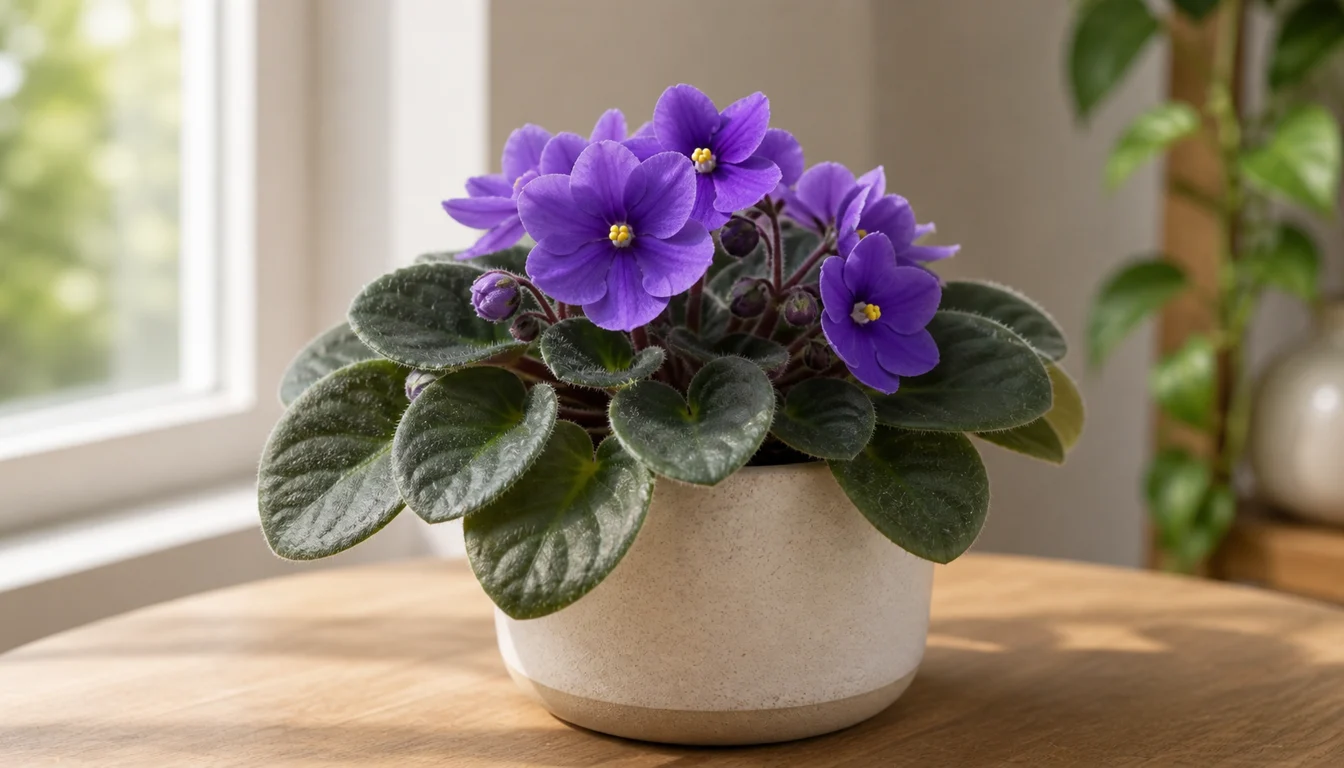
African Violet
African Violet is a windowsill bloomer that rewards steady, small-pot care.
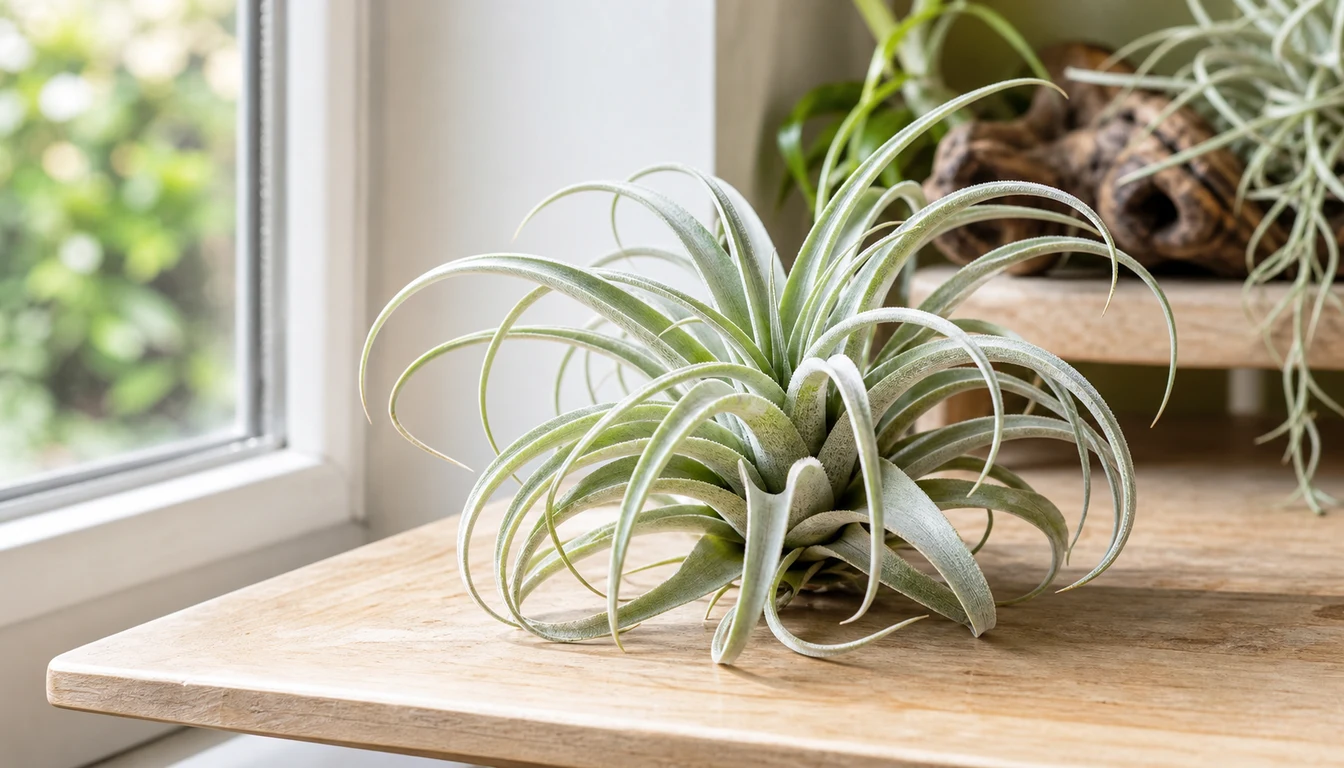
Air Plant
Air plants are living sculptures that thrive without soil, anchoring to driftwood, rocks, or shells while drawing…
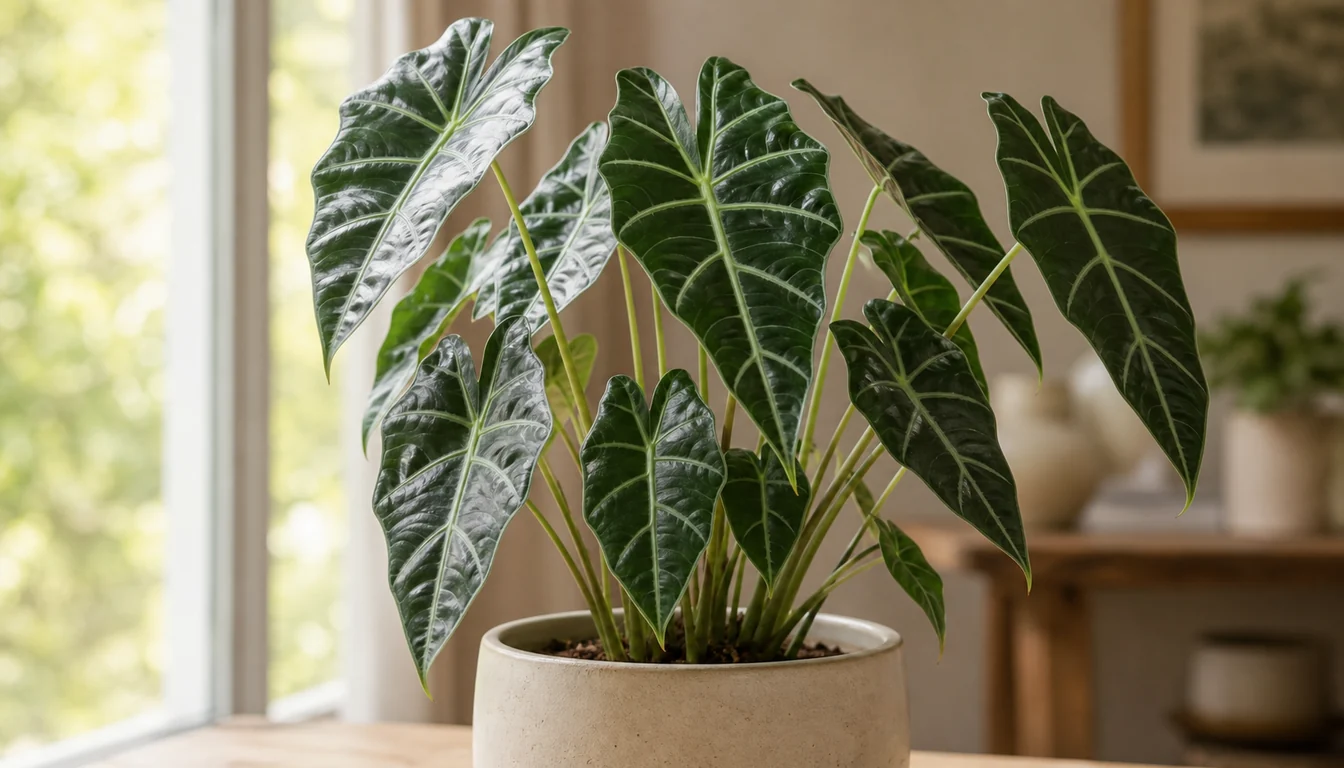
Alocasia
Alocasias include compact, textured houseplants and large elephant ears that need substantial floor space.