
Which Alocasia Fits Your Home and How Do You Care for It?
Alocasia spp. Araceae
Alocasias include compact, textured houseplants and large elephant ears that need substantial floor space. Their shared needs are warmth, bright indirect light, moisture with good drainage, and protection from chewing pets. The plant’s identity and growing conditions matter more than a single care schedule.
Care snapshot
Which Alocasia Fits the Space?
Alocasia is a genus, not a single houseplant size. NC State describes a wide range of species and cultivated forms, while UF/IFAS lists both compact selections and giants that can become landscape plants in suitable climates. A small nursery pot does not establish how much room its mature leaves will need.
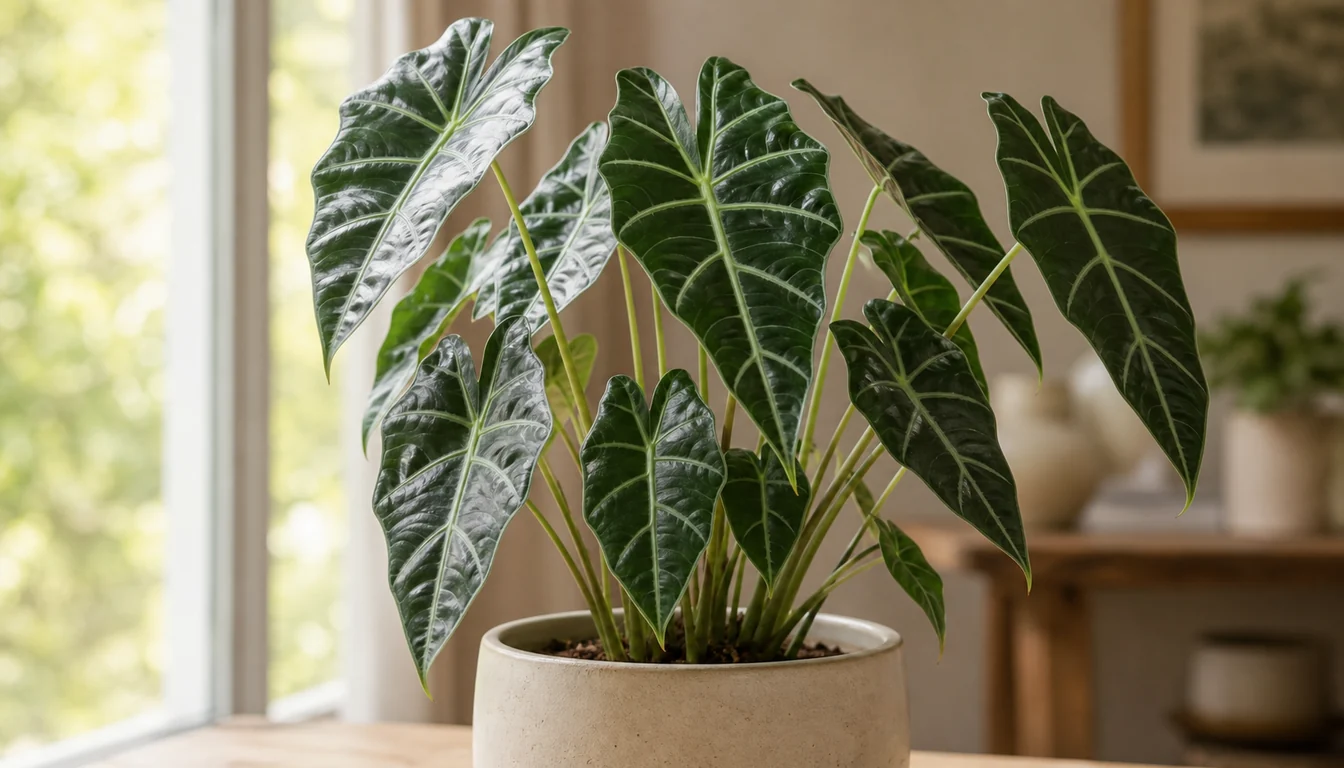
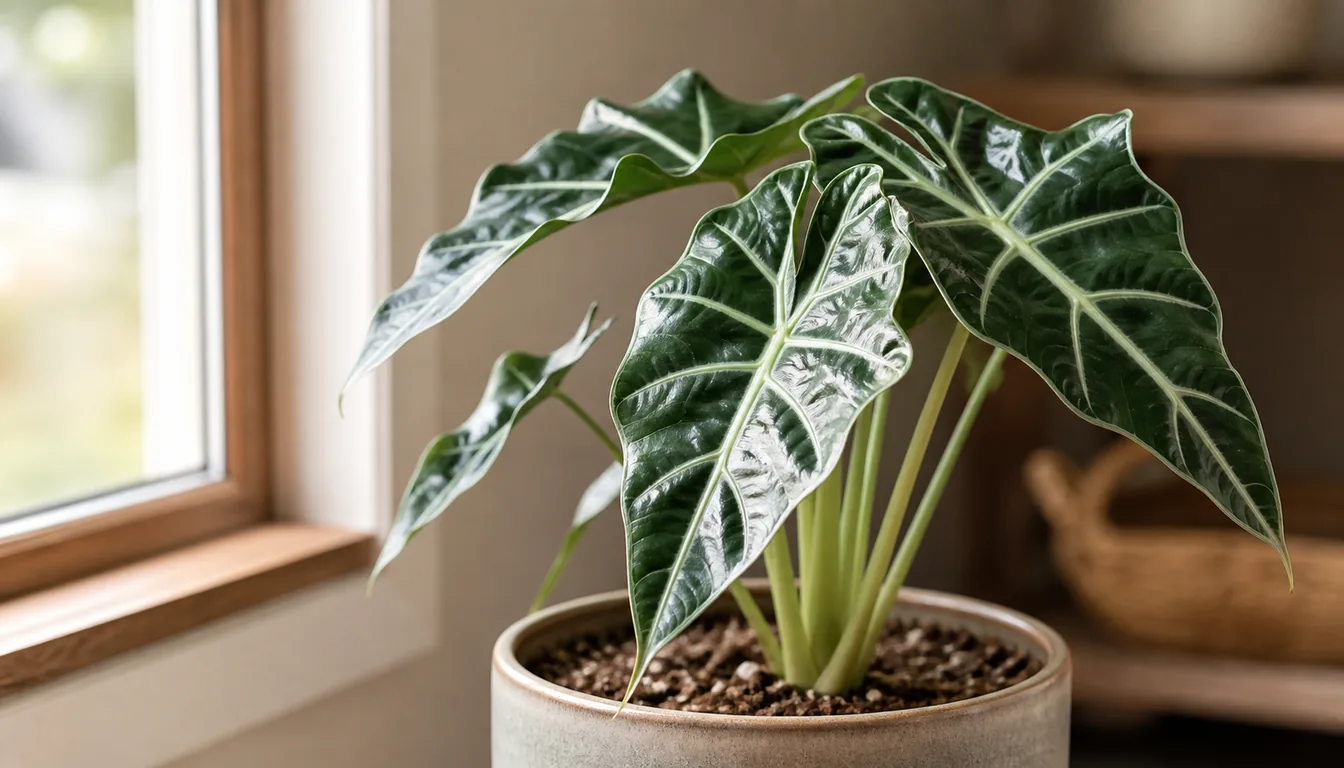
The name on the label helps separate those choices. 'Polly' has smooth, dark arrow-shaped leaves with pale veins and wavy margins. 'Dragon Scale' has thick, textured leaves with dark veins, while 'Black Velvet' is known for its dark, velvety surface. These differences describe foliage, not a tested ranking of tolerance for dry rooms.
Large forms such as Alocasia macrorrhizos and A. odora suit a different display. Broad leaves occupy space beyond the pot, and a top-heavy specimen needs a stable container. A compact selection can fit a table while still requiring a bright position and enough clearance to avoid crushed leaves.
Landscape advice does not transfer automatically to indoor pots. UF/IFAS describes cold regrowth and tolerance of wet landscape soil for some Alocasias. That is not evidence that a compact indoor cultivar can stand in a water-filled cachepot or survive the same winter exposure.
A useful buying decision therefore combines the exact plant name, its expected size, and the conditions available at home. Leaf markings alone cannot tell you whether the shelf is bright enough or whether a pet can reach the plant.
- Compact arrow leaves
- Polly offers pale veins and wavy margins on a relatively compact plant.
- Textured foliage
- Dragon Scale has a thick, quilted-looking leaf surface.
- Velvety foliage
- Black Velvet and Frydek have different leaf forms and sizes despite their dark surfaces.
- Large elephant ears
- Species such as A. macrorrhizos need room for broad leaves and a stable pot.
Offsets and Rhizome Division
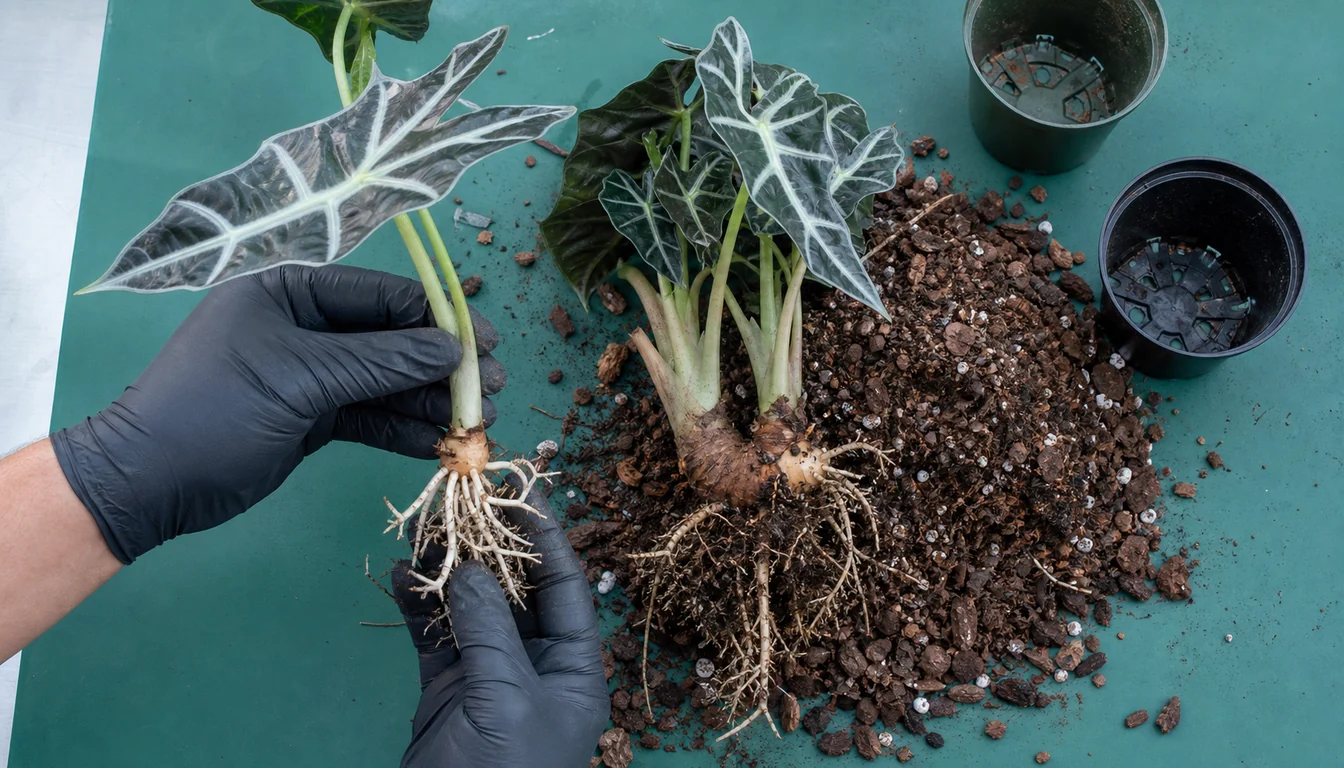
Alocasias produce new growth from their underground stem system. The RHS describes both separating rooted offsets and dividing fleshy rhizomes. A rooted offset is a useful starting point because it already has roots to supply its shoot, but roots are not a universal prerequisite for every propagation method.
A loose leaf and its stalk are not the same as a division containing a growing point. This distinction matters when a damaged leaf breaks off or a seller offers a small piece of underground tissue. The piece must contain the structures needed to produce new growth, not simply resemble a cutting from another houseplant.
Division is most useful when an established plant has separable growth and conditions support recovery. Combining it with necessary repotting avoids disturbing the same root system repeatedly.
The RHS places division in the growing season. Indoors, warmth and adequate light still matter more than the date on the calendar. A cold, poorly lit room does not become a good propagation space because spring has arrived.
- Wear gloves and use clean cutting tools. Remove the plant from its pot carefully enough to see where an offset joins the parent.
- Separate a rooted offset with its growing point and as much of its own root system as practical. Cut a connection only where needed rather than pulling until roots tear.
- Place it in a draining pot suited to the roots, with the crown at its previous level. Keep loose potting mix around the roots without burying the shoots.
- Water to settle the mix and let excess water drain. Subsequent watering follows moisture and new growth rather than a fixed recovery deadline.
Light at the Leaves
Bright indirect light supports indoor Alocasias without exposing leaves abruptly to strong sun. Window direction is a starting clue, not a complete measurement. Trees, neighboring buildings, glazing, curtains, and the distance between the leaf and the window all change the exposure.
An east-facing window may provide gentle morning light, while a bright south or west exposure may need filtering. A plant raised in protected nursery conditions can scorch when moved straight into strong sunlight. Moving it gradually allows observation without assuming every Alocasia has identical sun tolerance.
Low light slows growth and often slows water use as well. That connects placement to watering, but a pot that stays wet is not proof of insufficient light. Excess potting volume, poor drainage, cool roots, and damaged roots can produce the same observation.
A grow light can supplement a dim location. Its useful distance depends on the fixture’s output, beam, and the area it covers, so one distance or daily duration cannot describe every lamp. New growth, actual exposure, and the drying pattern together provide more information than a universal lamp setting.
Changing light will not restore a scorched patch. The response of later leaves is more useful than repeatedly moving the plant to make an old mark disappear.
Potting Mix, Roots, and Container Size
An Alocasia root system needs both available moisture and air. Water fills pore spaces in the mix, then drainage and drying reopen some of those spaces. Persistently saturated media can limit oxygen even when the leaves appear to need more water.
The RHS recommends an open, free-draining potting mix. Coarse ingredients can improve the structure of a suitable houseplant mix, but a single percentage recipe does not account for different base mixes, pot shapes, or indoor conditions. A fast stream through a gap at the side also does not prove the whole root ball has wetted properly.
The container is part of that system. Drainage holes allow excess water to leave, while a decorative outer pot can trap it again. Extra potting volume around a small root system stays moist after the roots have used water from their immediate surroundings.
Repotting is justified by the plant and the condition of the medium, rather than an annual schedule. Crowded roots, unstable top growth, or a deteriorated mix can each call for attention. A giant elephant ear may also need a heavier pot for stability, whereas a small jewel Alocasia does not benefit from an oversized container simply because it looks substantial.
Fertilizer cannot correct oxygen-starved roots. Feeding an actively growing plant according to a suitable product label makes more sense than adding fertilizer whenever a leaf pales. Recent potting mixes may already contain nutrients, and excess soluble salts can contribute to injury.
Watering an Actively Growing Plant
During active growth, an Alocasia generally benefits from moisture that is replenished before the entire root ball becomes severely dry. It also needs surplus water to drain away. “Moist” describes water available within an aerated mix, not water standing beneath the pot.
The RHS gives a top-layer drying check in its general growing guide. The depth of that layer has to make sense for the container. A small propagation pot and a deep pot holding a large elephant ear cannot be judged by the same surface measurement alone.
A surface check becomes more useful when paired with the pot’s weight and the moisture below it. A dry crust can cover wet material, while a light pot can contain mix that sheds water down the sides. Watering slowly enough to wet the root ball and allowing drainage addresses a different problem from simply adding a small splash each day.
Drooping is a reason to investigate, not an instruction to water immediately. Dry roots may lack available water. Injured roots in wet media may fail to supply water despite its abundance. The same leaf posture can result from those opposite conditions.
When growth slows in cooler or darker conditions, the interval between waterings often lengthens. That is a response to reduced water use. Keeping the summer schedule through a quiet period can leave the roots wet for much longer than intended.
Pest Clues That Need a Closer Look
Spider mites, scale insects, and other indoor pests can occur on Alocasias. Leaf damage alone does not identify the pest. The University of Minnesota recommends examining plants closely, including the undersides, and looking for the insects or mites themselves.
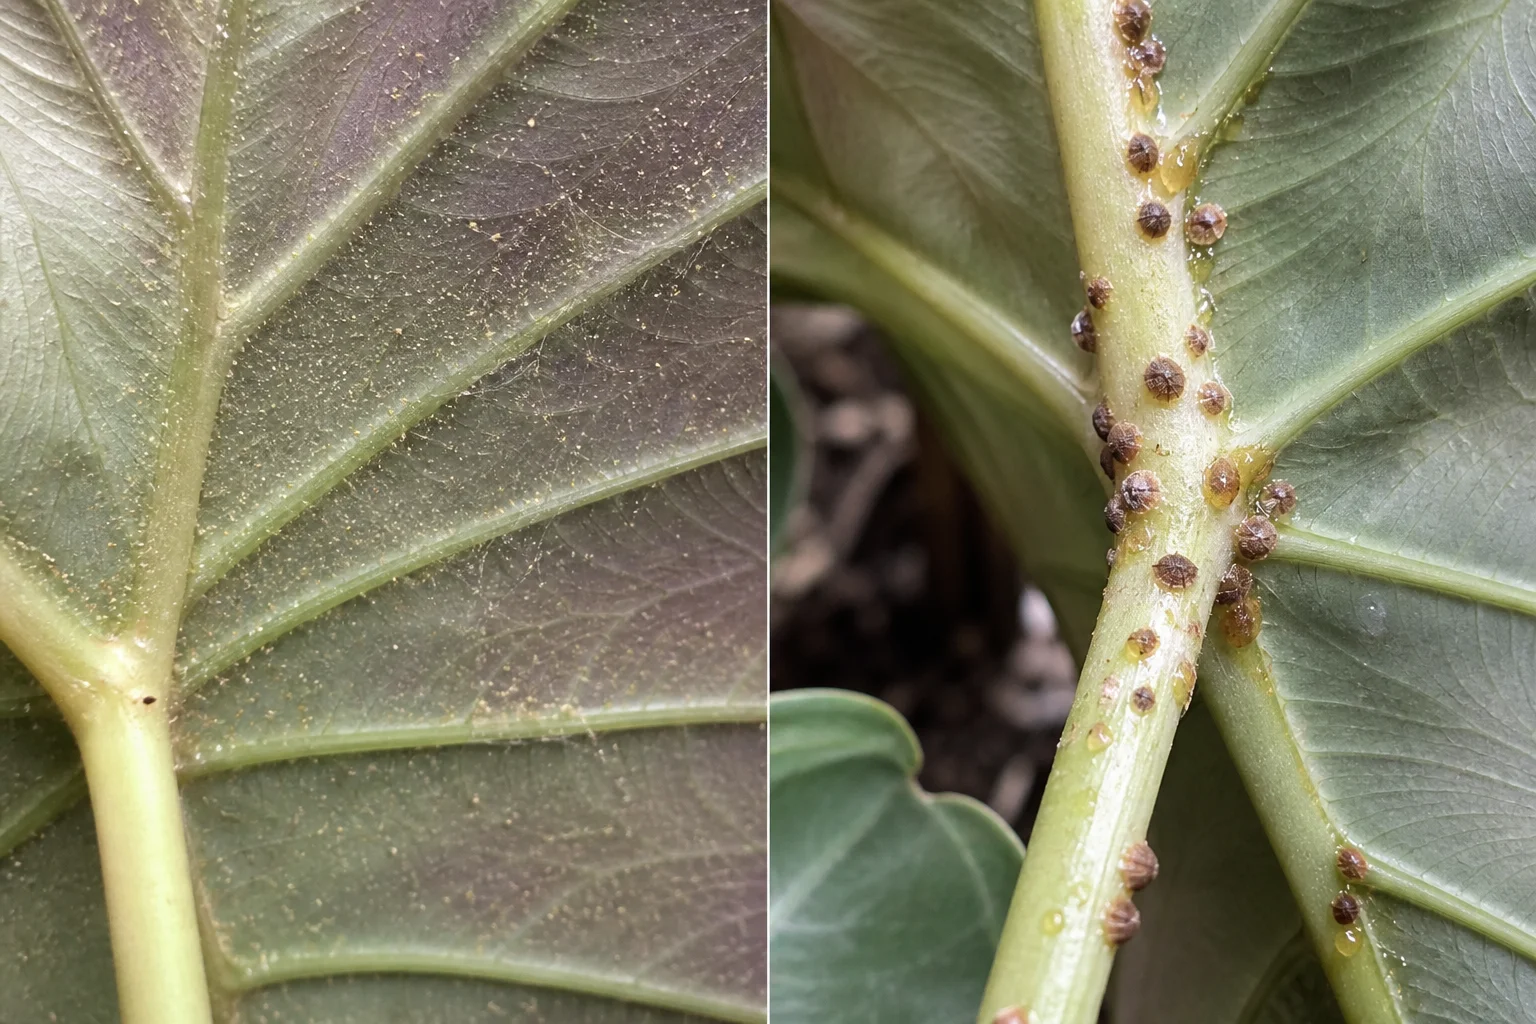
Fine stippling and webbing can accompany spider mites. Magnification helps reveal the tiny moving mites, and tapping foliage over white paper can make movement easier to see. Dust on a leaf is not the same as webbing, and discoloration without mites still has other possible causes.
Scale insects can look like attached bumps along leaves and stems. Soft scales can produce sticky honeydew, while armored scales do not. Sticky material therefore supports some pest possibilities but cannot rule every scale insect in or out. Crawlers are mobile even when established scales appear fixed in place.
Thrips can leave silvery feeding marks and dark specks of waste. Mealybugs have a different, waxy appearance. Those distinctions matter because treatment needs to match the pest rather than treat every pale mark as mites.
Plain water and a damp cloth can remove dirt and some pests without a homemade soap mixture. Minnesota warns that household soap recipes can injure plants. If a pesticide is warranted, its label must allow the indoor setting, target pest, and plant, with follow-up governed by that label rather than an invented weekly schedule.
Humidity and Seasonal Slowdowns
Alocasias generally favor warm, humid conditions. That does not mean every brown edge proves low humidity or that a humidity reading can explain all leaf loss. Root moisture, pests, light changes, and physical damage can overlap with dry-air symptoms.
Purdue explains that misting evaporates too quickly to maintain humidity around a plant. Grouping plants or using a tray may influence the immediate surroundings, while a humidifier can change room conditions more directly. The useful question is whether conditions actually change where the leaves are, without leaving pots standing in water.
The RHS describes a cooler, drier winter rest for Alocasias, but indoor environments vary. A plant in sustained warmth and adequate light may behave differently from one beside a cold, dim window. Lower water demand and leaf loss need to be interpreted with those conditions rather than labeled dormant automatically.
A firm rhizome is an observation, not a diagnosis. It does not establish that fine roots are sound or that no disease is present. Continuing collapse, soft tissue, or persistently wet media warrants closer assessment instead of a promise that the plant will return on schedule.
Temperature guidance also has to match the plant. NC State advises keeping the Amazonica hybrid group above 60°F. A general guide’s cooler resting conditions cannot be applied to Polly without that more specific qualification.
Pets, Handling, and Outdoor Limits
The ASPCA lists Alocasia spp. as toxic to dogs, cats, and horses, with insoluble calcium oxalates as the toxic principle. Listed signs include oral irritation, pain and swelling, drooling, and difficulty swallowing. Vomiting is listed for dogs and cats, not horses.
That is genus-level safety evidence, not a dose study for every named cultivar. It does not establish a harmless nibble, predictable onset, or a guaranteed mild outcome. If ingestion is suspected, contact a veterinarian or animal poison service promptly rather than waiting for a particular symptom.
Sap can also irritate skin and eyes. Gloves are useful during division and pruning, and fallen leaves or discarded pieces need the same access precautions as the potted plant. A high stand only helps if the animal cannot reach it or knocked-down material.
Ornamental Alocasias are not interchangeable with food crops merely because some are called elephant ears or taro. A shared common name is not a preparation guide or evidence that the plant in a nursery pot is edible.
Outdoor suitability depends on the exact species or selection and local conditions. NC State notes that some Alocasias can be invasive in Gulf Coast areas. Cold weather elsewhere does not justify a blanket claim of zero escape risk, and survival or regrowth after frost does not guarantee attractive foliage through winter.
Sources & References
- NC State Extension: Alocasia
- RHS: How to Grow Alocasias
- ASPCA: Alocasia
- University of Maryland Extension: Diagnose Indoor Plant Problems
- Purdue Extension HO-39: Indoor Plant Care
- University of Minnesota Extension: Managing Insects on Indoor Plants
- UF/IFAS FP033: Alocasia spp., Elephant's Ear, Alocasia, Taro
- University of Maryland Extension: Root Rots of Indoor Plants
- NC State Extension: Alocasia x mortfontanensis
Related Plants
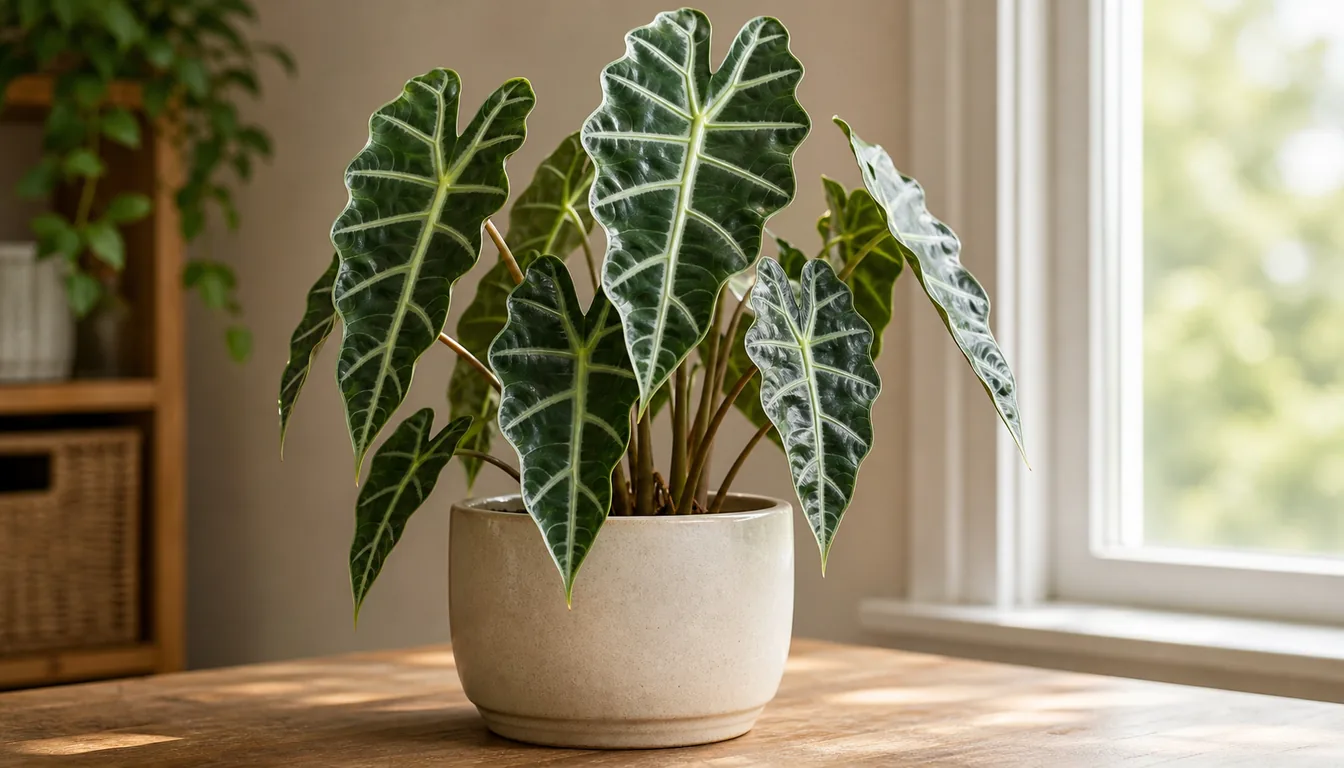
Alocasia Polly
Compact arrow-shaped foliage with pale veins and wavy margins.
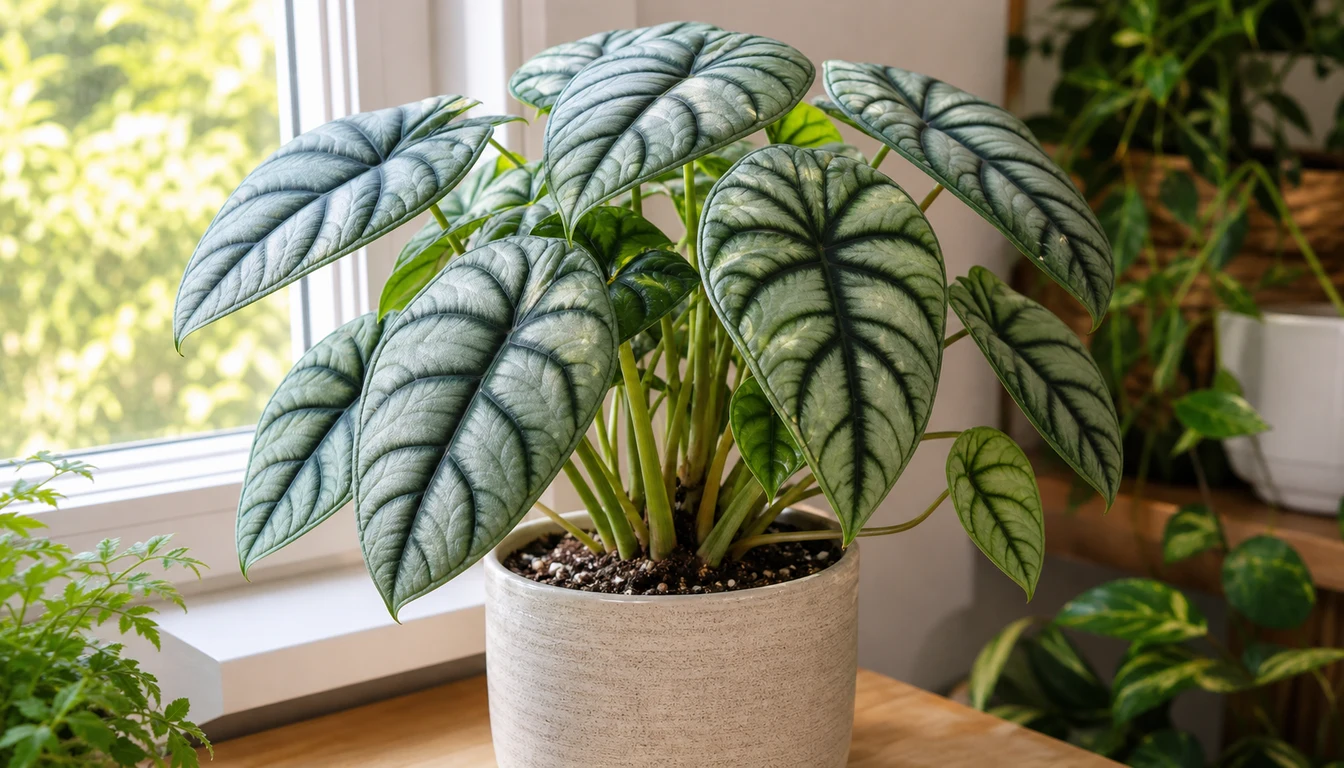
Alocasia Dragon Scale
Thick, textured foliage with dark veins and a compact habit.
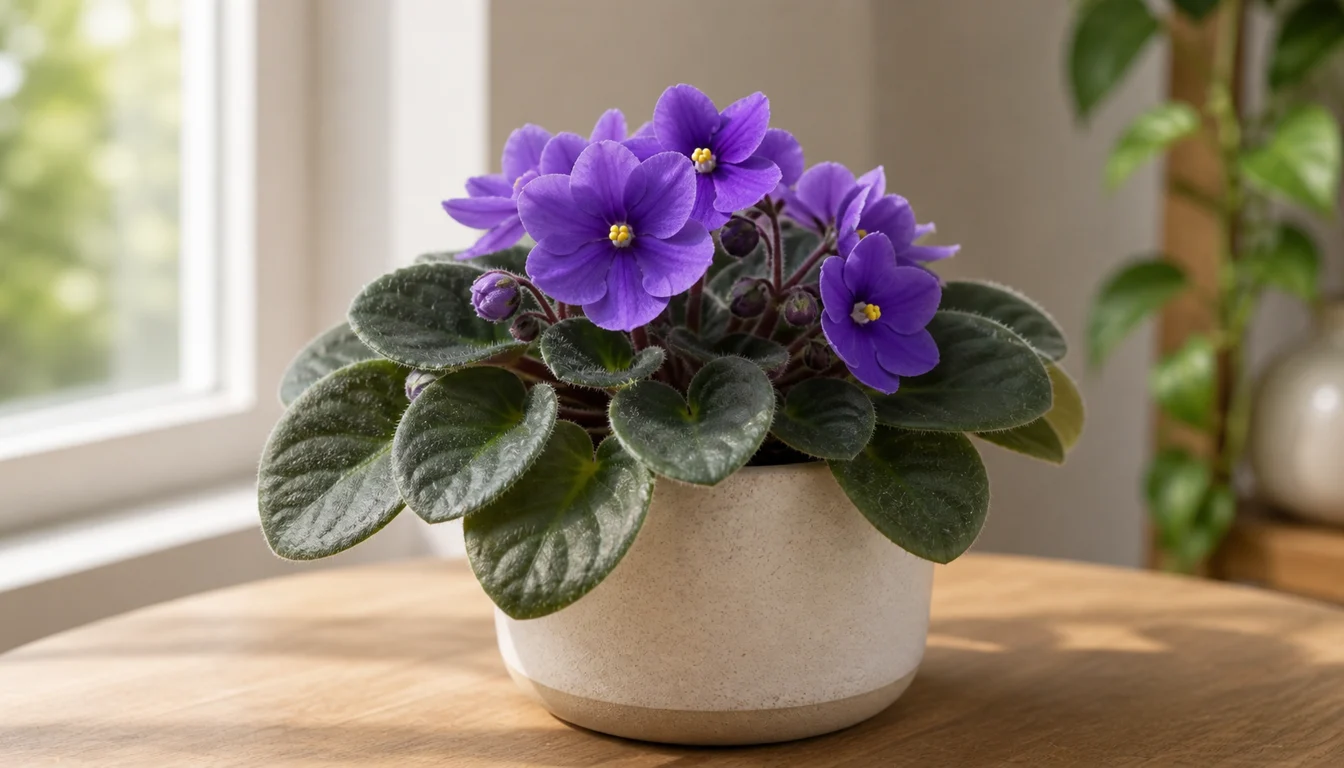
African Violet
African Violet is a windowsill bloomer that rewards steady, small-pot care.
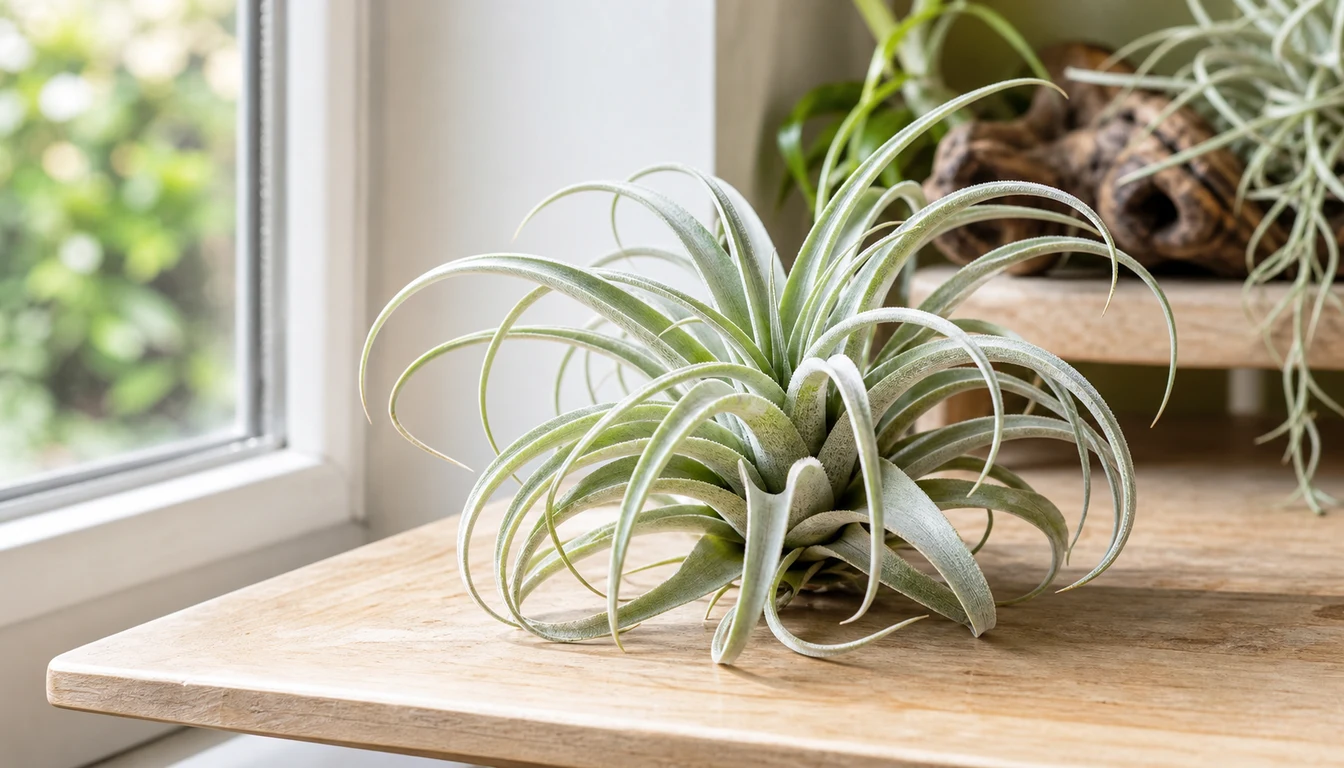
Air Plant
Air plants are living sculptures that thrive without soil, anchoring to driftwood, rocks, or shells while drawing…
Aloe Vera
Aloe vera stores water in its thick, gel-filled leaves and can survive weeks without attention — which makes…
Anthurium
Flowering Anthurium needs bright indirect light, warmth, and a potting mix that holds moisture while letting excess…