
How to Fix an Overwatered Plant Without Damaging More Roots
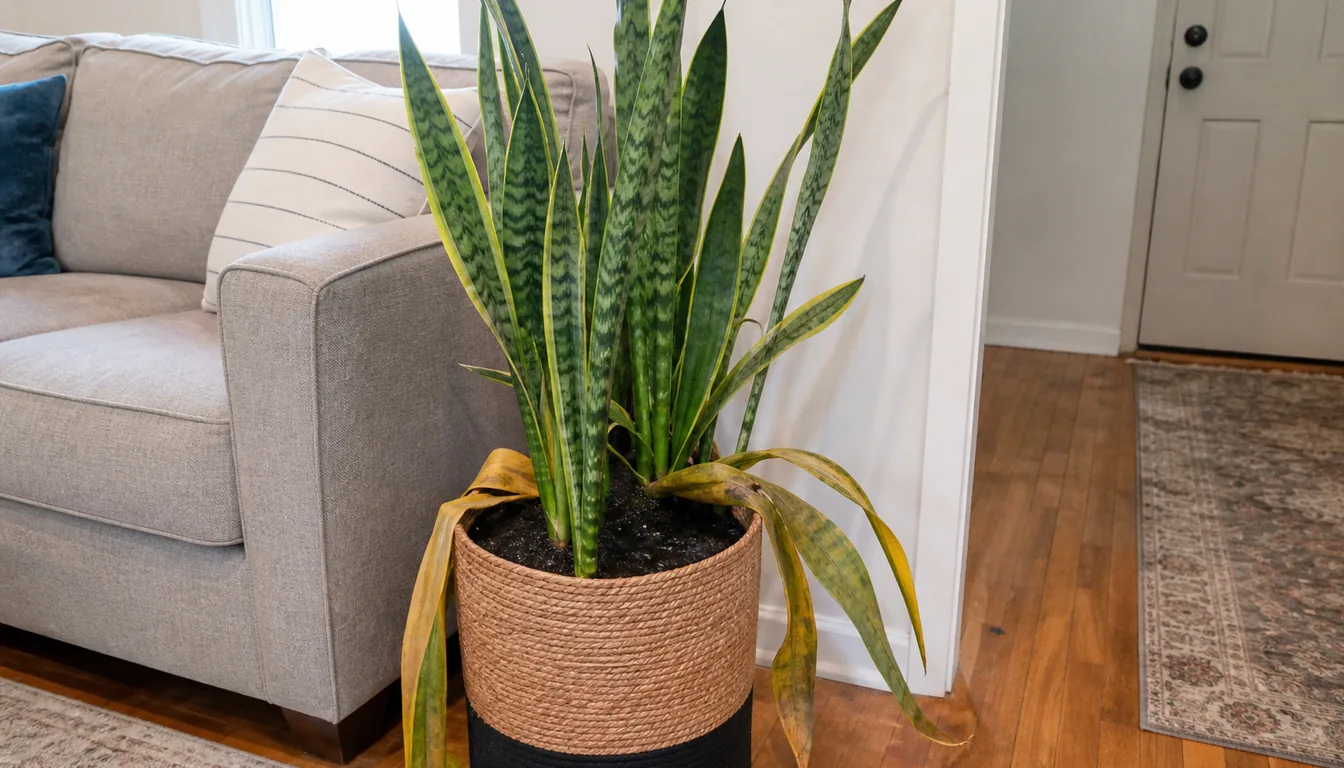
Stop watering and empty any water in the saucer or decorative outer pot. If the plant is otherwise healthy and the mix drains, correcting the watering may be enough.
A plant that keeps declining in saturated mix needs a closer root inspection. Repotting and root trimming are rescue options, not automatic treatments for every wet pot.
At a glance
Stop the water, then choose how much intervention is needed
Remove the inner pot from its cover and empty collected runoff. Check that the drainage holes are open and the pot can drain without its base sitting in water.
Keep that runoff away from other plants.
A potting mix can be wet immediately after watering without the roots having rotted.
If you caught one unnecessary watering before the plant showed decline, let the pot drain and wait until the mix reaches that plant's normal watering point. Do not strip healthy roots just to make the pot dry faster.
If water cannot escape because the plant is growing directly in a container without holes, transfer it to a suitable draining container.
Persistent wetness with worsening wilt or leaf loss calls for inspection. The purpose is to find out whether roots are still firm and functional, not to judge overwatering from leaf color alone.
Get help with a large plant rather than trying to tip a heavy container by yourself.
Do not bake the pot in direct sun, put it on a heater, or feed it to compensate for the yellow leaves.
Place it in appropriate light and temperature for its species while you decide what to do. A stressed root system needs workable growing conditions, not a faster-looking rescue.
Inspect the root ball and preserve firm roots
Have a clean work surface, sharp scissors or pruners, fresh potting mix, and a clean draining pot ready before unpotting.
Support the root ball as you slide it out. Loosen a flexible pot if necessary, and avoid pulling the plant free by delicate leaves or stems.
Gently loosen enough wet mix to see the roots. Do not tear through the root ball to remove every speck of soil.
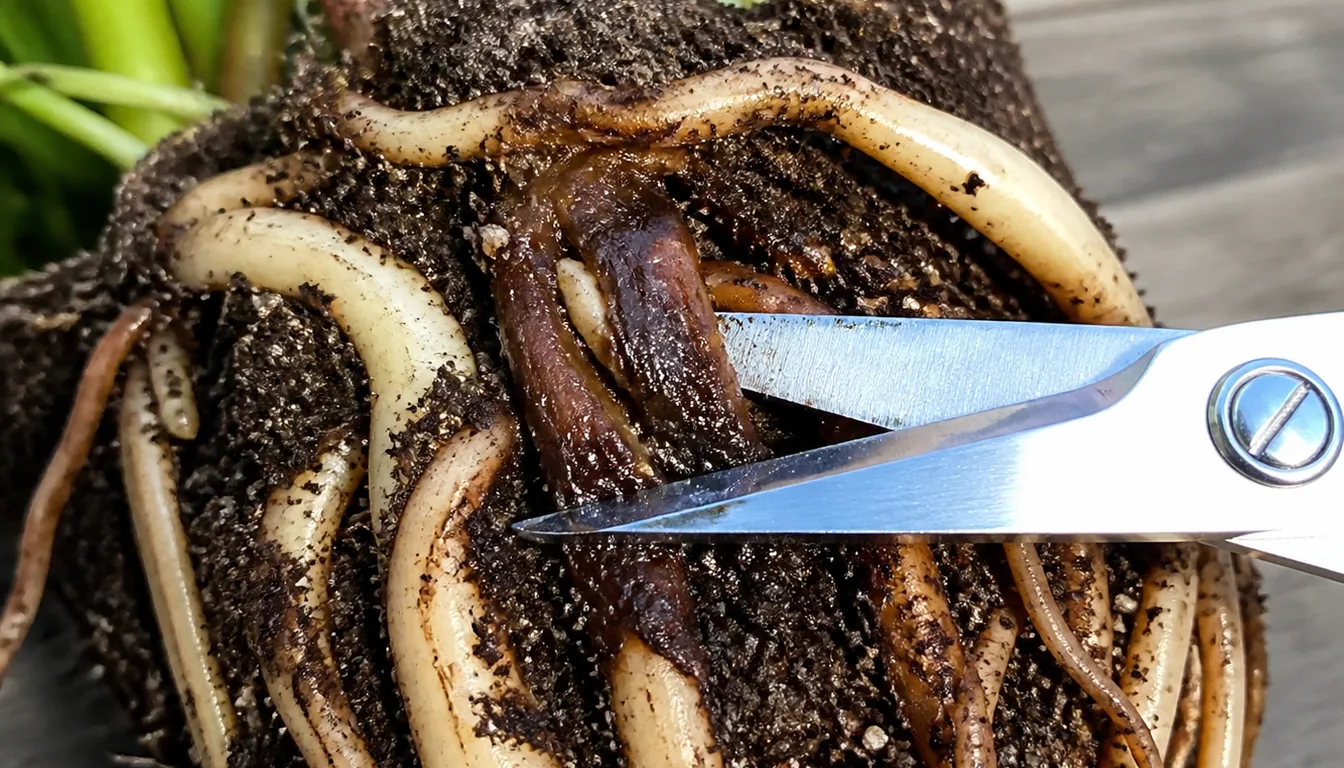
Sound roots feel firm. Decaying roots may be mushy, break down easily, or lose their outer tissue when gently handled.
Many healthy feeder roots are pale, but color alone is not a cutting guide. Staining and naturally darker older roots should not be treated as dead just for being brown.
If you find a limited amount of dead or mushy root and choose to attempt salvage, cut the affected portions back to firm tissue with clean tools. Preserve sound roots and do not remove a target percentage.
A plant with very few living roots has a poorer outlook, even after careful work. Trimming does not prove that any disease-causing organism is gone.
Collect discarded roots and suspect mix instead of spreading them around the bench. Clean soil and debris from the tools, then disinfect them before they touch healthy material or another plant.
Wisconsin Extension's root-rot sanitation guidance allows 70% alcohol with at least 30 seconds of contact. Keep alcohol away from flames and let the tools dry before use.
Disinfectants belong on tools and suitable work surfaces, not poured over the living roots.
Fit the new pot to the roots that remain
Choose the container after you have seen the root ball. It needs room for the remaining roots and fresh mix around them, with open drainage holes.
If substantial roots were lost, a smaller pot may fit better. If the sound root ball still fills its original space, downsizing by rule would only crowd or damage it.
A larger pot is not a treatment for overwatering. Extra mix outside a small root system can stay wet for too long.
Equally, there is no universal instruction that every rescued plant must go down exactly one size. The useful question is whether the roots fit naturally without a large unused mass of wet mix.
Use fresh commercial potting mix suited to the plant. Ordinary foliage plants, orchids, and succulents do not all need the same mix.
Discard mix from a rotting root ball, and choose a new clean pot if you cannot confidently clean and disinfect the old one. Do not add gravel beneath the mix as a drainage fix.
For an ordinary foliage plant, prepare the mix according to its package so it wets evenly. Set the plant at its previous planting depth, fill gently around the roots, and leave space below the rim for watering.
Do not bury the stem base or press the mix into a dense plug. Handle remaining roots gently throughout.
Manage moisture during recovery, including the first watering
After a simple drain-and-wait correction, resume watering when the mix reaches the plant's usual moisture trigger. After a rescue repot, judge both the moisture of the replacement mix and the roots you retained.
Do not automatically soak an already wet root zone, but do not leave living roots in bone-dry mix as a cure either.
For an ordinary foliage plant with retained roots, evenly moist, freely draining mix gives those roots access to water without standing runoff. When it later needs watering, wet the mix evenly and let excess water drain.
Repeated tiny drinks can leave part of the root ball dry while another part stays wet. A reduced root system may change the drying pattern, so reassess instead of continuing the old interval.
Succulents with cut fleshy roots need their own wound-drying and watering guidance. A single immediate-watering instruction is not suitable for every species and root condition.
If you are unsure how much live tissue remains, get species-specific advice before choosing an aftercare routine.
Give the plant suitable light without abruptly moving it into stronger sun.
For many indoor foliage plants, bright indirect light is appropriate. Avoid hot vents and cold drafts.
Keep checking the pot where it will actually live rather than moving it between different conditions every day.
Hold off on extra fertilizer while it is declining. Resume feeding according to active growth, the fertilizer label, and any nutrients already included in the new mix.
Fertilizer does not replace lost roots, and there is no recovery calendar that fits every plant.
Judge the trend instead of waiting for damaged leaves to heal
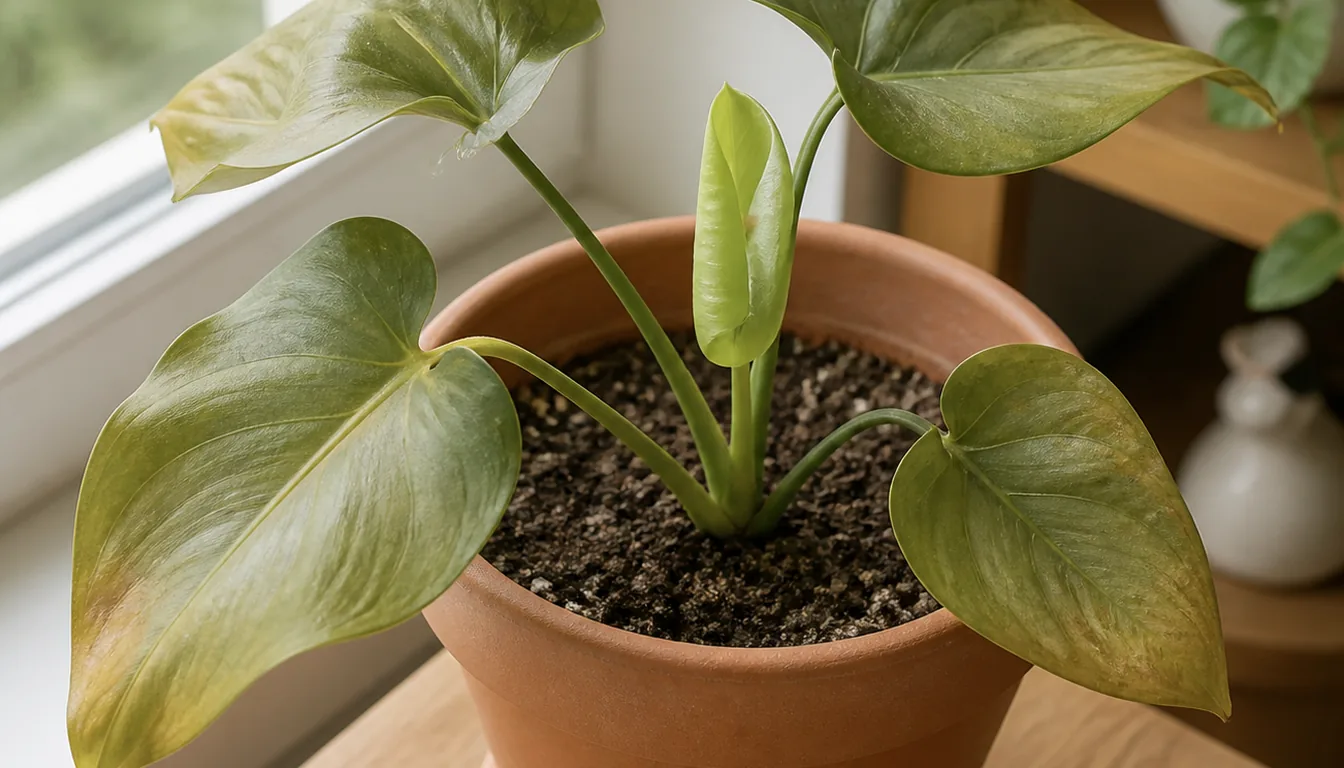
Take a reference photo after the initial correction. At later checks, compare whether wilting and leaf loss are stabilizing, whether the stem base stays firm, and whether the mix drains and dries appropriately.
You do not need to repeatedly unpot a stable plant to search for new roots.
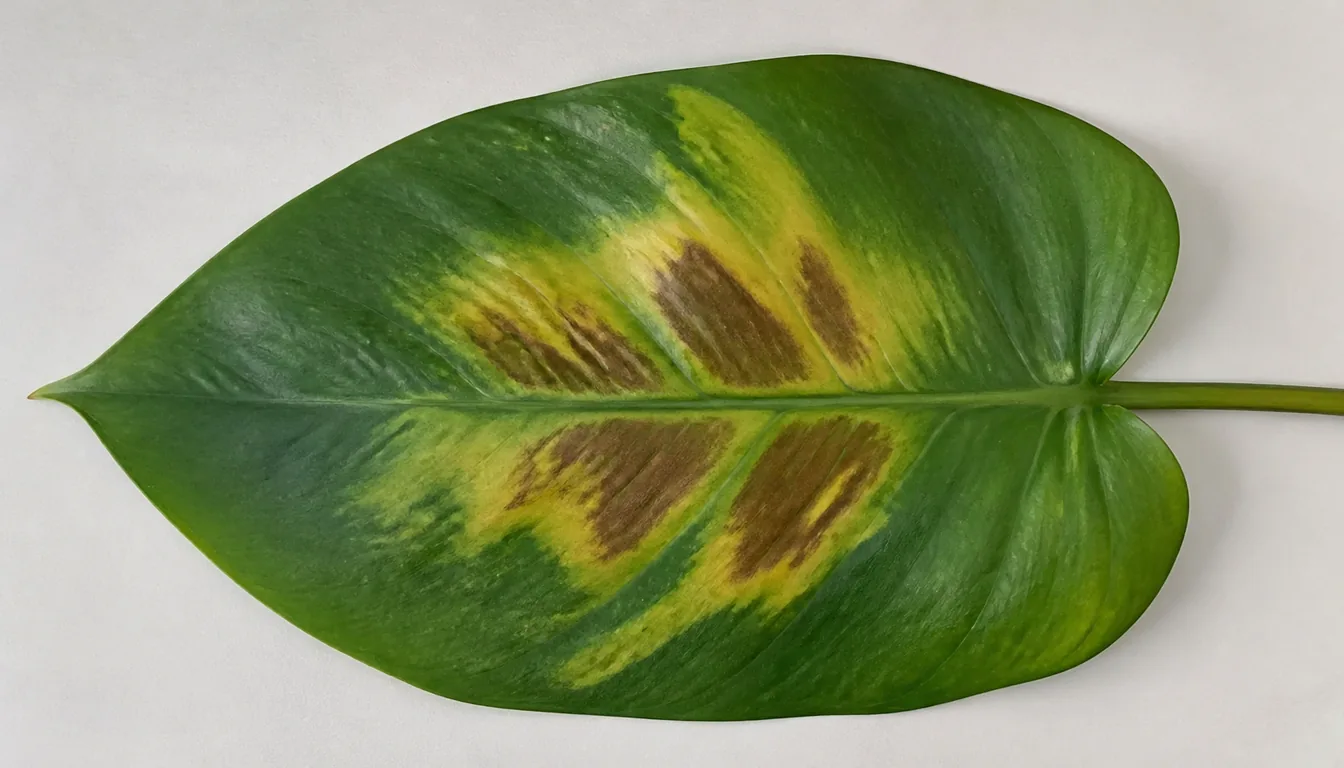
Brown dead leaf tissue will not turn green again. Existing marks can remain even while the plant improves, so distinguish old damage from new spreading damage.
Remove dead material as needed, but do not strip healthy leaves to make the plant match an assumed root-loss percentage.
Some leaf loss can follow stress or repotting. That does not make every further loss harmless.
A worsening plant deserves another look at its moisture, roots, and growing conditions. One emerging leaf is encouraging, but it cannot establish that the root system is healthy or that decay has stopped.
| What changes after the rescue | What to do |
|---|---|
| Old brown patches remain, but new damage is not spreading | Keep observing the whole plant rather than trying to restore dead tissue. |
| The plant stays wilted while the mix remains wet | Reassess drainage and root condition. Do not add water for the wilt alone. |
| The mix is dry and the plant wilts | Check whether it needs water. Recovery care should not become prolonged drought. |
| Softness spreads into the stem base or crown | Seek prompt advice or consider disposal. More watering and waiting will not rebuild decayed tissue. |
| Growth is slow but the plant is otherwise stable | Consider season, species, and light before declaring failure. |
There is no reliable universal recovery deadline. Extensive root loss may be fatal, but a few weeks without a new leaf does not by itself establish that a living plant should be thrown away.
Know when to stop and prevent another waterlogged pot
If little sound root or stem tissue remains, replacing the plant may be more practical than repeated repotting. Wisconsin Extension notes that discarding a plant with root rot is often the most cost-effective option.
A valuable or sentimental plant can be worth discussing with a local Extension office or plant diagnostic clinic. They may need a sample to distinguish pathogens from damage caused by growing conditions.
Healthy-looking material may sometimes be propagated, but the method and disease risk depend on the plant. Do not assume every leaf or stem fragment can make a new plant, or that a clean-looking cutting is free of infection.
Keep a salvage attempt separate from the rest of the collection and avoid shared runoff.
Correct the arrangement that kept the original pot wet. Make drainage water accessible to empty, match the mix to the species, and use moisture checks rather than an automatic weekly pour.
Reassess when light, growth, or room conditions change. Saving the plant once will not help if it goes back into the same standing water.
Frequently Asked Questions
Can an overwatered plant recover without repotting?
Yes, if roots are still healthy and the problem can be corrected by draining the pot and changing watering. Persistent saturation or continued decline is a reason to investigate rather than assume waiting will work.
Should I wash every bit of soil off the roots?
Avoid making complete bare-rooting a goal. Gently loosen mix so you can inspect and remove decayed tissue without tearing healthy roots.
The amount of cleaning needed depends on the plant and the condition of the root ball.
Can I use a fungicide instead of changing the pot conditions?
A fungicide will not fix standing water or poor drainage. Wisconsin Extension does not recommend routine fungicide treatment for houseplant root rots.
Ask for a diagnosis before considering a product, and use any recommended product only as its label directs.
Does one new leaf mean the rescue worked?
It is a good sign, but keep watching for stable foliage, a firm stem base, and a workable moisture pattern. One leaf is not a guarantee that the roots have recovered.
Sources & References
- Wisconsin Extension: Root Rots on Houseplants
- University of Florida: Diagnosing Houseplants
- Iowa State University Extension: How to Care for Houseplants
- Penn State Extension: Repotting Houseplants
- Wisconsin Extension: Root Rots in the Garden (tool sanitation)
- RHS: How to Help a Poorly Houseplant
- Wisconsin Extension: Haworthias (succulent root-loss aftercare)
Related Guides
A Drought Tolerant Plant Is Not Drought Tolerant Yet
Colorado State puts it in one sentence. Drought tolerant plants are not drought tolerant until…
11 min read
An Overwatered Tree Hides It for a Year, Then Thins
A tree gives you almost no warning. Colorado State says the symptoms of root problems may appear…
12 min read
Best Time to Water Flowers for Stronger Blooms
Watering flowers at the wrong time does more damage than skipping a day.
10 min read
Best Time to Water Indoor Plants: Morning or Evening?
Morning is the better default for watering indoor plants.
6 min read
Best Time to Water Plants for Healthier Roots
Watering at the wrong time wastes water and stresses plants, even if you are generous with the…
11 min read
Deep Watering vs Frequent Watering: What Roots Need
Deep watering usually serves established lawns, vegetables, trees, and shrubs better than repeated…
17 min read