
Deep Watering vs Frequent Watering: What Roots Need
Deep watering usually serves established lawns, vegetables, trees, and shrubs better than repeated surface sprinkling. The useful goal is moisture through the active root zone, followed by enough time for air to return to soil pores before the next irrigation.
Frequency is a separate decision. Seedbeds, new sod, recent transplants, small containers, sandy soil, and extreme weather may need shorter intervals, while established roots in moisture-holding soil often need longer ones.
Use the soil as the control.
Check it before watering, measure what the system applies, and check again after the water has had time to move downward. That evidence produces a safer schedule than a rule such as daily, weekly, or 30 minutes.
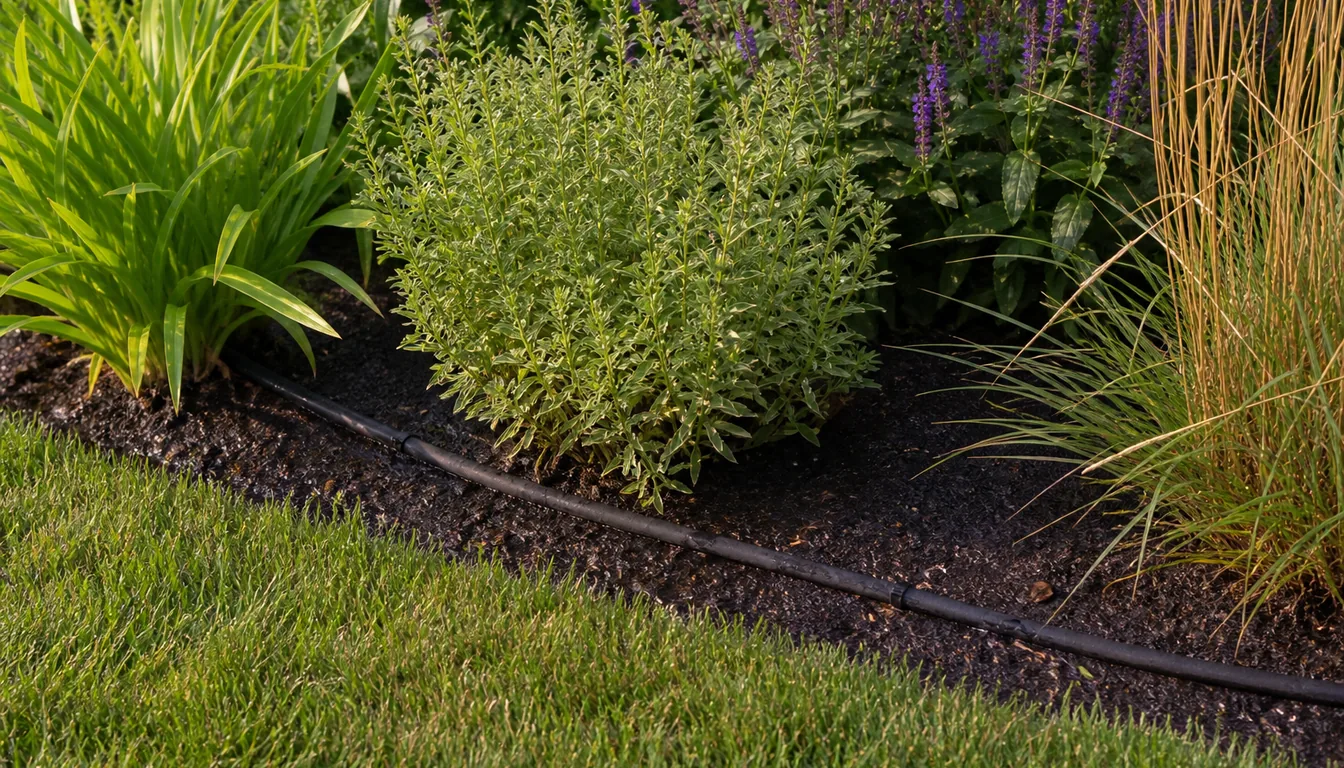
At a glance
What Is the Difference Between Deep and Frequent Watering?
Deep and frequent describe different parts of irrigation. Depth tells you where the water reached, while frequency tells you how soon you apply it again.
A deep application wets the soil volume used by most active roots without sending water below them. A frequent schedule shortens the interval, but each application may be shallow or thorough.
The common comparison assumes that frequent watering means a quick surface spray. That pattern can leave lower roots dry, lose more water from the exposed surface, and keep the plant dependent on the next small application.
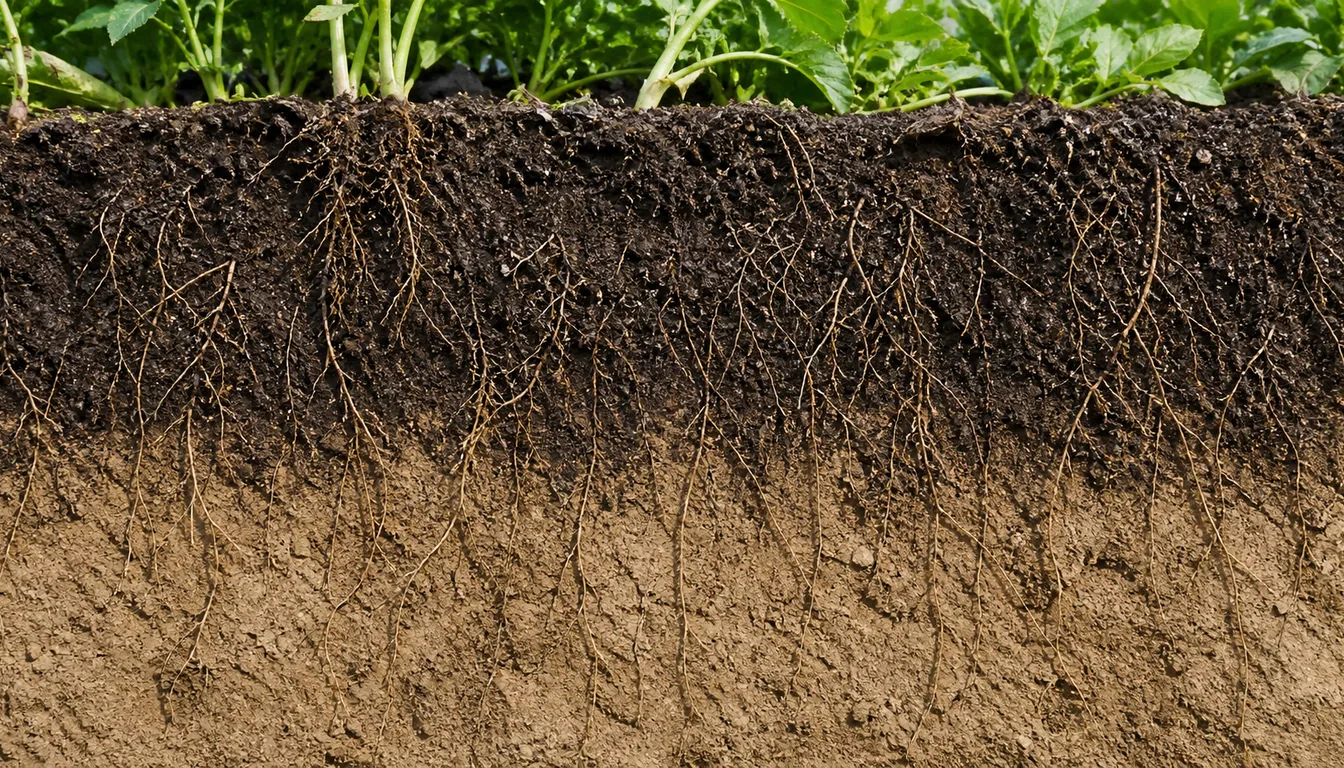
| Pattern | Soil result | Best fit | Main risk |
|---|---|---|---|
| Thorough, longer interval | Root zone moist, surface later dries | Established plants in suitable soil | Water moving below roots |
| Shallow, short interval | Only the upper layer rewetted | Germinating seed and new sod | Persistent shallow wetting |
| Thorough, short interval | Root zone repeatedly saturated | Rare emergency use | Low oxygen and root decline |
| Shallow, long interval | Little usable stored water | No reliable fit | Drought stress between visits |
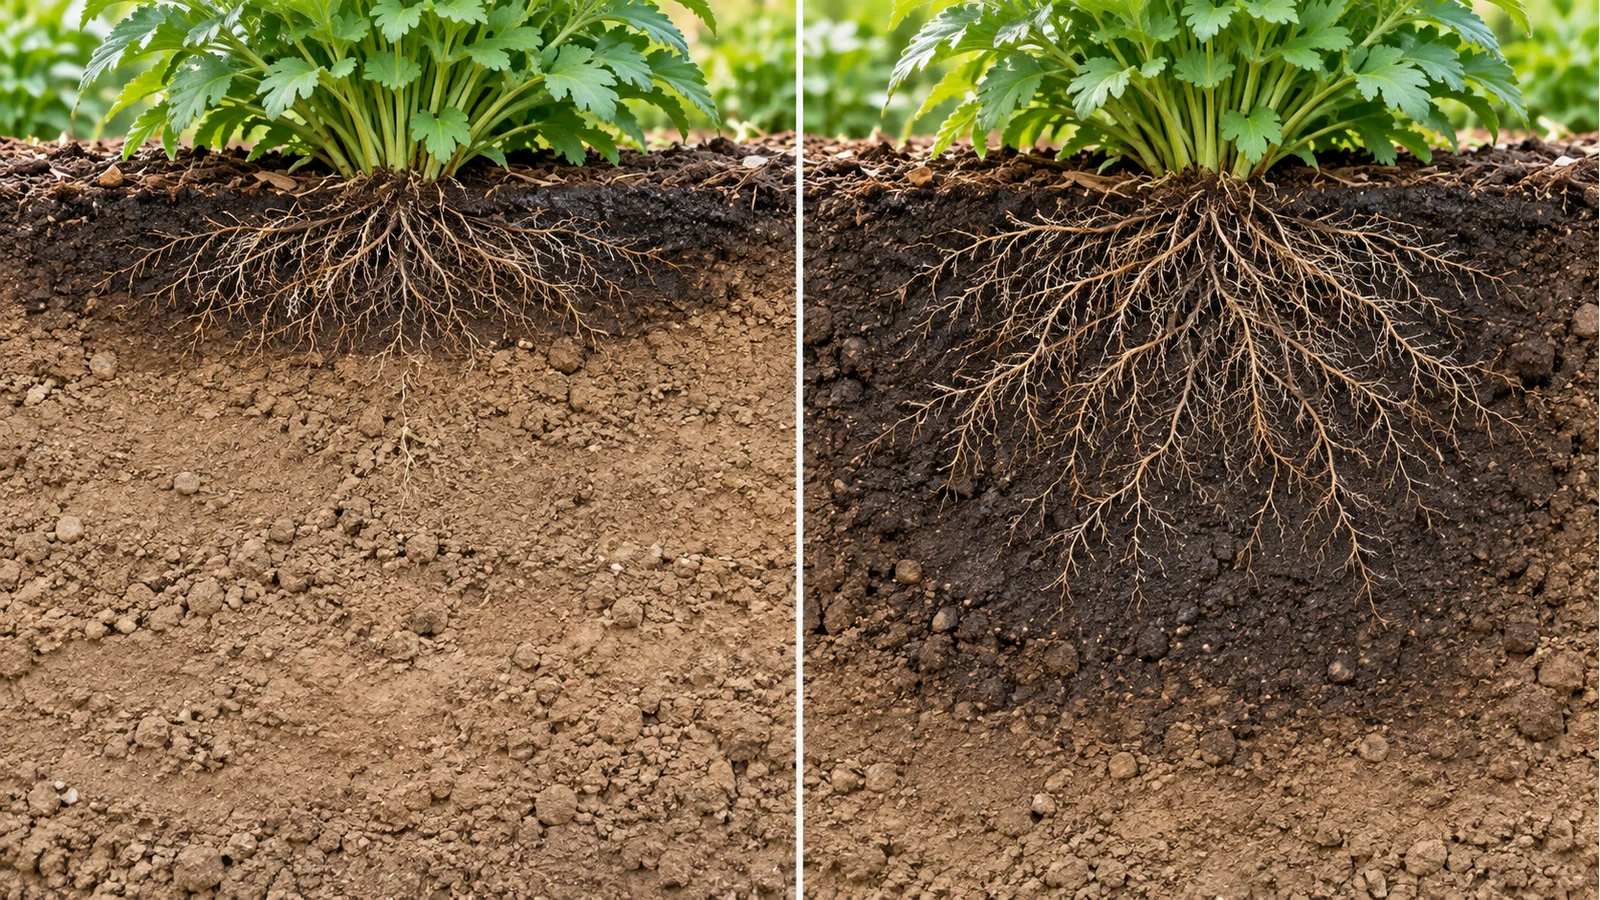
Water does not command roots to grow straight down. Root depth also depends on species, soil oxygen, compaction, barriers, temperature, and where roots already exist.
The practical benefit of a thorough application is that more of the existing root system can use the stored moisture.
Stronger growth follows when water and air remain available in the soil volume the plant can actually occupy.
How Do You Check Whether Water Reached the Root Zone?
The surface is a poor judge. Sun and wind may dry the top while moisture remains below, and a brief spray may darken mulch without wetting the soil beneath it.
Check in the rooted area rather than against a trunk or at the end of a sprinkler arc.
For a shrub or tree, sample beneath the canopy and toward the outer root spread. In a vegetable bed, check beside the crop without cutting through the crown.
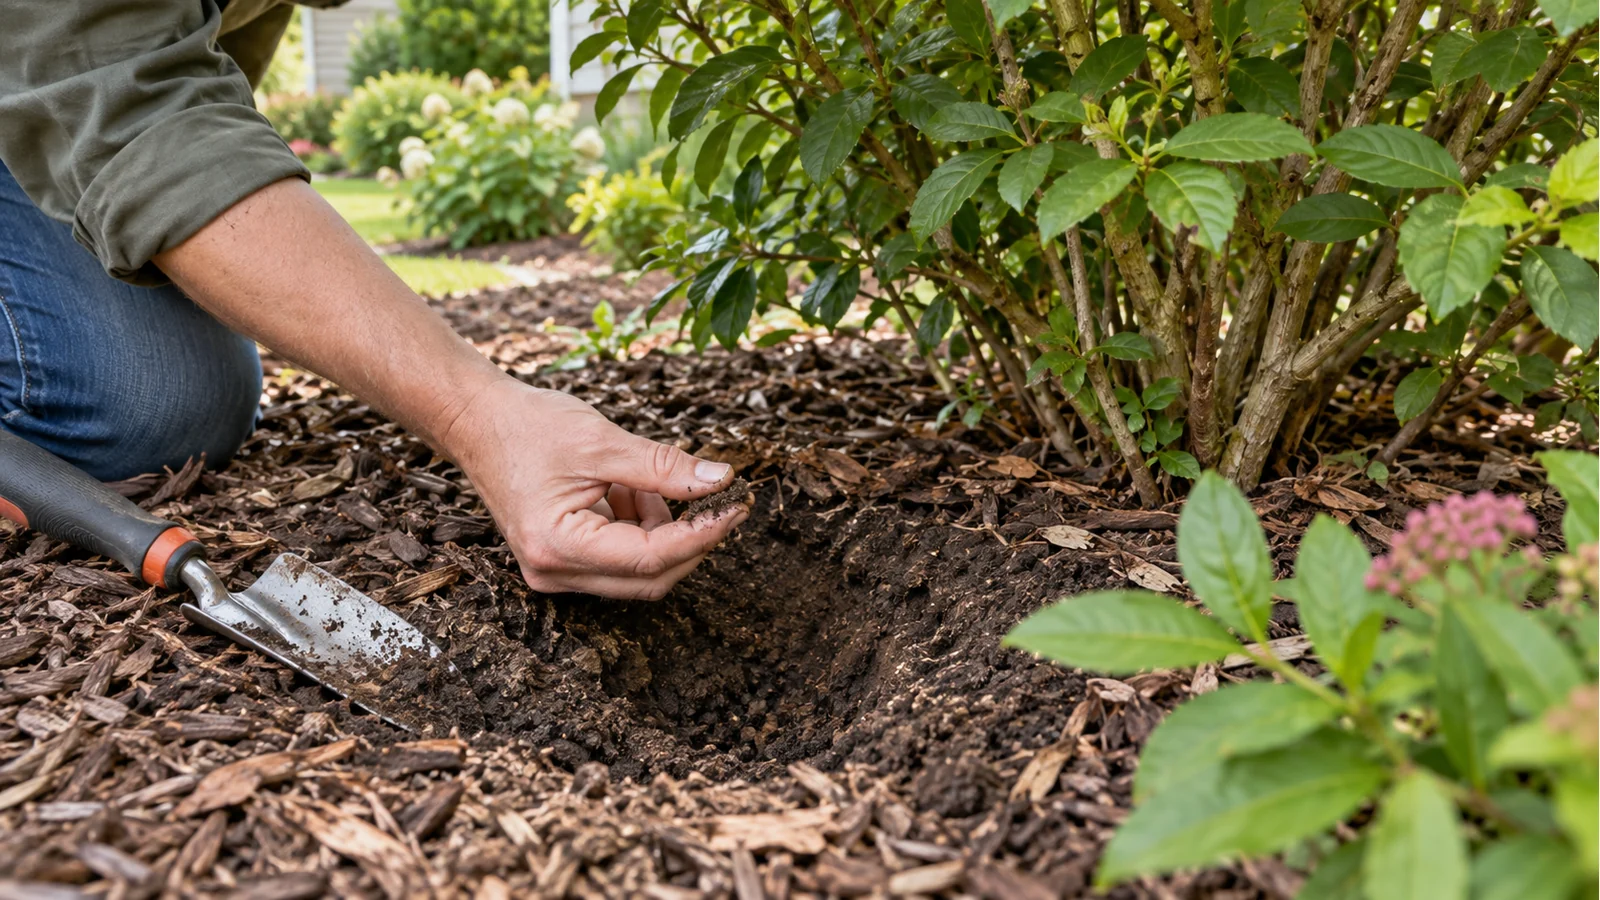
- Move the coverPull mulch or dense foliage aside so you reach mineral soil or potting mix.
- Open a narrow checkUse a trowel, soil probe, or long screwdriver where roots are active.
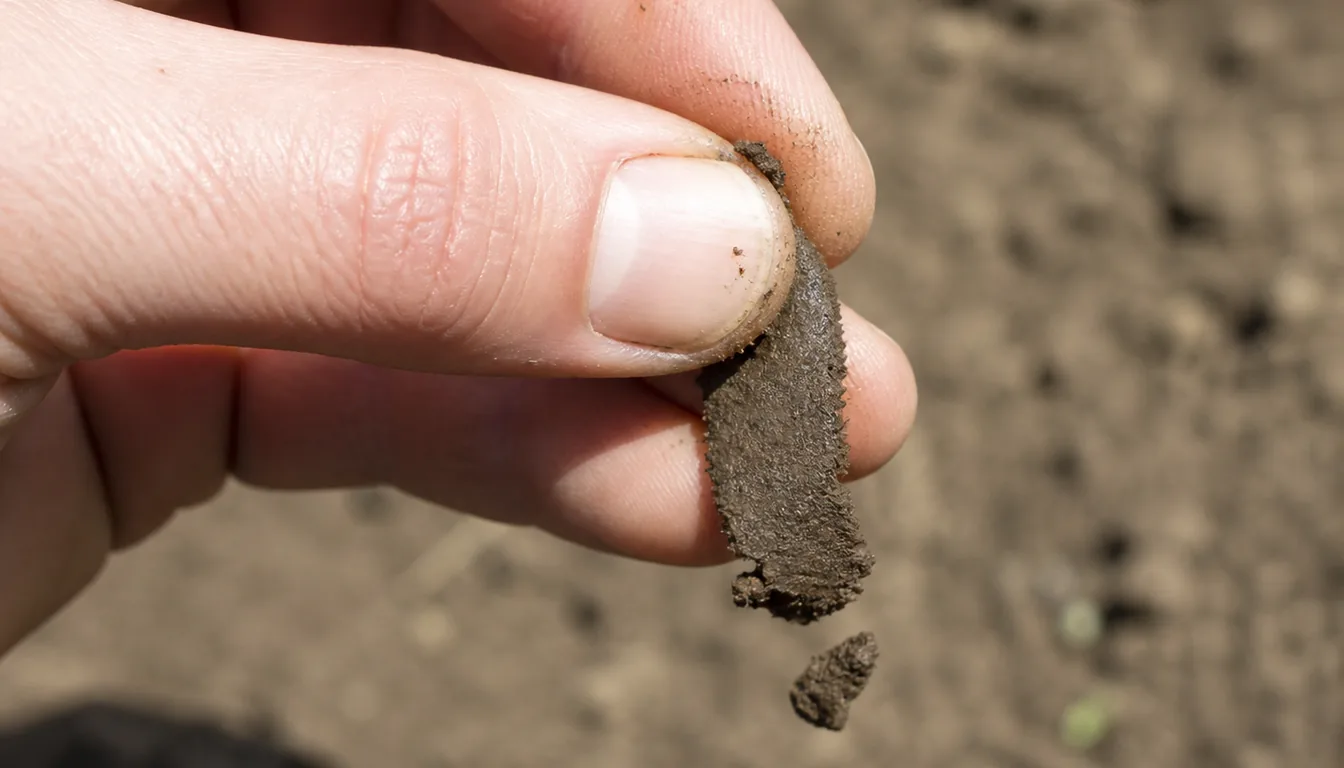
- Feel before wateringCool soil that holds together usually still carries moisture. Dry soil feels loose, hard, or powdery for its texture.
- Water the measured areaApply water slowly enough that it enters instead of leaving as runoff.
- Wait for redistributionGive the water time to move through the profile before judging depth.
- Check againReopen the hole and note where moist soil changes to dry soil.
- Record the intervalCheck on later days until that monitored zone approaches the dry point for the plant.
University of Minnesota Extension advises checking established tree and shrub soil 6 to 9 inches below the surface and watering when that upper root-zone layer is dry. Its vegetable guidance uses a shallower trigger, recommending irrigation when soil is dry about 2 inches below the surface.
Those values describe different root systems and management goals. They show why one probe depth cannot govern every part of a yard.
A screwdriver can help locate hard or moist zones, but resistance also changes with gravel, roots, and compaction. Confirm uncertain results with a small soil opening instead of treating easy insertion as a moisture meter.
Use the same locations each time. A repeatable check near the driest representative plant gives better evidence than a different hole chosen after every watering.
How Do You Measure Sprinkler, Hose, Drip, and Soaker Output?
Minutes are not a transferable watering unit.
Two sprinklers can run for the same time and apply very different depths because pressure, nozzle pattern, spacing, wind, and leaks change the result.
Catch cans convert sprinkler runtime into a measured application. Use several identical, straight-sided containers across the zone because one can near the sprinkler may hide poor distribution farther away.
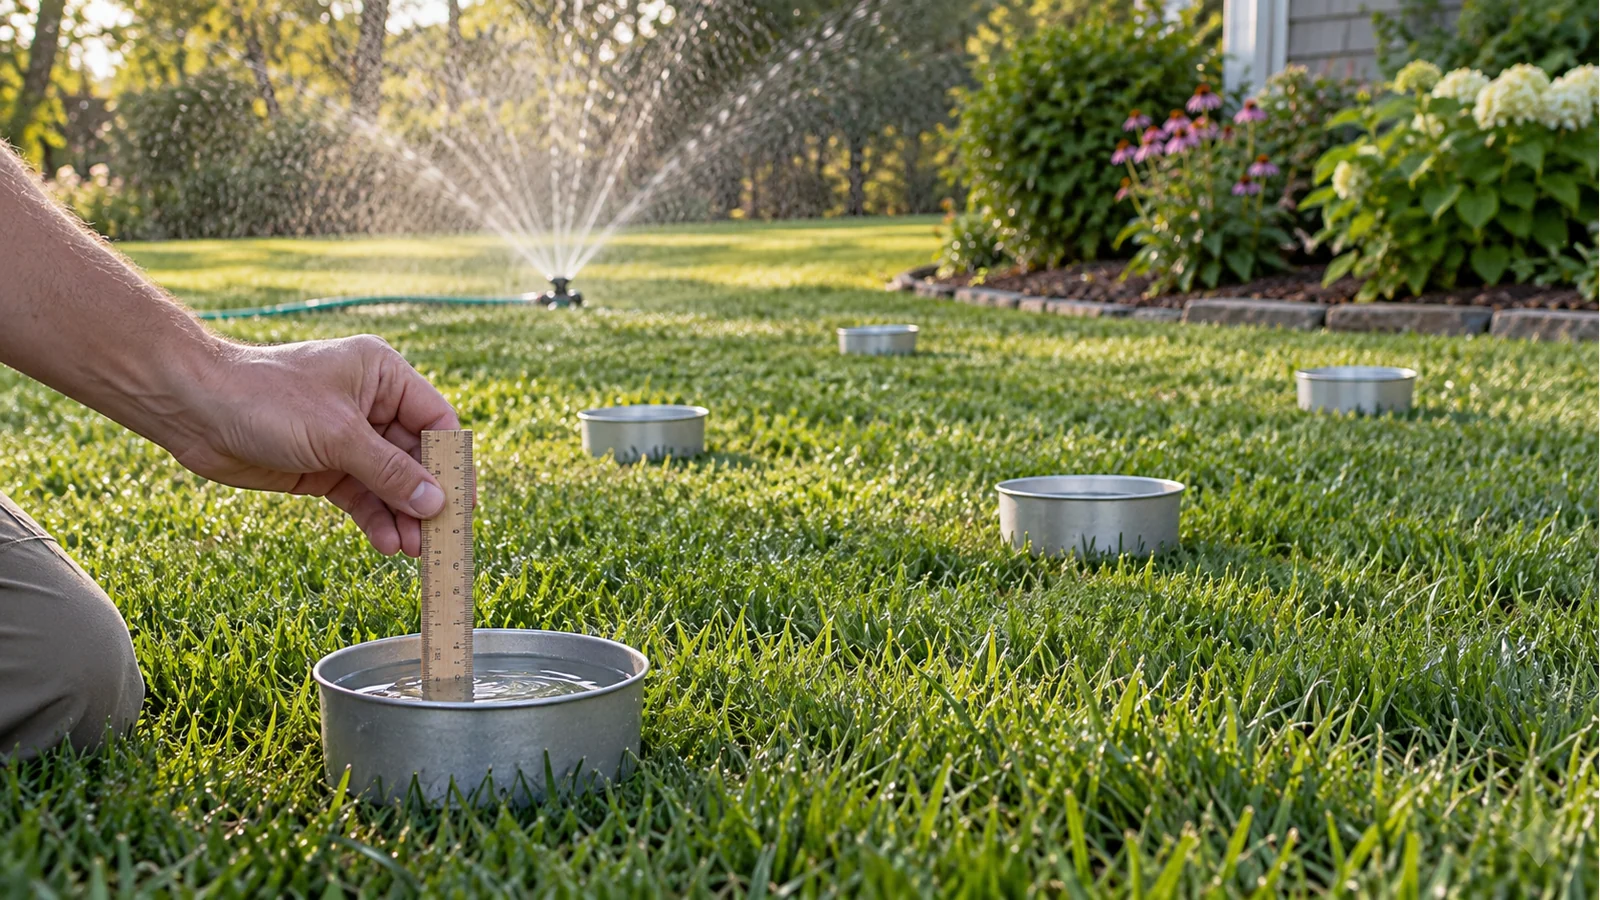
- Set out the cansSpread identical containers through dry, average, and overlapping parts of the sprinkler pattern.
- Run a timed testUse a short repeatable interval in calm conditions and note the exact minutes.
- Measure each canRecord the water depth, then calculate the average and identify large differences.
- Inspect the systemCorrect tilted heads, blocked nozzles, leaks, overspray, or spacing gaps before adding runtime.
- Apply and observeRun the corrected zone long enough to approach the intended application, stopping if water pools or leaves the area.
- Verify below groundAfter infiltration, open the soil and confirm the wetting depth instead of assuming the catch-can depth was enough.
- Sprinkler proof
- Similar depths across several catch cans
- Hand-hose proof
- Known container fill rate plus checked soil depth
- Drip proof
- Emitter flow, runtime, spacing, and a visible wetting pattern
- Soaker proof
- Even seepage along the line and moisture across the rooted area
- Final proof
- Moist soil reaches the intended root zone without runoff
For a hose, time how long it takes to fill a container of known volume at the setting you will use. That converts a vague slow trickle into gallons per minute, though soil checks still decide whether the water spread across the needed area.
Drip irrigation emitter labels supply a nominal flow rate, but pressure, clogging, elevation, and mixed emitter types can change delivery. Place containers under representative emitters or measure their output individually, then inspect the wetting pattern after a full test.
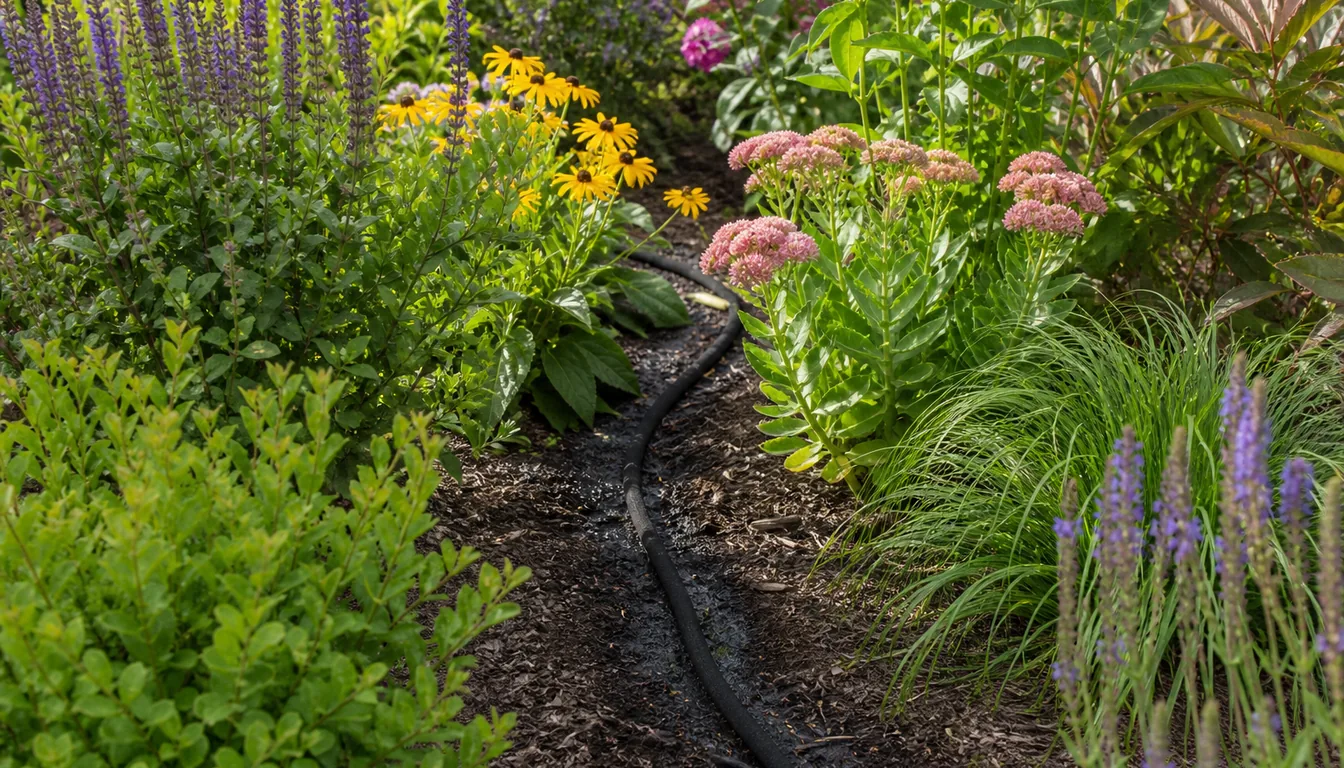
A soaker hose should seep along its length. If the inlet end floods while the far end stays dry, shortening the run, reducing pressure, separating zones, or using pressure-regulated drip may solve the distribution problem better than extending time.
How Do Soil, Slope, and Mulch Change the Routine?
Soil texture changes both infiltration and storage. Sandy soil usually accepts water readily but stores less, while fine-textured or compacted soil can store more yet accept water slowly.
That is why sandy soil may need a smaller application at a shorter interval and clay may need a slower application with pauses.
Deep watering still means reaching the relevant root zone in either soil.
Coarse soil
Check sooner after hot or windy weather. Use more than one emitter where a narrow wetting column misses roots.
Fine or compacted soil
Lower the application rate and divide runtime when water ponds before the target depth is wet.
Slope
Start at a low rate, watch the downhill edge, and use repeated short cycles when continuous watering runs off.
Mulched bed
Move mulch before checking soil. Keep an organic layer over the root area, away from trunks and crowns.
Cycle-and-soak changes delivery timing, not the total decision. The break gives slow soil more time to accept water, while the final trowel check shows whether another cycle adds value.
A dry clay surface can shed water through cracks or seal into a crust. Begin gently and reassess after the first cycle rather than running a long high-rate spray that follows cracks, pavement, or the slope.
Mulch reduces evaporation and cushions the soil surface from irrigation impact. It may lengthen the interval, but it can also hide dry soil when rain or light spray never penetrates the layer.
Weather changes the next check. Heat, wind, low humidity, and active growth can shorten the interval, while cool cloudy weather and meaningful rainfall can extend it.
When Is Frequent Watering the Better Choice?
Frequent watering is useful when the functioning root zone is still small or the growing medium stores little water. The interval should follow that temporary zone, not a belief that every new plant needs a daily splash.
Seeds can fail if the thin germination layer dries after the seed has taken up water.
New sod has little contact with soil below until roots cross the seam, and a transplant depends first on moisture inside and immediately around its original root ball.
| Stage | Zone to keep moist | Check | Transition signal |
|---|---|---|---|
| Direct-sown seed | Seed depth and upper bed | Surface and just below | Roots and leaves established |
| New sod | Sod and soil contact layer | Lift an edge carefully | Resistance from new rooting |
| Recent transplant | Root ball and adjacent soil | Probe both materials | Roots hold surrounding soil |
| Small container | Full potting volume | Weight and drainage | Move or repot as roots expand |
| Established plant in coarse soil | Active root zone | Soil check at representative depth | Continue only while drying stays rapid |
Frequent should not mean incomplete. Wet the current root zone evenly, then return before that small volume becomes too dry for the plant stage.
The transition must be gradual. Increase the interval while checking that moisture still reaches the expanding root area and that the plant recovers normally after warm afternoons.
- New growth continues without persistent wilt
- Roots have crossed from the transplant root ball into surrounding soil
- Sod resists a gentle lift at several representative points
- Seedlings have enough root depth to tolerate a slightly drier surface
- The full current root zone becomes moist at each irrigation
- The next check, not a fixed date, determines the longer interval
A root ball can stay dry even when surrounding soil is wet, especially when peat-based mix has dried and repels water. Apply slowly to the root ball, wait, and repeat until the material accepts moisture.
Keep the transition responsive during heat or wind. Short-term establishment frequency can return during unusual stress, then lengthen again when the monitored soil holds moisture.
How Does Deep Watering Change by Plant Type?
The same method cannot use one depth for turf, vegetables, woody plants, and containers. Match the monitored zone to the roots present now and to the soil volume you can irrigate evenly.
| Planting | Where to apply | What to verify | Avoid |
|---|---|---|---|
| Established lawn | Entire dry zone | Even catch-can output and moist root-bearing soil | Daily clock sprays |
| Vegetable bed | Along crop rows or bed | Moist soil beside active roots | Wet mulch over dry soil |
| Tree or shrub | Broad area under and beyond canopy | Moist upper root zone at several points | One puddle at trunk |
| Perennial border | Grouped root area | Even moisture without crown saturation | One line serving unlike needs |
| Outdoor container | Entire pot surface | Drainage and moist mix through pot | Water sitting in saucer |
Turf needs uniform coverage because roots occupy the whole lawn area. Check catch-can variation before treating a brown edge as proof that the entire zone needs more water.
Vegetables need steady moisture during flowering and fruit development, but the exact interval changes with crop stage, soil, mulch, rainfall, and heat.
University of Minnesota Extension suggests checking below the dry surface and watering when soil is dry about 2 inches down.
Trees and shrubs take up water across a broad root spread. A slow application near only the trunk misses many absorbing roots and can keep the crown wet, so distribute water over the rooted area that the system can reach.
Containers have a hard boundary and limited storage. Water the whole potting surface until excess exits drainage holes, empty standing water when the container design allows, and recheck according to plant need and pot weight.
Separate irrigation zones when practical.
A thirsty vegetable bed, established shrub border, and drought-adapted planting can share weather but still need different intervals and delivery rates.
Plant stage and root-zone evidence set the schedule. The category name on a timer cannot account for a new transplant beside an established plant.
How Can You Diagnose a Watering Problem?
Wilt alone does not tell you to add water. Drought, saturated soil, damaged roots, heat load, disease, and stem injury can all reduce the water reaching leaves.
Pair the plant signal with soil evidence before symptoms. Check more than one location because a clogged emitter, tilted sprinkler, roof drip line, or low spot can create a local problem inside an otherwise correct zone.
| What you see | Soil evidence | Likely issue | First correction |
|---|---|---|---|
| Wilt, recovery overnight | Dry root zone | Available water running low | Water and recalibrate interval |
| Wilt, no recovery | Wet or dry after checking | Root stress or continuing drought | Inspect roots and drainage |
| Green surface, dry below | Thin damp crust | Shallow application | Lower rate and extend infiltration |
| Yellowing, soft growth | Wet for a long interval | Saturation or poor drainage | Stop irrigation and restore air |
| Dry plant beside healthy plants | One dry emitter area | Distribution failure | Clean, repair, or reposition outlet |
| Runoff before depth is reached | Dry soil below wet surface | Rate exceeds infiltration | Use cycle-and-soak |
Midday wilt deserves context. Large leaves may lose water faster than roots can replace it during a hot afternoon even when deeper soil is moist, then recover as temperatures fall.
Persistent morning wilt, scorched margins with dry soil, or repeated fruit and flower loss deserves a closer check. Record whether the problem follows a zone edge, slope, compacted path, container side, or one irrigation outlet.
Mushrooms or algae show a persistently moist surface, but they do not measure deeper saturation by themselves. Open the soil and look for a sour smell, dark soft roots, poor infiltration, or water held in a low layer.
Correct the delivery fault before rewriting the schedule. A broken head or clogged emitter will defeat any calendar.
How Do You Build a Watering Routine That Adjusts?
A useful routine records how much the system applies, how deep that application wets the soil, and how long the monitored zone stays moist under current weather.
Start with one representative zone. Calibrate it, verify the soil after watering, then inspect on later days until the next application is justified.
- Subtract useful rainfall before running irrigation
- Check the driest representative spot, not only the easiest one to reach
- Inspect for runoff, clogged outlets, overspray, and uneven catch-can depths
- Apply water slowly enough to enter the soil
- Confirm wetting depth after redistribution
- Record the date, weather, runtime, measured output, and soil result
- Shorten or lengthen the next interval from evidence
- Recheck after plant establishment, major weather shifts, or system repairs
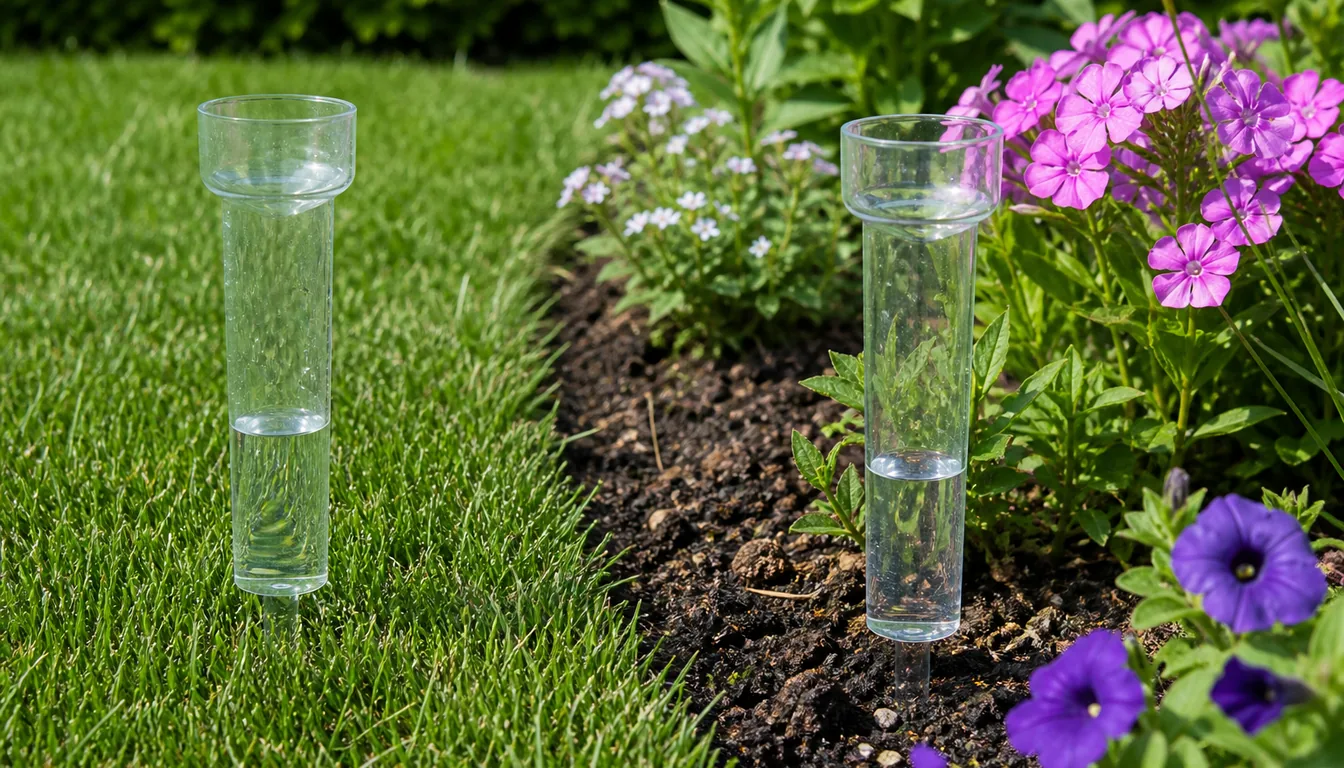
The U.S. Environmental Protection Agency recommends adjusting irrigation to weather and landscape conditions. It also recommends stopping when water pools and using intervals with pauses on clay-rich soil or slopes.
A controller can automate start times, yet it cannot repair a poor sprinkler pattern or an outlet that misses the root ball. Weather-based and soil-moisture controllers help only after zones, emitters, and plant groups are set up correctly.
Review the record when a plant struggles or a water bill jumps. An interval that worked in cool spring soil may become too long in summer, while the same timer setting can become excessive after rain or as roots establish.
The routine is complete when you can explain why the zone runs, what depth it should reach, and what observation will delay or trigger the next cycle.
Pro Tips
- Check the soil below mulch before starting irrigation.
- Use several catch cans because one container cannot reveal poor sprinkler distribution.
- Pause a zone as soon as water pools or leaves the planted area.
- Keep emitter types and flow rates consistent within one drip zone.
- Water a transplant root ball and the adjacent soil until roots bridge the two.
- Recalibrate after changing pressure, nozzles, emitters, or zone layout.
- Record useful rainfall instead of assuming every shower reached the root zone.
Frequently Asked Questions
Is deep watering always better than frequent watering?
Thorough watering with a measured interval usually fits established plants, but frequent watering has a real temporary job. Seeds, new sod, recent transplants, small containers, and fast-drying soil may need shorter intervals while their usable root zone remains small.
Each application should still wet that current root zone evenly.
How long should I run a sprinkler for deep watering?
There is no universal runtime. Put several identical catch cans across the zone, run a timed test, measure the average depth and variation, then check how far that application moved into your soil.
Repair poor coverage before increasing the minutes.
Does one inch of sprinkler water wet soil one inch deep?
No. Water depth collected in a catch can and wetting depth in soil are different measurements.
Texture, compaction, slope, existing moisture, thatch, mulch, and application rate determine how far the water moves, so verify with a trowel or probe.
Should sandy soil be watered deeply or frequently?
Wet the active root zone, but expect sandy soil to store less water than loam or clay. A smaller thorough application at a shorter measured interval may fit better than one large application that drains below the roots.
Check the soil to find the interval for that site.
Can frequent watering cause root rot?
Frequent irrigation can keep soil pores filled with water when drainage is slow or the next cycle starts before the root zone has used enough moisture. That low-oxygen condition can injure roots and favor some root diseases.
If a wilting plant already has wet soil, stop adding water and inspect drainage and roots.
What time of day should I water?
Early morning often reduces wind and evaporation losses and lets wet foliage dry after sunrise. A plant under serious drought stress should receive needed water rather than waiting for the next ideal morning.
Keep irrigation off pavement and avoid running sprinklers in strong wind.
Sources & References
Related Guides
A Drought Tolerant Plant Is Not Drought Tolerant Yet
Colorado State puts it in one sentence. Drought tolerant plants are not drought tolerant until…
11 min read
An Overwatered Tree Hides It for a Year, Then Thins
A tree gives you almost no warning. Colorado State says the symptoms of root problems may appear…
12 min read
Best Time to Water Flowers for Stronger Blooms
Watering flowers at the wrong time does more damage than skipping a day.
10 min read
Best Time to Water Indoor Plants: Morning or Evening?
Morning is the better default for watering indoor plants.
6 min read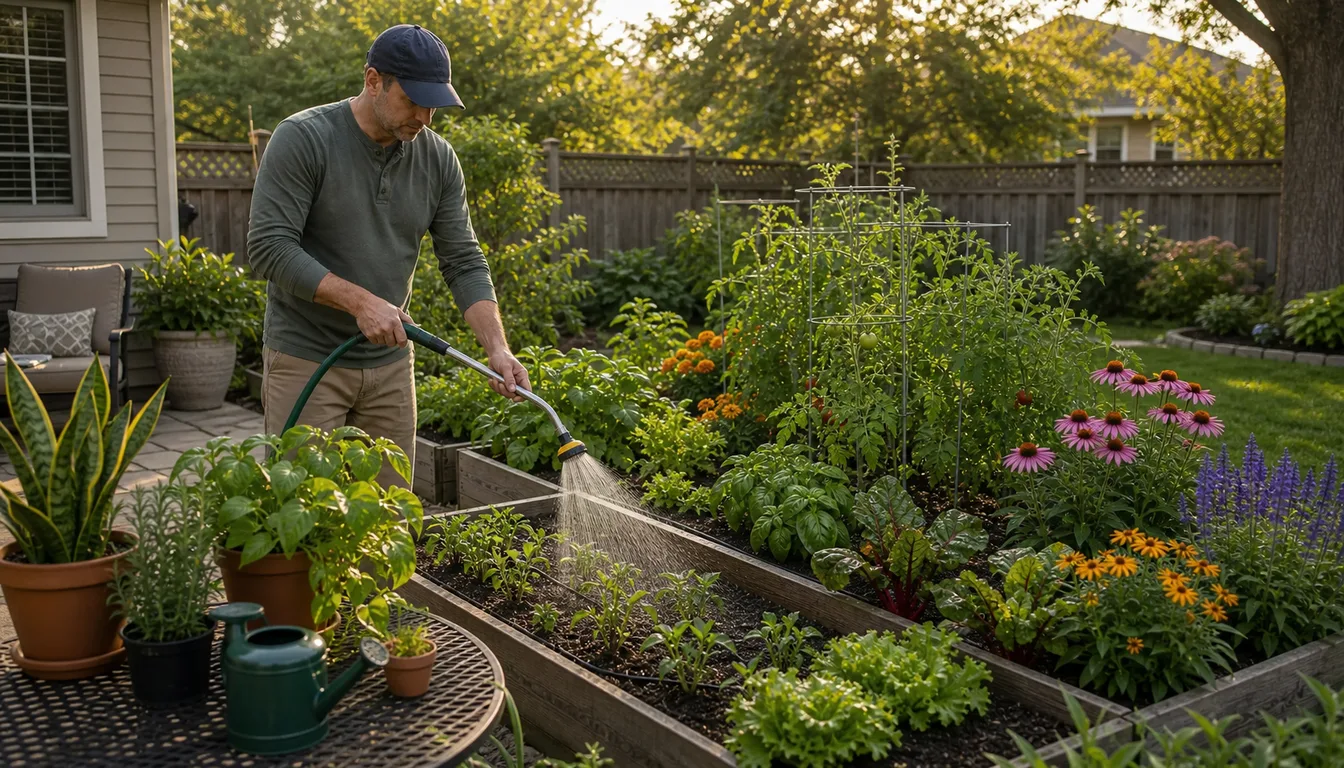
Best Time to Water Plants for Healthier Roots
Watering at the wrong time wastes water and stresses plants, even if you are generous with the…
11 min read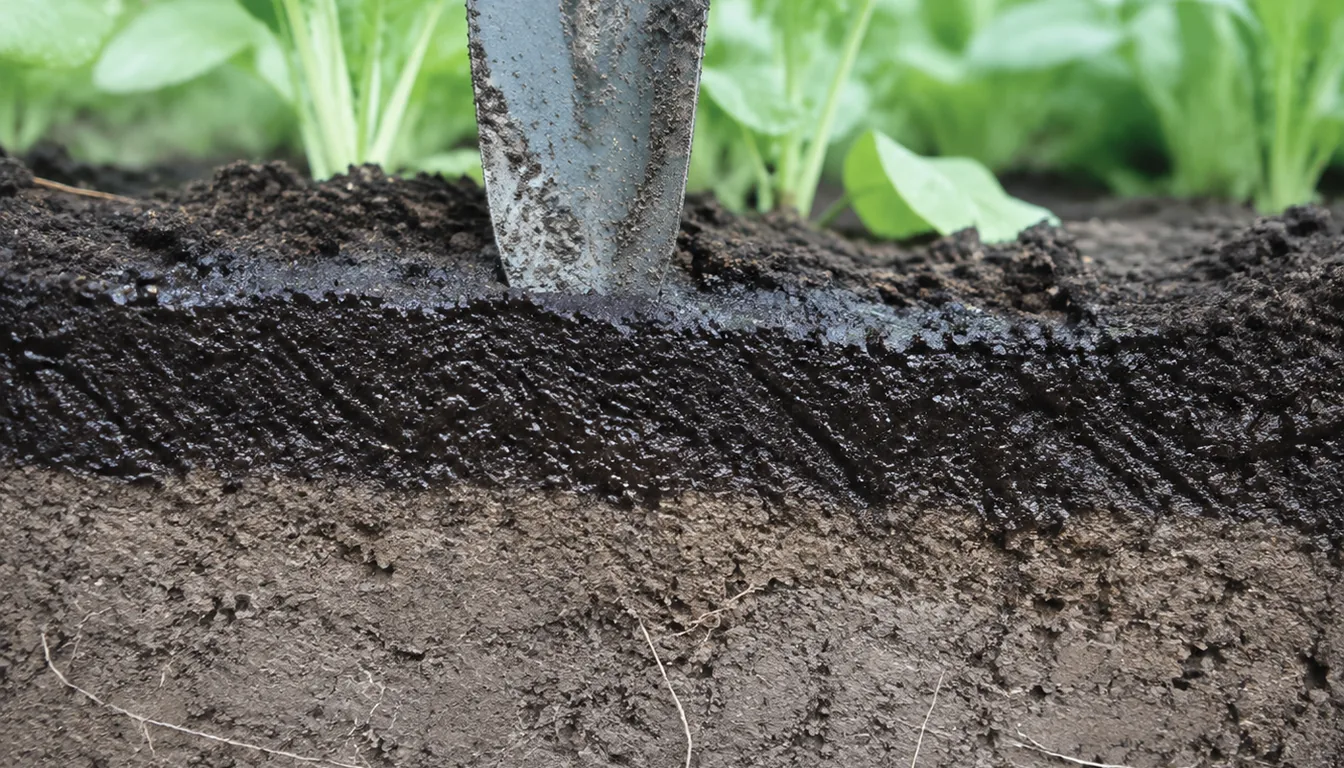
How Much Water Do Plants Need? Wet the Root Zone, Then Wait
Plants need enough water to moisten the soil where their roots take it up, and then no more until…
8 min read