
How to Grow Dracaena Marginata and Manage Its Height Indoors
Dracaena marginata Asparagaceae
Dracaena marginata grows best in bright indirect light, with a draining potting mix that partly dries between waterings. Its narrow leaves and exposed canes make placement, pot stability, and pruning height especially important.
Brown tips have several possible causes. Moisture, recent conditions, and signs of pests help separate them before you change the plant’s care.
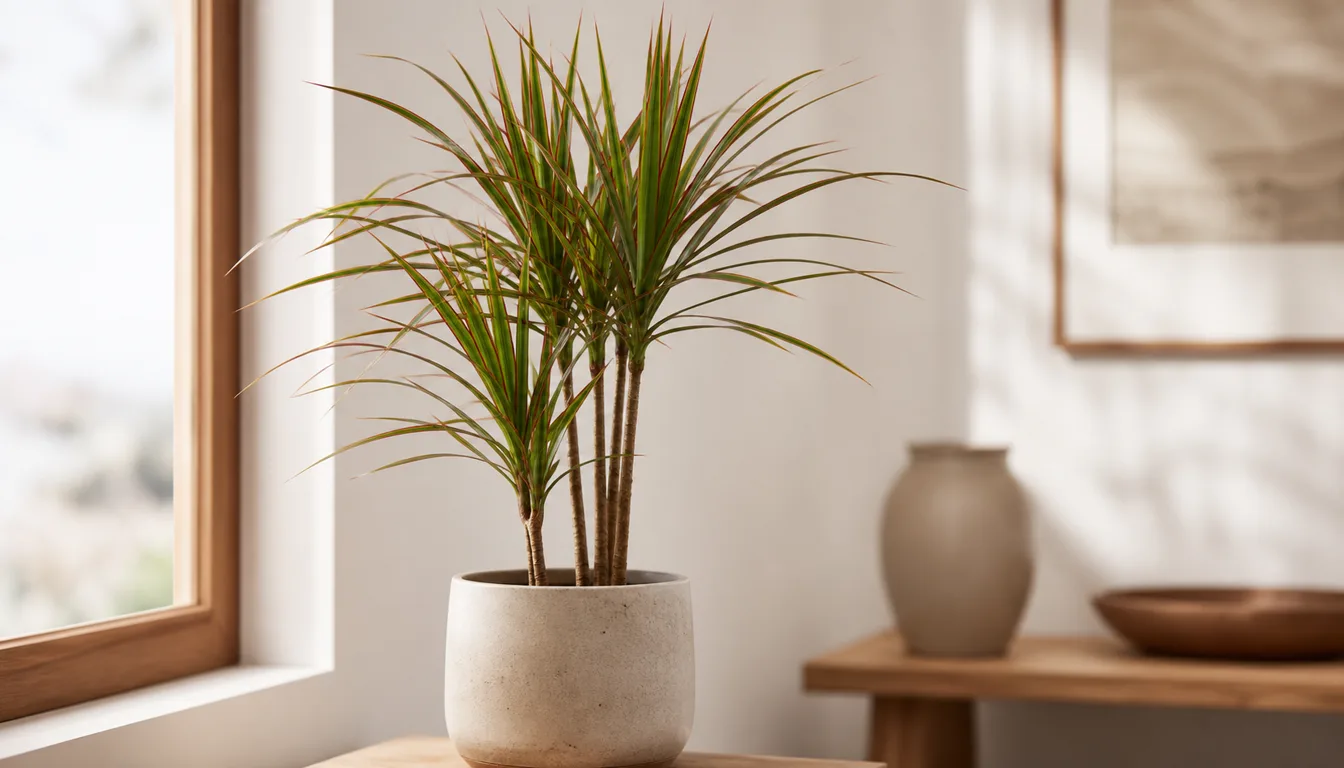
Care snapshot
Which Dracaena Marginata Form Fits Your Room?
Dracaena marginata, the Madagascar dragon tree, has narrow red-edged leaves above canes marked by old leaf scars. NC State places this familiar name under Dracaena reflexa variety angustifolia. It is the same plant under a different botanical treatment.
The leaves arch outward from the growing tips, so the crown needs more room than the pot suggests. Older lower leaves naturally fall away and expose the stem. A bare lower cane alone does not mean that the plant is declining.
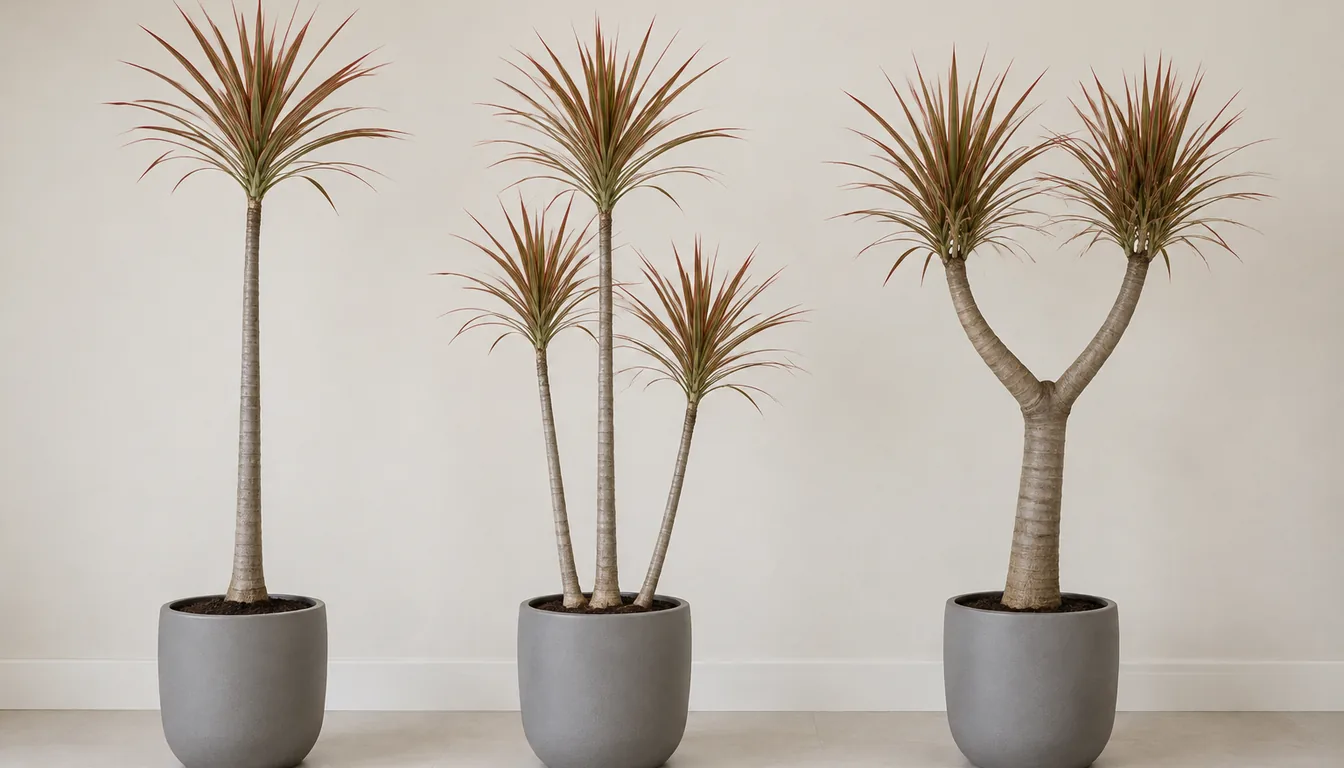
Cane arrangement changes how the plant occupies a room. A single stem leaves open space below one crown, staggered stems put foliage at several heights, and a branching specimen spreads from a shared trunk.
- Single straight cane
- One main crown with open space below
- Several staggered canes
- Foliage at different heights, with separate stems to inspect
- Branched cane
- A broader outline that needs room around the forks
The existing shape is worth considering before leaf color. Pruning can encourage branching, but a small plant will not quickly fill the space occupied by a mature specimen. The broad leaves of Corn Plant make a different silhouette even when its pot and stem heights are similar.
NC State describes indoor plants reaching about 6 feet, compared with as much as 20 feet in tropical landscapes. Those are growing-context descriptions, not a fixed ceiling for every cultivar. The outdoor USDA zone range does not tell you when a container can safely stay on a cold porch.
Cultivars add different stripes and margins. RHS describes cream-striped, crimson-edged ‘Tricolor’ and yellow-streaked, pink-edged ‘Colorama’. The name identifies foliage traits; it does not promise a particular final height in your room.
Where Should You Put a Dracaena Marginata Indoors?
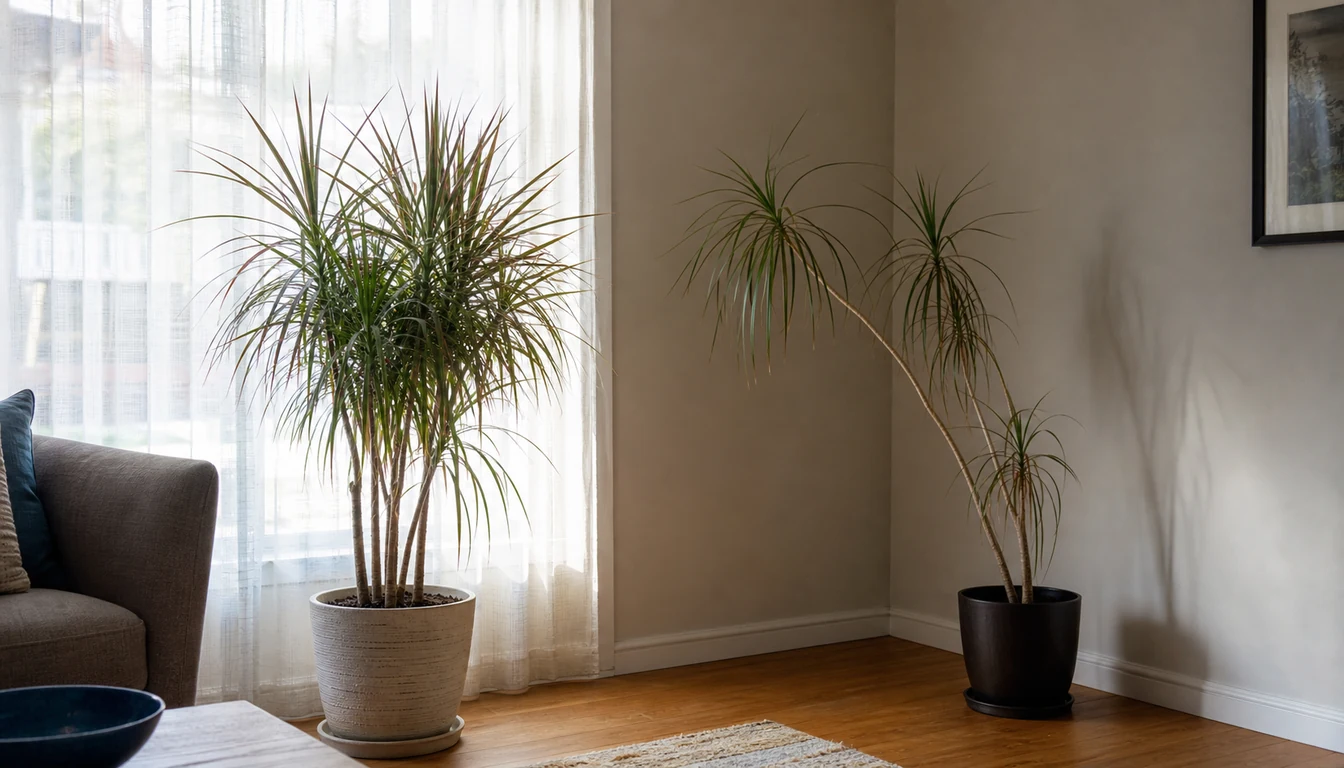
Bright indirect light suits this plant. An east- or west-facing window can work, while a sheer curtain can soften stronger sun. Actual exposure depends on shade outside and the season, so the compass direction alone does not settle the choice.
A crown leaning toward a window suggests uneven illumination. Slow growth or smaller new leaves can also involve roots, nutrition, or temperature. These changes give you something to investigate, rather than proving that the plant needs more sun.
Leaves grown in a dim location can scorch after an abrupt move into strong sun. Gradual exposure changes reduce that risk. Pale or brown patches still need to be considered alongside recent cold, watering, and pest history.
UF/IFAS reports that stronger light can intensify red tones in marginata cultivars. That does not make direct midday sun a cure for fading color, and moving the pot will not reverse tissue already damaged by heat or cold.
When Does the Root Ball Actually Need Water?
A dry surface can sit above damp mix in a deep pot. Feeling the upper mix and comparing the container’s weight with its weight after watering gives a better picture than looking at the surface alone. A heavy decorative pot can make that comparison difficult. Watering is generally due after the upper mix dries and the pot becomes lighter, without waiting for every part of the root ball to become bone-dry.
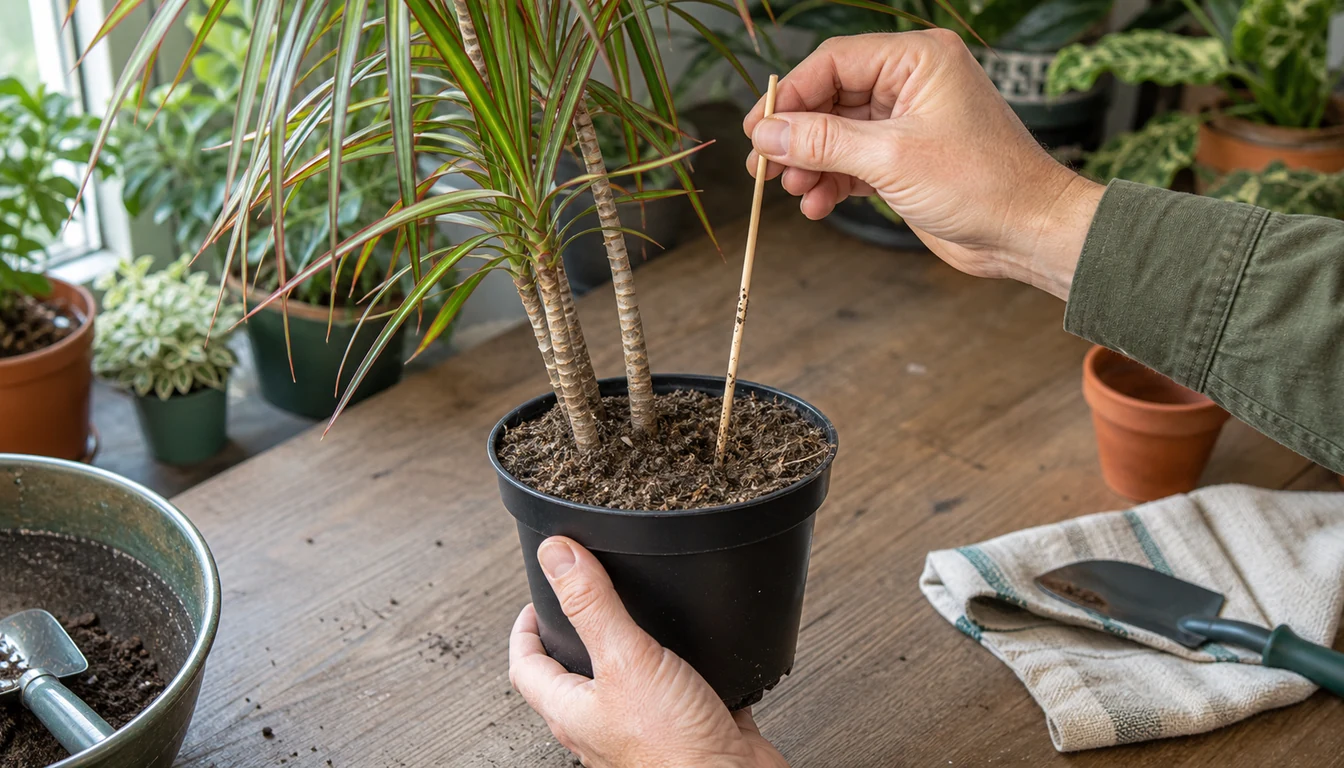
A slender wooden probe can provide another moisture clue if it enters the mix without force. Material clinging to it is not a calibrated reading, and roots or coarse bark can interfere. There is no reason to repeatedly spear the center of a crowded root ball.
When watering is due, wet the mix thoroughly and let surplus water leave through the drainage holes. Empty collected runoff from the saucer or outer pot. Water rushing down a gap at the edge may bypass dry mix, so a quick stream from the bottom does not prove even wetting.
The aim is some drying between waterings without leaving the plant in prolonged severe drought. Light, temperature, root growth, pot size, and the mix all affect the interval. A calendar reminder can prompt a check, but it cannot establish that another watering is needed.
A Stable Pot Should Not Become a Wet Pot
Tall narrow canes create leverage above a relatively small container. A plant may therefore tip before its roots need more room. A stable, heavier outer pot can support the existing nursery pot without adding a large volume of wet mix around the roots.
Repotting serves a different purpose. Crowded roots, deteriorated mix, or drainage problems can justify it, while suspected root damage calls for assessment rather than automatically choosing a larger container.
- Plant tips, roots still have room
- Improve support without adding unnecessary potting mix
- Roots tightly fill the container
- A modest increase in root room may be useful
- Mix remains saturated
- Check trapped runoff and drainage before disturbing roots
- A cane is soft or loose at its base
- Investigate that stem and its roots. Do not assume upsizing will help
A loose, moisture-retentive houseplant mix needs enough air space to drain after watering. A much larger pot can stay wet around a small root system. The combination of container size and mix matters more than choosing a heavy pot and calling it a drainage solution.
When inspection is warranted, support the root ball and ease it from the pot rather than pulling on the canes. Soft, collapsing roots are concerning, but root color alone cannot identify disease or certify health. Persistent decline or spreading decay may need an extension diagnostic service before treatment.
What Are Brown Tips, Yellow Leaves, and Soft Canes Telling You?
Brown tips are a symptom, not a diagnosis. The same plant can experience dry air, irregular watering, damaged roots, fertilizer salts, and unsuitable water quality. The pattern and its timing help narrow the possibilities.
Marginata is sensitive to fluoride. Distilled or known non-fluoridated water is an option when water quality is a plausible contributor, but changing water will not fix a pot that remains saturated. A generic “filtered” label does not establish what a filter removes.
UF/IFAS also describes salt and nutrient problems in commercial Dracaena production. Its fertilizer ratios and pH adjustments are not a reason to add nutrients or change acidity from a leaf photograph. A water report, fertilizer history, or appropriate testing provides stronger evidence than the color of a tip.
One aging lower leaf differs from many leaves yellowing together. Widespread yellowing beside persistently wet mix makes drainage and root condition worth investigating, while recent cold or a major light change may explain a different sequence. Several causes can occur together.
Dry brown tips
- Compare moisture history and nearby heat
- Review fertilizer use and water quality
- Avoid identifying a mineral problem from appearance alone
Many yellow leaves
- Check runoff and how long the mix stays wet
- Consider recent cold or a move
- Inspect roots when the wider evidence warrants it
Soft cane base
- Treat softening as significant tissue damage
- Avoid adding water merely because foliage droops
- Seek help if damage spreads or its cause is unclear
Stippling, webs, or bumps
- Look closely at leaf undersides and crown bases
- Distinguish an actual pest from scars or debris
- Match treatment to an identified pest
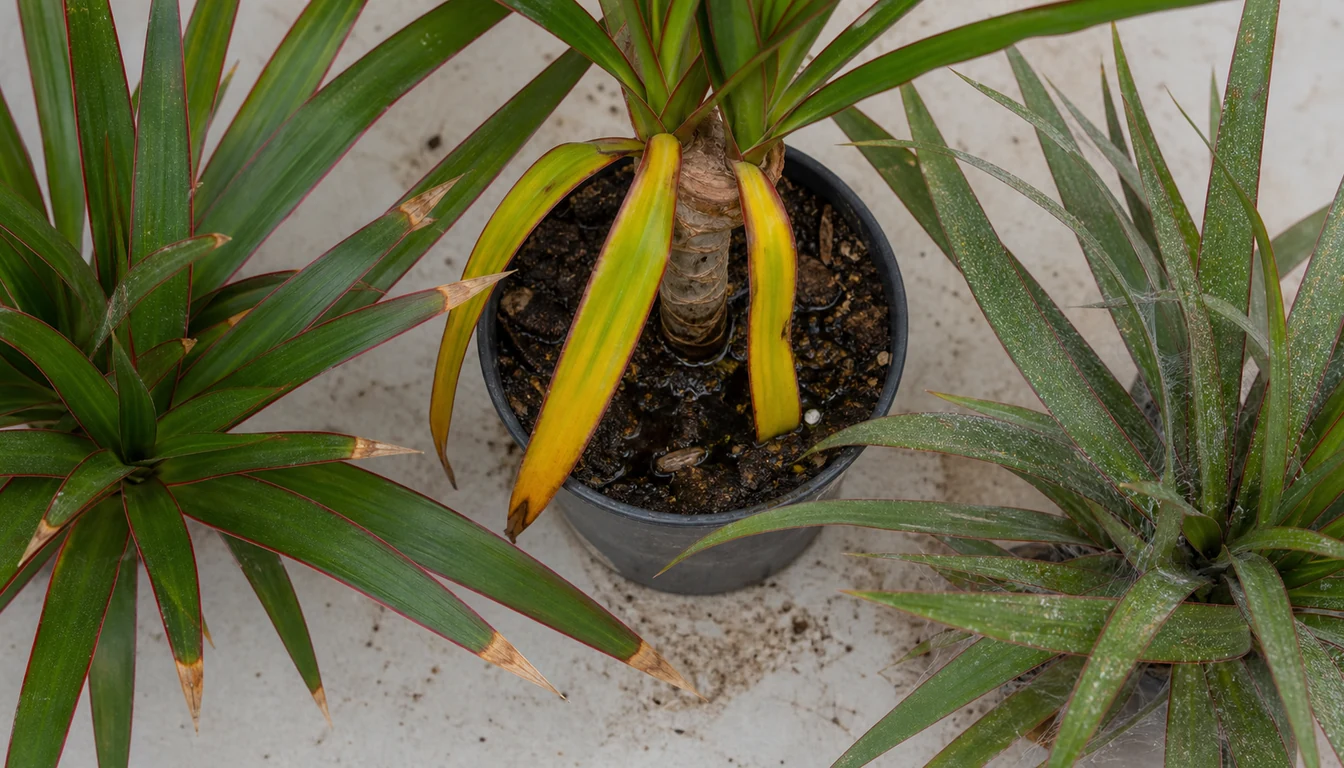
Spider mites can cause pale stippling and fine webbing. Scale insects may appear as attached bumps, and some produce sticky honeydew. A magnifier helps distinguish pests from normal cane scars. Isolation and an identified-pest treatment are more useful than spraying every plant with damaged leaves.
Leaf spots also have several possible explanations. Reducing prolonged leaf wetness can limit some disease risks, but airflow alone does not identify or cure every infection. A soft cane or spreading lesions deserve closer assessment. A firm-looking upper cutting is not proof that it is disease-free.
Dead brown tissue will not turn green again. New damage, continued leaf loss, and the condition of new growth are more useful measures of progress than whether an old tip looks better. The Dracaena yellow-leaf guide considers overlapping causes in more detail.
Where Should You Cut a Cane That Has Reached the Ceiling?
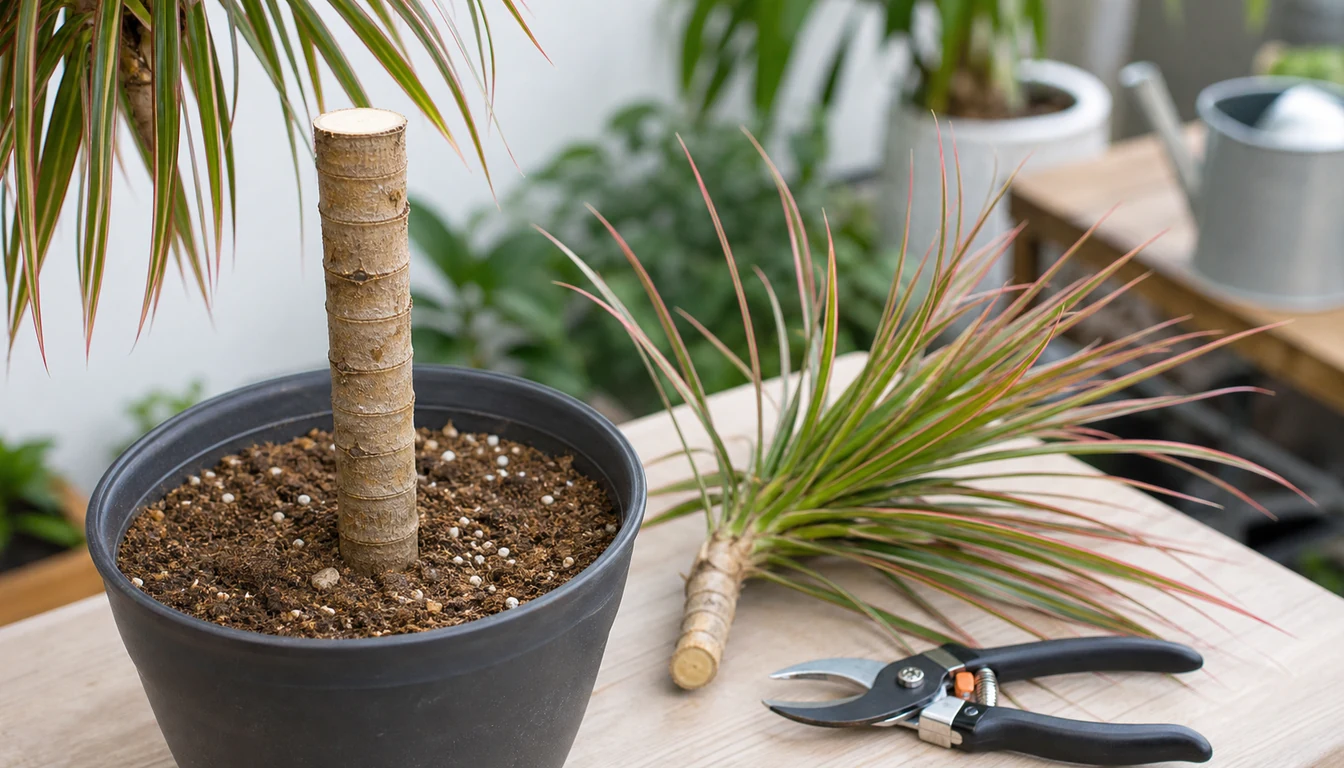
Pruning changes where the next crowns develop. Shoots commonly emerge below a cut, so the desired finished height needs to leave room for those shoots and their arching leaves. Cutting just beneath the ceiling leaves little space for regrowth.
The rooted parent can branch after its top is removed. A leafy top or a stem section can also be used for propagation, but neither new roots nor a particular number of branches is guaranteed. Material from a plant with unexplained decay is a poor starting point.
- Choose a cut height with room for new growth. Use a clean, sharp tool suited to the cane’s thickness.
- Support the top while cutting so it does not tear the remaining stem. Keep pruning debris away from animals.
- For a leafy stem cutting, retain nodes and remove leaves that would be buried. Mark the original upper end before dividing a cane into sections.
- Place suitable cuttings in a clean, draining rooting medium, keeping the original lower end down. Provide warmth, indirect light, and moisture without saturation.
Cuttings lose water before they have an established root system. Humid air can help, but a cover needs air exchange and must stay out of direct sun. Leaves remaining upright do not prove that roots have formed. The parent also needs its moisture reassessed after losing a large amount of foliage.
What Changes When Winter Light Slows the Crown?
Lower seasonal light often slows growth, but a warm plant under suitable grow lights may behave differently. Moisture loss can also change when indoor heating begins. The calendar alone cannot tell you whether the pot is drying faster or slower.
Fertilizer supports growth, but it does not replace light or repair collapsed roots. Marginata has modest feeding needs. A houseplant fertilizer used according to its label during active growth avoids turning every pale leaf into a reason for another dose.
Dust removal lets more light reach the leaves and makes pests easier to see. Gentle wiping supports that routine inspection without stripping or polishing the foliage. Warmth and suitable placement matter more than trying to force new crowns through a seasonal slowdown.
Dracaena Marginata Is Toxic to Dogs, Cats, and Horses
ASPCA lists Madagascar dragon tree as toxic to dogs, cats, and horses, with saponins as the toxic principle. Its listed signs include vomiting, drooling, reduced appetite, and depression. Dilated pupils are specifically noted for cats. The list does not predict how a particular exposure will develop.
Long leaves and fallen offcuts can be accessible even when the pot is raised. A room that an animal cannot enter offers more separation than a shelf beside climbable furniture. Pruning debris needs to be collected promptly.
After suspected ingestion, remove access and contact a veterinarian or animal poison service promptly. Keep the plant name or a photo available. Do not wait for every listed symptom or try to induce vomiting unless a veterinary professional directs it.
Sources & References
- ENH892/EP149: Cultural Guidelines for Commercial Production of Interiorscape Dracaena
- North Carolina Extension - Dracaena reflexa var. angustifolia
- ASPCA - Madagascar Dragon Tree Toxicity
- Royal Horticultural Society - How to Grow Dracaena
- University of Minnesota Extension: Insects on Indoor Plants
- University of Georgia Extension, Growing Indoor Plants with Success, Bulletin 1318
- Iowa State University Extension: How to Propagate Houseplants by Stem Tip Cuttings
- ASPCA: What to Do if Your Pet Is Poisoned
Related Plants
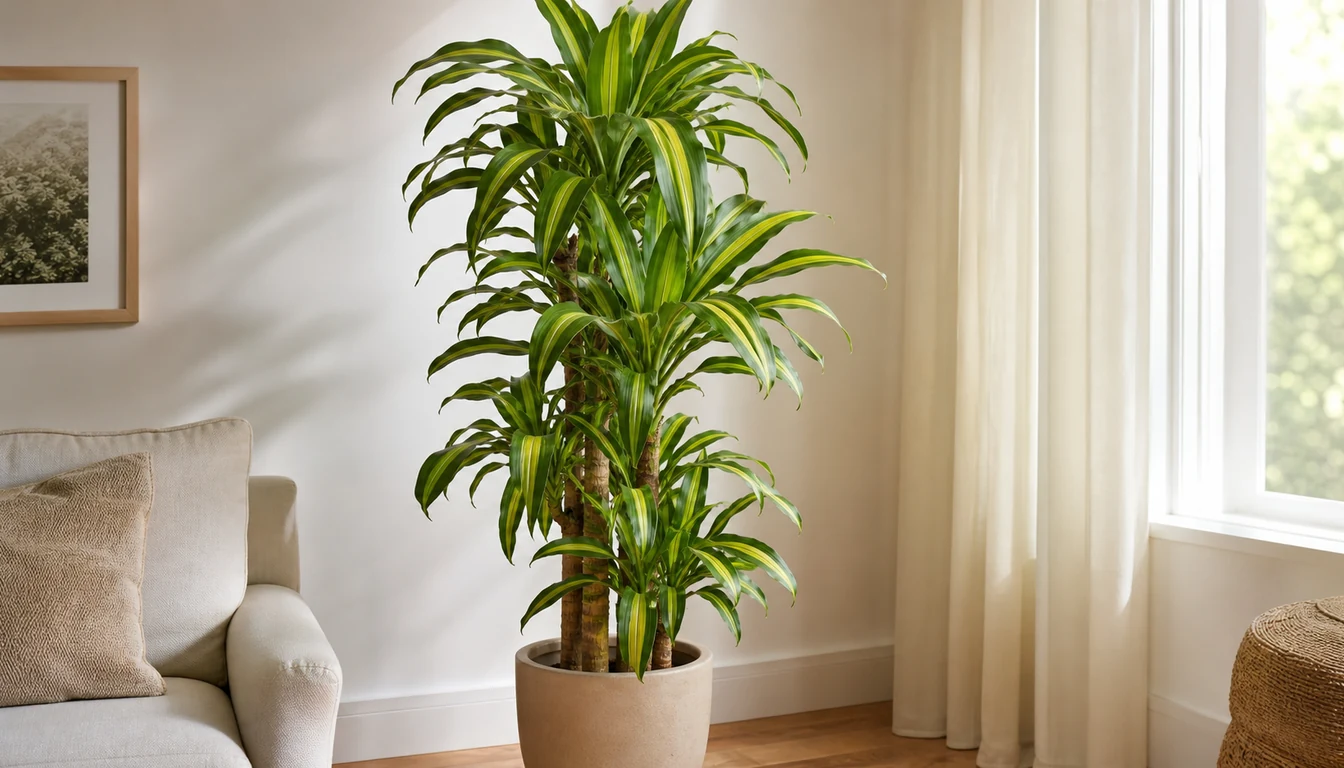
Corn Plant
A woody Dracaena with broader leaves and a wider, heavier crown.
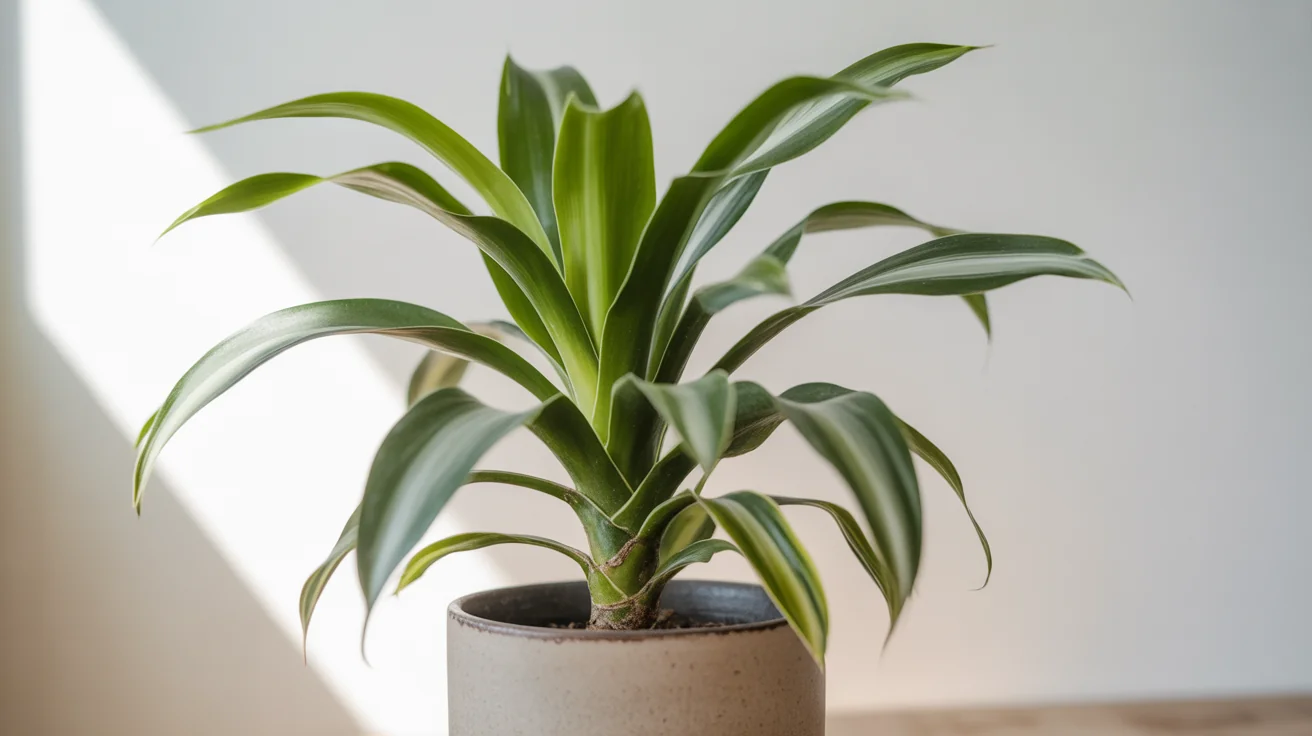
Dracaena
Compare other woody Dracaena forms and their shared care needs.
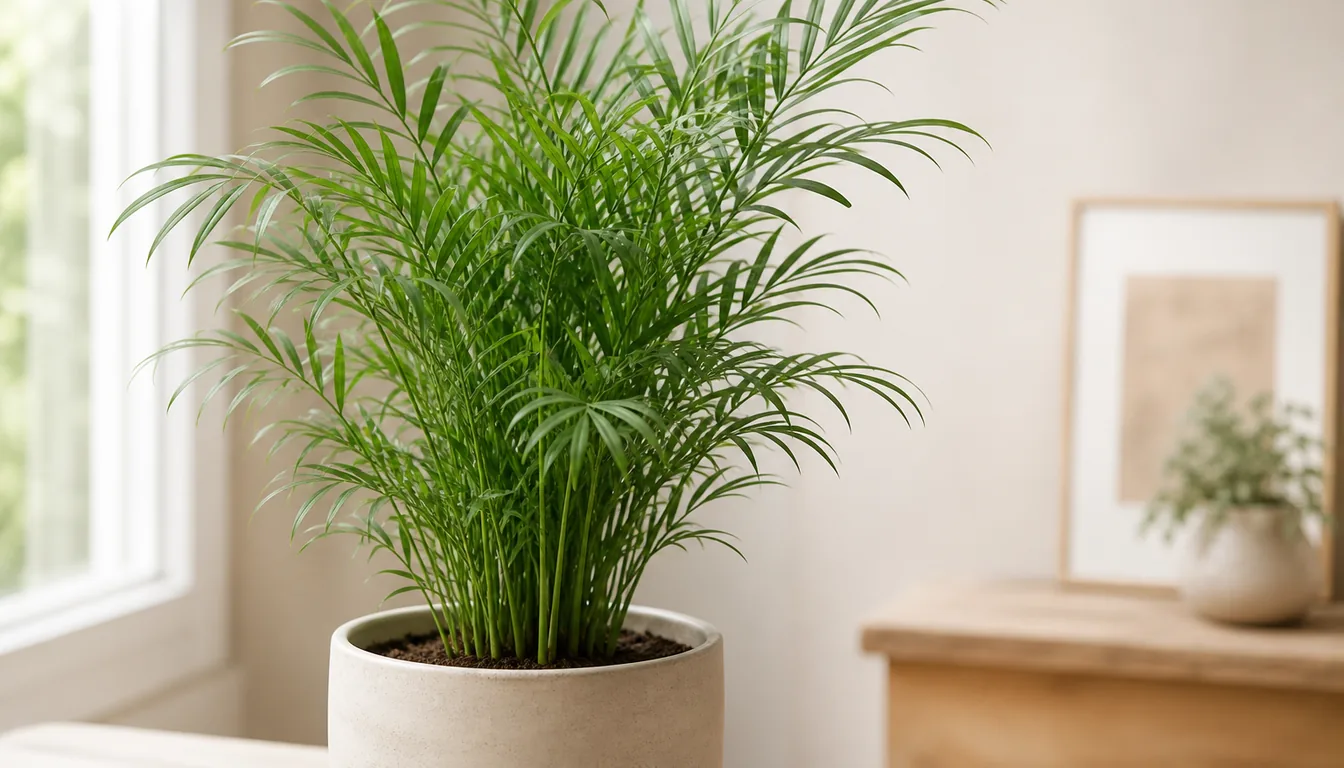
Parlor Palm
A floor plant with fine fronds rather than woody canes.
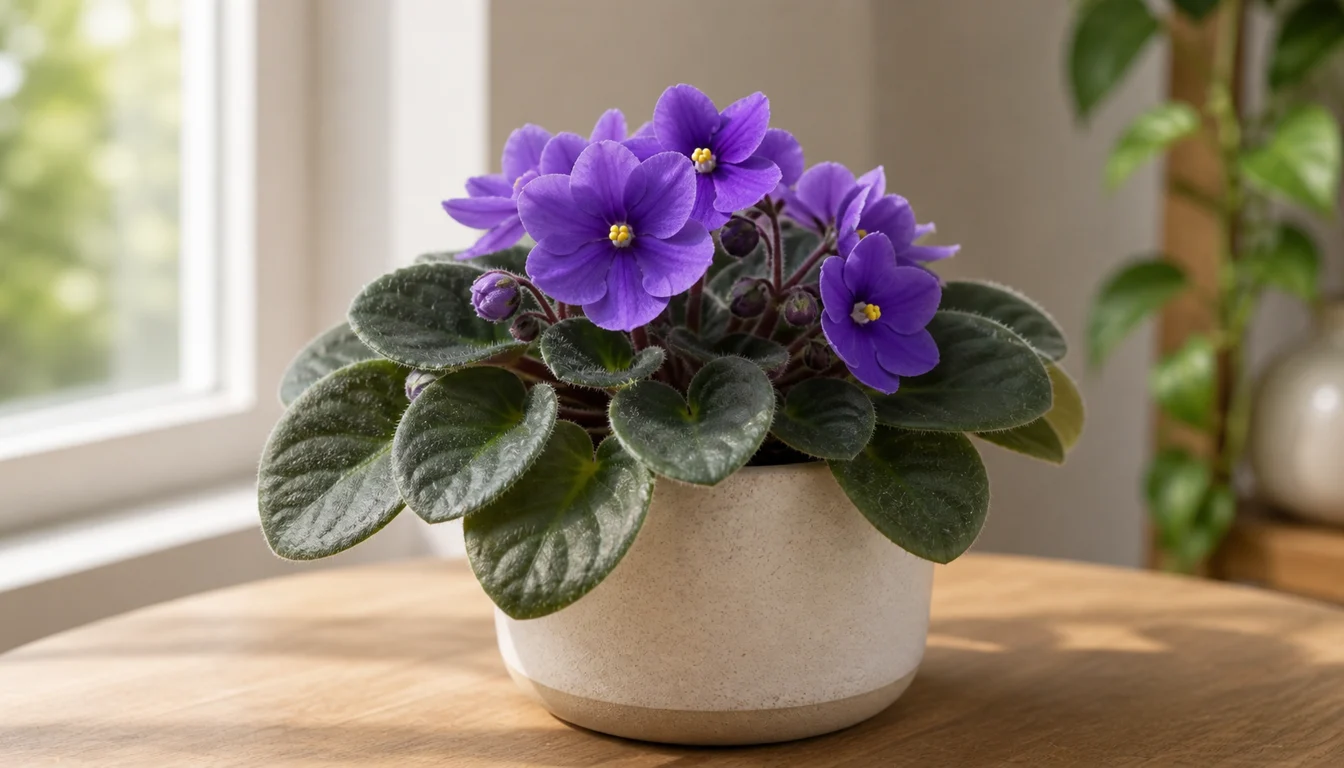
African Violet
African Violet is a windowsill bloomer that rewards steady, small-pot care.
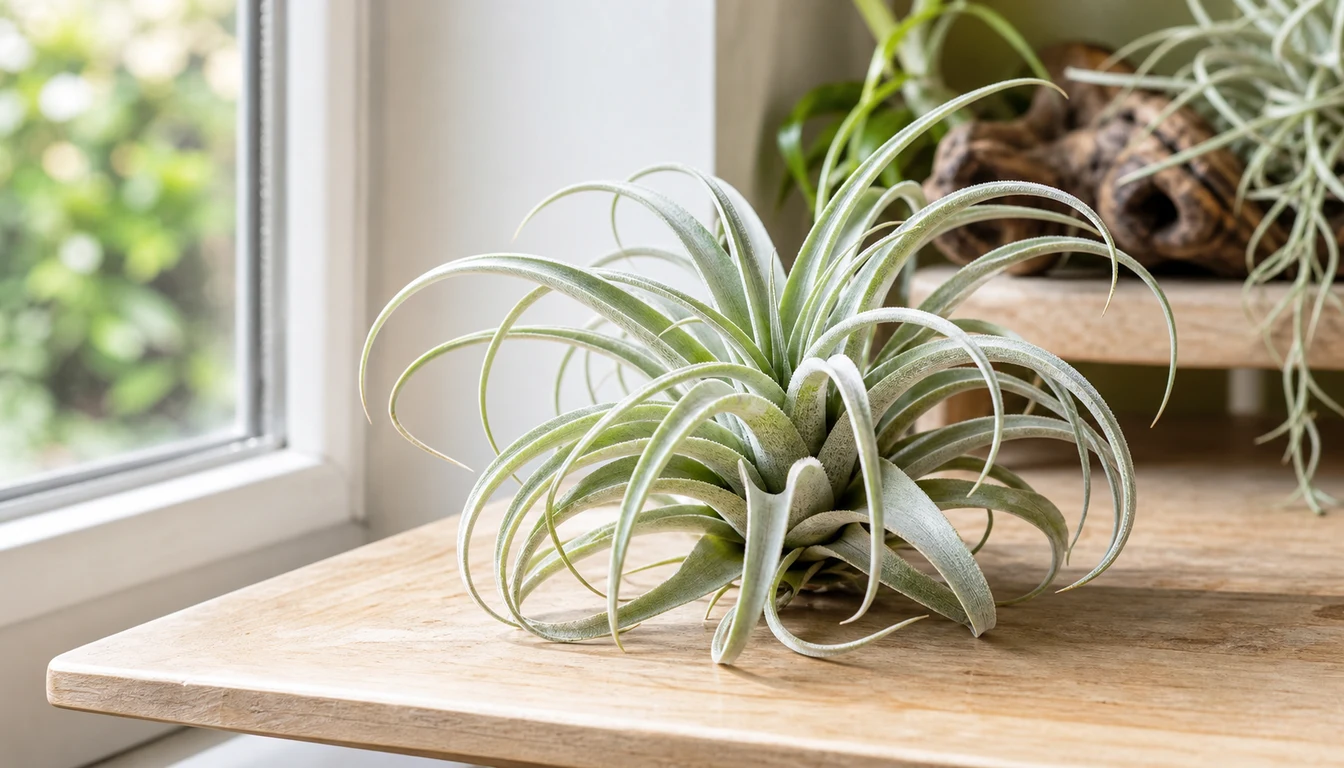
Air Plant
Air plants are living sculptures that thrive without soil, anchoring to driftwood, rocks, or shells while drawing…
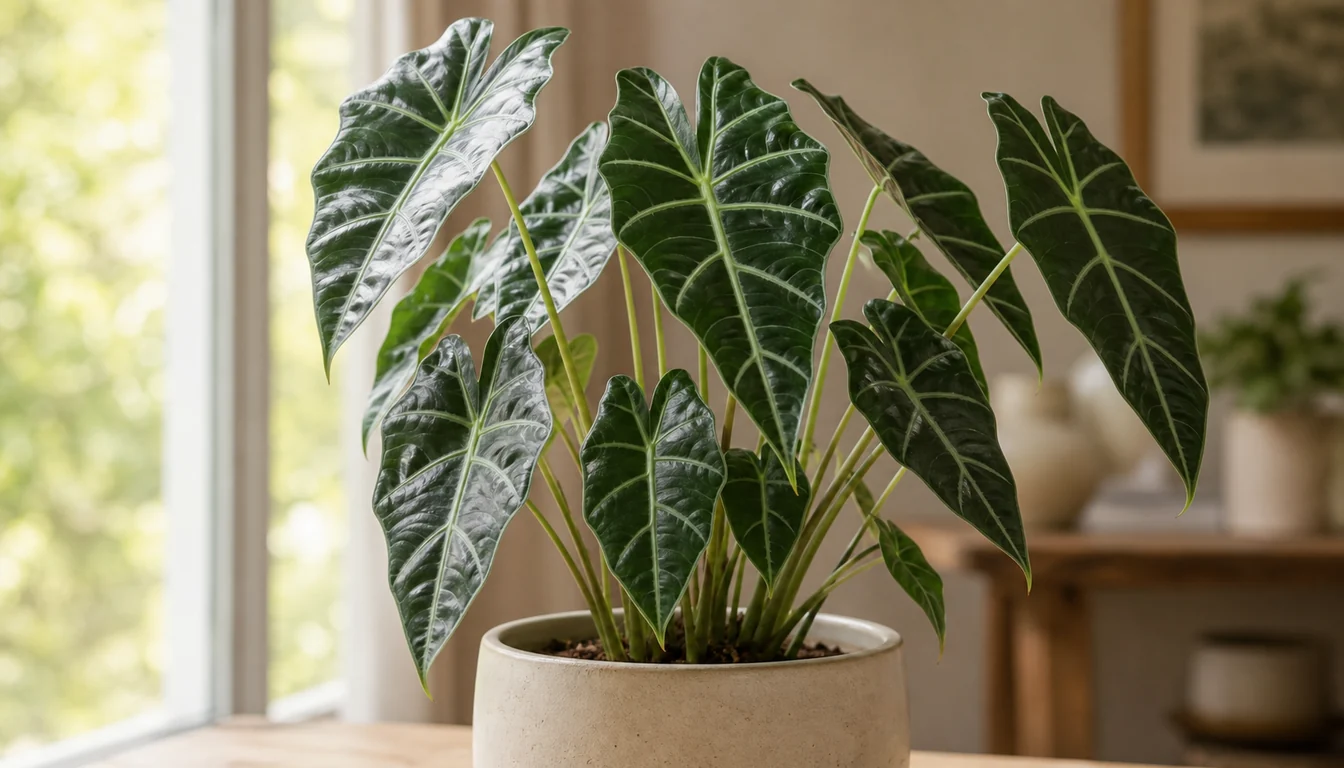
Alocasia
Alocasias include compact, textured houseplants and large elephant ears that need substantial floor space.