
How to Thin Seedlings Without Damaging the Keepers
Thin seedlings when neighboring plants begin to compete and you can identify the ones worth keeping. In indoor cells, this is often when the first true leaves appear, while crop height and the spacing on the seed packet may be more useful guides in a direct-sown row.
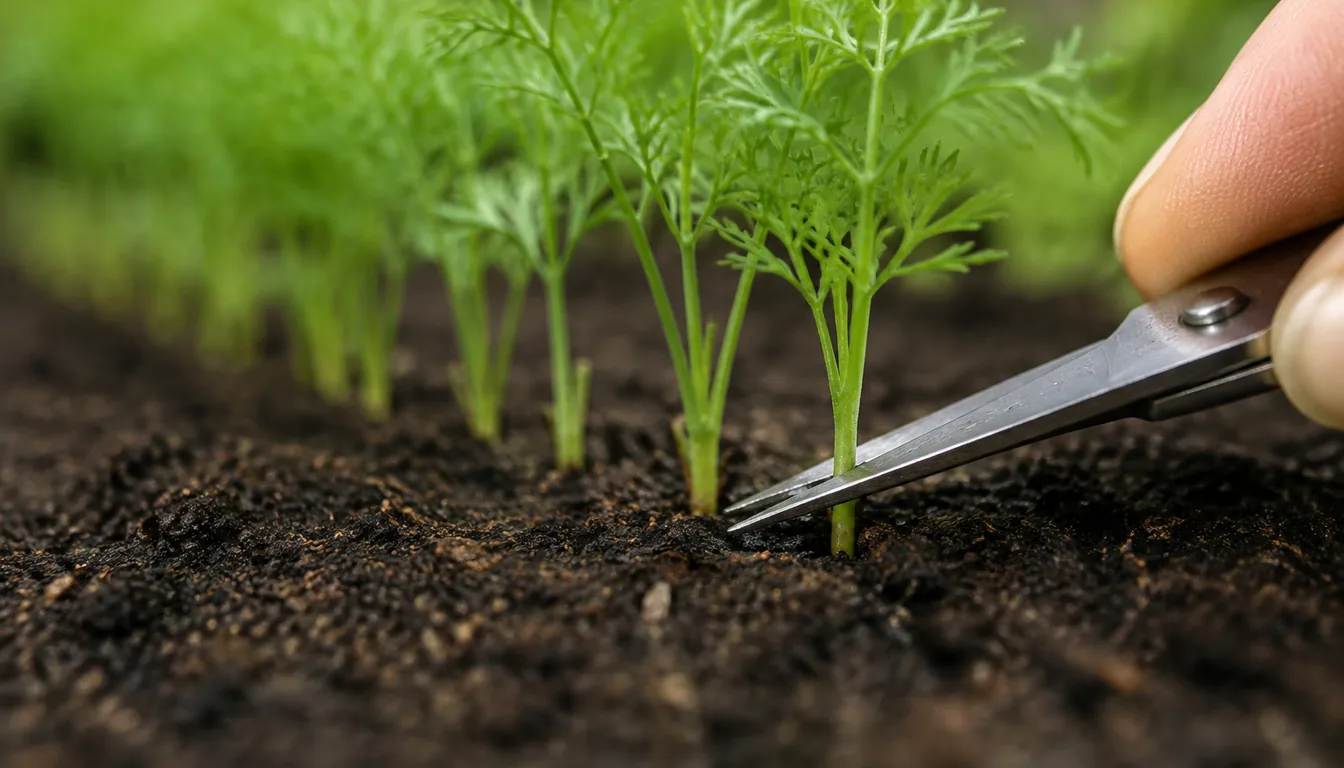
Use clean scissors to cut unwanted seedlings at the soil line when roots are crowded or the crop dislikes disturbance.
Lift an extra only when you have a useful place for it, the roots can come away mostly intact, and the crop tolerates transplanting.
The goal is not to save the greatest number of sprouts.
It is to leave the right number of healthy plants for the container, row, and harvest size you actually want.
At a glance
Why Do Seedlings Need Thinning?
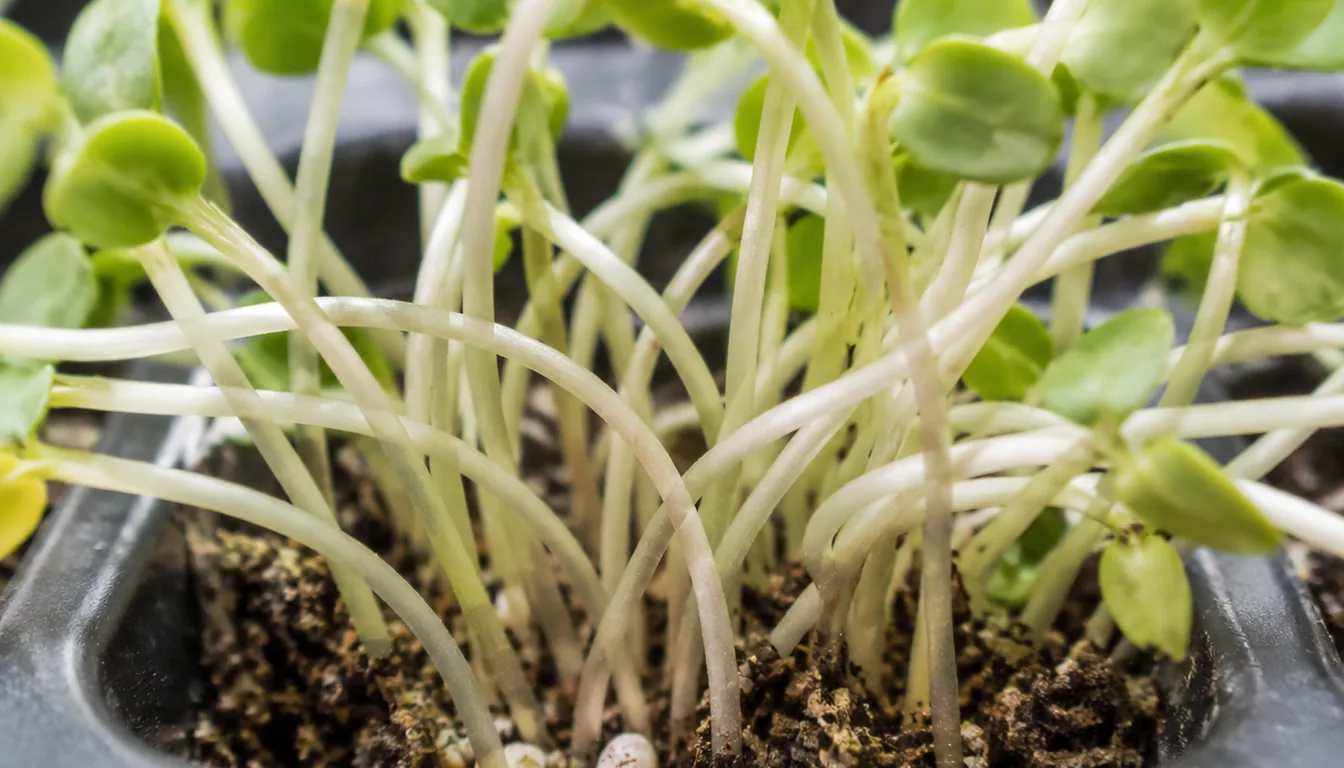
A seedling needs access to light above the soil and room for leaves and roots to expand. When too many plants occupy the same cell or short section of row, their leaves overlap, their roots share a small moisture reserve, and the fastest stems may shade smaller neighbors.
Crowding does not create healthy competition.
It can produce thin stems indoors, uneven plants in a row, slower drying around foliage, and undersized storage roots where carrots, beets, or radishes need room to widen.
Thinning is therefore a placement decision, not a punishment for weak plants. You remove surplus plants so the remaining crop matches its intended mature size or harvest stage.
That final phrase matters because spacing is not universal.
Leaf lettuce grown for baby leaves can remain closer than lettuce grown into full heads, while a carrot intended for a mature root needs more room than one harvested young.
The seed packet is the first spacing authority because it reflects the cultivar and expected use. Extension tables are useful for comparison, but they cannot account for every compact variety, baby harvest, container, or hill-planting method.
When Should You Thin Seedlings?
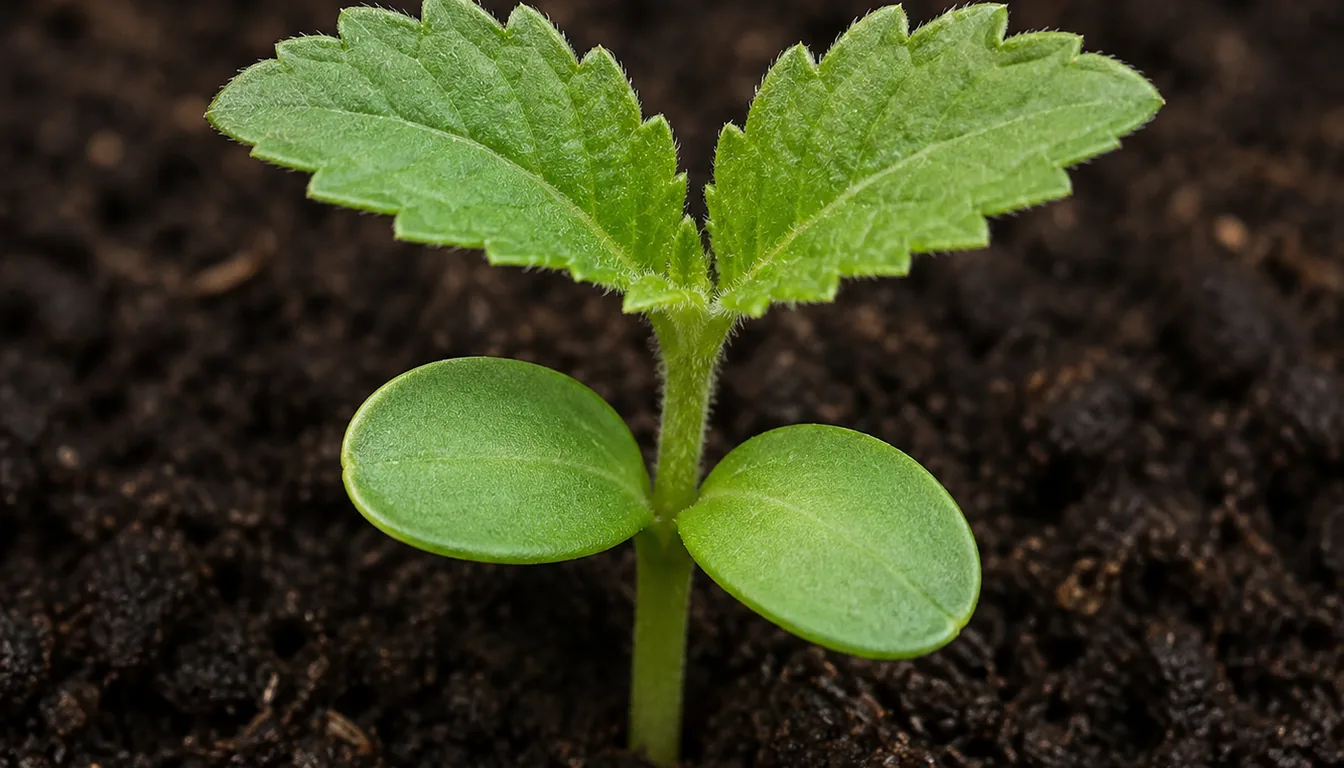
For seedlings started in trays, the first true leaves provide a practical decision point. Cotyledons are the seed leaves that appear first, while true leaves begin to show the shape and texture associated with the mature crop.
Penn State and Illinois Extension both place common indoor thinning around this stage. The plants are recognizable, yet their roots are less likely to have formed the tight mat that makes separation risky.
Use development and crowding instead of counting days. Germination speed changes with crop, temperature, moisture, seed age, and light, so a fixed number of days can make you thin one tray too early and another too late.
Direct-sown crops do not all follow the same cue. Carrots can be thinned when the seedlings are large enough to distinguish and handle, while cucurbits sown in a hill may be reduced after their early growth reveals which plants are most vigorous.
| Situation | Useful cue | Why act now | What to verify first |
|---|---|---|---|
| Several seedlings in one indoor cell | First true leaves are visible and plants can be identified | Roots are still relatively small and the keeper is easier to select | Whether the crop should finish as one plant per cell |
| Seedlings touching in a shared flat | Leaves overlap or stems lean away from neighbors | Delay increases root tangling and uneven light | Whether extras are worth potting separately |
| Direct-sown root crop | The row is identifiable and seedlings can be reached without trampling it | Early spacing gives storage roots room to develop | Final or staged spacing on the seed packet |
| Seeds sown in a hill | Plants are growing rapidly and individual vigor is clear | The hill cannot support every germinated seed to maturity | The recommended plants per hill for that crop |
| Baby-leaf or cut-and-come-again stand | Growth is dense enough to slow airflow or the first harvest is ready | Harvesting can create the needed room | Whether thinning by harvest fits the intended use |
Do not wait for every seed to germinate if the first plants are already crowding one another and the packet's normal germination window has passed.
Late seedlings can be removed in a follow-up pass if they appear after you establish the main spacing.
Water the growing medium before thinning only when it is dry enough to crumble away from roots. It should be evenly moist rather than saturated, because muddy soil smears, compacts, and makes delicate roots harder to see.
Which Seedlings Should You Keep?
First confirm that you are looking at the crop rather than a weed or a stray seedling from old potting mix.
Compare leaf shape, stem color, and emergence pattern with the packet image or a reliable crop guide before removing anything from a mixed-looking row.
Then choose for health and position. A good keeper is upright, undamaged, appropriately colored for the crop, and located close to the spacing point you need.
The tallest seedling is not automatically the strongest. A long, pale stem leaning toward light is a warning sign, while a slightly shorter plant with a thicker stem and balanced leaves may be the better choice.
Avoid keeping a plant with a pinched stem, collapsed crown, extensive discoloration, or obvious pest damage merely because it emerged first. Also avoid leaving two equally strong seedlings together when the container has room for one.
Postponing that choice lets their roots become harder to separate.
- - Confirm the crop's identity and the intended final spacing.
- - Look for a sturdy stem, balanced leaves, and active new growth.
- - Favor a plant near the center of a cell or the correct point in a row.
- - Reject seedlings with collapsed stems, major injury, or spreading decay.
- - Check the entire line from above so one choice does not create a large gap beside another.
In a garden row, a perfectly straight pattern matters less than usable room. Shift a keeper slightly left or right when that preserves the healthiest plant without leaving its nearest neighbor crowded.
Measure from the keeper stems, not from the empty holes left by the plants you remove. This prevents a dense cluster at one end of a marked interval and an unnecessary bare patch at the other.
When seedlings differ greatly in size because germination was uneven, you may need two passes.
Make the first pass wide enough to stop immediate crowding, then select the final spacing after the later seedlings reveal whether they can catch up.
How Do You Thin Seedlings in Trays and Pots?
Gather small clean scissors, a plant label or narrow dibber, and water with a gentle delivery method. Wash soil and plant residue from the blades before you begin so you do not carry decaying tissue from one tray to another.
Work in good light and finish one labeled variety at a time. Seedlings at the cotyledon stage can look nearly identical, and moving between unlabeled trays is an easy way to keep the wrong crop.
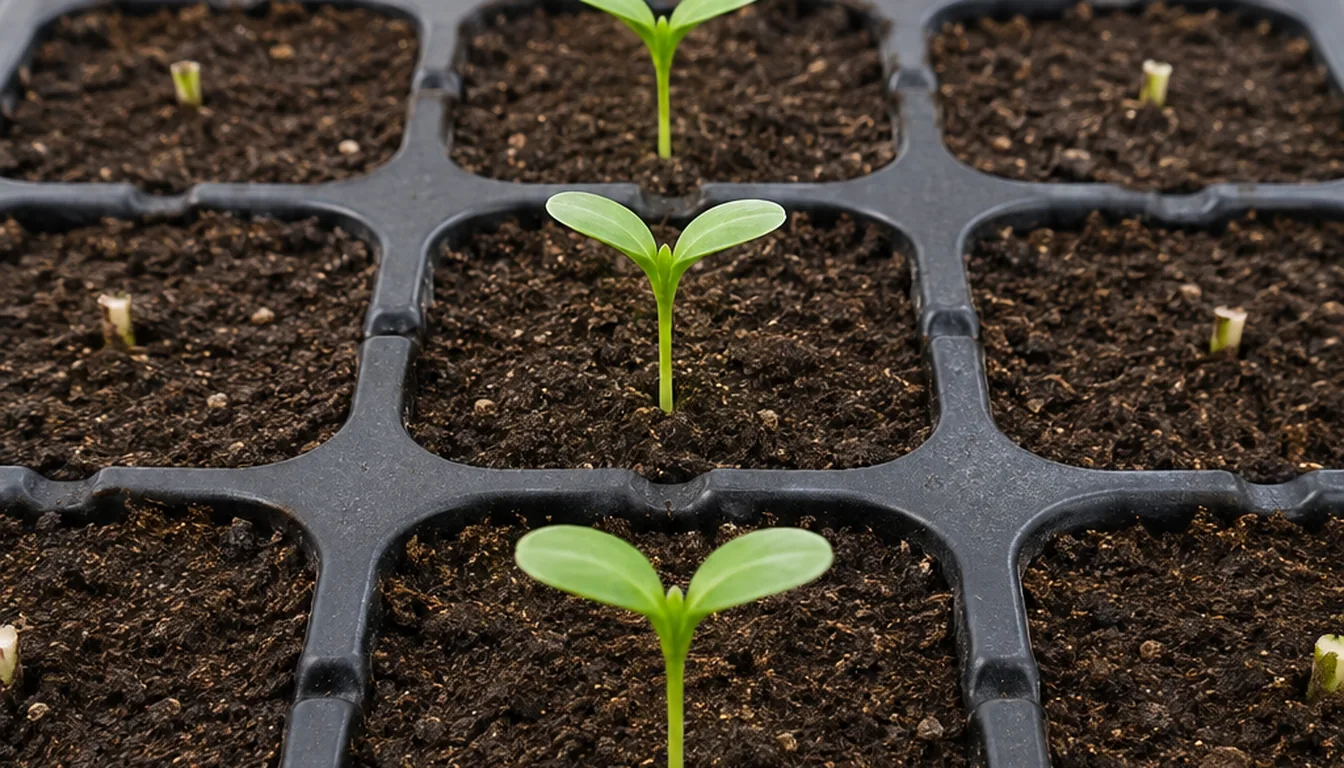
- 1. Water a dry tray and let excess water drain so the medium is evenly moist, not muddy.
- 2. Choose the single keeper or the packet-directed number of plants before touching any stem.
- 3. Steady your scissors near the medium while keeping the blades away from the keeper's stem.
- 4. Cut each unwanted seedling at or just above the surface; do not pull on the cut top.
- 5. Remove fallen foliage from the tray so it does not stay wet against healthy stems.
- 6. If the surface opened or shifted, press it lightly back into contact without packing the cell hard.
- 7. Return the tray to its established light and airflow, then recheck moisture later the same day.
Cutting leaves the unwanted roots in place, but those tiny roots are less disruptive than tearing through the keeper's root zone. They break down in the growing medium while the remaining seedling expands into the available space.
Do not pinch a seedling by squeezing two stems together near the soil. Scissors give you a controlled cut and reduce the chance of bruising the stem you intend to keep.
Large community pots require a different decision because several plants may legitimately share the container.
Use the packet spacing and the pot's usable surface area to lay out the keepers, then remove plants that leave the remaining roots and foliage evenly distributed.
A container cannot make a full-size crop behave like a baby-leaf crop simply because more seedlings fit at first. Plan for mature width and root volume, not the attractive carpet visible during the first few weeks.
How Do You Thin Direct-Sown Rows and Root Crops?
Start by exposing the row visually rather than cultivating through it.
Remove obvious weeds by hand, read the packet's in-row spacing, and use a small ruler or a marked plant label so your eye does not gradually compress the gaps.
For carrots and other closely sown root crops, cutting is the lowest-disturbance method when seedlings are small. Illinois Extension specifically recommends cutting rather than pulling carrots you want to remove so the plants left behind are not disturbed.
| Crop or use | Example Extension spacing | Best removal approach | Important qualification |
|---|---|---|---|
| Mature carrots | Commonly 1 to 2 inches within the row | Snip small extras; later edible thinnings may be lifted carefully | Cultivar and intended harvest size can change spacing |
| Beets | Commonly 1 to 3 inches | Thin by hand or snip where clusters are tight | A beet seed unit can produce more than one seedling |
| Spring radishes | Often 1/2 to 1 inch | Snip or pull carefully in loose soil | Winter radishes usually need substantially more room |
| Leaf lettuce | About 4 inches for many full plants | Harvest selected plants or snip them | Baby-leaf production can remain closer |
| Spinach | Often 2 to 4 inches in rows | Cut selected plants at the surface | A crop harvested whole and young may be left denser |
These numbers illustrate why one universal chart is unsafe.
Illinois Extension gives different spacing for spring and winter radishes, and its carrot guidance changes with whether roots will be harvested as finger carrots, young roots, or mature storage roots.
Beets create another common surprise because the rough object sold as a seed is often a dried fruit containing a cluster of seeds. Several seedlings emerging from one point do not prove that you accidentally dropped several packets' worth in the same hole.
Final spacing follows the crop and harvest goal, not the size of the seedling today. A tiny beet or head lettuce plant can look lonely after thinning even though its leaves and edible portion will later occupy the gap.
Pulling can be reasonable when the soil is loose, the row is not tightly rooted, and the removed plant has reached an edible size. Hold the soil beside the keeper, lift the extra slowly, and stop if neighboring stems move with it.
Thin in stages when the packet or crop guide supports a young harvest. Collards, for example, can be thinned initially and later harvested as whole plants to create their mature spacing, turning the second pass into food rather than waste.
After working down a row, view it from both ends. This makes doubled plants, accidental gaps, and areas you skipped easier to see before you put the ruler away.
Can You Transplant or Eat the Extra Seedlings?
Some extras can be moved, but transplanting every seedling is not the same as avoiding waste.
Each rescued plant needs another container or correctly spaced garden position, more growing medium, light, water, and later care.
Save extras when the crop tolerates transplanting, the seedlings are still manageable, and you have a real destination ready. Annual flowers, lettuce, and many young brassicas are generally more forgiving choices than a crowded carrot row whose taproots are already extending downward.
Moisten the medium, loosen beneath the roots with a label or small tool, and lift a small plug rather than pulling the stem. Handle the seedling by a leaf when possible because a damaged leaf can be replaced, while a crushed stem usually cannot.
Set the roots into a prepared hole without folding them upward. Firm the medium gently, water to settle it, and give the transplant stable conditions while it resumes growth.
Putting ten rescued seedlings into one spare pot only moves the competition.
Not every garden thinning is safe to eat.
Use only seedlings you can identify with certainty, from an edible crop, and that have not been exposed to a pesticide or seed treatment whose label excludes that use.
Carrot, beet, lettuce, spinach, and collard thinnings may be edible at suitable stages, but crop identity and treatment history come before the desire to save a handful of greens. If either is uncertain, do not eat them.
Cut seedlings left on clean potting mix should be removed rather than used as mulch against delicate stems. In an outdoor row, healthy plant material can go to compost, while diseased or chemically restricted material should follow the disposal directions that apply to it.
What Care Do Seedlings Need After Thinning?
Snipped seedlings usually need little recovery because the keeper's roots were not moved.
Your main job is to remove fallen tops, check that the growing medium still contacts the keeper's base, and restore the moisture level the crop was receiving before the work.
Do not automatically soak the tray. If the medium is already evenly moist, more water can reduce the air available to roots and keep the surface wet around young stems.
Where you lifted or transplanted seedlings, water gently enough to settle loose particles around roots without flattening the foliage. Recheck later because a disturbed cell or small transplant pot can dry at a different rate from the rest of the tray.
Keep the established light position unless it was already causing stretched growth. A sudden move from modest indoor light to direct outdoor sun adds a second stress and can scorch leaves even when the thinning itself went well.
Fertilizer is not first aid for a disturbed seedling. Follow the crop's existing seedling-feeding plan and product label rather than applying an extra dose to force recovery.
- - Remove cut tops and any collapsed foliage touching the medium.
- - Settle soil only where lifting created a hole or exposed roots.
- - Check moisture before adding water; do not water by reflex.
- - Return indoor trays to even light and gentle air movement.
- - Label transplanted extras before similar seedlings become hard to distinguish.
- - Recheck the keepers for movement, wilting, or surface drying later that day.
Outdoors, close holes left by pulled plants so exposed edges do not dry the keeper's roots. A gentle watering can settle loose soil, but a hard spray may lodge the small plants or wash the row out of alignment.
The open space may look excessive immediately after a final thinning. Judge the result by the crop's next stage, not by how full the bed looks today.
What Went Wrong After Thinning?
A plant that remains upright after nearby stems were snipped should continue without a dramatic pause.
When several keepers wilt, lean, discolor, or collapse, diagnose the changed condition instead of assuming that thinning itself poisoned them.
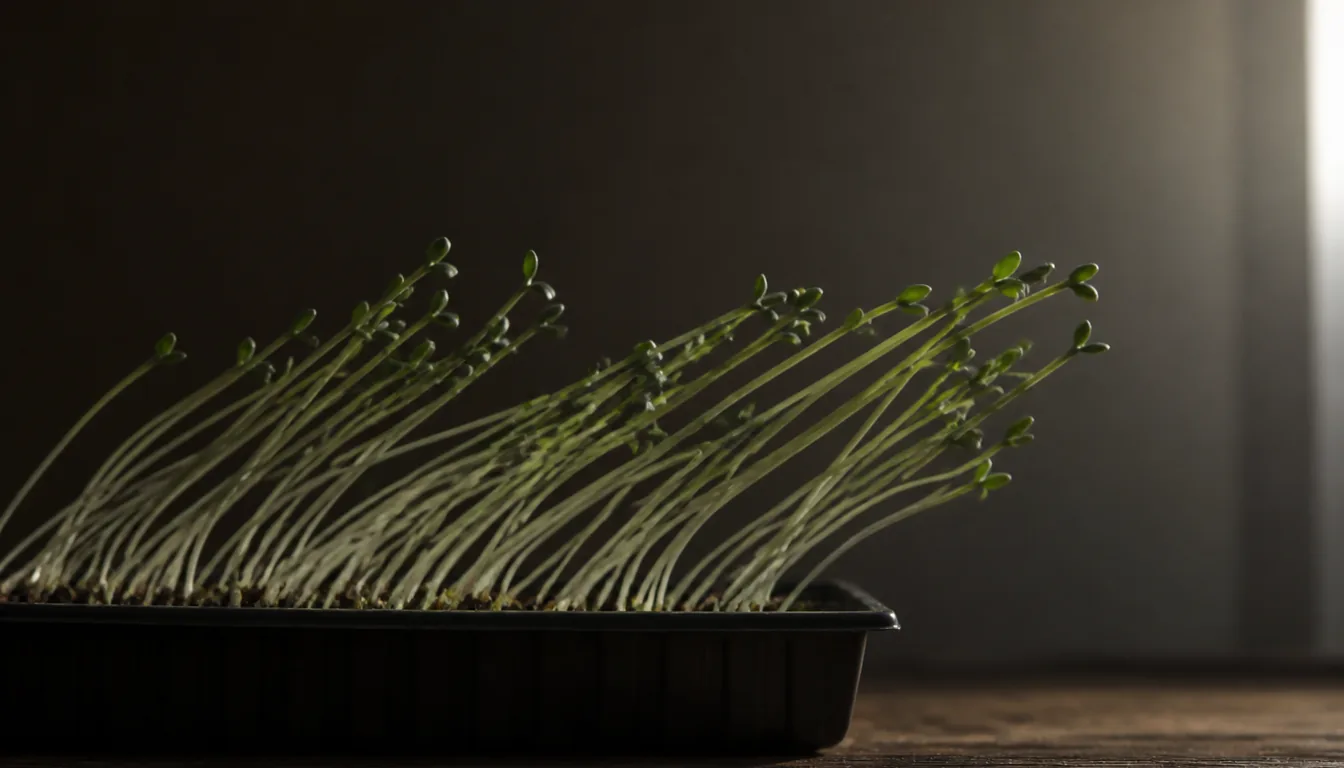
| Symptom | Likely explanation | What to inspect | Practical response |
|---|---|---|---|
| Keeper leans immediately | Its roots or surrounding medium moved during pulling | A hole, lifted root ball, or loose stem base | Settle medium around the roots and support the plant without burying the crown |
| Transplanted extra wilts | Root loss exceeds the leaves' current water supply | Torn roots, folded roots, dry medium, or intense light | Restore even moisture and reduce abrupt exposure while it reestablishes |
| Stem collapses at the surface | Damping-off or persistent wetness may be involved | Pinched, dark, or water-soaked tissue and nearby affected plants | Remove the failed plant, improve sanitation and airflow, and correct excess moisture |
| New growth stays stretched | Light remains inadequate or uneven | Long internodes, pale growth, and leaning toward one side | Correct the light setup; extra spacing cannot replace enough light |
| Leaves yellow after repeated watering | Root-zone air may be limited or drainage may be poor | Soggy mix, standing water, blocked holes, or slow container drainage | Let conditions move back toward the crop's proper moisture range and restore drainage |
| Gaps appear in the row | A keeper was removed or late germination failed | Spacing around the gap and the crop's remaining season | Leave the gap, transplant a suitable extra, or resow only if timing allows |
A single wilted transplant can recover, but a stem constricted at the soil line will not be repaired by fertilizer. Remove collapsing seedlings promptly and inspect the remaining tray for wet conditions and contaminated tools or containers.
Do not lower a light to a fixed distance without considering the fixture and crop. Lamp intensity and heat vary, so use the manufacturer's guidance and plant response instead of repeating a number that may burn one tray and leave another leggy.
Repeated severe crowding usually begins at sowing.
The next time, place large seeds individually, sow small seeds more deliberately, consider pelleted seed where appropriate, and label the expected thinning distance before emergence.
Precision at sowing reduces waste, but it does not eliminate selection. Germination is uneven, some seed units produce clusters, and a few seedlings will still emerge in positions that cannot support mature plants.
The final test asks whether each keeper has a defensible place in the layout, healthy tissue, and enough room for the harvest stage you chose. Once those conditions are met, stop thinning and let the crop grow.
Pro Tips
- Choose every keeper before making the first cut in a cell or short section of row.
- Use the seed packet's spacing for the cultivar and harvest stage instead of a universal spacing rule.
- Cut at the surface when pulling would move the roots or stem of the plant you want to keep.
- Handle a rescued seedling by a leaf and support its roots from below rather than tugging its stem.
- Thin in a second pass only when staggered emergence or an edible interim harvest makes that useful.
- Do not add water or fertilizer automatically after thinning; inspect the medium and plant first.
- Eat thinnings only when crop identity and pesticide or seed-treatment history are certain.
- Record which sowing method created heavy crowding so you can place the next batch more precisely.
Frequently Asked Questions
Is it better to cut or pull seedlings when thinning?
Cutting at the growing-medium surface is safer when roots are crowded, the keeper moves when an extra is touched, or the crop dislikes root disturbance.
Pulling is reasonable in loose soil when you want an edible thinning or transplant and can remove it without shifting neighboring plants.
Do seedlings grow back after you cut them at the soil line?
Most young seedlings cut below their growing point will not return, which is why surface cutting works for thinning. Inspect the spot later and recut any crop that has a low growing point and produces new leaves.
Can two seedlings grow together in one cell?
They can grow together briefly, but most transplants intended to become large individual plants should finish as one plant per cell. Multi-sown herbs, grouped onions, baby greens, and other crop-specific methods are exceptions, so follow the packet and production method.
What happens if I thin seedlings too late?
Late thinning can leave tangled roots, uneven stems, and more disturbance when extras are removed.
Cut the unwanted plants rather than separating a tight root mass, then correct light, moisture, and final spacing without adding unnecessary fertilizer.
Can I transplant carrot seedlings that I thin?
A very young carrot can sometimes survive careful transplanting, but carrots generally perform best when direct-sown and left undisturbed. Cutting crowded extras is the lower-risk choice when straight, full-size roots are the goal.
Sources & References
- Penn State Extension: Sowing Annual Seeds
- Penn State Extension: Transplanting Annuals into the Garden
- Illinois Extension: Starting From Seed Indoors
- Illinois Extension: Vegetable Planting Distances
- Illinois Extension: Carrots
- Illinois Extension: Beets
- Illinois Extension: Collards
- Oregon State University Extension: Carrots
Related Guides
Best Butterfly Garden Plants for a Complete Habitat
The best butterfly garden plants do two different jobs. Host plants feed caterpillars, while nectar…
15 min read
Best Fall-Blooming Flowers for Color Near Frost
A bed that still carries flowers in October usually was planned before temperatures fell.
9 min read
Best Fast-Growing Trees for Shade and Privacy
The best fast-growing tree is the one whose mature crown, roots, climate range, and maintenance…
16 min read
Best Fragrant Flowers for Every Yard and Season
The best fragrant flowers depend on climate, light, space, and the hours you use the yard.
15 min read
Best Full-Sun Perennials for Hot, Bright Beds
The best full-sun perennials are the ones that match the bed's soil moisture and drainage, local…
14 min read
Best Ground Cover Plants for Sun, Shade, and Slopes
The best ground cover is a plant that survives the site and performs the job without escaping into…
18 min read