
Direct Sow vs Transplant: Choose the Right Method
Direct sow when a crop establishes well outdoors and gains little from being started elsewhere. Transplant when protected growth buys useful time, saves scarce seed, or lets you place a known plant into limited bed space.
The choice is not a permanent label on every crop.
Soil temperature, frost risk, days remaining before heat or cold, root sensitivity, pest pressure, equipment, and the cost of a failed stand can change the answer.
Use the method that removes the biggest constraint for that planting. A carrot usually benefits from staying where its storage root begins, while a long-season pepper often benefits from arriving outdoors with leaves and roots already working.
Some crops can use either method.
For those, compare the value of an earlier, more controlled start with the extra light, containers, hardening, and handling that a transplant requires.
At a glance
What Is the Difference Between Direct Sowing and Transplanting?
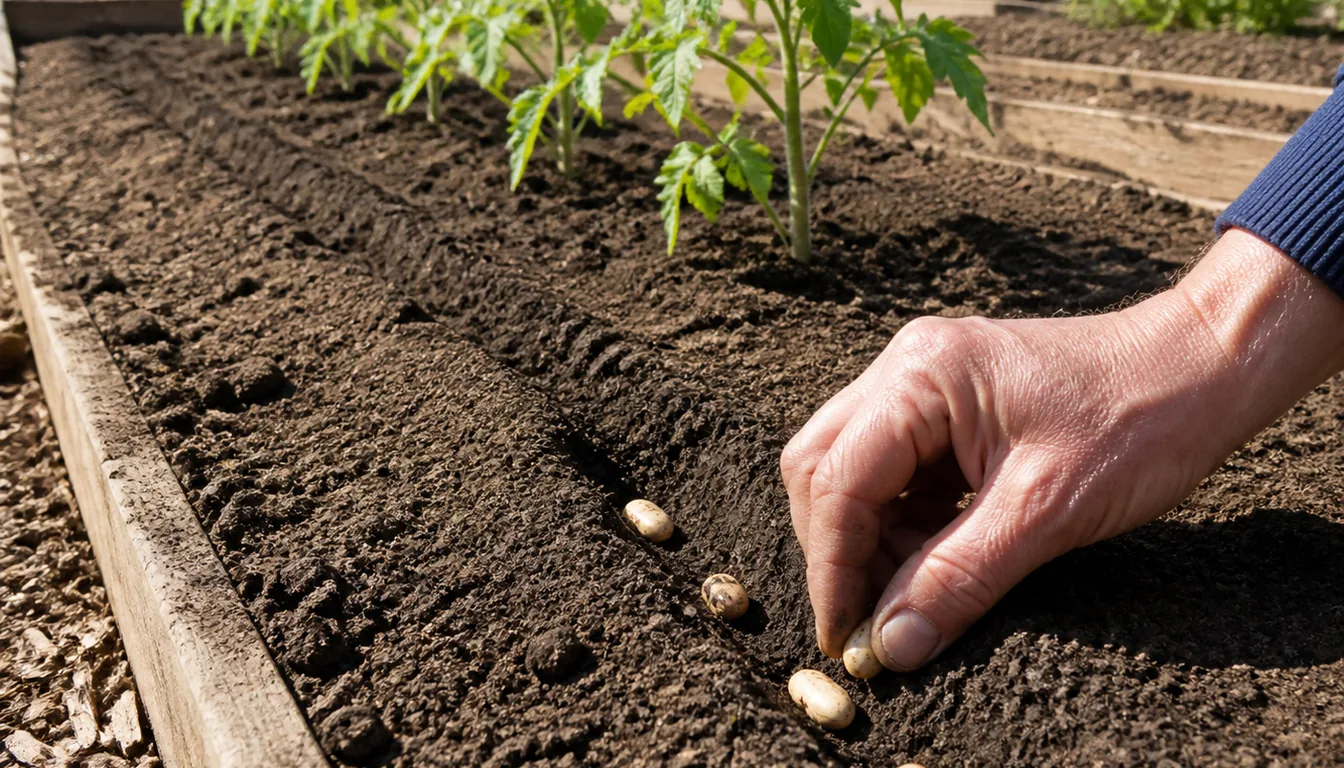
Direct sowing places a seed where the mature plant will grow. Germination, emergence, thinning, and early root growth all happen in the bed or container that the crop will occupy.
Transplanting moves a young plant into that final position. The seed may have been started at home, in a greenhouse, in an outdoor nursery bed, or by a grower who sells ready plants.
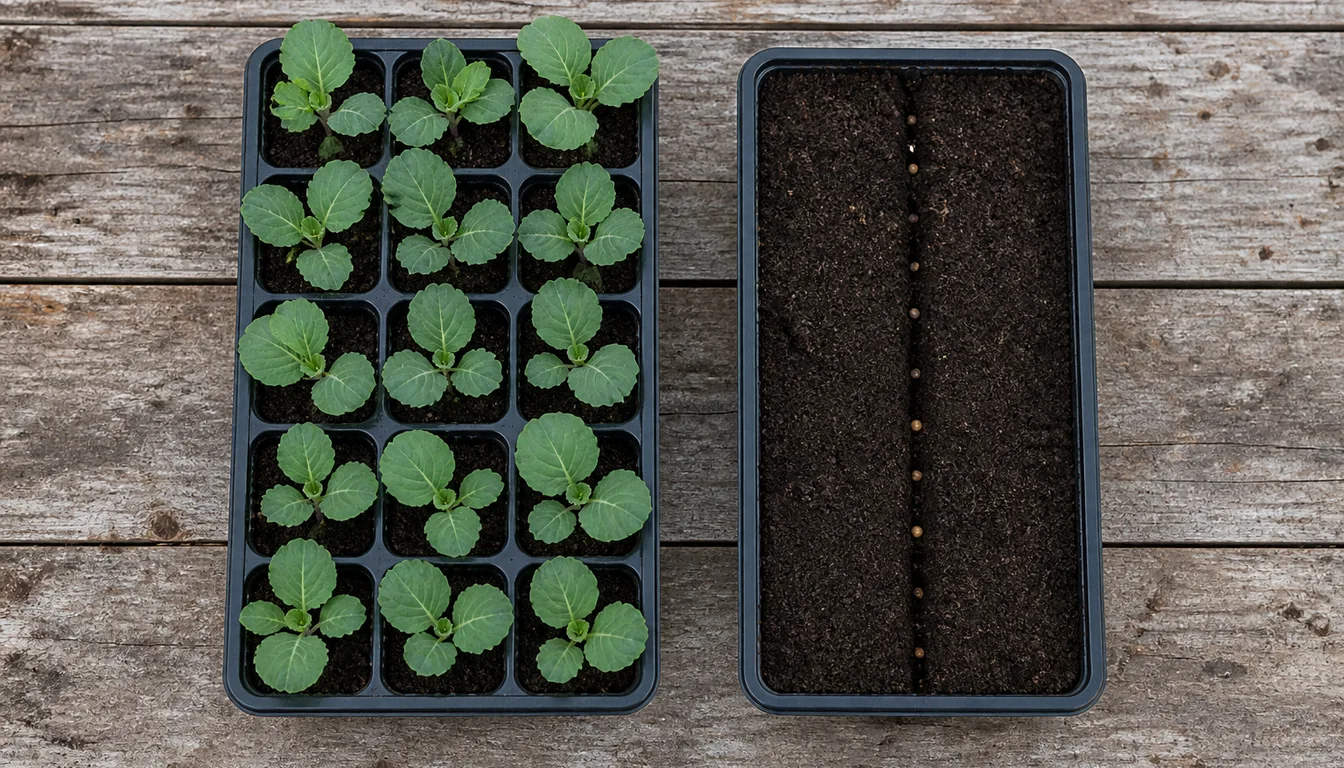
| Decision | Direct sow | Transplant |
|---|---|---|
| Starting point | Seed in final soil | Established seedling |
| Calendar value | Outdoor growth starts when conditions allow | Protected growth starts earlier |
| Root handling | None after germination | Root ball moves once or more |
| Bed certainty | Emergence may leave gaps | Plant count is known at setting |
| Inputs | Seed, prepared soil, protection as needed | Containers or purchased starts, light, space, hardening |
| Early risk | Crusting, drying, washout, birds, slugs | Shock, weak roots, sunscald, wind injury |
Neither method guarantees an earlier harvest. A stressed or overgrown transplant can pause after planting, while a direct-sown seed in warm, moist soil may establish quickly and catch up.
The real comparison is useful head start versus added handling. Count only the head start that survives the move into the garden.
Which Crops Fit Each Method, and Which Can Use Either?
Crop biology narrows the choice, but it does not support one universal list.
Variety, container size, seedling age, local weather, and planting technique can change how well a plant moves.
Carrots, parsnips, radishes, and other crops grown for a straight storage root are usually sown in place. Damage or bending near the young root can change the part you intend to harvest.
Tomatoes, peppers, eggplants, onions, and many brassicas are commonly transplanted because protected growth can add valuable time or improve stand uniformity. That advantage matters most where the outdoor season is short relative to the crop.
Usually direct sow
Carrots, parsnips, radishes, peas, beans, and corn. Root shape, scale, or rapid growth makes moving them less useful.
Usually transplant
Tomatoes, peppers, eggplants, leeks, onions, broccoli, cabbage, and cauliflower. A controlled start often buys time or a uniform stand.
Either method can work
Lettuce, kale, chard, basil, cucumbers, squash, melons, and many flowers. Conditions and the gardener's goal decide.
Cucumbers, squash, and melons show why blanket rules fail. They can be sown into warm soil, yet a young container-grown plant can also work when it is moved before it becomes crowded and its root ball stays intact.
Lettuce and kale are flexible for a different reason. Direct sowing can produce a dense cutting patch, while transplants can give exact final spacing or fill a small number of openings.
Seed size alone does not settle the choice.
Large seed is easier to place outdoors, but temperature, birds, rodents, soil insects, and the value of each seed still affect risk.
Choose by the harvested organ and the local constraint. Protect root form when that is the crop, and buy time only when time has real value.
How Do Frost, Soil Temperature, and Season Length Change the Choice?
Air temperature tells you about frost and leaf exposure.
Soil temperature tells you whether a seed is likely to germinate promptly, and the remaining frost-free season tells you whether the crop has time to finish.
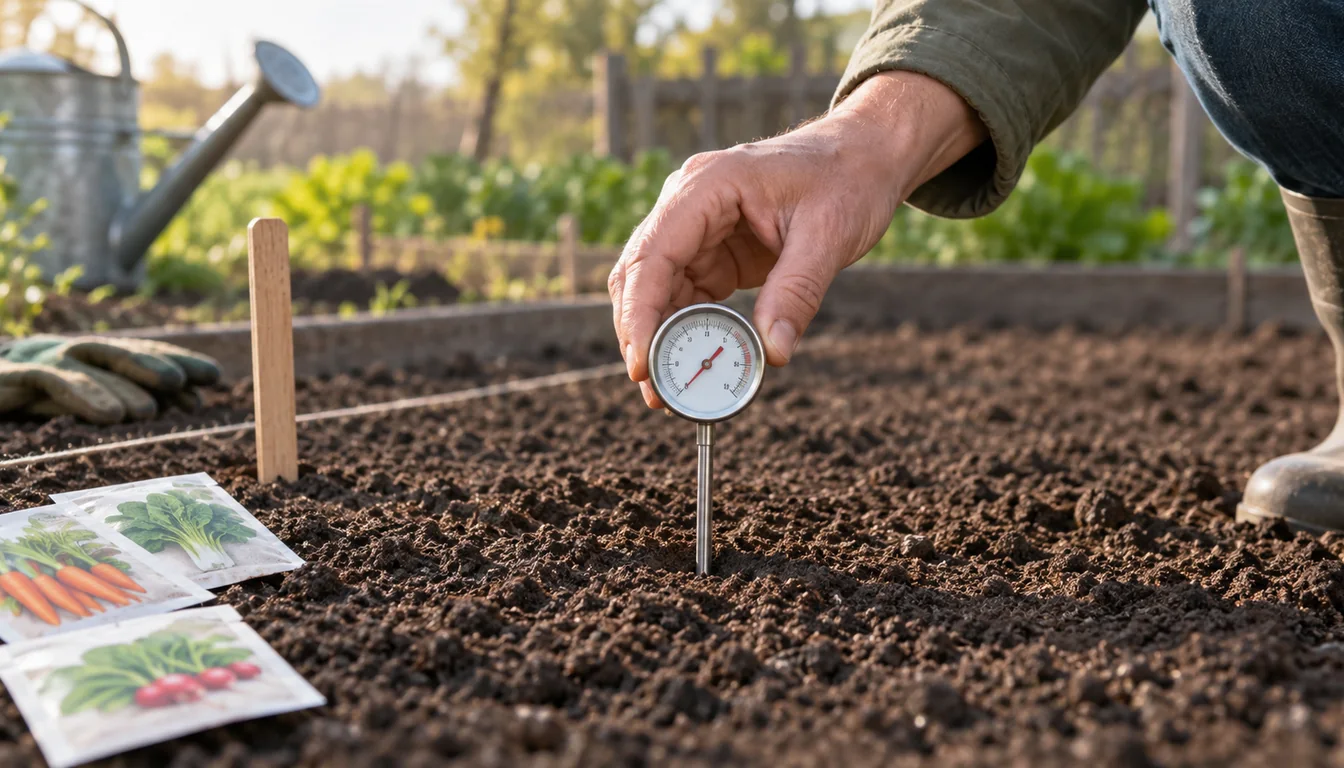
University of Minnesota Extension uses 40 to 50°F soil as a regional direct-seeding window for peas, spinach, lettuce, and radish. The same guide delays warm-season plantings and emphasizes local outdoor conditions, which is why its dates should not be copied into another climate.
- Read the packetNote the recommended outdoor timing, sowing depth, days to emergence, and whether maturity is counted from seed or transplant.
- Check local guidanceUse your extension planting calendar and forecast rather than a hardiness zone alone.
- Measure the seed zoneTake soil temperature at the depth and location you intend to sow, at a consistent time on several days.
- Count the usable seasonCompare likely harvest timing with summer heat, first frost, or another seasonal limit.
- Price the delayDecide whether a failed sowing can be repeated or whether losing those days would end the crop.
- Choose protection or a transplantUse row cover, a later sowing, or a suitable start only when it solves the measured constraint.
A USDA hardiness zone describes average annual extreme winter cold. It does not give a spring frost date, current soil temperature, summer heat window, or first autumn frost, so it cannot choose the method by itself.
Transplants do not make cold soil warm.
A tender seedling placed too early can stop growing or suffer injury even when it has several leaves.
How Should You Prepare for Seeds or Transplants?
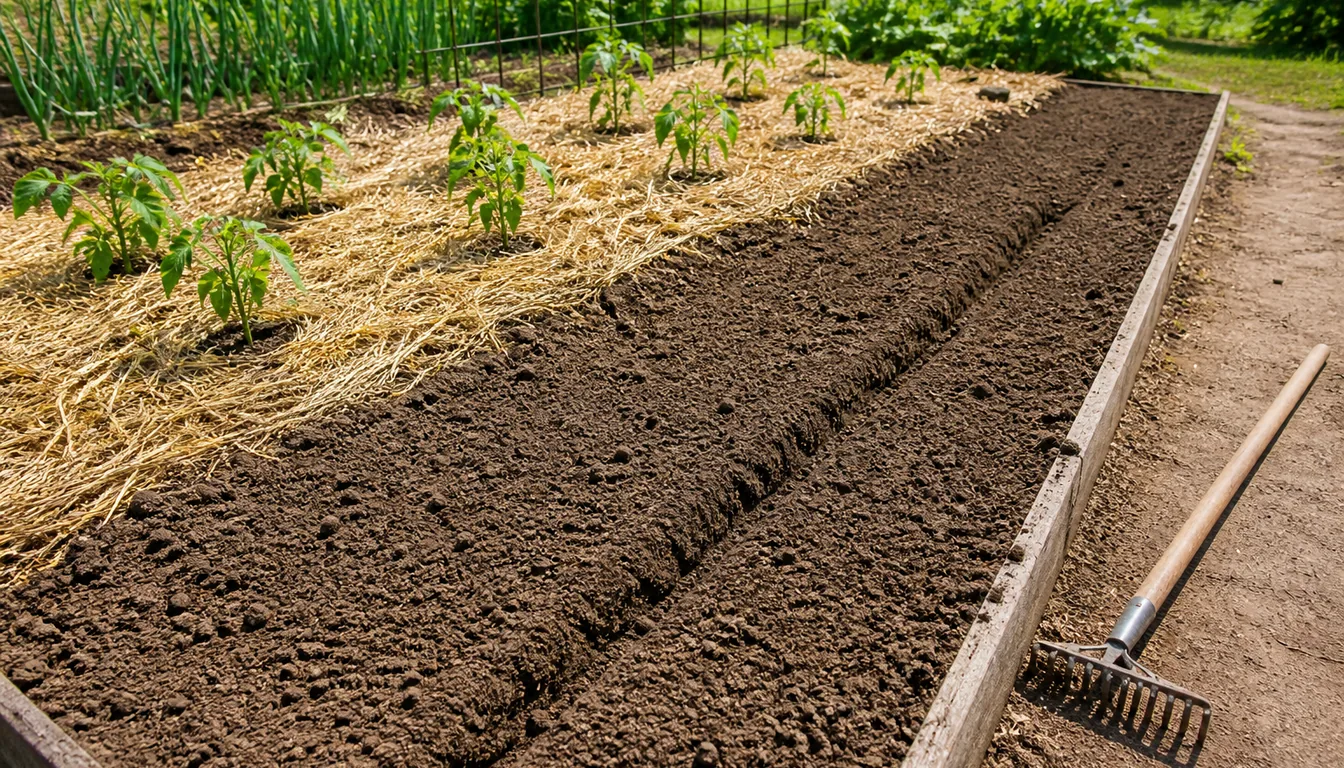
A direct-sown seed depends on the top layer of the bed. Remove large clods and stones from the row, level it, and firm loose soil gently enough to give seed contact without sealing the surface.
University of Minnesota Extension describes a firm, fine seedbed as especially useful for small-seeded crops and warns that excessive packing can cause crusting. Work soil only when it crumbles rather than smearing or staying molded in a wet ball.
A transplant depends on both its root ball and the surrounding soil. Prepare the whole bed first, then make a hole wide enough to receive the roots without folding or forcing them.
Pros
- for Direct sowing avoids trays, indoor lights, potting mix, and a transplanting session.
- for Direct sowing makes a long row or dense cutting patch economical.
- for Transplanting gives a known plant count and reserves bed space for established seedlings.
- for Transplanting can make efficient use of scarce or costly seed under controlled conditions.
Cons
- against Direct sowing may use extra seed and bed time when emergence is uncertain.
- against Direct sowing exposes every seed and sprout to outdoor weather and pests.
- against Transplanting requires suitable light, container space, watering, and acclimation, or the price of purchased starts.
- against Transplanting adds handling and can move pests or disease with the plant or potting mix.
Do not enrich only the transplant hole with a pocket of radically different material. Prepare a suitable growing area so roots can leave the original mix and enter the surrounding soil.
For indoor starts, the limiting resource is often light rather than warmth. A bright window may still produce stretched seedlings, so direct sowing or buying a few sturdy starts can be better than raising many weak ones.
Count space and attention as real costs. Seed price alone does not show which method is cheaper for your garden.
How Do You Direct Sow for an Even Stand?
An even stand begins with a consistent furrow, not with pouring more seed into uncertain soil. Mark the row so later cultivation does not erase it, then follow the packet for that crop and variety.
University of Maryland Extension recommends using packet guidance for depth and spacing. It also notes that small seed is harder to place precisely, so thinning is a planned part of direct sowing rather than proof that the sowing failed.
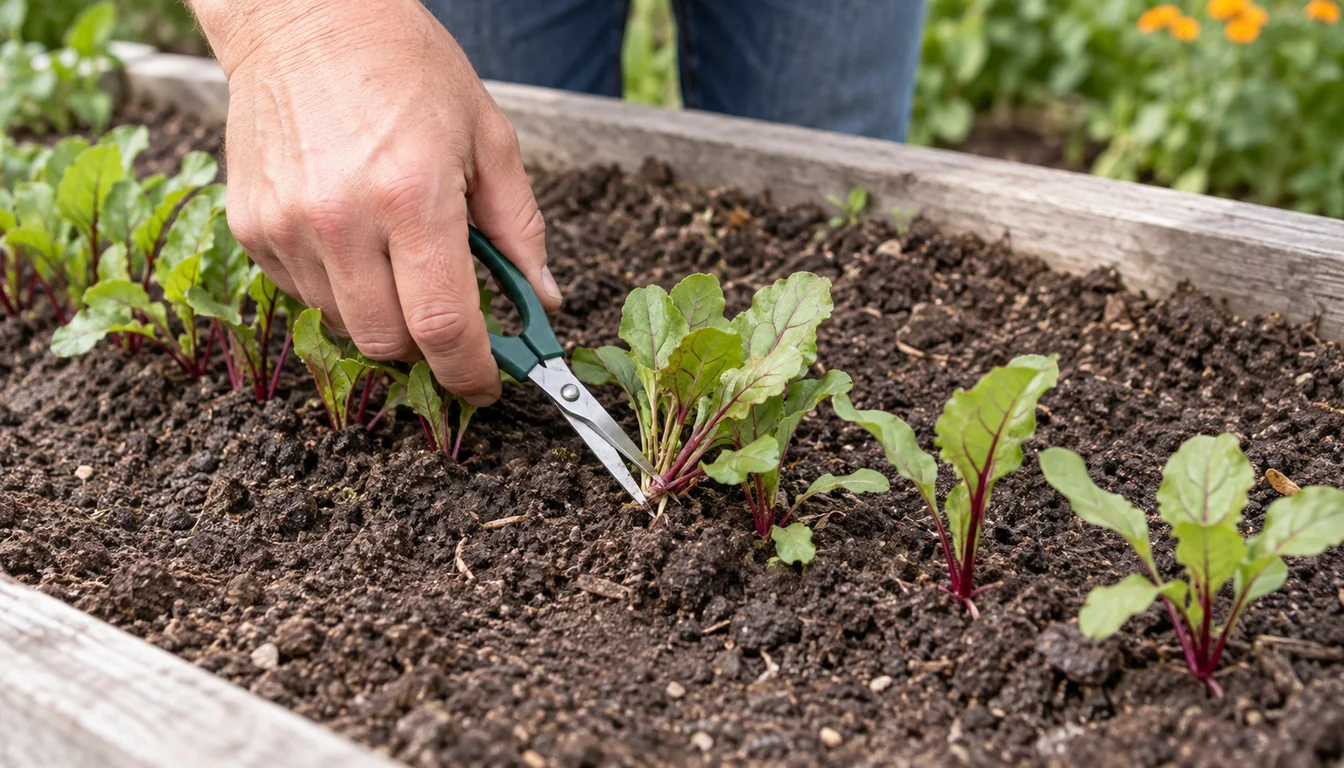
- Prepare only ready soilWait if the bed smears when worked or breaks into hard dry chunks.
- Make a consistent rowUse a string and a tool that creates one depth instead of a wandering trench.
- Place and cover seedFollow the packet, adjusting carefully for the actual soil rather than burying every crop by one rule.
- Firm gentlyPress the row enough for soil contact without compacting it into a crust.
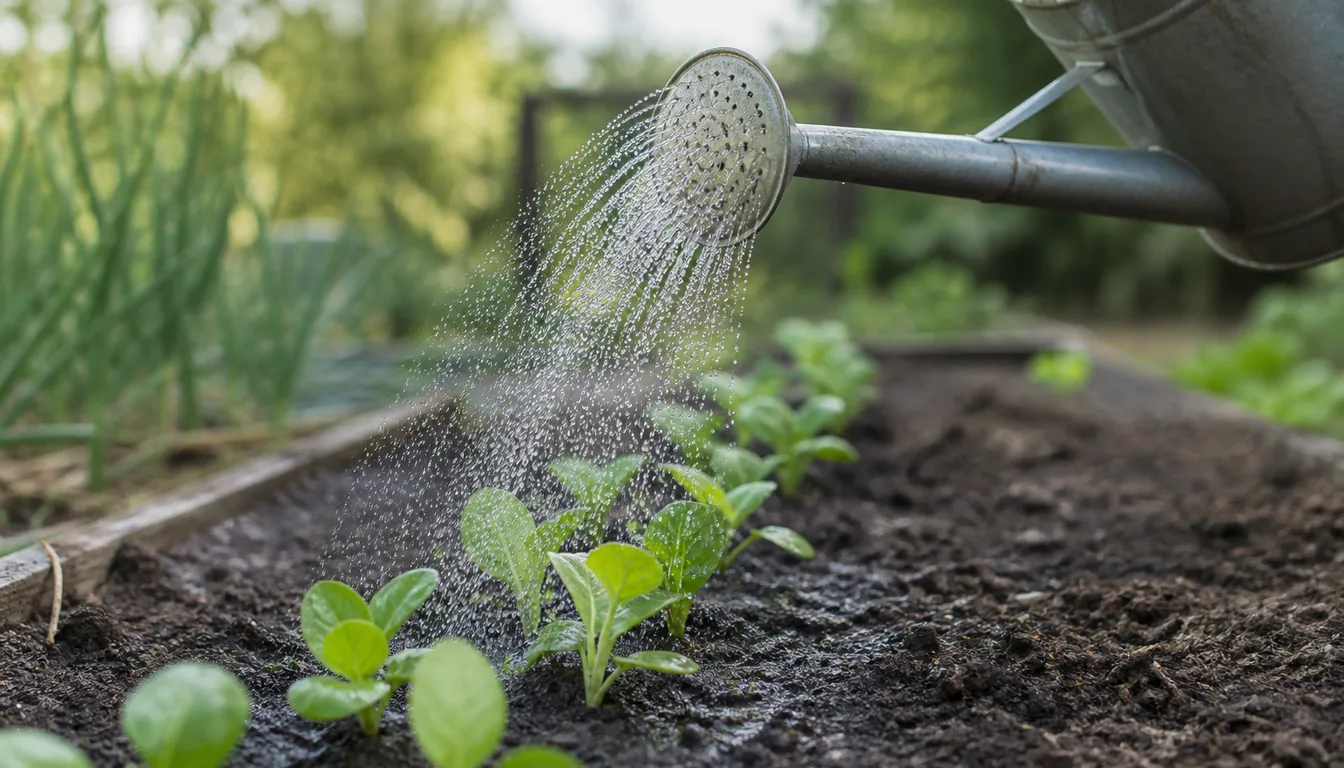
- Water without moving seedUse a fine rose, gentle shower, or controlled drip and stop before water runs along the furrow.
- Mark and protectLabel the crop and date, then use suitable mesh, row cover, or other protection when birds or pests are likely.
- Inspect emergenceLook for a pattern before reseeding, since one empty patch and an entirely missing row point to different causes.
- Thin at the right stageClip crowded extras when pulling them would disturb the roots you want to keep.
Keep the seed zone evenly moist during germination, but do not assume that means watering on a fixed daily schedule. Sun, wind, rainfall, soil texture, mulch outside the row, and sowing depth change how quickly that small zone dries.
Patchy emergence has several possible causes: uneven depth, a crusted surface, washout, dry pockets, old seed, cold soil, or feeding by animals. Identify the pattern before changing the whole planting method.
When seedlings are crowded, keep the strongest well-placed plants rather than the tallest cluster. Final spacing comes from the variety instructions and intended harvest, including whether you plan to take baby leaves before full size.
How Do You Transplant Without Losing the Head Start?
A transplant earns its advantage only when it is healthy enough to establish. Compact growth, normal leaf color, a moist cohesive root ball, and roots that hold the mix together are more useful than great height or early flowers.
Plants raised under shelter need gradual exposure to brighter sun, wind, and temperature changes. Follow the hardening process before planting because an unacclimated seedling should not move straight from protection into a demanding site.
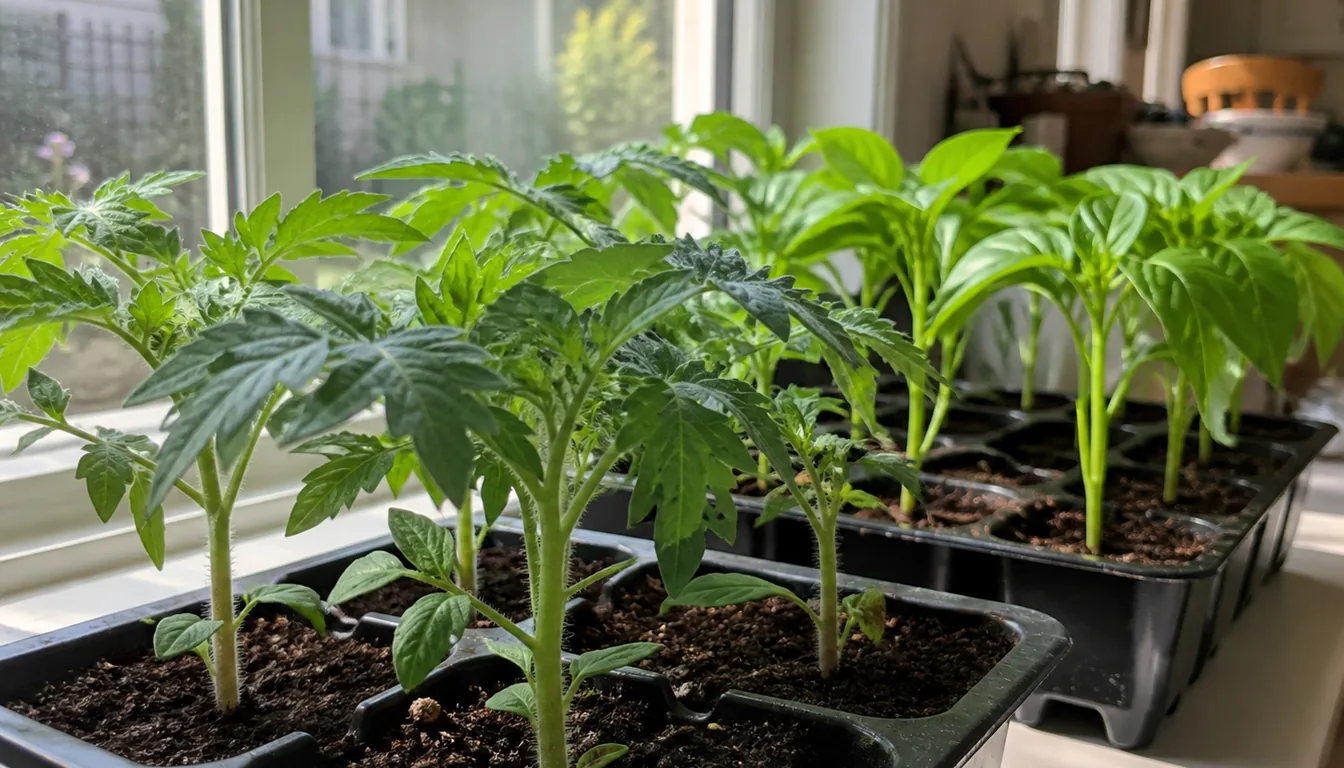
- The crop and current forecast are suitable for planting out
- The seedling is compact rather than stretched toward weak light
- Leaves show no obvious insects, webbing, mines, or spreading spots
- The root ball is moist and holds together when released
- Roots are present but have not formed a severe circling mat
- The plant has completed a gradual hardening period
- The bed is prepared and watering water is ready before the plant leaves its cell
- A cover or temporary shade is available if conditions turn harsh
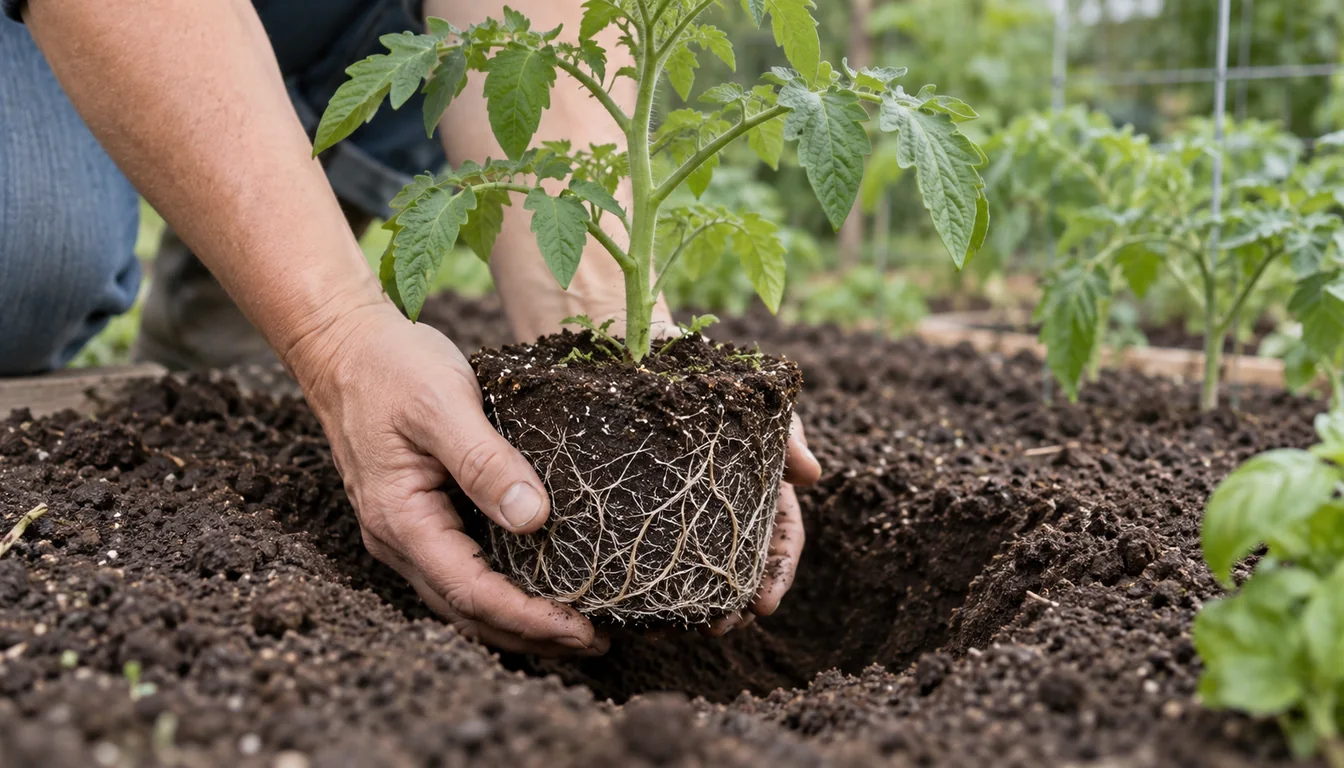
Water the plant before removal, then push or ease the root ball from its container. Utah State University Extension advises retaining as much starting mix as possible around the roots and watering immediately after planting to settle soil around the ball.
Set most vegetables at the same level they occupied in the container. Tomatoes can form roots along buried stem tissue and are a crop-specific exception, while burying an unfamiliar crown or stem can cause rot.
Check the root ball and adjacent soil separately during establishment.
One can stay dry while the other looks wet because potting mix and garden soil accept and hold water differently.
Inspect the plant and both soil materials through the first outdoor week.
Persistent wilt, bleached leaves, snapped stems, or a dry root ball points to a correctable exposure or water problem rather than proof that transplanting was the wrong method.
How Do Watering and Early Failures Differ?
A seed begins with a very small moisture zone around itself. A transplant arrives with a larger root ball, yet that ball may dry at a different rate from the bed around it.
For direct sowing, wet the planted depth without washing seed into piles or exposing it. Recheck the actual row because damp soil beside it does not prove that the seed zone stayed moist.
For transplants, water the root ball and surrounding soil thoroughly at planting. Return to both materials until roots have crossed the boundary, then lengthen the interval from soil evidence rather than from a fixed number of days.
| What you see | Check first | Likely possibilities | Next action |
|---|---|---|---|
| No seedlings anywhere | Seed depth and condition | Cold, dry, old, rotten, or eaten seed | Inspect a marked patch before reseeding |
| Gaps in one row | Moisture and surface pattern | Washout, crusting, dry pockets, pests | Correct the local cause and patch gaps |
| Seedlings cut at soil | Stems and nearby shelter | Cutworms, slugs, or physical damage | Identify the pest before choosing protection |
| Bleached transplant leaves | Exposure history | Sudden sun or wind | Add temporary protection and continue acclimation |
| Wilt with a dry root ball | Root ball and adjacent soil | Water missed the original mix | Apply slowly to both zones |
| Wilt with wet soil | Roots, drainage, and stem | Low oxygen, damage, or disease | Stop automatic watering and diagnose |
Wilting during a hot afternoon does not by itself prove that a transplant needs another soaking. Check whether it recovers as conditions ease and whether the root zone is actually dry.
A failed direct-sown row may be repeatable because the seed was inexpensive and the season remains open. A failed long-season transplant may cost more calendar time, which is a reason to keep a small backup start or buy a replacement rather than changing every crop to the other method.
Keep one short record: crop, variety, method, planting date, soil condition, emergence or establishment result, and any replanting. That evidence makes next season's choice local and specific.
When Does a Mixed Strategy Work Best?
Most productive home gardens use both methods because crops and planting windows create different jobs. The useful unit of planning is one crop in one season, not a rule that the whole garden must follow.
A mixed plan can place tomato and pepper transplants into known positions, sow carrots and beans in place, and use either starts or seed for lettuce depending on whether you want exact heads or a cutting patch.
Choose direct sowing now
Outdoor conditions suit the crop, the seedbed is ready, and a repeat sowing would still have time to finish.
Choose a transplant now
Protected growth saves useful season, each bed position matters, and a healthy acclimated plant is available.
Use both for one crop
An early transplant supplies the first harvest while a later direct sowing spreads timing or tests local performance.
Delay the planting
Neither method fixes soil that is too wet, damaging weather, or a season window that does not fit the crop.
Succession sowing is most useful when the crop matures quickly enough for later plantings to finish. Repeat the decision with the expected heat or frost window, since a method that worked in spring may not fit midsummer or fall.
Transplants can also fill isolated gaps after emergence without redoing a whole row. They should still match the crop, timing, and intended spacing rather than becoming random plants placed only because the bed looks empty.
- Assign a method to each crop and variety, not to the garden as a whole
- Mark the outdoor window from local extension guidance and current conditions
- Reserve indoor light and tray space for crops that gain the most from it
- Prepare fine seed rows separately from transplant positions
- Keep labels and dates for every sowing and start
- Plan one response to poor emergence and one response to transplant loss
- Review the result at harvest, not only during the first week
Cost, convenience, and risk can legitimately outweigh a small timing advantage. Buying two strong pepper starts may suit a small bed, while sowing a long bean row is usually more practical than raising and moving dozens of plants.
The decision is finished when you can name the constraint each method solves. If neither method solves one, change the date, variety, protection, or crop instead of asking a seedling to overcome unsuitable conditions.
Pro Tips
- Read whether days to maturity are counted from sowing or transplanting before comparing harvest dates.
- Use local extension planting guidance because a hardiness zone does not supply frost dates or current soil temperature.
- Label direct-sown rows with the crop, variety, and date so slow emergence is not mistaken for an empty bed.
- Reserve the best indoor light for crops that gain meaningful calendar time from transplanting.
- Support a root ball from below and keep the stem out of the pulling force.
- Check a new transplant's root ball and surrounding soil as two moisture zones until roots bridge them.
- Clip crowded direct-sown seedlings when pulling would disturb the plants that remain.
- Record the harvest result before deciding which method performed better.
Frequently Asked Questions
Is direct sowing cheaper than transplanting?
Direct sowing usually costs less per planting when seed is inexpensive and the row is large. The comparison changes when germination is unreliable, seed is scarce, bed space is limited, or an indoor setup needs lights, containers, and daily attention.
Compare the cost of an established plant, not the price of one seed.
Can I direct sow and transplant the same crop?
Yes. Lettuce, kale, basil, cucumber, squash, melon, and many flowers can use either method when the variety and conditions fit.
Using an early transplant and a later direct sowing can spread harvest timing, but each planting still needs its own suitable outdoor window.
Why did direct-sown seed fail while tray seed germinated?
The outdoor seed may have met colder soil, uneven moisture, crusting, washout, deep planting, old seed, or feeding by birds, rodents, or soil pests. Dig into one labeled test spot and inspect the seed and soil before repeating the row.
Can a transplant be too large?
Yes. A tall, crowded, root-bound, flowering, or poorly hardened plant can establish more slowly than a younger compact seedling.
Choose a plant with normal color, sturdy growth, and a cohesive moist root ball rather than buying the tallest one.
Should I direct sow cucumbers and squash?
Direct sowing works well in suitably warm soil. A young transplant can also work where a short head start matters, provided it has not outgrown its container and the root ball stays intact during planting.
How long should I harden off seedlings?
Use a gradual schedule that responds to the crop, previous growing conditions, and current weather instead of relying on one exact number of days. Increase exposure to outdoor light, wind, and temperature without allowing severe wilt or injury.
Sources & References
- University of Minnesota Extension, Planting the Vegetable Garden
- University of Maryland Extension, Sowing Vegetable Seeds Outdoors
- Penn State Extension, Starting Your Summer Vegetable Garden—Seeds or Transplants?
- Utah State University Extension, Seedling Culture and Transplanting
- University of Maine Cooperative Extension, Planting Chart for the Home Vegetable Garden
Related Guides
Best Butterfly Garden Plants for a Complete Habitat
The best butterfly garden plants do two different jobs. Host plants feed caterpillars, while nectar…
15 min read
Best Fall-Blooming Flowers for Color Near Frost
A bed that still carries flowers in October usually was planned before temperatures fell.
9 min read
Best Fast-Growing Trees for Shade and Privacy
The best fast-growing tree is the one whose mature crown, roots, climate range, and maintenance…
16 min read
Best Fragrant Flowers for Every Yard and Season
The best fragrant flowers depend on climate, light, space, and the hours you use the yard.
15 min read
Best Full-Sun Perennials for Hot, Bright Beds
The best full-sun perennials are the ones that match the bed's soil moisture and drainage, local…
14 min read
Best Ground Cover Plants for Sun, Shade, and Slopes
The best ground cover is a plant that survives the site and performs the job without escaping into…
18 min read