
How to Grow Peppers From Seed to Garden Transplants
Start pepper seeds indoors about 8–10 weeks before your expected outdoor planting date, sow them 1/4 inch deep, and keep the seed mix near 80–85°F until sprouts appear. Then give seedlings bright overhead light and room to grow, and gradually acclimate them outdoors before planting into warm soil after frost danger has passed.
The outdoor planting date is the part to get right first. A pepper seedling can outgrow its pot while you wait for spring warmth, and a large plant gains little from being set into cold soil.
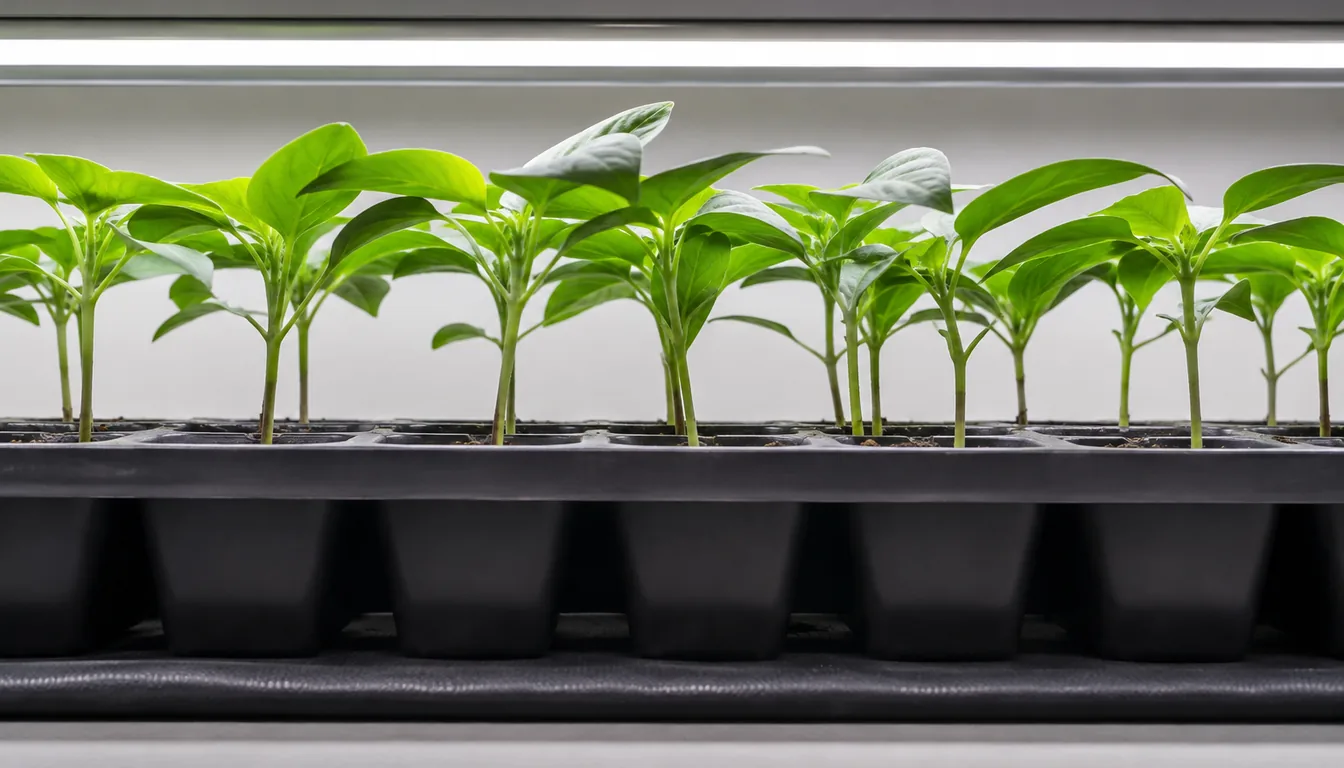
At a glance
Count backward from warm-weather planting
Find your local average last spring frost date through your county extension office, then check its recommended pepper transplanting window.
USDA hardiness zones describe winter cold and cannot tell you when your particular garden will be warm enough for peppers.
Use 8–10 weeks before transplanting as a starting window for many varieties, with the packet's instructions taking priority for slower types. Some need about 12 weeks indoors, but starting every pepper that early can leave you managing crowded plants for weeks.
For example, suppose your average last frost is May 1, but your garden normally has suitable soil and night temperatures around May 20. Counting back 8–10 weeks puts sowing around March 11–25, with hardening off included near the end of that period.
Treat May 20 as a planning date and check the actual weather before planting.
Match the harvest to the season
Read whether the packet's days to maturity start at transplanting and whether they describe green or fully colored fruit. Most sweet and hot peppers take roughly 70–85 days from transplanting, while habanero types may need 90–120 days.
A bell pepper ready to pick green may need another two or three weeks to reach its ripe color. In a short growing season, an early variety harvested green is a more practical main crop than a late variety you only want fully red.
Hot peppers do not all follow the same timetable. Compare the named cultivar's instructions rather than giving a jalapeno the same head start as every habanero, and remember that cool summer weather can stretch packet estimates.
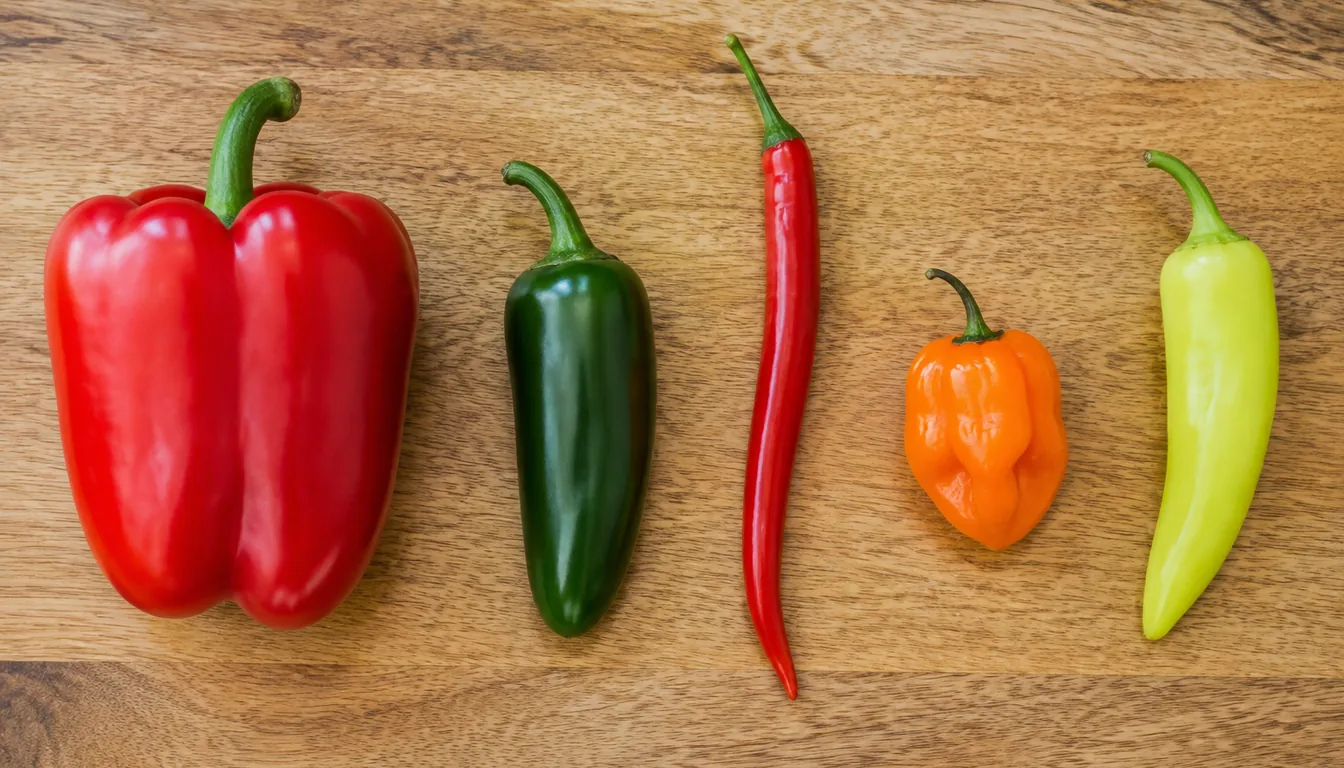
Start with seed you can trust
Buy labeled seed from a dependable supplier when you need a predictable harvest. The variety name and packet date give you information that loose seed from a kitchen pepper cannot provide.
Last year's seed may still work if it stayed cool and dry.
Before filling a tray with older seed, test a sample on a damp paper towel inside a labeled, covered container kept warm.
Use 10 seeds if you have enough, keep the towel moist, and count how many sprout over the variety's expected germination period. Eight sprouts out of 10 suggest roughly 80% germination in that small sample, while only three would be a good reason to buy fresh seed for your main planting.
Saved seed and grocery peppers
Seed from a fully ripe pepper can grow, but seed maturity and the parent plant both matter. Green grocery peppers are commonly picked before their seeds mature, so they are a poor choice when you need dependable seedlings.
For home seed saving, choose a healthy plant of a known open-pollinated variety, allow a fruit to become fully ripe and begin to wrinkle, then remove and dry the seeds before storage. Keep different varieties identified throughout the process.
Saved seed from a hybrid may germinate yet produce plants with different fruit or performance. A ripe grocery pepper can be an experiment, but its unknown parentage and handling make it an uncertain basis for the season's crop.
Fill draining containers and sow 1/4 inch deep
Use fresh, fine seed-starting mix and containers with drainage holes. Garden soil can compact in a small cell and carry disease organisms, and adding compost is unnecessary when a prepared mix already provides the texture seedlings need.
Small cells save space under a light, but they will need potting up as roots fill them. For just a few plants, individual pots around 3–4 inches wide can reduce later handling, although their larger volume needs careful watering while roots are small.
Wash reused containers to remove old soil and disinfect them before filling. Utah State Extension recommends a 10-minute soak in one part household bleach to nine parts water, followed by a thorough rinse and drying.
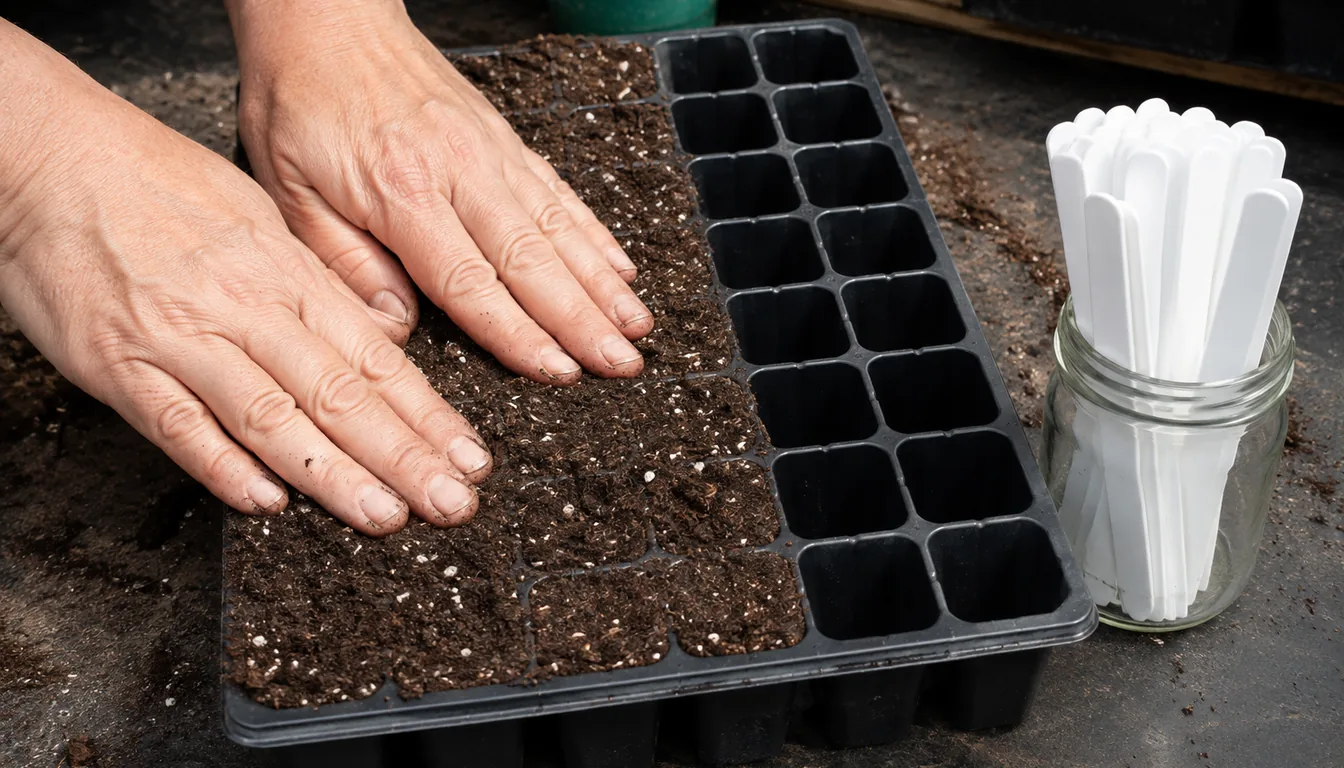
- Moisten the mixAdd water and mix it through until evenly damp, with no dry pockets or free water collecting underneath.
- Fill and labelFill the containers and settle the mix lightly without packing it hard, then label each variety and sowing date.
- Place the seedSow one or two seeds per cell, depending on seed availability and the germination test, and cover with 1/4 inch of mix.
- Water gentlyMoisten the covering without washing seeds out of place, and let excess water drain away.
- Hold moistureUse a clear cover to slow drying until seedlings emerge, keeping the covered tray out of direct sun.
Check the tray every day, especially if it sits on a heat mat.
The shallow layer around the seed needs steady moisture even when the mix below it still looks dark.
Keep the seed zone warm while you wait
Aim for a measured mix temperature near 80–85°F during germination. A room that feels comfortable to you may leave a damp tray much cooler, particularly on a windowsill or basement shelf.
A seedling heat mat with a thermostat makes that warmth easier to control. Place its probe as the manufacturer directs so it measures the growing medium, and confirm the temperature rather than assuming the mat surface and seed zone match.
Pepper germination often takes around 9–14 days, although the variety, seed condition and temperature can change that window. Cooler viable seed can take longer, so an empty tray after one week is not evidence that the batch has failed.
If little has emerged by the packet's expected date, check temperature at seed depth, whether the surface dried, and whether the tray has been standing in water. Increasing water does not compensate for a cold seed zone and can leave seeds without enough oxygen.
A towel test with remaining seed helps separate poor viability from trouble in the tray. If that seed sprouts but the tray does not, review sowing depth and growing conditions before repeating the same setup.
Sow a small backup batch with fresh seed if the delay threatens your planting date.
Avoid repeatedly digging through every cell, since a newly emerging root is easy to damage.
Change the setup as soon as seedlings emerge
Remove the humidity cover when sprouts appear and give them 14–16 hours of light daily, with a dark period overnight.
Leaving emerged seedlings under a closed dome prolongs the damp conditions that favor disease.
If varieties emerge at different times, movable cell packs let you uncover the sprouted group while the others finish. Do not leave early seedlings in darkness while waiting for the last seed.
Light and temperature
Use a grow light that covers the full tray, following the fixture's seedling instructions for height and output. Fluorescent tubes and powerful LED panels cannot share one fixed distance from the leaves.
Check the new growth after adjusting the light. Long gaps between leaves and stems leaning toward the fixture suggest inadequate light, while bleached or scorched upper leaves after an adjustment mean the new setting needs review.
A sunny window may support a few plants if it receives ample direct light, but many spring windows produce leaning, weak seedlings. Rotate the tray if illumination is uneven and add a light if new growth keeps stretching.
After germination, lower the heat from the seed-sprouting setting. About 65–75°F during the day and 60–65°F at night suits pepper transplants, with the root zone kept away from cold drafts.
Water the roots and let excess drain
Check the mix and lift the container before watering. Once seedlings are established, wait until the surface is nearly dry and the pot feels lighter, while keeping the small root ball from drying completely.
Water gently from above or let the mix absorb water through the drainage holes, then empty the catch tray. Bottom watering is a convenient method, but standing water still deprives roots of oxygen and shared water can spread disease between cells.
Check edge cells individually because they may dry before the center. Gentle air movement helps the foliage dry, but a fan aimed hard at tiny plants can dry the mix too quickly.
Give roots space and feed according to the mix
The first pair of leaves are seed leaves, or cotyledons.
When true leaves develop above them, thin crowded cells to one seedling per cell by snipping the extras at the surface.
Keep the healthiest compact plant, rather than automatically choosing the tallest. Snipping avoids pulling on roots that may have grown around the seedling you want to keep.
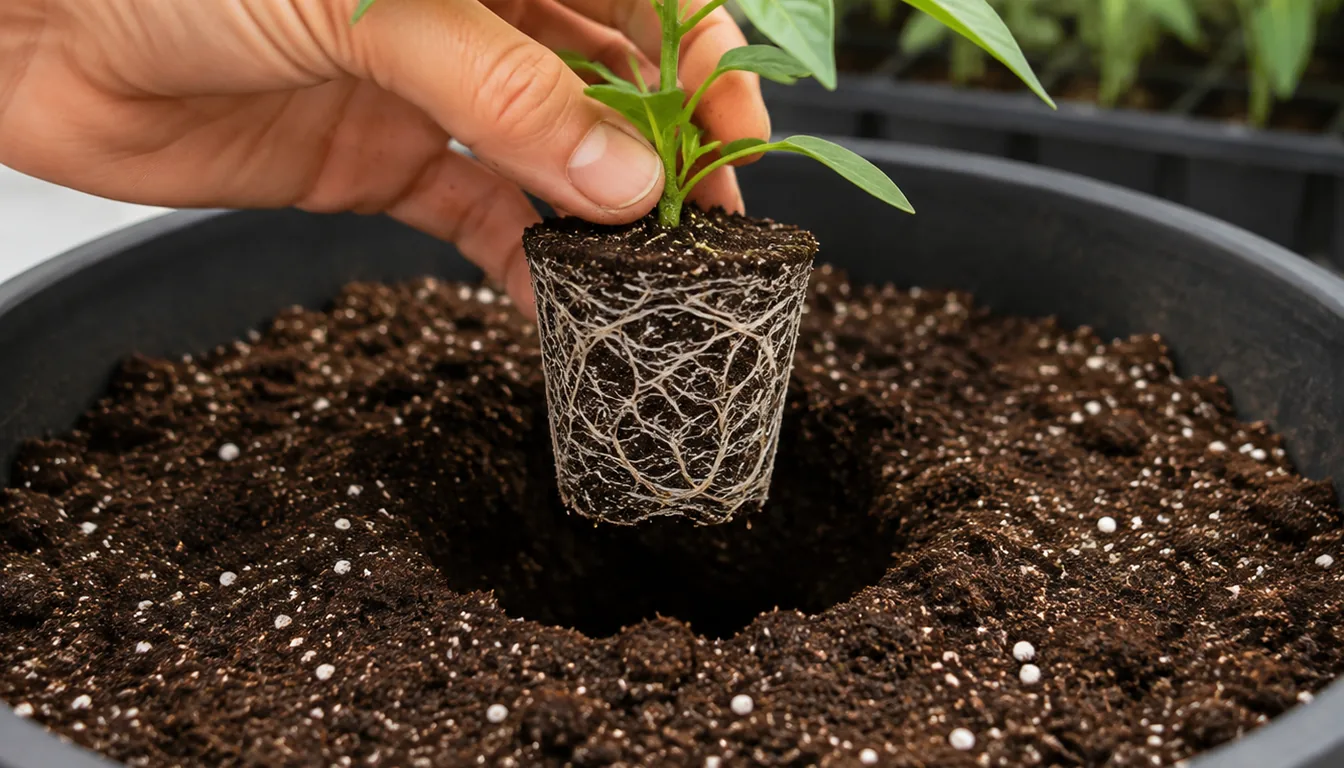
Check root room as the leaves expand. A plug that holds together with roots visible around its outside, or a cell that dries much faster than before, can be ready for a larger pot even before a particular leaf count is reached.
Move a filled starter plug into a pot around 3–4 inches wide with fresh potting mix and drainage holes. Support the intact root ball, keep the plant at its existing depth, and water gently to settle the new mix.
If the plug falls apart and has few roots, leave it longer unless another problem requires a move.
Decide whether the mix already contains fertilizer
Read the bag before feeding. A mix with a fertilizer charge may supply young plants for several weeks, while an unfertilized seed-starting mix needs a nutrient source once seedlings have several true leaves.
Use a water-soluble fertilizer at its labeled seedling or transplant rate, including the stated interval. A universal half-strength dose every week ignores how concentrated the product is and how much fertilizer the mix already contains.
Do not apply concentrated fertilizer to dry, wilted seedlings. Restore appropriate moisture first, and judge later feeding by healthy new growth rather than trying to make every plant as dark green as possible.
Check the cause before treating a struggling seedling
Look at the stem base and the mix as well as the leaves. Wilting in a light, dry pot needs a different response from wilting in a heavy pot that has stayed wet for days.
| What you see | What to check | First action |
|---|---|---|
| A seedling collapses with a thin, soft or water-soaked stem at the mix surface | Damping-off disease is likely, especially if nearby seedlings are also failing | Remove affected plants and their mix, isolate the tray, and correct excess moisture |
| Tall, leaning growth with a firm stem base | Light coverage, fixture height, crowding and excessive warmth | Improve overhead light and spacing, then watch whether new growth becomes compact |
| Drooping leaves in dry mix and a light pot | Whether water has reached the whole root ball | Water gently through the mix and let it drain |
| Drooping or yellowing leaves in persistently wet mix | Blocked drainage, standing water and damaged roots | Empty the tray and let the mix regain air before watering again |
| Pale leaves and slow growth in an otherwise sound plant | Mix fertilizer content, feeding history, root room and temperature | Correct the missing growing condition before adding fertilizer |
Damping-off damage cannot be repaired by feeding or staking the fallen stem.
Start replacements in fresh mix and clean containers, and avoid moving drainage water from the affected tray to healthy seedlings.
A yellow or purple leaf alone does not identify a specific nutrient shortage.
Check temperature, moisture, roots and recent fertilizer use together, and seek help from your local extension office if symptoms spread despite correcting the obvious problems.
Photograph the whole tray and a close view of the stem base before discarding badly affected plants. Those details, together with your watering and feeding history, make advice more useful than a leaf-color description alone.
Harden off, then check the soil and forecast
Allow about 7–14 days to harden off indoor-grown peppers before planting. Start with 1–2 hours in sheltered shade on a mild day, then gradually add morning sun, outdoor time and exposure to gentle wind.
Bring them indoors when nights fall below about 55°F, and pause the progression during cold, stormy or unusually hot weather. Hardening changes how seedlings handle sun and wind, but it does not make peppers frost tolerant.
Check moisture during each outing because small pots can dry quickly outdoors. If leaves wilt or develop pale scorched patches after a longer exposure, return to gentler conditions and slow the increase rather than pushing through the schedule.
Before planting, confirm that the plants can spend a full day in the conditions they will meet in the garden.
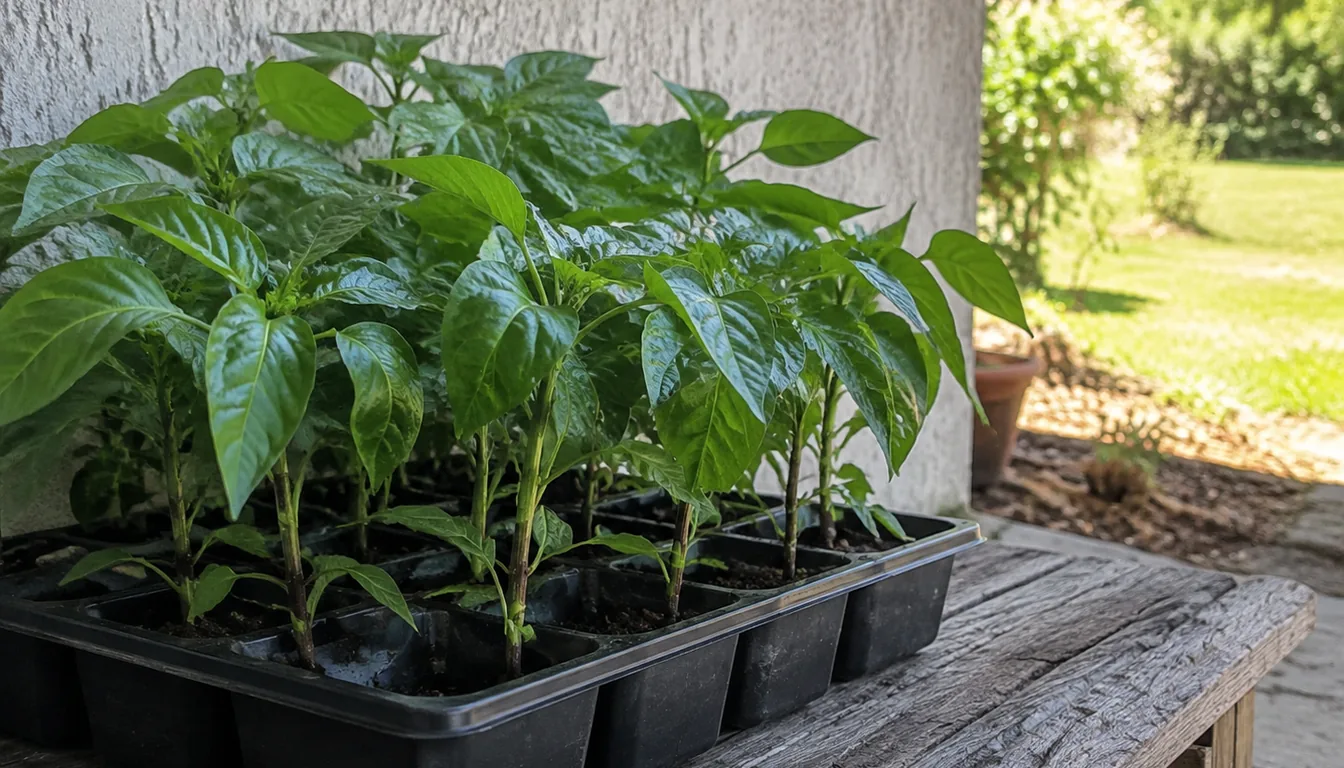
- Frost danger has passed and the forecast shows consistently mild nights, preferably above 55°F.
- The garden soil is warming, with at least 60°F at about 3 inches deep and preferably closer to 65°F for active growth.
- Seedlings have several true leaves, firm upright stems and healthy roots, without being tightly bound in their pots.
- Plants have completed gradual exposure to outdoor sun and wind.
- The planting spot drains well and receives at least 6 hours of direct sun.
Measure garden soil in the morning across several days, rather than relying on a warm afternoon surface reading. If conditions are still cold, keep peppers in their pots under good light and pot up again if roots need room.
Plant at the existing soil line
Water the pots before planting and choose a calm, cloudy period or late afternoon. Make each hole wide enough for the root ball, slide the plant out without tearing the roots, and set it at the same soil depth it had in the pot.
Firm the surrounding soil gently and water to settle it around the roots.
Follow the variety's spacing, with roughly 18–24 inches between plants suitable for many home-garden peppers. Leave enough room to water and inspect each plant, and follow soil-test recommendations for bed fertilizer rather than placing concentrated fertilizer against the roots.
During the first days, check moisture in the original root ball as well as the surrounding bed. A small plug can dry while the soil farther from the plant still feels damp, so direct water where the roots are establishing.
Direct sow only when the warm season is long enough
Indoor starts are the practical default for most U.S. gardens because peppers spend weeks becoming transplant-sized before they begin the wait for fruit. Direct sowing gives up that head start.
Consider sowing outdoors only where frost danger is over, the seed zone stays reliably warm, and enough growing time remains for both seedling growth and the chosen variety's harvest.
Use local extension planting guidance for your climate, especially where summer heat limits the planting season.
Prepare a fine, draining seedbed, follow the packet's sowing depth, and keep the shallow seed zone moist while seedlings emerge. Thin to the variety's final spacing and protect the young plants from drying wind and heavy rain.
A packet listing 80 days from transplanting does not promise peppers 80 days after direct sowing.
Count the germination and seedling period too, and allow extra time if you want fully colored fruit.
If you are already late and your warm season is limited, buy healthy transplants of an early variety. That preserves a chance of harvest while you use a small seed batch to learn the indoor process for next year.
Frequently Asked Questions
Do pepper seeds need soaking before planting?
Routine soaking is unnecessary for standard packet seed. Sow into evenly moist mix and provide warmth, following any special pretreatment directions supplied for your particular seed.
Do pepper seeds need light to germinate?
They can germinate beneath their 1/4-inch covering of mix, so a lamp is not needed to trigger sprouting. Have the light ready before emergence because seedlings need it as soon as they appear.
Should I remove flowers from pepper seedlings indoors?
Pinch off early flower buds while plants still need to grow before transplanting. Small, confined seedlings benefit from establishing more roots and foliage before carrying fruit.
Can I start pepper seeds only four weeks before planting outside?
You can sow them, but they are unlikely to be the same size as peppers started 8–10 weeks ahead. Plant later when they are sturdy and acclimated, or buy transplants if your remaining warm season is too short to absorb the delay.
Sources & References
- University of Minnesota Extension — Growing peppers in home gardens
- University of Maryland Extension — Growing Peppers in a Home Garden
- University of Maryland Extension — Starting Vegetable Seeds Indoors
- Utah State University Extension — Grow Your Own Transplants At Home
- University of Minnesota Extension — Saving vegetable seeds
- Illinois Extension — Are my seeds still good? Testing seed germination
- Illinois Extension — Is it okay to save unused seeds for the following year?
- University of Minnesota Extension — How to prevent seedling damping off
- Penn State Extension — Seed and Seedling Biology
- USDA — How to Use the Plant Hardiness Zone Maps
- Penn State Extension — Growing Peppers
- Penn State Extension — Pepper Production
Related Guides
Best Butterfly Garden Plants for a Complete Habitat
The best butterfly garden plants do two different jobs. Host plants feed caterpillars, while nectar…
15 min read
Best Fall-Blooming Flowers for Color Near Frost
A bed that still carries flowers in October usually was planned before temperatures fell.
9 min read
Best Fast-Growing Trees for Shade and Privacy
The best fast-growing tree is the one whose mature crown, roots, climate range, and maintenance…
16 min read
Best Fragrant Flowers for Every Yard and Season
The best fragrant flowers depend on climate, light, space, and the hours you use the yard.
15 min read
Best Full-Sun Perennials for Hot, Bright Beds
The best full-sun perennials are the ones that match the bed's soil moisture and drainage, local…
14 min read
Best Ground Cover Plants for Sun, Shade, and Slopes
The best ground cover is a plant that survives the site and performs the job without escaping into…
18 min read