
How to Make Homemade Vegetable Fertilizer From Materials That Work
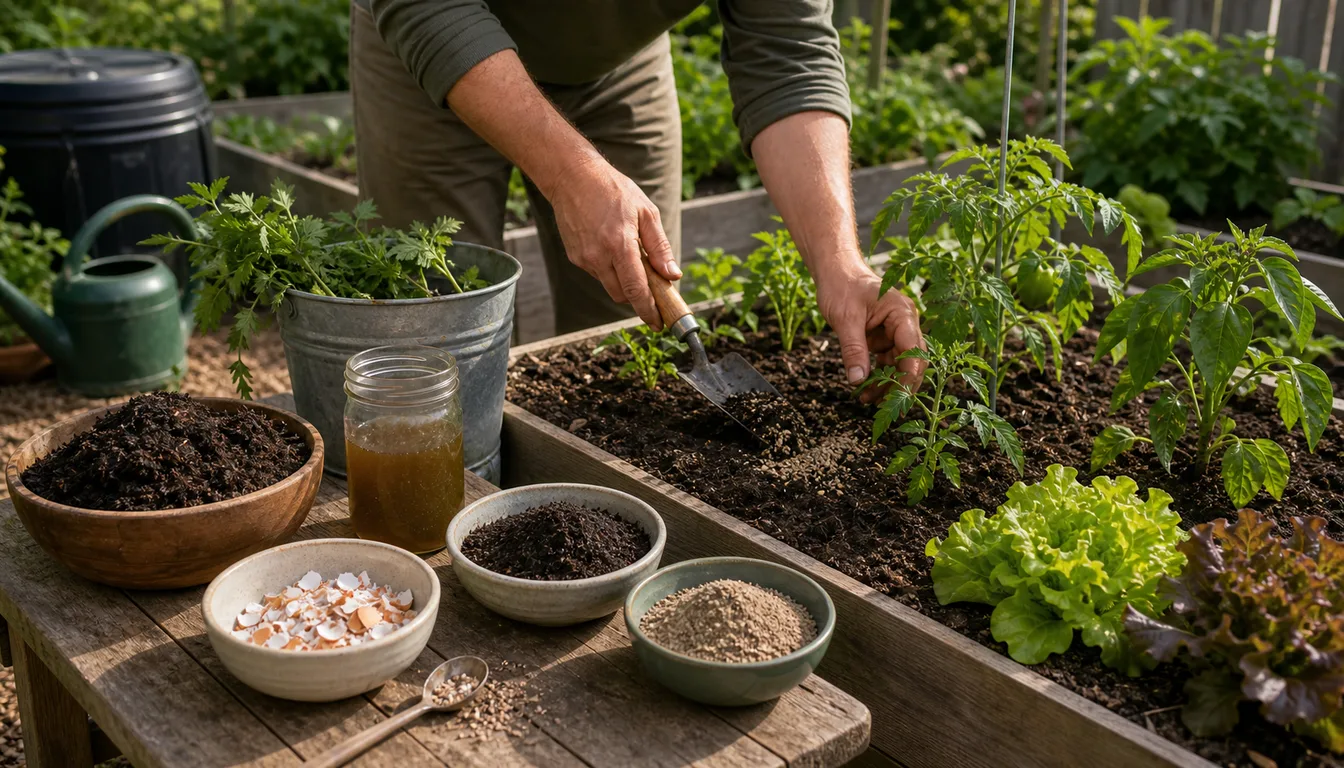
A homemade vegetable fertilizer works when it is built from what each material actually contains, and most kitchen remedies contain very little. Compost carries about 1 to 3 percent nitrogen and blood meal about 12 percent, while eggshells and banana peels supply too little, or release it too slowly, to feed a bed on their own.
The workable method has three steps. A soil test shows which nutrients the bed is short of. The nitrogen percentage of the main material sets how many pounds to spread. Phosphorus and potassium sources are added only when the test asks for them.
Manure needs a fourth step, because it can carry E. coli and Salmonella. Raw manure has to go in at least 120 days before harvesting crops that touch the soil, and 90 days before others.
At a glance
Which Homemade and Organic Materials Actually Supply Nutrients?
Organic materials differ in how much of each nutrient they hold and how fast they release it. Colorado State's GardenNotes and Utah State give these typical values.
| Material | Typical N-P-K | Release | What to know |
|---|---|---|---|
| Blood meal | 12-0-0 | Fast for an organic | Over-applied, it can burn plants with ammonia |
| Feather meal | 7 to 12% N | Slow, 4 months or more | High nitrogen, released slowly |
| Soybean meal | 7-2-1 | 1 to 4 months | May inhibit seed germination, so it goes in weeks before sowing |
| Alfalfa meal | 2-1-2 | 1 to 4 months | May contain seeds |
| Fish emulsion | 5-2-2 | 1 to 4 months | Mixed with water, 6 tablespoons per gallon |
| Bone meal | 3-15-0 | 1 to 4 months | Its phosphorus is available only in soil below pH 7.0 |
| Kelp meal | Negligible | 4 months or more | Valued for micronutrients, not N-P-K |
| Poultry manure | 3 to 4% N | Rapid | Fresh manure with water and bedding runs lower, and it carries pathogens |
| Horse manure | 1 to 2% N | Slow | Often mixed with bedding |
| Compost | 1 to 3% N | Moderate | Builds soil, but feeds slowly |
| Wood ash | About 0-1-3 | Changes pH fast | Acts mainly as lime and raises pH |
These are typical numbers, not label guarantees. University of Wisconsin's table lists bone meal at 1-15-0 and alfalfa at 3-0.5-3, and the nitrogen in manure varies widely with the animal and the bedding. A bagged product with a printed analysis is more predictable than a homemade one for exactly that reason.
Utah State draws the practical line. Fast-growing, high-demand crops such as sweet corn and potatoes do best with materials that release nutrients rapidly, while slow and very slow materials are good sources of organic matter but generally poor sources of nutrients.
How Much of a Homemade Material Does a Bed Need?
The amount comes from nitrogen. Penn State advises basing any fertilizer amount on the nitrogen recommendation, because that is the way to avoid overapplying nitrogen. Colorado State's standard for a home vegetable garden is 0.2 pound of actual nitrogen per 100 square feet in a season, less where soil organic matter is higher.
Dividing the nitrogen needed by the material's nitrogen percentage, written as a decimal, gives the pounds of material. Oregon State's way of writing the same arithmetic is that 10 pounds of a 5 percent nitrogen material holds half a pound of nitrogen.
- Blood meal, 12% N
- 0.2 / 0.12 = about 1.7 lb per 100 sq ft
- Soybean meal, 7% N
- 0.2 / 0.07 = about 2.9 lb per 100 sq ft
- Alfalfa meal, 2% N
- 0.2 / 0.02 = 10 lb per 100 sq ft
- Fresh poultry manure, about 1.3% N
- Oregon State gives as little as 20 lb per 100 sq ft
The blood meal answer lines up with Oregon State, which gives 1.5 to 2 pounds per 100 square feet. Colorado State's own table lists a higher product rate of 5 to 10 pounds, and it says plainly that those rates come from manufacturers and may over- or under-fertilize. The nitrogen arithmetic is the safer guide.
The alfalfa line shows why low-nitrogen materials are mainly soil builders. Ten pounds of meal for one small bed is a lot of material for a modest feed.
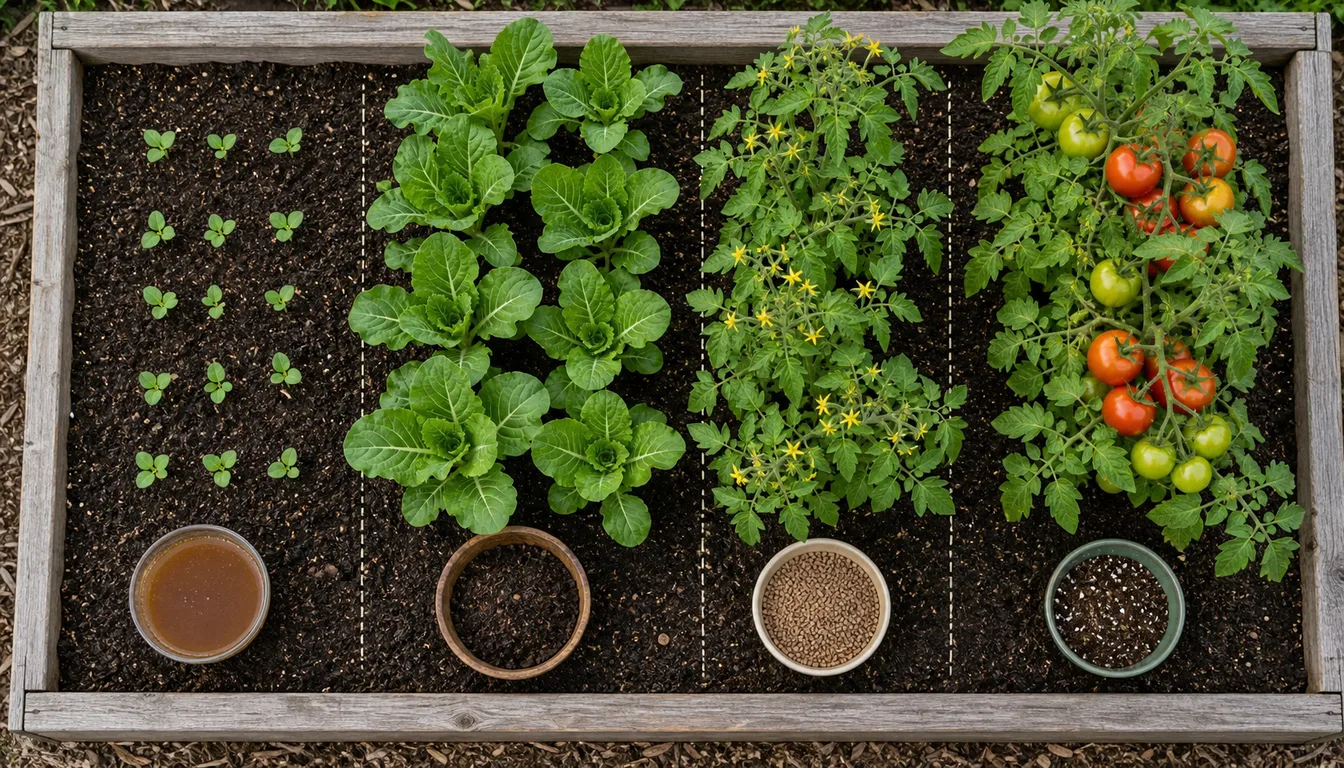
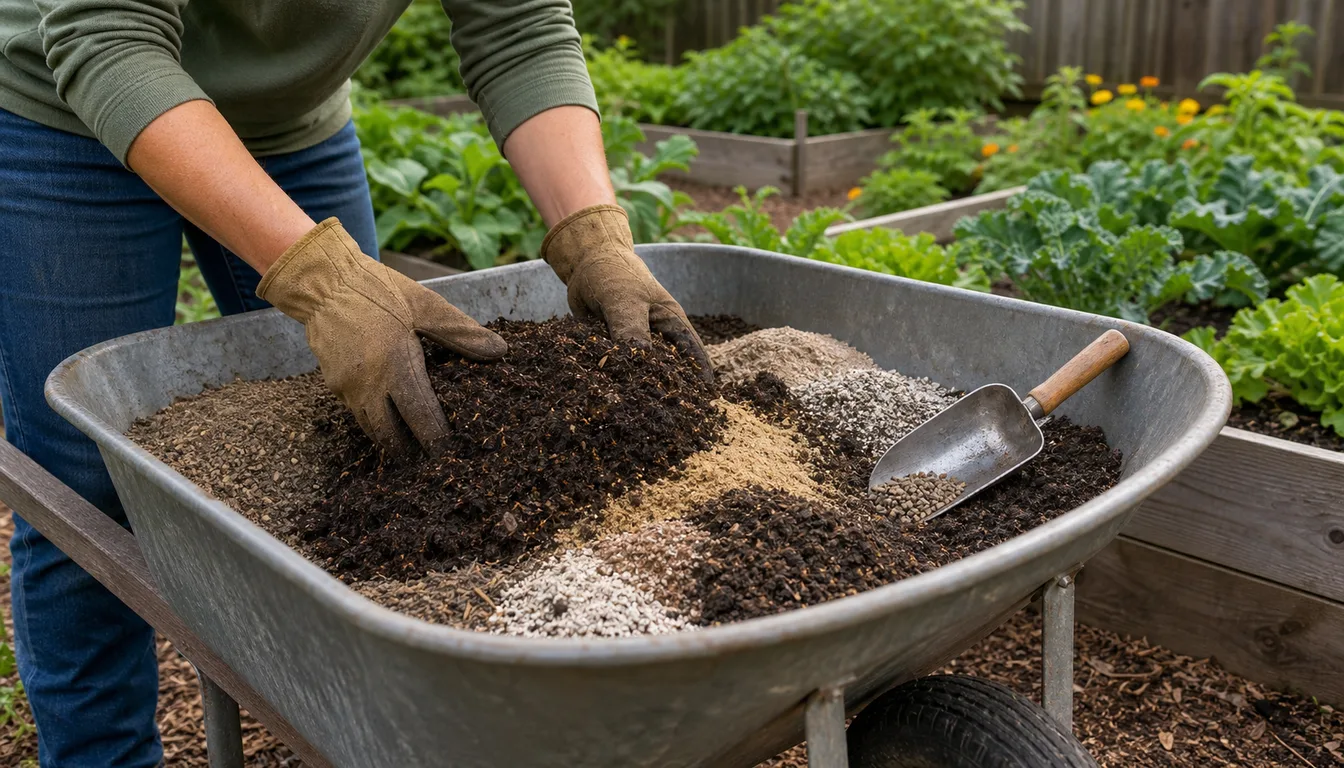
A homemade blend is then built from the soil test rather than from a fixed recipe. The nitrogen source covers nitrogen. Bone meal is added only if phosphorus tests low and the soil pH is below 7.0. A potassium source is added only if potassium tests low. Bed sizes and cup measures are in the vegetable fertilizer chart, and the fertilizer calculator runs the division for any percentage.
When Does Each Material Need to Go In?
Organic nutrients are not available the day they go on. Colorado State explains that soil microorganisms have to convert them first, and that this activity needs soil warmer than 50°F with enough moisture. Cold or dry soil delays the release.
That shapes the timing in three ways. Slow materials such as feather meal and compost go in at bed prep or earlier, so they are releasing by the time roots reach them. Soybean meal goes in several weeks before sowing because it can inhibit seed germination. And early in a cool spring, Oregon State suggests a small amount of a more readily available nitrogen source, such as liquid fish or blood meal, while the slow materials catch up.
Compost and manure release over years rather than weeks. Colorado State estimates 5 to 25 percent of compost's nutrients and 30 to 50 percent of manure's become available in the first year, and Oregon State puts first-year nitrogen from poultry manure near 75 percent but from other manures at 25 to 50 percent. A bed that receives compost every year therefore builds up a reserve, and the yearly nitrogen need shrinks as organic matter rises.
Side-dresses later in the season call for the faster materials. The stage for each crop is in when to apply vegetable fertilizer.
What Are the Food-Safety Rules for Manure?
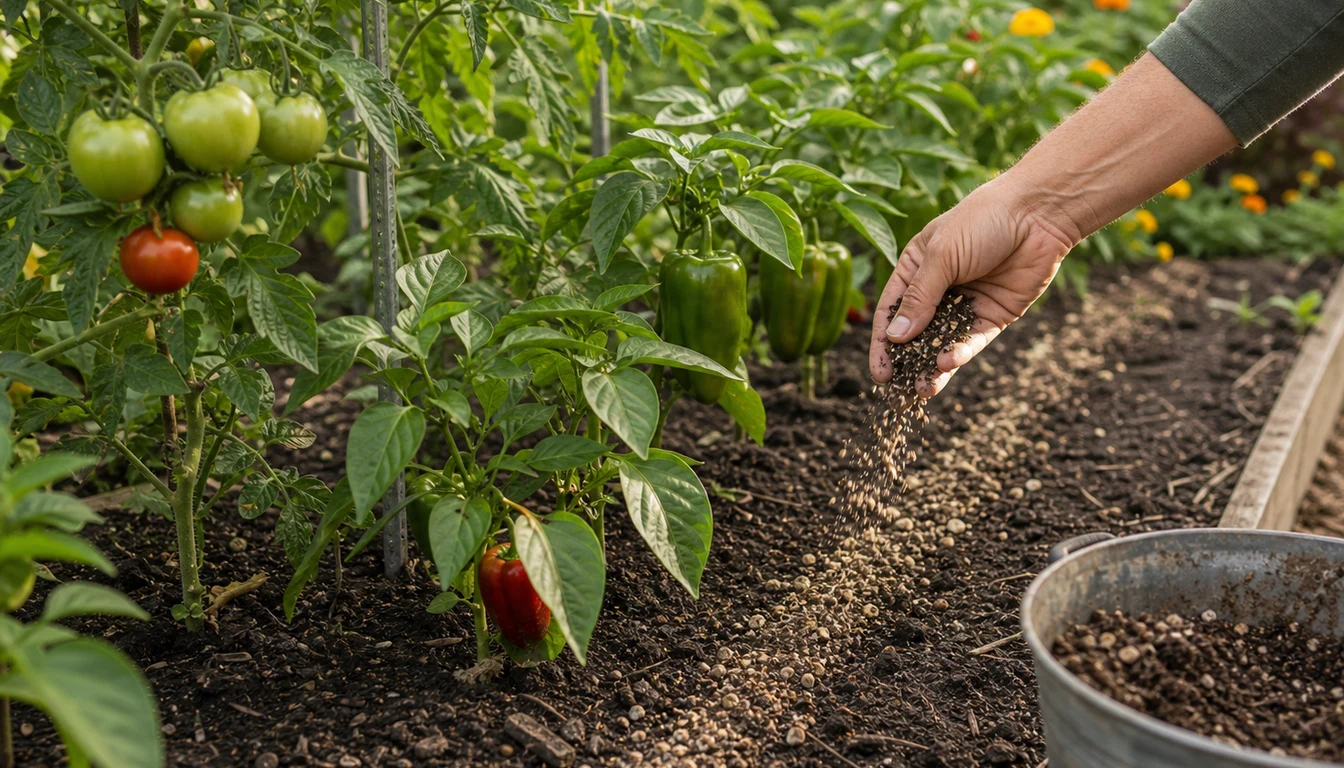
Manure can carry bacteria such as Listeria, Salmonella and E. coli O157:H7, as well as roundworms and tapeworms, according to University of Maine Extension. The rules for using it on food crops come from the USDA National Organic Program and are repeated by extension services across the country.
Those intervals rule out spring manure for most vegetables, because most are ready to harvest in less than 90 to 120 days after spring planting. Iowa State's answer is to spread manure in fall, so the interval has passed by the time the next crop is picked, and not to apply it after the garden is planted.
"Aged" is not the same as composted. University of New Hampshire Extension warns that it is not safe to assume pathogens in an aged manure pile have been destroyed, because killing them takes sustained temperatures of about 131°F to 140°F for weeks, which home piles rarely reach. Commercially processed manure should say on the package whether it is pathogen-free.
Some manure never belongs in a vegetable garden. Cat, dog and pig manure carry parasites that are more likely to survive and infect people, and Maine, Iowa State and Penn State all say to keep them out of gardens and compost piles. Maine also advises that pregnant women, the elderly, very young children and people with health problems such as cancer, kidney failure, chronic liver disease or diabetes be most careful about eating uncooked vegetables from manured gardens.
How Should Wood Ash and Clippings Be Handled?
Two common materials need limits rather than a ban.
Wood ash acts mainly as lime. University of New Hampshire Extension says it raises soil pH much faster than limestone, and that about 20 pounds per 1,000 square feet a year, one five-gallon pail, is safe for most garden areas. Iowa State gives the same limit and adds that ash should not be used where a soil test shows pH above 7.0. It does not belong around acid-loving plants such as blueberries, and Wisconsin notes that potatoes grown at higher pH are more prone to scab.
- Only ash from clean, untreated wood, never from charcoal, trash or painted or treated lumber
- No more than about 20 lb per 1,000 sq ft a year
- Only where the soil test shows pH below 7.0
- Never mixed with ammonium or urea fertilizers, which can release ammonia gas
- Not at seeding time, since salts in ash can burn seedling roots
Grass clippings, hay, straw and manure can carry herbicide residue. NC State Extension identifies aminopyralid, clopyralid and picloram as the herbicides of concern, and notes that they pass through animals into manure and can stay active even after composting. Tomatoes, peppers, potatoes, beans, peas and lettuce are among the crops they damage.
Oregon State advises particular care with clippings from golf courses and commercial turf, and Minnesota warns against mulching vegetables with clippings from lawns recently treated for broadleaf weeds. When the source of compost or manure is unknown, NC State's test is to grow three pea or bean seeds in pots of a half-and-half mix with potting soil, beside pots of plain potting mix, and compare them after two to three weeks.
Do Eggshells, Coffee Grounds and Banana Peels Work?
Several popular homemade fertilizers do not do what is claimed for them.
Eggshells do not prevent blossom-end rot. University of Minnesota Extension says so directly. Blossom-end rot is a calcium shortage inside the fruit, but most soils already hold plenty of calcium, and the shortage comes from a water-transport problem in the plant. Even where calcium is short, Minnesota notes that eggshells decompose too slowly to help, and Illinois Extension puts their breakdown at one to five years. Even soil moisture is the actual fix, covered in blossom-end rot on tomato.
Coffee grounds do not acidify soil. Minnesota says they feed soil organisms but do not lower pH, and Washington State found published pH values for grounds ranging from mildly acidic to somewhat alkaline. Washington State's Linda Chalker-Scott recommends keeping grounds to no more than 20 percent of a compost pile, and Illinois warns that a thick layer on the soil can repel water.
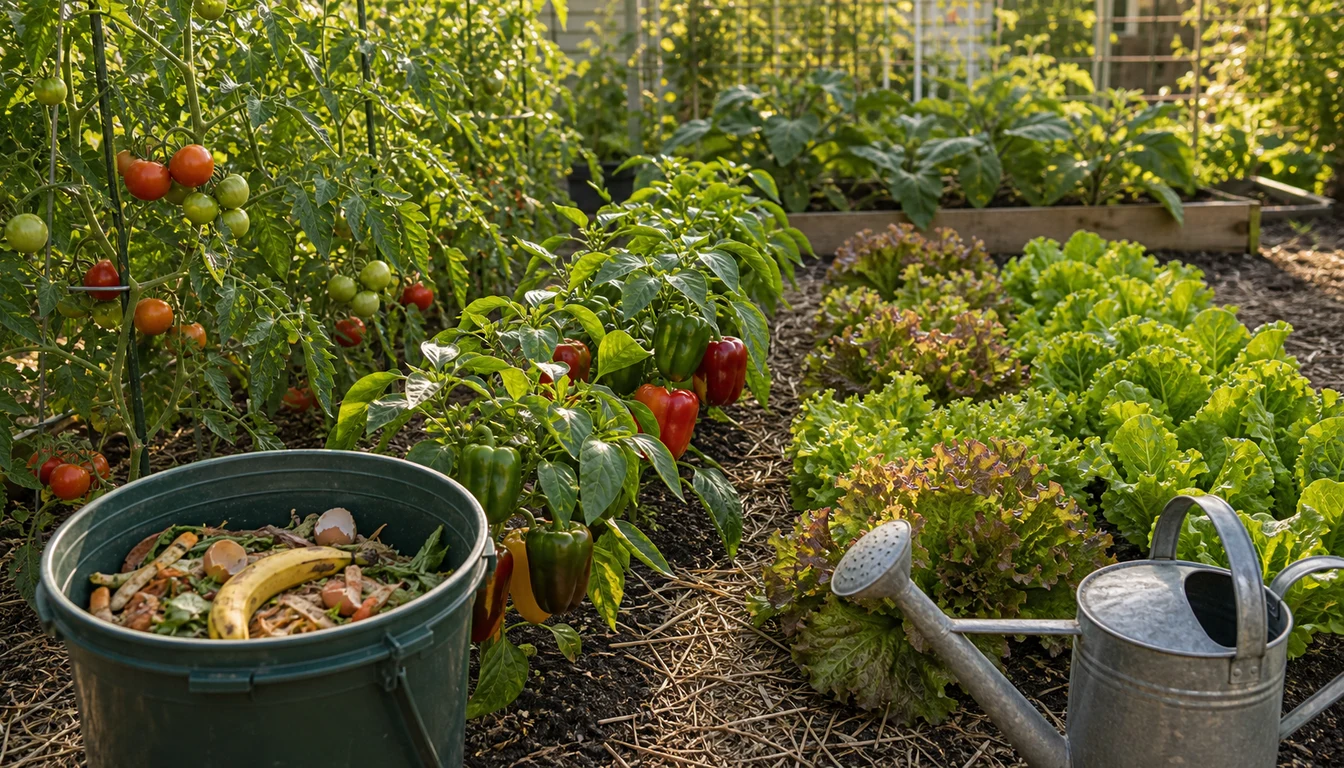
Banana peels have no tested rate. Extension experts answering through Ask Extension note that there are no scientific studies on banana peel fertilizer, and that the peels' potassium is wasted where the soil already has enough. The compost pile is the place they recommend.
Epsom salt helps only a magnesium shortage. Minnesota says it will not prevent blossom-end rot, and that too much magnesium can block calcium uptake and make the rot worse. It is worth using only when a soil test shows magnesium is low.
Eggshells, coffee grounds and banana peels still have value in the compost pile, where they add organic matter over time. They just do not replace a measured nitrogen source.
Pro Tips
- Base the amount of any homemade material on its nitrogen percentage and the bed's area.
- Add bone meal only when phosphorus tests low and soil pH is below 7.0.
- Spread raw manure in fall, at least 120 days before harvesting crops that touch the soil.
- Keep cat, dog and pig manure out of the vegetable garden and the compost pile.
- Test compost or manure of unknown origin by growing a few bean or pea seeds in it before spreading it.
- Put eggshells, coffee grounds and banana peels in the compost pile rather than straight on the bed.
Frequently Asked Questions
Can I use chicken manure in my vegetable garden?
Yes, if it is composted properly or worked into the soil far enough ahead of harvest. Raw manure needs at least 120 days before harvesting crops that touch the soil and 90 days for other crops, and it should never be used as a side-dress around growing plants.
Is homemade fertilizer weaker than store-bought fertilizer?
Usually, by weight. Compost holds about 1 to 3 percent nitrogen, so far more of it is needed to supply the same nitrogen as a bag of 10-10-10. Blood meal, at about 12 percent, is the main homemade-style exception.
Do eggshells prevent blossom-end rot?
No. University of Minnesota Extension says eggshells do not prevent it, because the problem is usually water reaching the fruit unevenly rather than a lack of calcium in the soil, and eggshells break down too slowly to help anyway.
Can I put wood ash in my vegetable garden?
In small amounts, on soil that tests below pH 7.0. Wood ash raises pH quickly, so University of New Hampshire and Iowa State limit it to about 20 pounds per 1,000 square feet a year and keep it away from blueberries and other acid-loving plants.
Are grass clippings safe in a vegetable garden?
Clippings from a lawn that has not been treated with broadleaf herbicides are generally fine as mulch. Clippings from recently treated lawns, golf courses or commercial turf can carry herbicides that damage tomatoes, beans, peas and lettuce.
Sources & References
- Organic Fertilizers, Colorado State University Extension
- Vegetable Gardens: Soil Management and Fertilization (CMG GardenNotes #711), Colorado State University Extension
- Selecting and Using Organic Fertilizers, Utah State University Extension
- Fertilizing Your Garden: Vegetables, Fruits and Ornamentals (EC 1503), Oregon State University Extension
- Common Organic Fertilizers for Home Gardeners, University of Wisconsin-Madison Extension
- How to Tailor Fertilizer Recommendations to the Fertilizers You Have, Penn State Extension
- 7 CFR 205.203, Soil Fertility and Crop Nutrient Management Practice Standard (USDA National Organic Program)
- Guidelines for Using Manure on Vegetable Gardens (Bulletin 2510), University of Maine Cooperative Extension
- Using Manure in the Home Garden, Iowa State University Extension
- Wise Use of Manure in Home Vegetable Gardens, Penn State Extension
- Guidelines for Using Animal Manures and Manure-Based Composts in the Garden, University of New Hampshire Extension
- Managing Wood Ashes, University of New Hampshire Extension
- Using Wood Ashes in the Home Garden, Iowa State University Extension
- Using Wood Ash in the Home Garden, University of Wisconsin-Madison Extension
- Use Fireplace Ash Sparingly to Boost Garden Soil, Oregon State University Extension
- Herbicide Damage in the Garden, N.C. Cooperative Extension
- Herbicide Carryover in Hay, Manure, Compost, and Grass Clippings, Oregon State University Small Farms Program
- Tomato Disorders, University of Minnesota Extension
- Do Common Soil Health Home Remedies Work?, University of Minnesota Extension
- Garden MythBusters: The Dos and Don'ts of Natural Remedies, University of Illinois Extension
- Coffee Grounds: Will They Perk Up Plants?, Washington State University
- Banana Peel Tea, Ask Extension
Related Guides
Best Fertilizer for Indoor Plants: How to Choose
The best fertilizer for most indoor plants is a complete fertilizer labeled for houseplants, with…
15 min read
Best Fertilizer for Vegetables by Garden Type
Fertilizer only helps vegetables if it matches what your soil and crops need.
11 min read
Can You Fertilize Wet Grass Safely?
A wet lawn right when you planned to fertilize creates second thoughts fast.
11 min read
How Long Does Compost Take to Be Ready?
Compost does not follow a calendar, it follows conditions.
11 min read
How to Fertilize Tomatoes Without Overfeeding
Fertilize tomatoes according to a soil test and product label, not a fixed weekly calendar.
15 min read
How to Fertilize a Vegetable Garden for Maximum Yield
Fertilizer is not magic dust. It is plant food in a specific ratio.
14 min read