
How to Make Homemade Liquid Fertilizer and Use It Safely on Food Plants
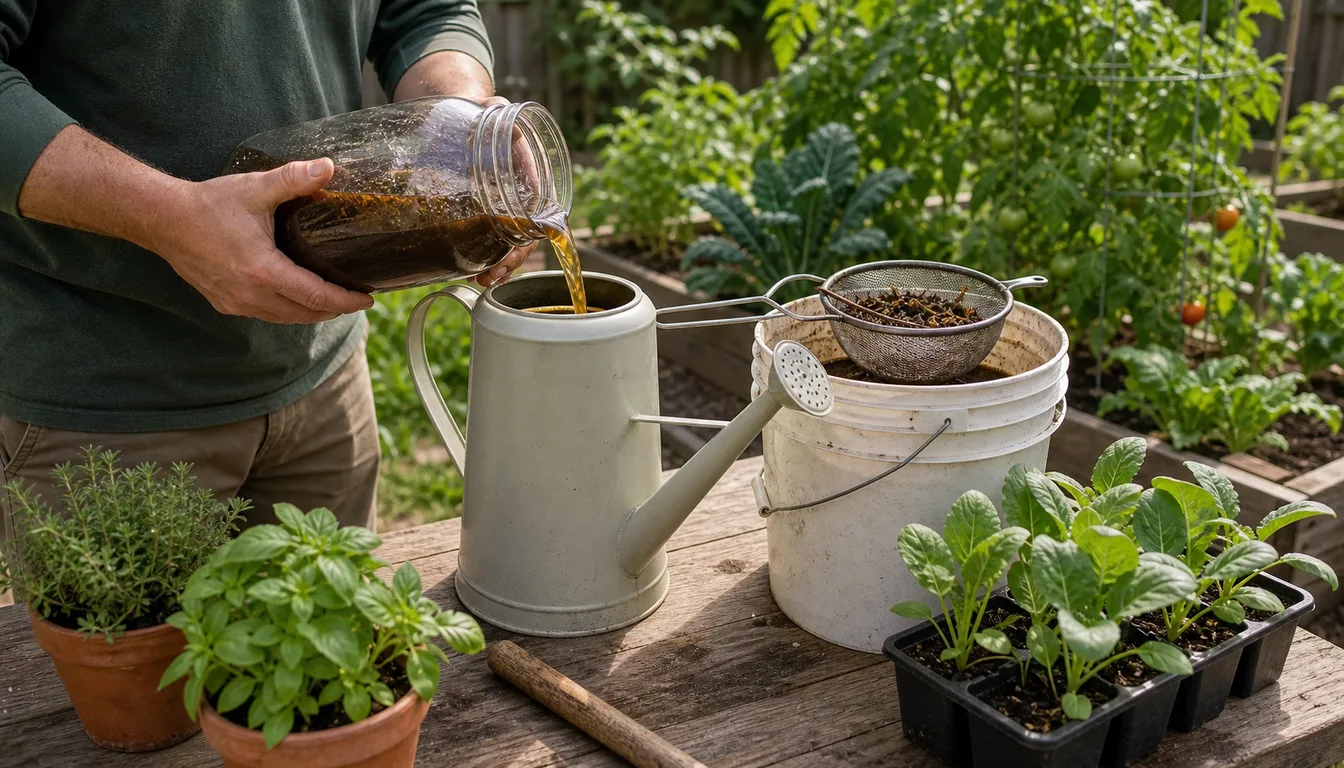
A homemade liquid fertilizer is easy to make and hard to measure. Compost tea, the most common one, is finished compost soaked in water, and no extension service publishes a typical nutrient analysis for it, so its strength changes with every batch.
That makes it a supplement rather than a feeding program. A store-bought liquid such as fish emulsion has a printed analysis and a measured rate, which a homemade brew does not.
The bigger question with food plants is safety. Teas brewed with molasses or sugar can grow E. coli and Salmonella, and teas made from raw manure carry the same 90-day and 120-day harvest limits as raw manure itself. On vegetables, homemade brews go on the soil, not on the leaves.
At a glance
What Does Homemade Liquid Fertilizer Actually Supply?
A compost tea carries some of the nutrients and microbes of the compost it was made from, but how much is unknown. Washington State University points out that the benefits claimed for compost teas have not been validated scientifically, and that teas release nitrogen, potassium and other minerals all at once rather than slowly the way compost does.
That all-at-once release has a cost. Washington State notes it is unlikely plants absorb all of it, and that overuse and runoff could contribute to water pollution. Spreading the compost itself as a top-dressing gives the same nutrients a slower release, with the organic matter left in the bed.
Kitchen-scrap liquids are even less defined. An Ohio extension expert answering through Ask Extension notes that with no chemical analysis of a homemade brew, its usefulness depends entirely on the person making it.
Where a liquid does earn its place is speed. Oregon State notes that cold soil slows microbes, so a soluble fertilizer early in a short season can make nutrients available sooner, and Illinois Extension treats liquid feeding as the normal way to keep containers supplied. A labeled product does that job predictably. Colorado State lists fish emulsion at about 5-2-2, mixed at 6 tablespoons per gallon of water.
How Do You Make a Simple Compost Tea?
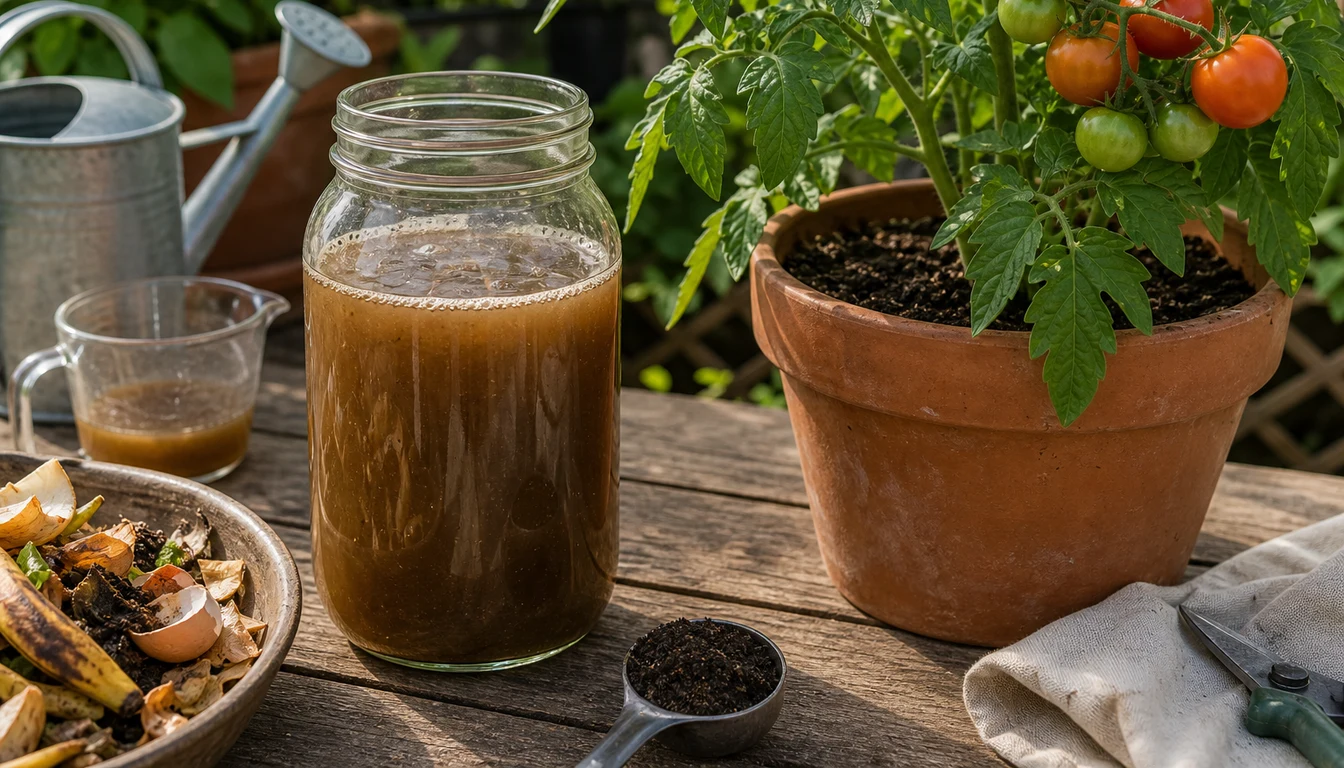
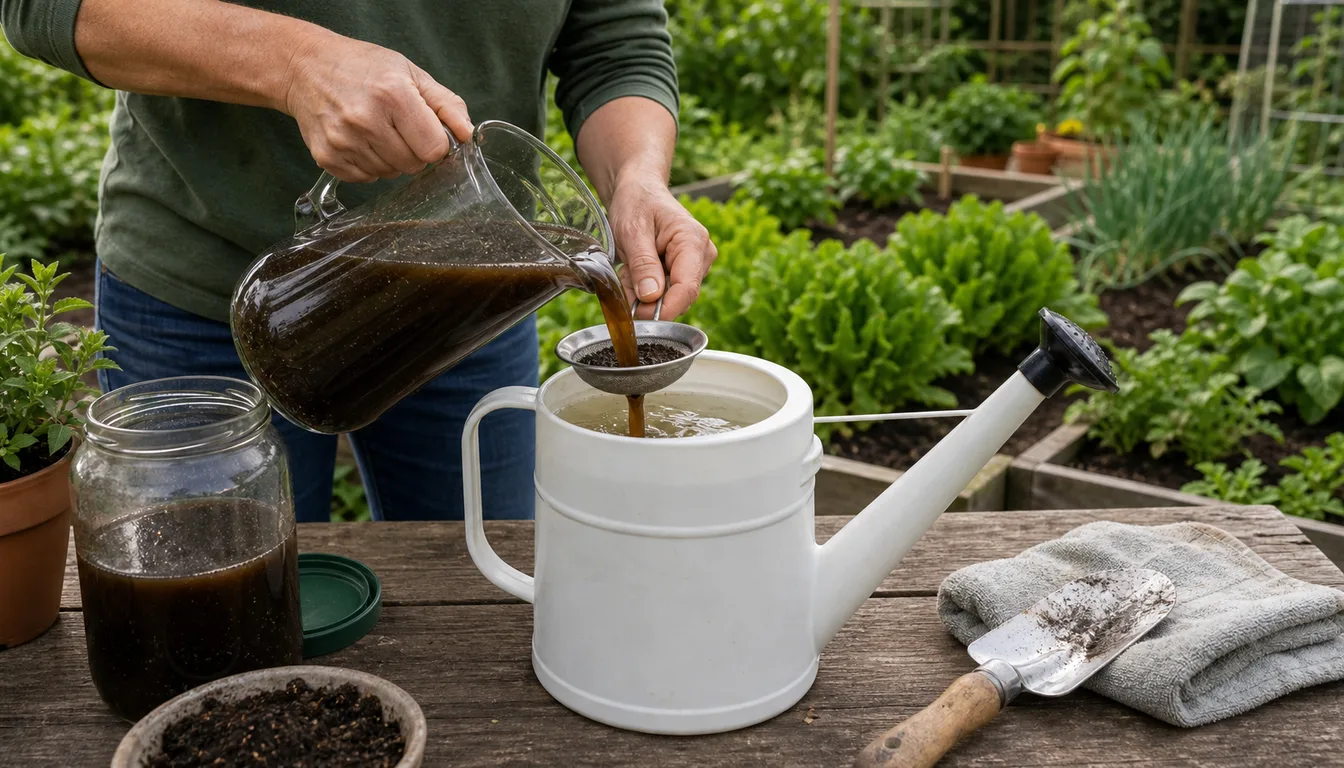
The simplest homemade liquid is a soak of finished compost in clean water, strained before use. The guidance from the USDA's National Organic Standards Board sets the conditions that keep it safe enough for a garden that grows food.
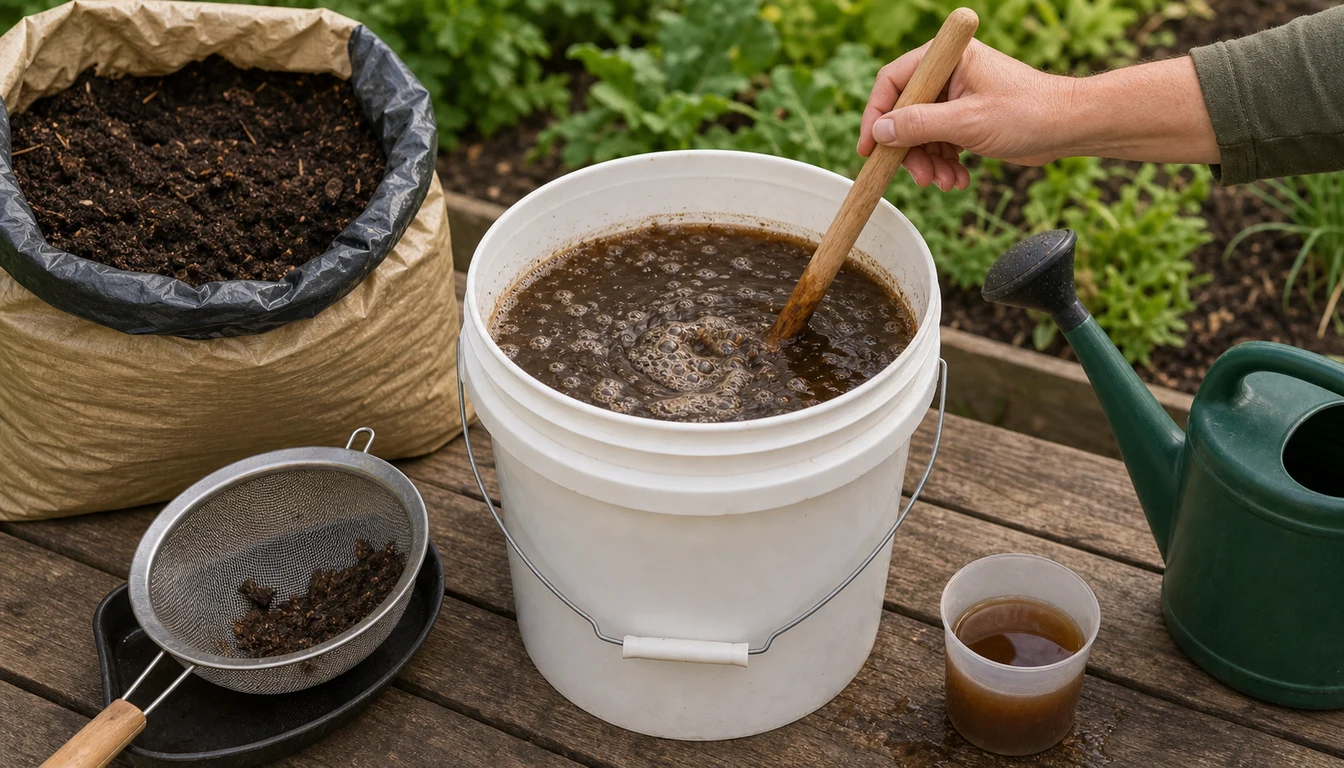
- Start with finished compostUse fully finished, good-quality compost, not fresh scraps or raw manure. Raw manure teas fall under separate harvest limits.
- Use clean water and a clean bucketThe Board calls for potable water and equipment sanitized before each batch.
- Add nothing elseMolasses, sugar and similar quick carbon sources are what allowed E. coli and Salmonella to grow in USDA research on teas and extracts.
- Soak, then strainStir the compost into the water, let it soak, and strain it through cloth so it will pass through a watering can.
- Use it the same dayThe Board treats a compost extract held less than an hour before use as unrestricted, and a fresh batch is the safest batch.
Aerated teas brewed with an aquarium pump are a different product. University of Arizona Extension describes the bucket-and-bubbler method as the most common home technique, and notes that home and commercial teas are often supplemented with molasses, yeast, kelp or fish, which is exactly what raises the pathogen concern.
The research record is not settled. The Board's own task force noted that the evidence on pathogen growth was inconsistent and disputed, and Arizona stresses that no link between compost tea and foodborne illness has been established in peer-reviewed medical literature. The precautions above are cheap, which is why they apply anyway.
How Should Homemade Brews Be Used Around Food Plants?
On edible plants, where the tea lands matters more than how it was made. University of Arizona Extension's first recommendation is to use compost teas only on non-edible plants, or on parts of plants that are not eaten. When teas are used on edible crops, it suggests applying them to the soil above the roots rather than to the foliage.
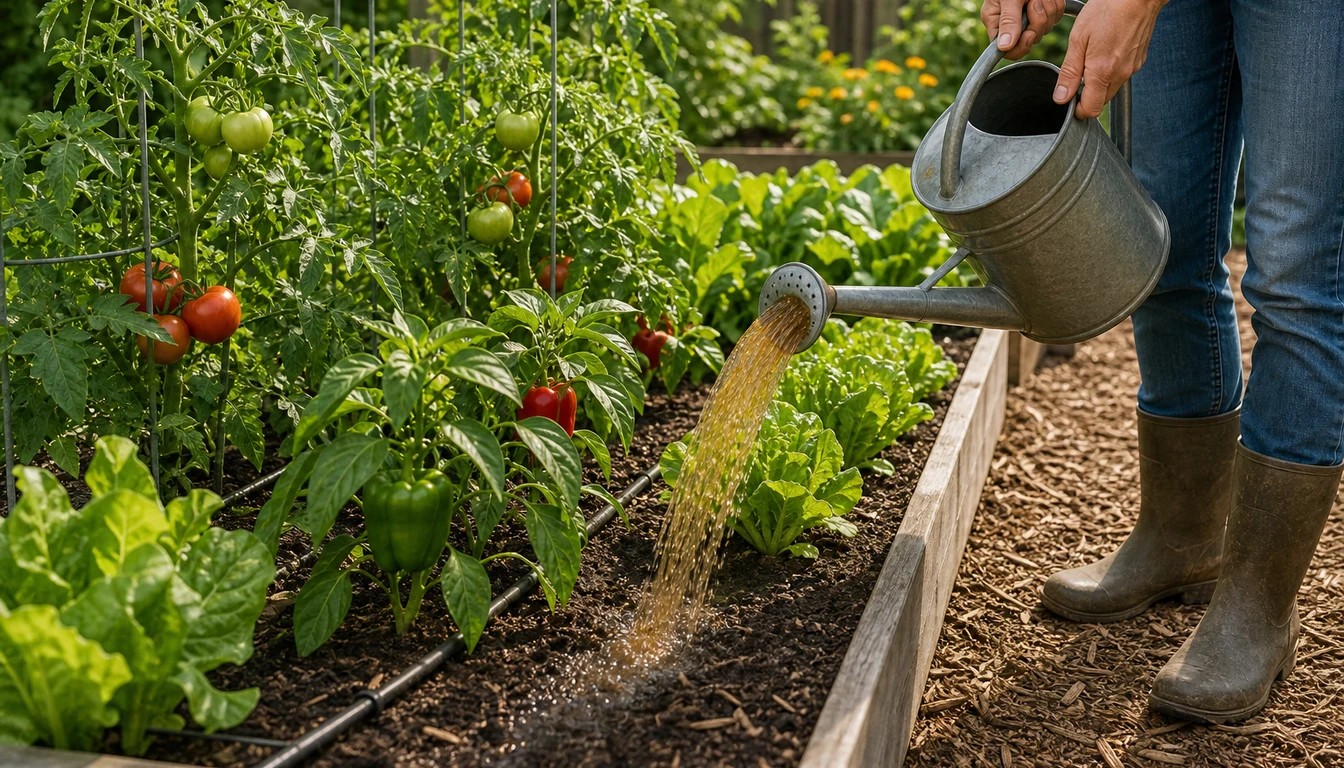
Compost tea made without additives can be applied without restriction under the Board's guidance. A tea made with additives that has not been tested for E. coli falls under the 90-day and 120-day harvest intervals. Arizona takes the more cautious line of applying that interval to any compost tea used on edible crops.
UConn's food-safety advice sums it up for home gardens. Unless the brewing method is known to keep human pathogens down, compost teas are best saved for non-edible plants, and contact with edible plants close to harvest is what to minimize. Lettuce, strawberries and other crops eaten raw are where that matters most. The full manure intervals are explained in homemade vegetable fertilizer.
Which Kitchen and Yard Liquids Are Worth Making?
Most kitchen and yard liquids either supply little or carry a risk that outweighs what they supply.
| Liquid | What it supplies | Verdict |
|---|---|---|
| Banana peel water | Some potassium, plus sugars | No scientific studies on it, and the sugars feed bacteria, fungi and fungus gnats |
| Eggshell water | Calcium, released very slowly | Does not prevent blossom-end rot |
| Coffee ground soak | Nitrogen-rich organic matter | Better used in the compost pile, and it does not lower pH |
| Grass or weed tea | Nitrogen | Clippings from treated lawns or commercial turf can carry herbicides that damage vegetables |
| Raw manure tea | Nitrogen and pathogens | Soil only, with 90-day and 120-day harvest limits |
| Fish emulsion, bought | About 5-2-2 | Predictable, mixed at the label rate |
The eggshell remedy is the one most worth correcting. University of Minnesota Extension says eggshells do not prevent blossom-end rot, because the rot comes from water not carrying calcium into the fruit rather than from a lack of calcium in the soil, and Illinois Extension puts eggshell breakdown at one to five years. Steady soil moisture is the real fix, covered in blossom-end rot on tomato.
Banana peel water has a second problem indoors. The Ohio extension expert's answer through Ask Extension was never to put it on an indoor or potted plant, because the soaking water turns cloudy and may be growing bacteria and fungi, and its sugars feed fungus gnats.
Grass and weed teas are only as safe as the lawn they came from. NC State Extension notes that aminopyralid, clopyralid and picloram can damage beans, lettuce, peas, peppers, potatoes and tomatoes, and Oregon State advises particular care with clippings from golf courses and commercial turf.
How Strong and How Often Should a Liquid Feed Be?
A labeled liquid fertilizer is mixed at its label rate, and University of New Hampshire Extension's advice is never to mix a stronger solution than the label recommends. A homemade brew has no label, so there is no published dilution that fits every batch. It works best as a supplement, applied to moist soil and judged by the plant's response over the next few weeks rather than by a fixed schedule.
Frequency follows the setting. Illinois Extension's guidance for containers is to reapply every two weeks or so, or to feed at every watering with a half-strength solution. Houseplants need far less. Nebraska Extension gives every two months for a water-soluble fertilizer while plants are actively growing, and no fertilizer for dormant plants, because unused fertilizer leaves salts in the pot.
Those salts are the warning sign of over-feeding. Nebraska describes them as a yellow to white crust on the soil surface, and recommends leaching houseplants every 4 to 6 months with twice the pot's volume of water. Indoor feeding choices are covered in the indoor plant fertilizer guide.
Compost quality decides everything upstream. A tea is only as good as the compost in the bucket, and finished compost is described in how long compost takes to be ready.
Pro Tips
- Make compost tea from finished compost and clean water, with no molasses or sugar added.
- Pour homemade teas on the soil around vegetables, never over the leaves of crops eaten raw.
- Keep raw manure teas for the soil only, at least 120 days before harvesting crops that touch the soil.
- Use a fresh batch rather than storing a brewed tea.
- Skip banana peel water on houseplants, since its sugars feed fungus gnats.
- Leave clippings from treated lawns and commercial turf out of any garden tea.
Frequently Asked Questions
Is homemade liquid fertilizer as good as store-bought?
It is less predictable. A store-bought liquid has a printed analysis and a measured rate, while a homemade tea's strength changes with each batch, and Washington State notes that the claimed benefits of compost tea have not been validated scientifically.
How long can compost tea be stored?
It is safest used fresh. USDA's organic standards board treats a compost extract held less than an hour as unrestricted, and teas fed with sugars or molasses during brewing were the ones in which E. coli and Salmonella grew.
Can I spray compost tea on vegetable leaves?
It is safer not to. University of Arizona Extension recommends applying compost tea to the soil above the roots of edible crops rather than to the foliage, and spraying raw manure teas on foliage is prohibited under the organic guidance.
Does eggshell water help tomatoes?
Not with blossom-end rot. University of Minnesota Extension says eggshells do not prevent it, because the problem is water not moving calcium into the fruit, and eggshells break down over years rather than weeks.
Is banana peel water good for houseplants?
No. There are no scientific studies on banana peel fertilizer, and an Ohio extension expert advises against using the soaking water on indoor or potted plants because its sugars feed fungus gnats.
Sources & References
- NOSB Recommendation for Guidance: Use of Compost, Vermicompost, Processed Manure and Compost Tea, USDA National Organic Program
- Compost Tea 101: What Every Organic Gardener Should Know (AZ1739), University of Arizona Cooperative Extension
- Compost, Compost Tea, and Manure: Food Safety Implications in the Vegetable Garden, UConn Extension
- Compost Tea: Miracle Cure or Marketing Gimmick?, Washington State University
- The Myth of Compost Tea, Washington State University
- 7 CFR 205.203, Soil Fertility and Crop Nutrient Management Practice Standard (USDA National Organic Program)
- Organic Fertilizers, Colorado State University Extension
- Growing Vegetables in Central Oregon (EM 9128), Oregon State University Extension
- Fertilizing: Container Gardens, University of Illinois Extension
- Banana Peel Tea, Ask Extension
- Do Common Soil Health Home Remedies Work?, University of Minnesota Extension
- Garden MythBusters: The Dos and Don'ts of Natural Remedies, University of Illinois Extension
- Herbicide Damage in the Garden, N.C. Cooperative Extension
- Herbicide Carryover in Hay, Manure, Compost, and Grass Clippings, Oregon State University Small Farms Program
- Fertilizing Houseplants, University of New Hampshire Extension
- Success With Houseplants: Fertilization, Nebraska Extension in Lancaster County
Related Guides
Best Fertilizer for Indoor Plants: How to Choose
The best fertilizer for most indoor plants is a complete fertilizer labeled for houseplants, with…
15 min read
Best Fertilizer for Vegetables by Garden Type
Fertilizer only helps vegetables if it matches what your soil and crops need.
11 min read
Can You Fertilize Wet Grass Safely?
A wet lawn right when you planned to fertilize creates second thoughts fast.
11 min read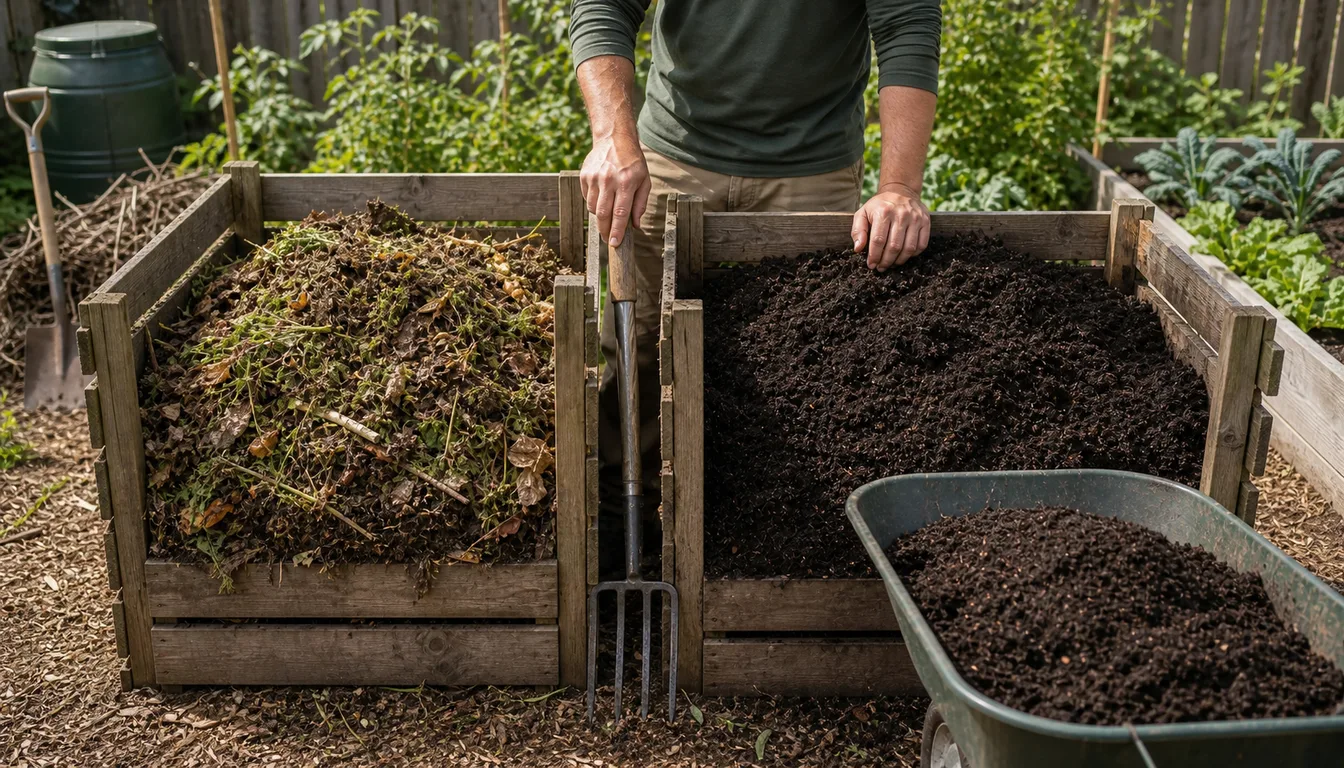
How Long Does Compost Take to Be Ready?
Compost does not follow a calendar, it follows conditions.
11 min read
How to Fertilize Tomatoes Without Overfeeding
Fertilize tomatoes according to a soil test and product label, not a fixed weekly calendar.
15 min read
How to Fertilize a Vegetable Garden for Maximum Yield
Fertilizer is not magic dust. It is plant food in a specific ratio.
14 min read