
How to Grow Aloe Vera Without Keeping Its Roots Too Wet
Aloe barbadensis miller Asphodelaceae
Aloe vera stores water in its thick, gel-filled leaves and can survive weeks without attention — which makes overwatering the fastest way to kill it. Give it a bright window, a gritty well-draining mix, and deep-but-infrequent water, and it becomes one of the lowest-maintenance houseplants you can own.
Care snapshot
A Succulent Built Around Its Gel
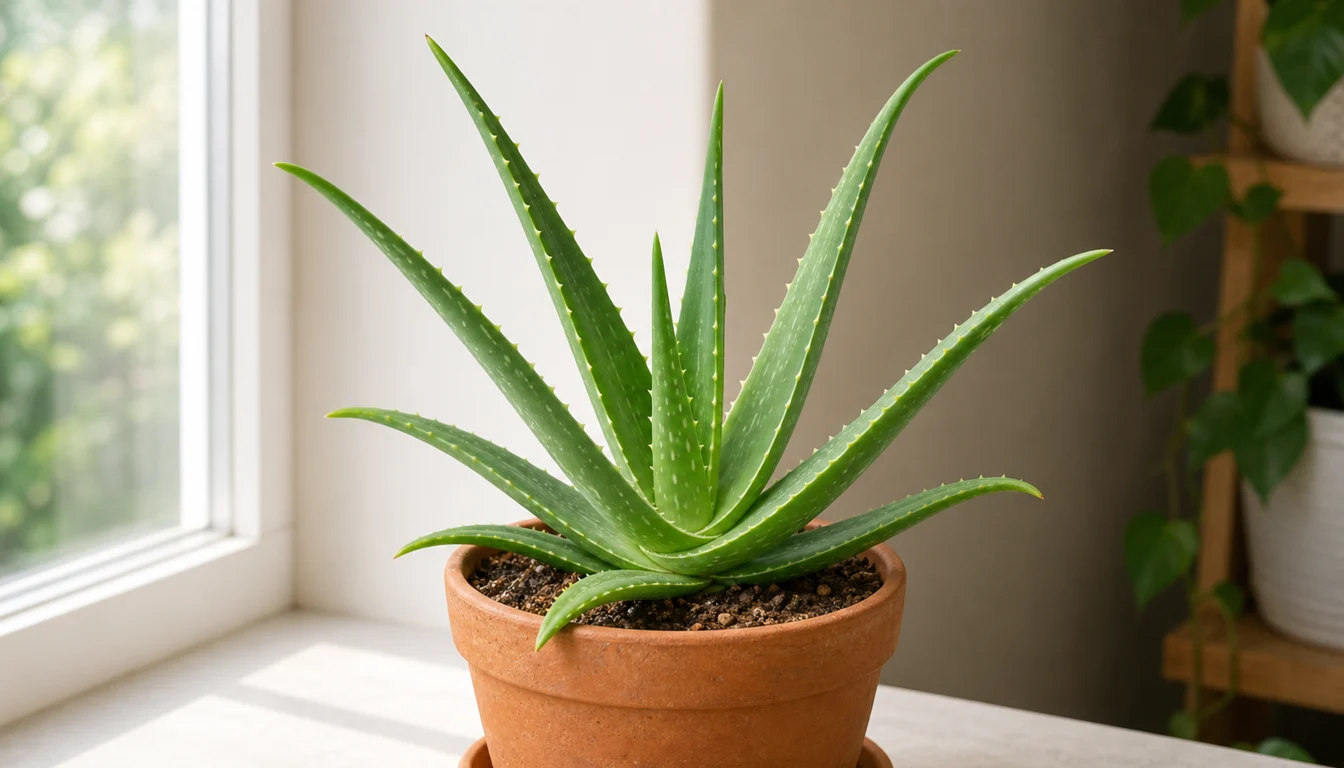
Aloe vera (botanical name Aloe barbadensis miller) survives prolonged drought because each of its thick, fleshy leaves is essentially a water reservoir. The clear gel filling those leaves is about 99% water held in a mucilaginous matrix.
That structure is what lets the plant go weeks between waterings without wilting.
It also means that waterlogged soil is lethal. Roots that can't breathe rot quickly in a plant that is not built to process constant moisture.
Aloe vera grows in a compact rosette from a central base, pushing leaves outward and upward in a fountain shape.
As the plant matures, it produces pups, small offsets that emerge from the root zone around the base. These pups are genetically identical to the parent and develop their own root systems, making vegetative propagation very simple.
Indoors, most plants stay 12–24 inches tall in containers. Flowers are rare without bright light and a slightly root-bound pot, but plants in south-facing windows occasionally push a tall spike with tubular yellow blooms.
The drought-tolerance of Aloe vera is similar in principle to Snake Plant, though the mechanisms differ.
Snake Plant stores water in its rhizomes, while Aloe vera stores it in leaf tissue.
That leaf anatomy is why gel harvest and plant care belong in the same guide. The plant stores water for survival, while people only use one cleaned inner layer.
Which Aloe Vera to Buy
Start with the reason you want the plant. A gel-use Aloe Vera and a decorative spotted aloe can share the same sunny shelf, but they are not interchangeable when you plan to harvest leaves.
Aloe barbadensis miller is the plant sold as Aloe vera at every garden center and hardware store.
It has pale green leaves with light spotting when young, an upright rosette form, and the clear inner gel people actually use.
If the label says "Aloe vera" without a cultivar name, this is almost always what you're getting.
Compact and dwarf varieties, often labeled 'Minibelle' or sold as "dwarf aloe", stay under 8 inches tall and fit comfortably on a windowsill without needing much pot space. These are the better option for a small apartment window rather than a standard Aloe vera that can spread 12–18 inches wide in a few years.
Decorative hybrid aloes with dramatic spots, stripes, or red-edged leaves are sold widely in nurseries and behave similarly in containers with the same light and water needs, but they are usually grown for appearance rather than gel use. If gel harvest is part of why you want the plant, stick with labeled Aloe vera or Aloe barbadensis miller, because the gel chemistry and concentration are specific to this species.
Light: Bright but Not Scorching
Aloe vera is a desert plant that naturally grows in full sun for most of the day. Glass magnifies and concentrates heat, so an indoor aloe in a south window gets more intense light than the same plant on a shaded ledge outdoors.
Bright direct light for 4–6 hours daily, ideally through a south or west window, is the indoor target.
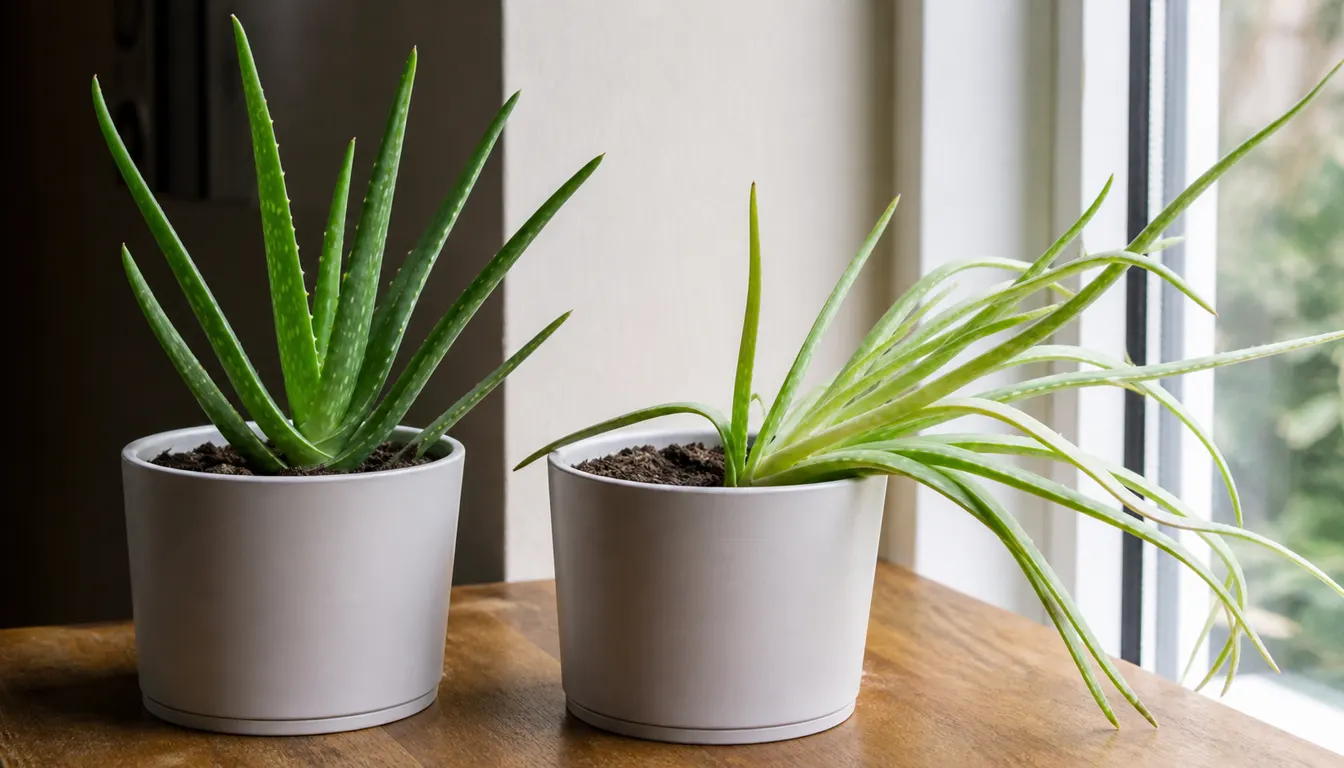
Too little light is the most common and easiest-to-miss aloe problem indoors.
A plant in dim conditions produces pale, thin leaves that lean and stretch toward the nearest window.
The rosette loses its compact upright shape and the leaves droop sideways under their own weight. If your aloe looks "floppy," light is the first thing to check before adjusting water or soil.
Too much unfiltered afternoon sun through glass can cause brown, papery burn patches. This does not happen on acclimated plants, but it happens consistently on aloes moved from a dim spot to full direct sun without transition time.
The fix is a gradual increase over 1-2 weeks rather than an abrupt jump.
This same hardening-off period is essential before moving any indoor aloe outdoors for summer.
If you use grow lights, position the fixture 8–12 inches above the plant and run for 12–14 hours daily to approximate what a bright south window provides. Full-spectrum LED grow lights at this distance reliably maintain compact rosette shape when natural light is insufficient.
- Best placement: south or west window with 4–6 hours of direct sun through glass.
- Floppy, pale, or leaning leaves mean the plant needs more light — move it before adjusting watering.
- Brown crispy patches after moving to a brighter spot = acclimation needed; step up gradually over 2 weeks.
- Outdoors in summer: start in bright shade, not direct sun, and increase sun exposure over 7-10 days.
Compare the full rosette shape before changing care because stretched growth records several weeks of weak light.
Watering: How Dry Is Dry Enough
Read the leaves before you read the calendar. A firm, upright Aloe Vera with cool soil does not need a drink, even if two weeks have passed.
The most common piece of advice, "water aloe rarely", is vague enough to cause both overwatering and underwatering. The more useful rule is to water deeply when the soil has dried out at least halfway down the pot.
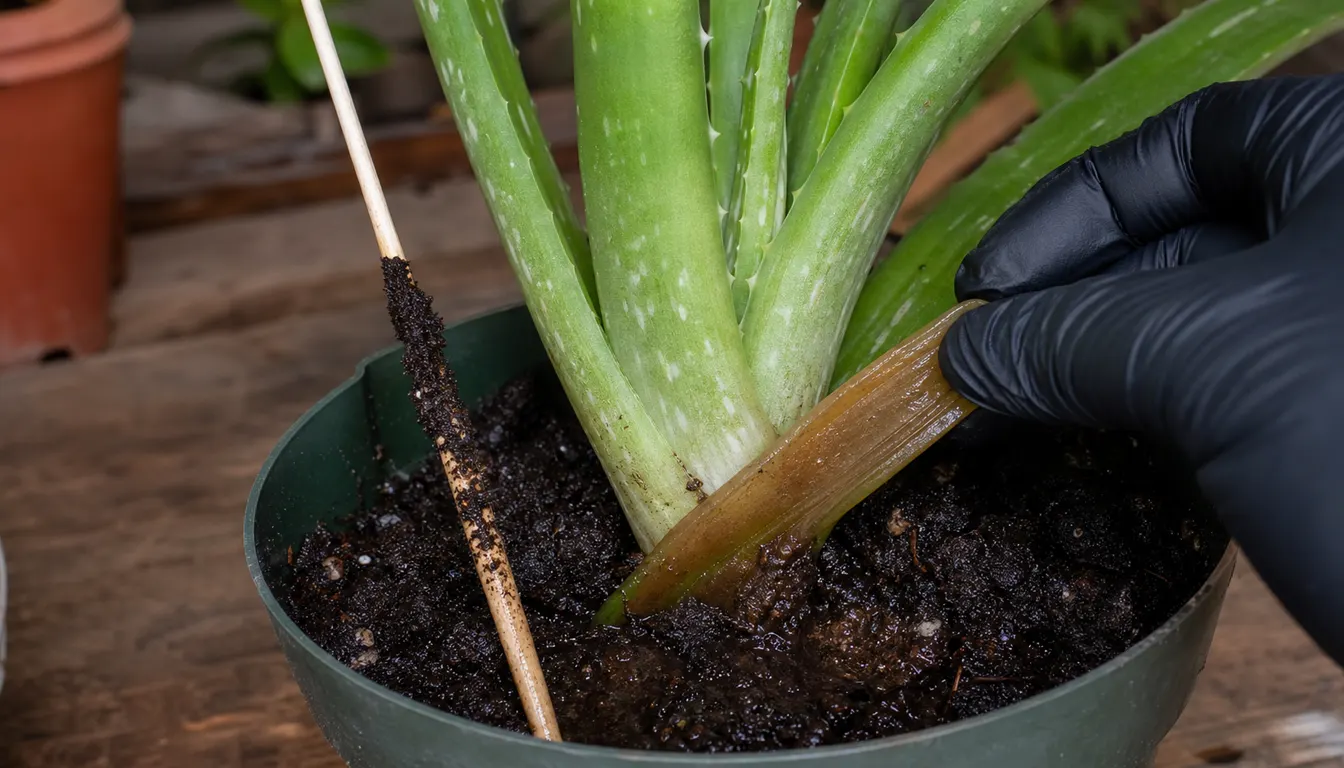
Push a finger or a wooden skewer to the midpoint.
If it comes out with soil particles stuck to it, wait.
If it comes out clean and dry, water.
When you do water, water completely. Pour until liquid runs freely from the drainage holes, then empty the saucer within 15 minutes.
This deep-then-dry cycle is how Aloe vera evolved to drink, with brief but thorough saturation followed by a long dry period. Shallow, frequent watering creates perpetually moist soil at the root zone, which is exactly what causes rot.
In a bright south window in summer, that cycle typically runs every 14–21 days.
In winter, the same plant in reduced light may go 4–6 weeks between waterings without any ill effect.
Growth slows dramatically and water use drops accordingly. The drooping aloe guide covers how to distinguish overwatering from underwatering when leaves have already lost their firm, upright shape.
Overwatering shows up as leaves that feel soft or mushy near the base and slight brown discoloration where each leaf meets the stem. Other clues include soil that stays wet for more than 3 weeks and sometimes a faint sour smell.
Underwatering shows differently because leaves become thin, curl inward along their length, and lose their firm plumpness while the pot feels very light when lifted.
- Test soil at mid-pot depth — water only when it feels dry at that level.
- Water thoroughly until liquid drains from the bottom, then discard the runoff.
- Let soil dry at least halfway before the next watering — usually 2–4 weeks depending on season and light.
- Cut watering frequency roughly in half during low-light winter months.
Use the list as a check before adding water. The warning below matters most when a drooping plant tempts you to water wet soil again.
Soil and Drainage: The Real Secret to Healthy Aloe
The potting mix has to protect the crown from staying wet. Aloe Vera stores water in its leaves, so the roots need air more urgently than constant moisture.
Correct watering frequency matters far less than correct soil.
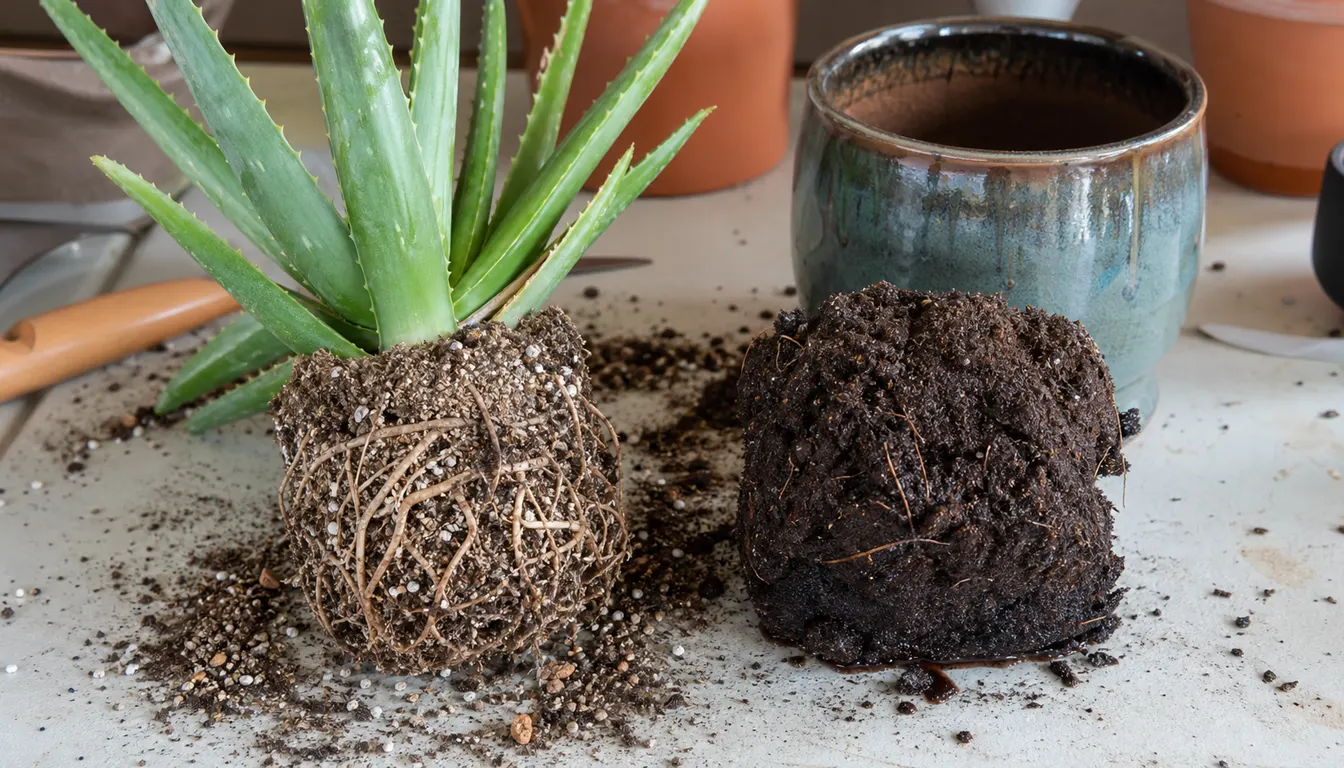
An Aloe vera in a gritty, fast-draining mix can tolerate moderate overwatering because the water moves through quickly and roots dry out within hours. The same plant in dense standard potting mix can rot on the same watering schedule because moisture sits against the roots for days.
Soil type is the primary variable, and everything else adjusts around it.
Aim for 50% cactus/succulent soil and 50% perlite or coarse horticultural sand. The cactus soil provides minimal organic matter.
The perlite or sand keeps large pores open so water moves through fast and roots drain within 2-4 hours of watering.
Pre-bagged cactus soil alone is often too moisture-retentive for Aloe vera, so it still needs the added grit to drain fast enough.
Terracotta pots are the best choice for Aloe vera because the clay is porous and actively wicks moisture away from the root zone. Plastic and glazed ceramic hold moisture significantly longer.
Choose a pot only 1–2 inches wider than the root ball.
Oversized pots hold a large volume of wet soil that surrounds roots for too long between waterings.
Proper drainage holes are non-negotiable. Decorative pots without holes should have a nursery pot inside them.
Poor drainage shows up first as yellowing leaves and then as softening at the leaf base. By that point root rot has usually set in.
Repot into fresh gritty mix annually if the existing mix has compressed or if you've had repeated overwatering issues.
Roots that have gone brown and mushy should be trimmed back to healthy white tissue before repotting.
- Recommended mix
- 50% cactus soil, 50% perlite or coarse horticultural sand
- pH range
- Slightly acidic to neutral, around 6.0–7.0
- Best pot type
- Terracotta with drainage holes — clay wicks moisture and dries faster than plastic
- Repotting frequency
- Every 2–3 years, or when roots circle the pot or crowded pups push out of the soil
The root-zone comparison below shows why two pots watered together can dry at very different speeds.
Separating and Repotting Pups
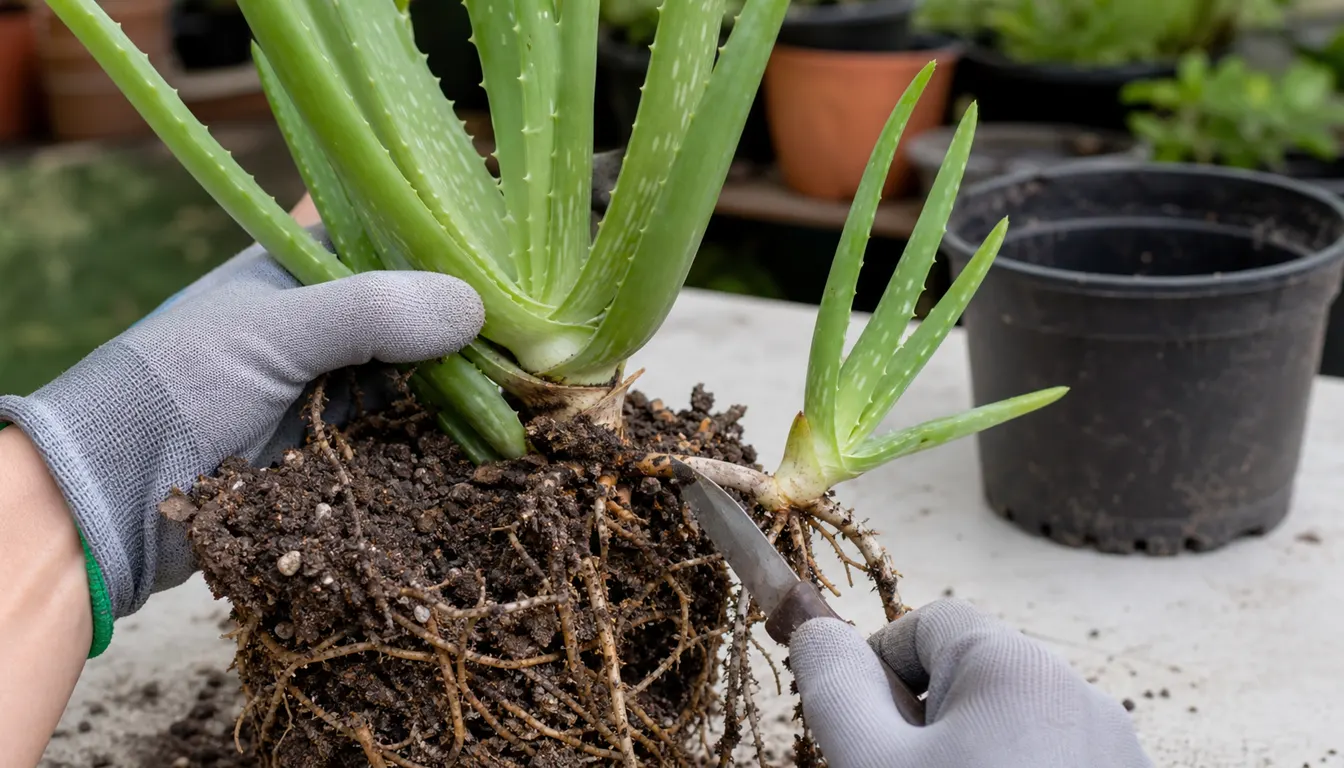
Aloe vera propagates almost exclusively through pups, the small offsets that emerge from the root zone around the base of the parent plant. Wait until pups have at least 3–4 leaves of their own and some visible roots before separating them.
Pups without their own root system struggle to establish after separation and often rot.
Lift the whole plant from its pot so you can see the base clearly. Work on newspaper or a tarp.
Gently tease away soil from the connection point between pup and parent. The attachment is usually at the rhizome just below the soil surface.
Cut pups free with a clean knife or pruners, taking a small section of connecting root tissue with each pup.
Set the separated pups in a dry, shaded spot for 24–48 hours before potting.
This brief drying period lets the cut surfaces callus over, significantly reducing the chance of rot when the pup is placed in moist soil.
Don't skip this step. Fresh cut surfaces on succulents are highly vulnerable to fungal rot before they seal.
Pot each pup in a container just 1–2 inches wider than its root ball, using the same gritty succulent mix you'd use for Jade Plant or cactus. Hold off on watering for 5–7 days after potting, then water lightly.
Full rooting and establishment takes 4–6 weeks.
The pup has taken hold once you feel gentle resistance when you lightly tug a leaf.
- Wait until pups have 3–4 leaves and visible roots before separating.
- Let cut surfaces dry for 24–48 hours before potting — this callusing step prevents rot.
- Use a pot with a drainage hole; label pups with the separation date.
- Hold off on watering for 5–7 days after potting, then water lightly.
Expose the connection and confirm that the pup has roots before reaching for the knife.
Pests: Less Common Than You Think
Healthy Aloe vera in bright light and fast-draining soil is surprisingly pest-resistant compared to moisture-loving tropical houseplants. The thick, bitter leaves are not attractive to most insects, and the dry soil prevents the fungus gnat populations that plague overwatered plants.
When pests do appear, it's usually a signal that soil moisture or crowding conditions have become favorable to them.
Mealybugs are the most common Aloe vera pest. They hide inside the crown, the tight center of the rosette where new leaves emerge, and can be easy to miss until a cottony white mass appears.
They also establish at the soil line around roots (root mealybugs), which are harder to detect but cause the same stunted, discolored growth. Dab visible colonies with a cotton swab soaked in 70% isopropyl alcohol, then spray with insecticidal soap at weekly intervals for 3–4 weeks.
Scale insects show as fixed tan or brown shell-like bumps along the lower leaf surfaces and outer leaf edges. They are slow to establish on aloe's tough leaves but can build up unnoticed.
Scrape off manually with a fingernail or soft brush, then treat with isopropyl alcohol and soap spray as with mealybugs.
Fungus gnats in the soil almost always mean the top layer is staying moist too long. The larvae feed on organic matter and fine root tips.
The fix is a better watering schedule rather than repeated spray treatments. Let the soil dry completely several inches deep before the next watering and the population crashes within a few weeks.
The fungus gnat guide covers sticky traps and BTi soil drenches for established infestations.
Moving Outdoors and Back In
Aloe Vera changes more when you move it than when the calendar changes. The risky moments are the first week outdoors in spring and the first week back inside before cold nights.
Spring is the time to repot, separate pups, and start a light feeding schedule. Use a diluted, low-nitrogen fertilizer at half the label rate once a month from April through August.
A 5-10-10 or balanced cactus fertilizer works well, such as one of the options in the indoor plant fertilizer guide.
Overfeeding is more harmful than underfeeding for this plant, because extra salts in the soil cause leaf tip browning.
Summer is when Aloe vera benefits most from outdoor placement. Move it outside once nighttime temperatures consistently stay above 50°F, but harden it off first.
Start in bright shade for a week, then give it more morning sun gradually over 7–10 days before placing it in its full-sun summer spot.
Jumping from dim indoor light to outdoor sun in a single step causes sunburn patches that won't heal on existing leaves.
Fall is the critical window for bringing plants back indoors. Move Aloe vera inside before nighttime temperatures drop below 45°F.
A single frost-level night kills the exposed outer leaves, and a hard freeze kills the whole plant. Before moving it in, thoroughly inspect every leaf surface and the soil for hitchhiking pests.
Rinse the leaves with a gentle spray and let them dry before the pot crosses the threshold, so you don't import spider mites, scale, or mealybugs to your other houseplants.
Winter care is simple. Give it the brightest window available, water every 4–6 weeks when the soil is completely dry halfway down, and no fertilizer until spring.
Aloe vera stores enough energy in its leaves to coast through winter at reduced light without any special intervention.
Repot rootbound plants, separate pups, start half-strength monthly fertilizer.
Move outdoors after hardening off; water every 2-3 weeks in heat; full sun after acclimation.
Bring in before nights drop below 45°F. Inspect and rinse for pests before moving indoors.
Brightest window available, water every 4-6 weeks, no fertilizer.
The Gel, the Latex, and Pet Safety
Safety questions around Aloe Vera are really about which layer of the leaf someone touches or eats. The clear gel, the yellow latex, and the whole leaf do not carry the same risk.
The clear inner gel of Aloe vera is the part you reach after cutting through the skin and the yellow layer beneath it. That gel is what most people use on minor skin irritations and mild burns.
This inner gel is generally considered safe for external use on intact, uninfected skin. It is not a replacement for medical treatment on serious wounds, infected areas, or surgical incisions.
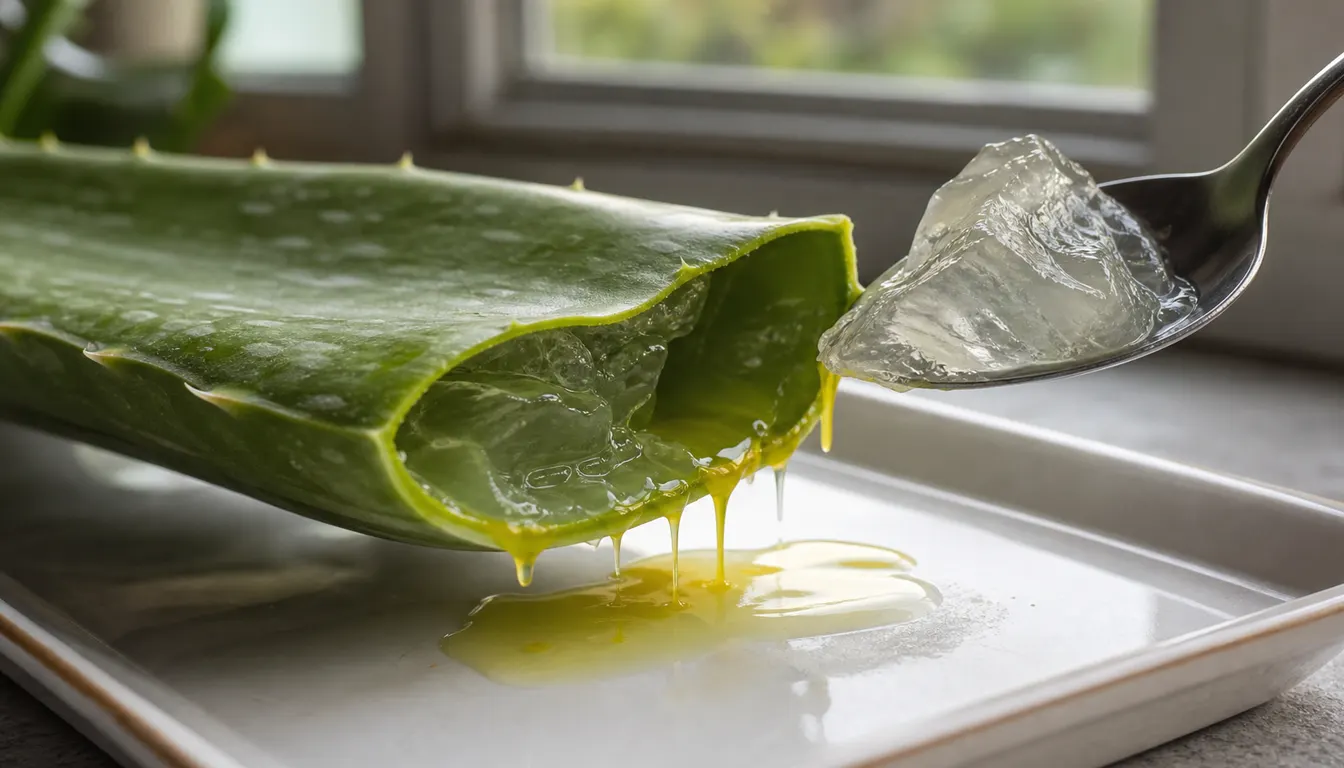
The yellow latex layer just under the green skin is a different matter entirely.
This layer contains aloin, a compound with strong laxative properties that also irritates skin and mucous membranes.
When harvesting gel at home, slice the leaf lengthwise, let the yellow latex drain away for a few minutes, then scoop only the clear gel. Rinse the gel before use to remove residual latex.
Aloe vera is toxic to cats and dogs if eaten. The ASPCA names saponins and anthraquinones as the cause of vomiting, lethargy, and diarrhea in pets, and it considers the gel edible, so the risk comes from chewing the leaf.
Even a small amount of the yellow latex is a stronger irritant than the clear gel. Keep the plant on a high shelf or in a room your pets don't access freely.
Spider Plant is a non-toxic alternative with easy care if you have cats or dogs that chew plants.
For human children, Aloe vera is mildly toxic if chewed or swallowed in leaf form, with the same laxative and irritant effects. Commercial aloe gel products are processed and tested to remove aloin.
Home-harvested gel is not. Keep the plant out of reach of toddlers who might chew leaves, and store any harvested gel in the refrigerator for no more than 1 week.
A fresh cross-section makes the thin yellow layer easier to distinguish from the clear inner gel.
Frequently Asked Questions
How often should I water Aloe vera indoors?
Push a finger or wooden skewer to mid-pot depth and water only when it comes out dry, which typically means every 2–4 weeks in spring and summer and every 4–6 weeks in winter. Overwatering is the most common reason aloe plants die.
Why are my Aloe vera leaves thin and curling inward?
Thin, inward-curling leaves mean the plant is underwatered because it has depleted the water reserves in its leaf tissue. Water thoroughly until excess drains, let the pot drain completely, and resume checking before watering so the leaves can firm up.
Why is my Aloe vera drooping and floppy?
Flopping leaves can come from weak light or wet roots that can no longer supply the foliage. Treat soil that has stayed wet for more than 3 weeks as an overwatering clue, while dry soil with pale stretched leaves points toward weak light.
Can I use the gel from my Aloe vera plant on my skin?
Yes, the clear inner gel is the part commonly used on minor skin irritations and sunburn. Slice the leaf lengthwise, drain the yellow latex layer, scoop out the clear gel, and rinse it well because the yellow material is an irritant and laxative.
Is Aloe vera safe for cats and dogs?
No, the ASPCA lists Aloe vera as toxic to cats, dogs, and horses. Chewing the leaf can cause vomiting, lethargy, and diarrhea, although the ASPCA considers the gel edible. Keep it out of reach or choose a non-toxic alternative such as Spider Plant for animals that chew leaves.
How do I propagate Aloe vera?
Wait until pups (small offsets at the base) have at least 3–4 leaves and their own roots, then lift the whole plant and separate them with a clean knife. Let the cut surfaces dry for 24–48 hours before potting in gritty succulent mix, then hold off on watering for 5–7 days so the cut ends can callus.
Sources & References
- Growing Aloe Vera Indoors, Clemson Cooperative Extension
- Succulents and Cacti as Houseplants, University of Minnesota Extension
- Aloe Vera, University of Florida IFAS Extension
- Indoor Plant Care: Succulents and Cacti, Clemson Cooperative Extension
- Poisonous Plants for Dogs and Cats, ASPCA
- Aloe Vera, Missouri Botanical Garden Plant Finder
- Toxic and Non-toxic Plants: Barbados Aloe | ASPCA
Related Plants
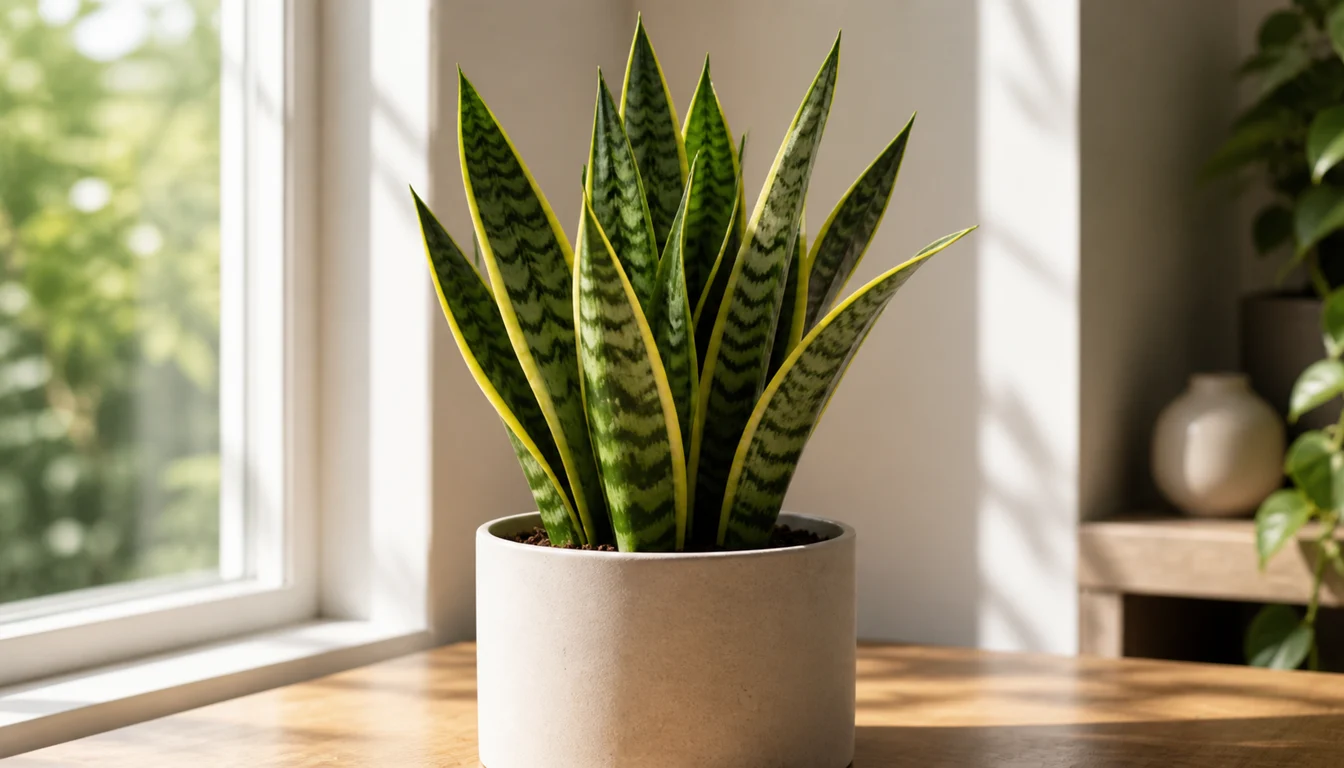
Snake Plant
Another drought-tolerant houseplant that shrugs off neglect and low humidity.
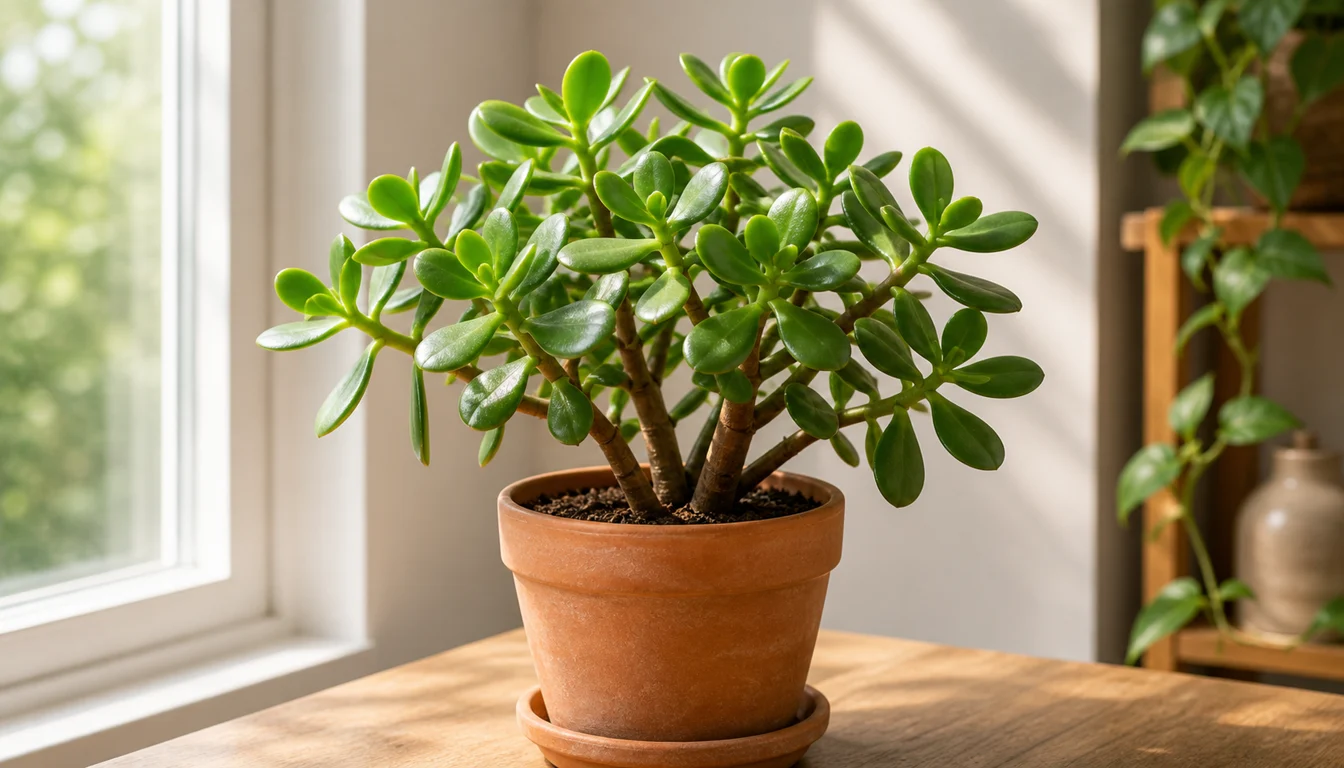
Jade Plant
Thick, woody succulent that likes similar light and watering habits.
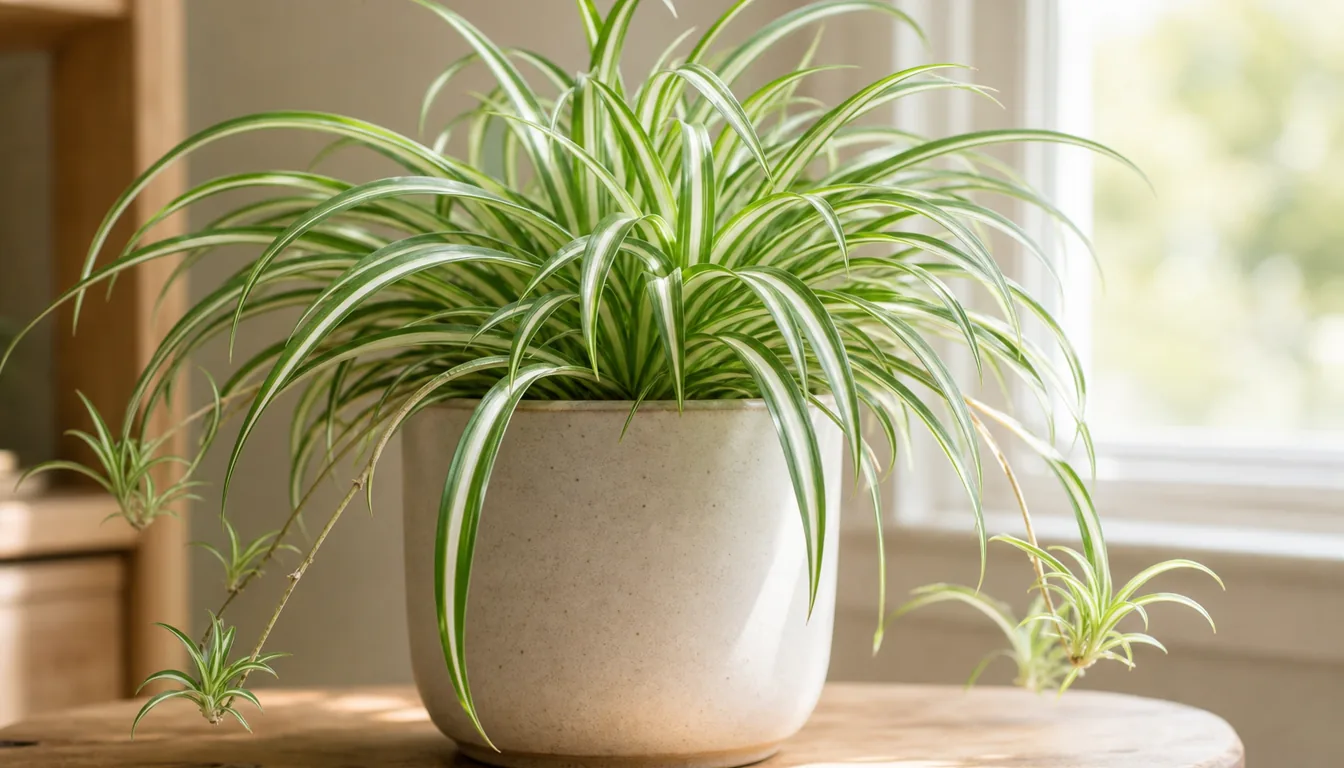
Spider Plant
Pet-friendlier option if you want easy care without the spines.
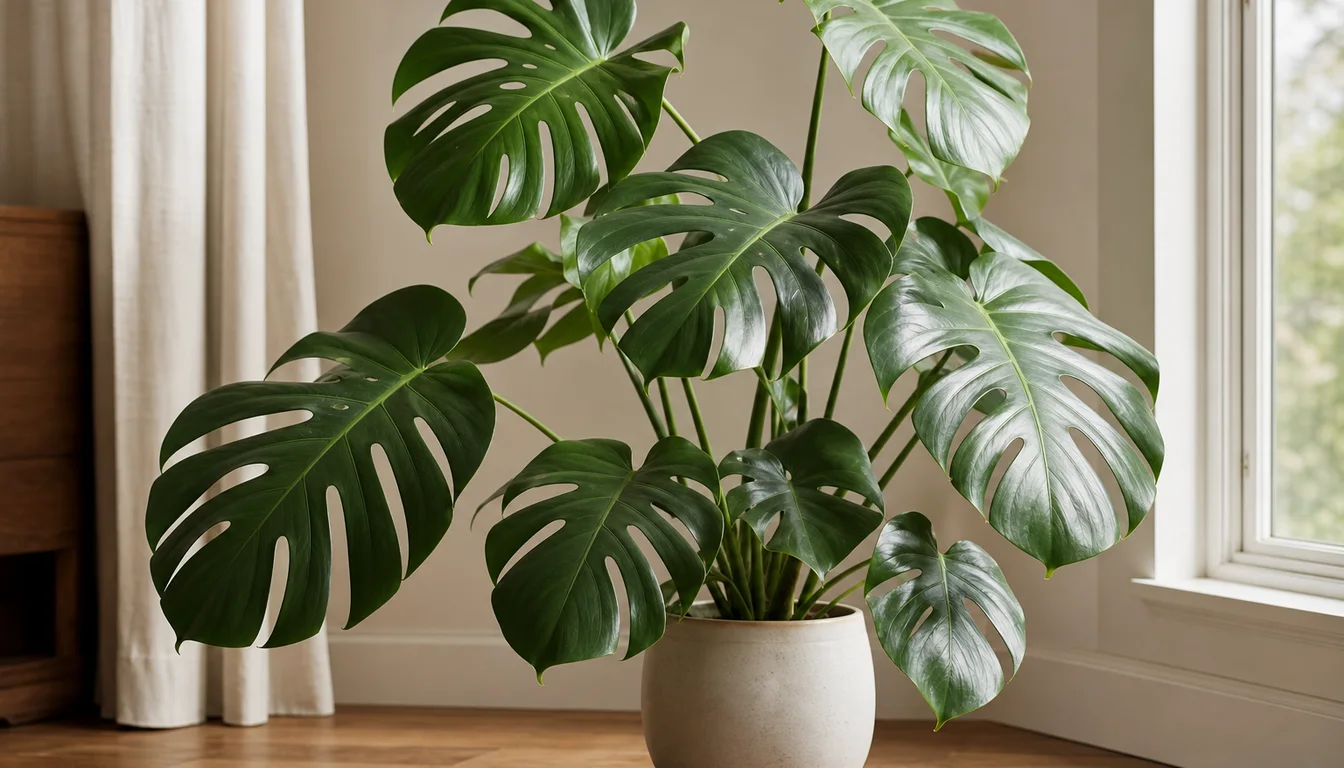
Monstera
Leafy counterpart that suits the same bright rooms but needs more water.
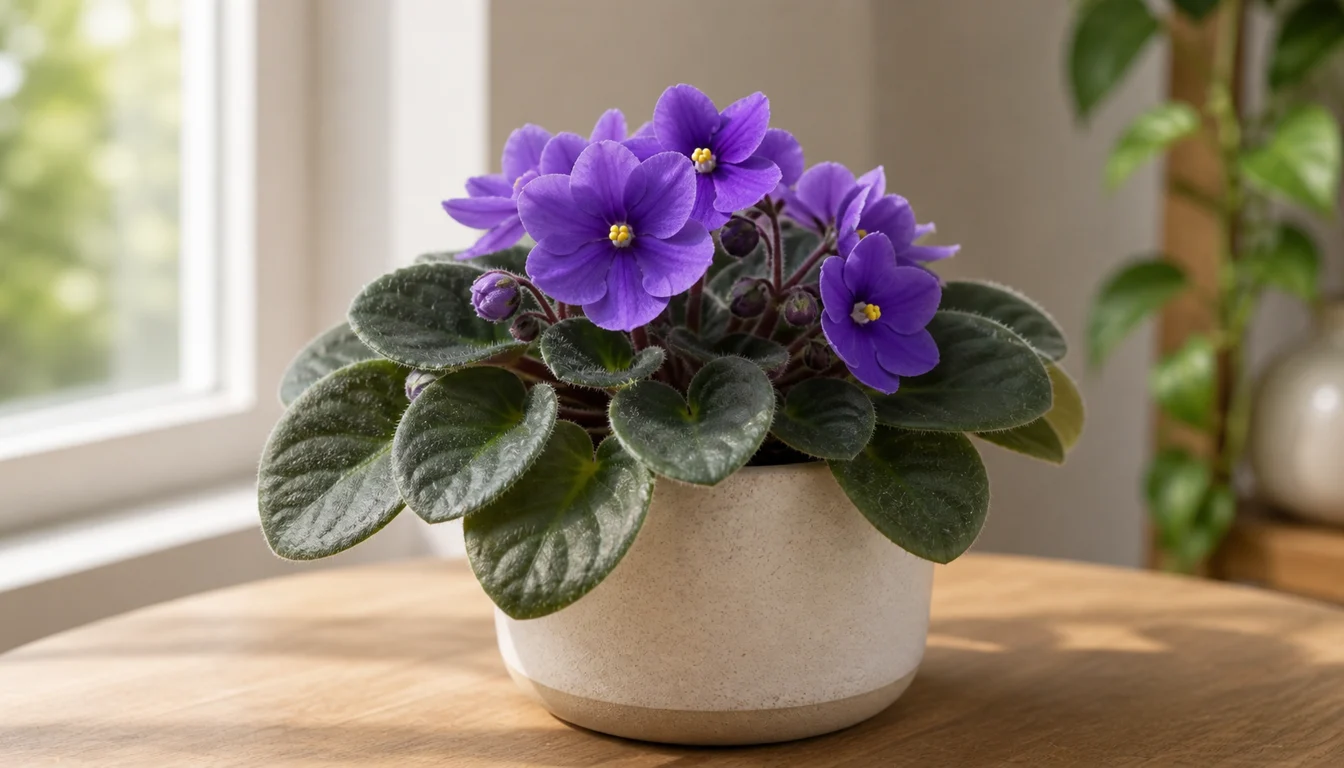
African Violet
African Violet is a windowsill bloomer that rewards steady, small-pot care.
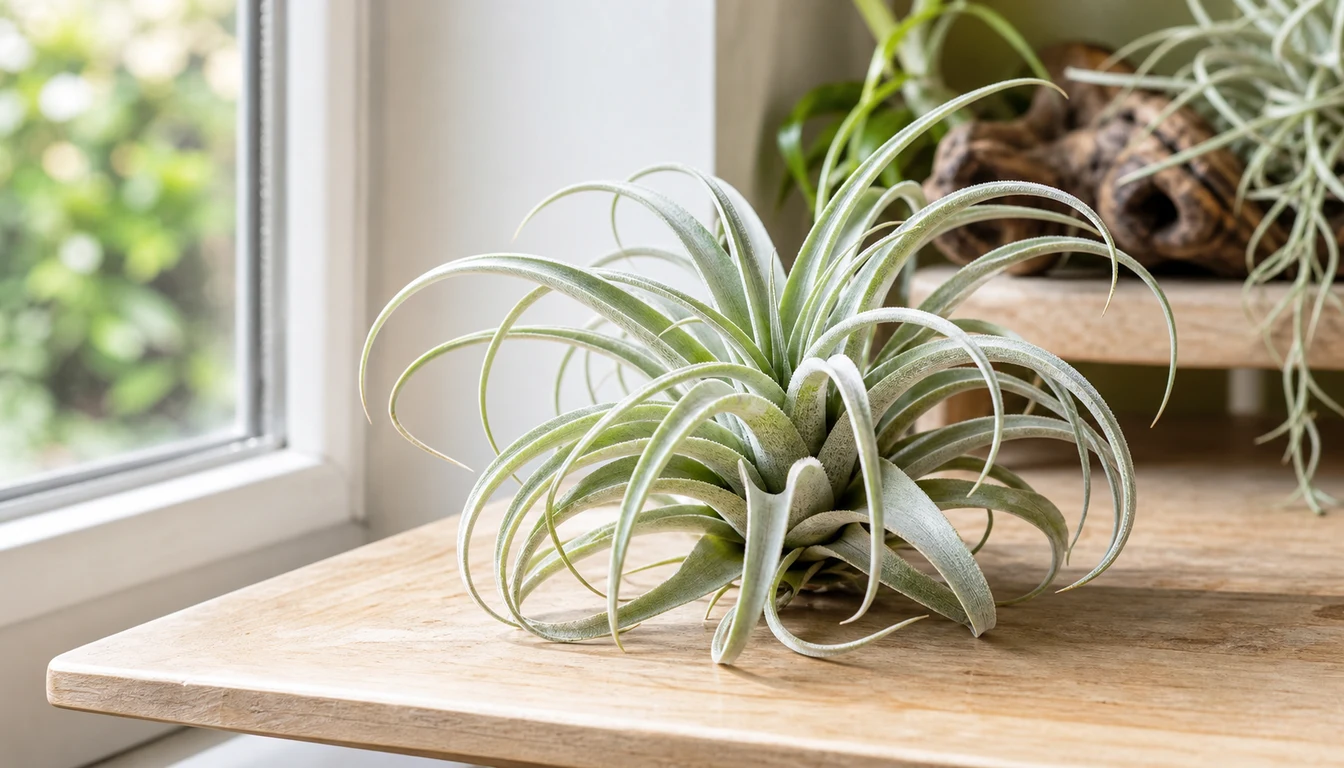
Air Plant
Air plants are living sculptures that thrive without soil, anchoring to driftwood, rocks, or shells while drawing…