
How to Start a Vegetable Garden From Bare Ground This Season
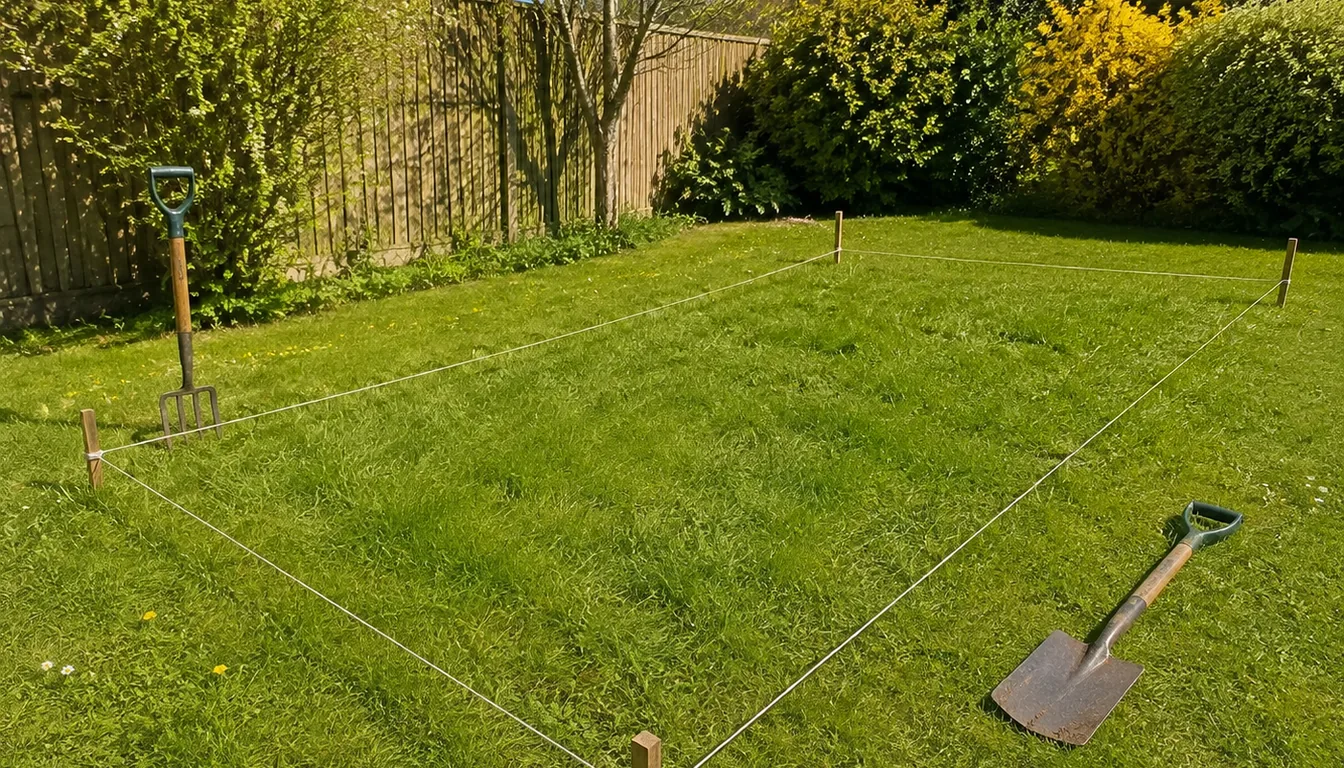
Start a vegetable garden by choosing the sunniest practical site near water, testing the soil, and limiting the first plot to a size you can weed and harvest every week. Most fruiting crops need at least six hours of direct sun, while leafy crops can use a somewhat shadier edge.
You do not need raised beds, perfect soil, or dozens of seed packets. One 4-by-8-foot bed can teach you planting dates, irrigation, spacing, and pest checks while producing several crops your household already eats.
Choose a few dependable plants, such as a compact tomato, beans, lettuce, herbs, and one climbing cucumber, then expand after you know how the site behaves.
The decisions follow the order you will make them, from site and soil through planting, protection, and harvest. It also shows where a container or community plot is the better answer when a yard lacks enough light or safe soil.
At a glance
Pick the Right Spot in Your Yard
Most fruiting vegetables perform best with at least six to eight hours of direct sun. Observe the proposed site after trees leaf out, checking it through the morning and afternoon.
A compass direction alone cannot account for buildings, fences, or neighboring trees.
Put the garden where a hose or watering can can reach it easily and where you pass often enough to notice wilt, weeds, and ripe produce. Avoid a low area that remains saturated after rain and avoid digging through established tree roots.
If the best sunny site is far from the house, plan the water line before building the bed.
Investigate the site's history. Do not grow food in soil suspected of lead, industrial contamination, or repeated pesticide spills without appropriate testing and local guidance.
Near an older painted structure, a lined raised bed filled with verified soil may be safer, but it does not correct contaminated dust or runoff around the site.
Match crops to the light you have. Tomatoes, peppers, squash, and cucumbers need the brightest area.
Lettuce, spinach, kale, radishes, and some herbs tolerate fewer hours, though yields and drying after rain may be slower.
Before committing lumber or labor, confirm four things. - Direct sun reaches the crop canopy for most of the day.
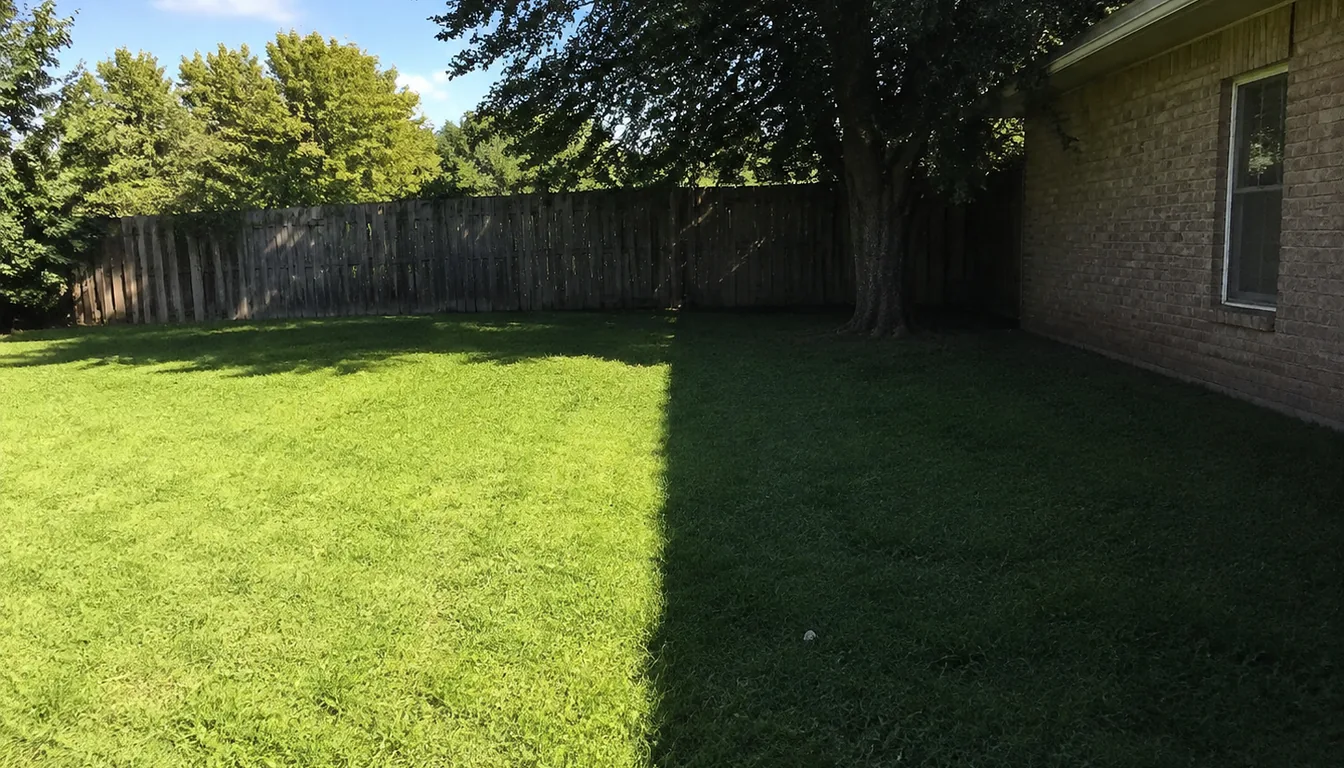
- Water can be delivered without dragging a hose across stems. - Rain drains without leaving the bed saturated.
- The site is free of major roots, contaminated soil concerns, and heavy foot traffic.
If no yard location supplies enough light, use sunny containers, a shared community plot, or a smaller herb-and-greens garden instead of forcing fruiting crops into deep shade.
Decide on Bed Type and Size
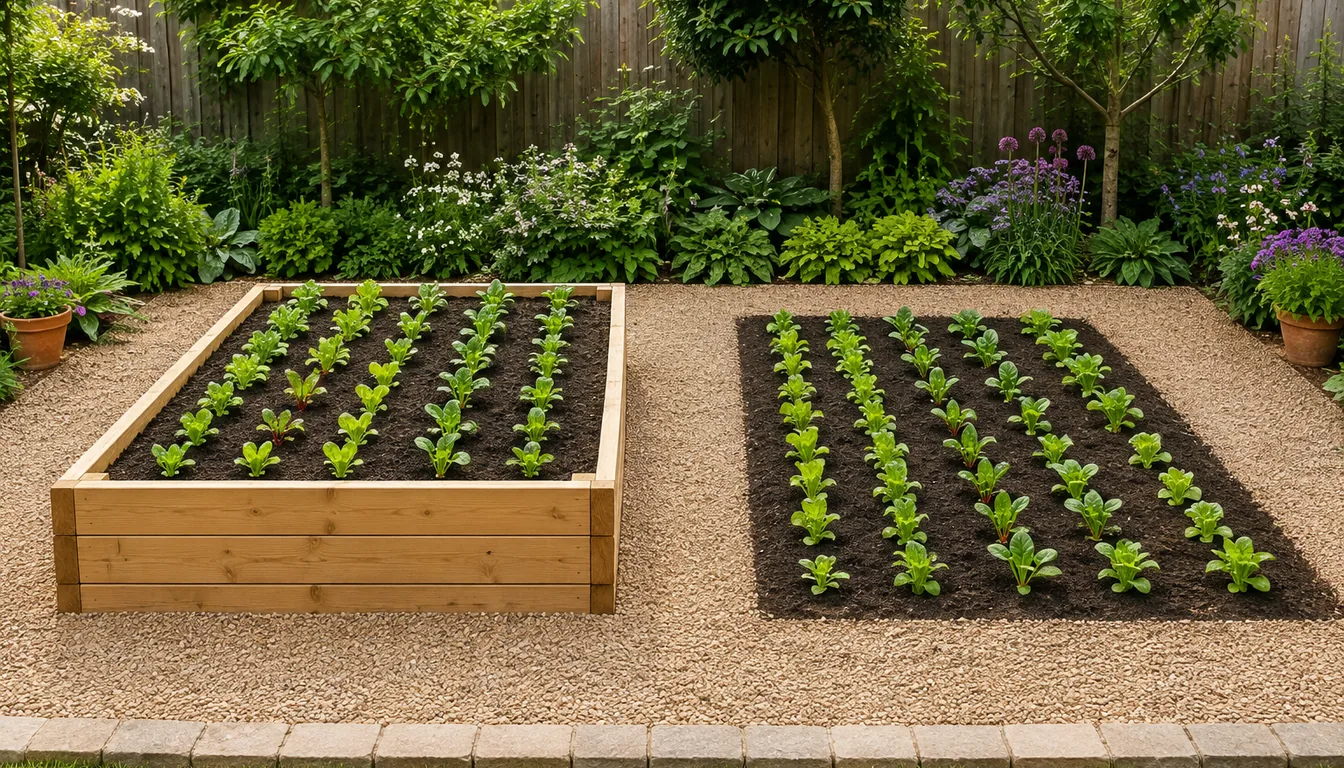
Most first gardens work best as either simple in-ground rows or framed raised beds. In-ground beds suit decent soil and smaller budgets, while raised beds shine where soil is poor or you want tidy, contained spaces.
Start smaller than you think.
A manageable size for year one is one or two beds measuring 4 ft x 8 ft each.
You can reach the middle from either side without stepping on the soil, which keeps it fluffy for roots.
If you already know your soil is compacted or rocky, wooden or metal raised beds filled with a quality mix help crops like leafy greens establish quickly. Cool-season kale also benefits from that looser, warmer soil.
Cost is the main downside of raised beds.
Framing, soil mix, and compost add up fast.
In-ground beds can work just as well if you invest sweat into loosening soil and adding organic matter.
| Bed Type | Pros | Cons |
|---|---|---|
| In-ground | Cheapest, easy to expand | Harder weed control, depends on native soil |
| Raised bed | Great drainage, neat edges | Higher upfront cost, soil must be imported |
Use the table to choose your first setup, not your forever setup.
If you are torn between styles, build one raised bed and one in-ground bed. You will quickly see which fits your yard and budget long term.
Build Healthy Soil From Day One
Test an in-ground bed before adding lime or fertilizer. A laboratory report gives the pH and nutrient recommendation for vegetables, preventing repeated phosphorus or potassium additions to soil that already contains enough.
Sample before amending and follow the laboratory's depth and mixing instructions.
Work soil only when a squeezed handful breaks apart instead of smearing into a dense ball. Remove perennial weeds and loosen compaction with a fork while avoiding unnecessary deep tillage, which brings up buried weed seed and breaks soil structure when repeated.
Add finished compost according to soil condition and test guidance rather than assuming every bed needs several inches each year.
For a raised bed, buy a reputable mix formulated for raised-bed use or blend components from known sources. There is no universal 40-40-20 recipe.
Local topsoil texture and compost salinity vary, and excessive compost can shrink, retain too much water, or supply more nutrients than crops need.
Fill the bed with a stable mineral-soil component plus mature organic matter, then test the finished mix.
| Soil condition | First response |
|---|---|
| Heavy but drains after rain | Add organic matter gradually and avoid working it wet |
| Sandy and dries rapidly | Add mature compost and plan more frequent moisture checks |
| Compacted below the surface | Loosen with a fork. keep paths off growing soil |
| High or low pH | Use the soil-test amendment and rate |
| Unknown imported fill | Verify source and test before growing food |
Use only fully composted manure and observe any waiting period in local food-garden guidance. Fresh manure can burn roots and introduce pathogens or weed seed, and manure-based compost may already supply substantial phosphorus.
Choose Beginner-Friendly Vegetables and Herbs
Some crops forgive late watering and imperfect soil, which makes them ideal for a first attempt. Others sulk at the slightest stress and are better saved for year two or three.
Fast, direct-sown crops like radishes, leaf lettuce, and cool spinach varieties give quick wins in cold spring soil. Warm-season staples like slicing tomatoes, cucumbers, and prolific zucchini carry the garden through summer.
Herbs are low-maintenance fillers.
Hardy choices include basil, flat-leaf parsley, and perennial chives tucked along bed edges. They tolerate minor crowding and still produce plenty for kitchen use.
For most beginners, a mix like this in a 4 x 8 ft bed works well. one indeterminate tomato, one sweet pepper plant, one hill of summer squash, two short rows of carrots, and a border row of lettuces and herbs.
Leave fussy crops like tight cauliflower heads and long-season Brussels sprouts until after you have one or two seasons under your belt. They demand stricter timing, pests control, and nutrient management.
- Easy first choices: Lettuce, radish, beans, zucchini, cherry tomatoes
- Good starter herbs: Basil, chives, parsley, dill
- Trickier for beginners: Cauliflower, celery, Brussels sprouts, big melons
Choose varieties from the easy column before you chase seed-catalog experiments.
Variety pictures can be misleading. Prioritize days-to-maturity numbers and "disease-resistant" notes on seed packets over glossy label photos.
Plant at the Right Time for Your Zone
Use a local Extension planting calendar because frost dates, soil temperature, summer heat, and daylight all affect timing. USDA hardiness zones describe average winter minimums.
Two places in the same zone can have different spring and fall planting windows.
Cool-season crops vary in hardiness. Peas, spinach, radishes, kale, and lettuce can use cool soil, while a tender crop such as tomato, pepper, cucumber, bean, or squash should wait until frost risk has passed and the soil is warm enough for that crop.
Follow the seed packet and local calendar instead of one temperature for every warm-season vegetable.
Build the calendar backward and forward.
- Record the local average last spring and first fall frost dates.
- Mark each packet's indoor-start, direct-sow, or transplant window.
- Compare days to maturity with the usable season and expected summer heat.
- Add time for fall crops to mature as days shorten.
- Stagger small sowings of quick crops instead of planting the whole packet at once.
Average frost dates describe probability, not a promise. Keep row cover available for a late cold night, and delay transplanting if the garden is waterlogged even when the calendar date has arrived.
A frost-date estimate is a useful starting point, but the nearest county Extension calendar should make the final crop-specific call.
Water and Mulch So Beds Do Not Dry Out
New gardens fail more from uneven watering than almost anything else. Seedlings and young transplants have shallow roots, so they feel dry spells quickly, especially in raised beds that drain fast.
Forget the daily sprinkler mist. Deep, occasional watering pushes roots down and makes plants sturdier in summer heat, similar to how drought tolerant bermuda lawns prefer infrequent soaking rather than constant dampness.
Aim to give your garden 1 to 1.5 inches of water per week, from rain plus irrigation. In sandy soil, split this into two deep waterings, while heavier clay can often handle one thorough soak.
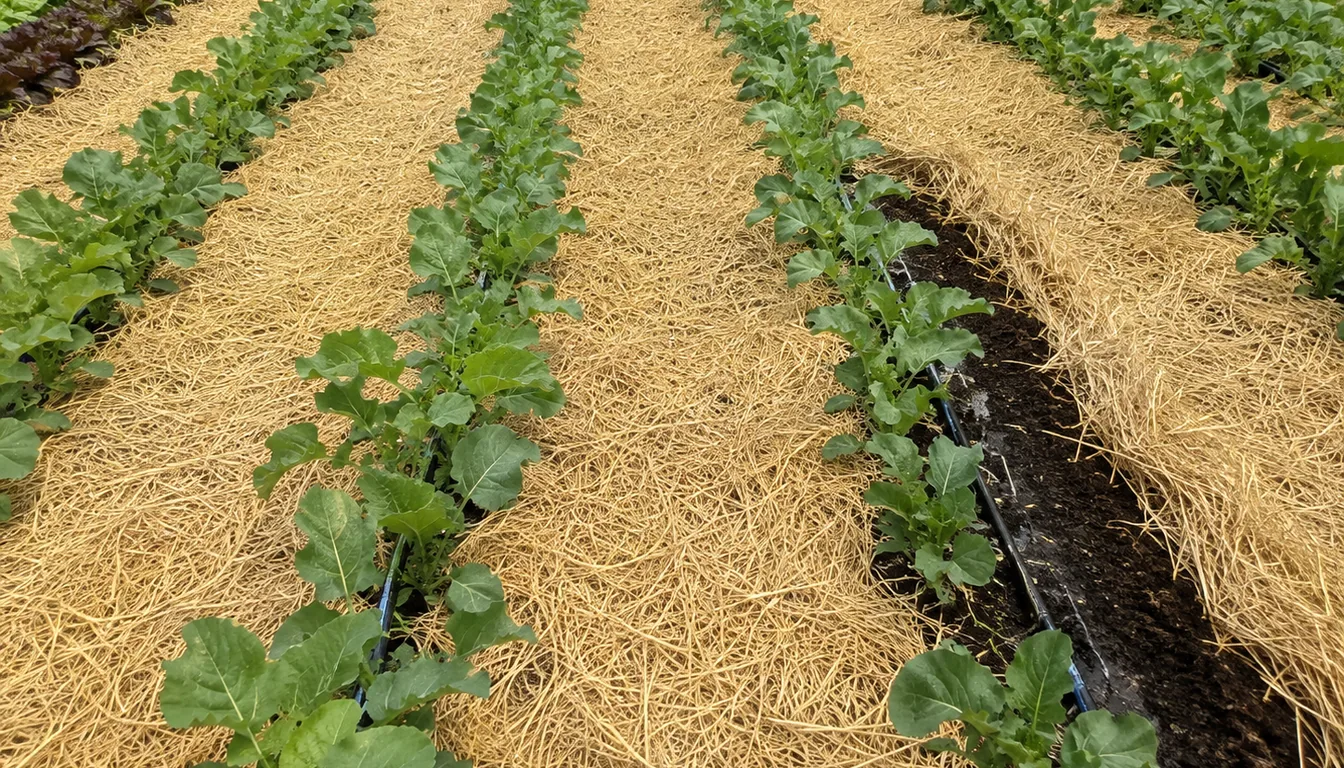
Mulch is your secret weapon. A 2–3 inch layer of shredded leaves, straw without weed seeds, or compost around plants cuts evaporation, keeps soil cooler, and blocks a lot of weed seeds from sprouting.
- Check moisture: Stick your finger 2 inches into soil. If it feels dry at that depth, it is time to water.
- Water at soil level: Use a soaker hose or drip tape instead of spraying leaves, which reduces disease like mildew on zucchini vines.
- Morning schedule: Water early in the day so foliage dries quickly and you lose less to evaporation.
- Mulch gap: Keep mulch 1–2 inches away from plant stems so they do not rot in constant contact with damp material.
Set the watering routine before hot weather exposes weak roots.
More vegetable gardens fail from inconsistent watering than from pests or fertilizer issues.
Feed Your Vegetables Without Overdoing It
Use the soil-test recommendation and account for compost or manure before adding a packaged fertilizer. Vegetable families differ.
Leafy crops remove substantial nitrogen, long-season corn can be demanding, and root crops may be damaged or misshapen by poorly timed amendments.
One repeated schedule does not fit the whole bed.
Read the three-number analysis and measure both the growing area and the product. Apply preplant nutrients at the recommended rate, then side-dress only the crops and stages named in local guidance.
Keep granules away from stems and leaves, and water them in according to the label.
Extra phosphorus does not automatically create more flowers or roots when the soil already contains enough. Likewise, excess nitrogen can produce dark, lush tomato or squash vines with limited fruit and can increase soft growth that attracts some pests.
A simple first-year approach is. - Test before planting and correct only documented pH or nutrient needs.
- Add mature compost for soil condition while counting its nutrient contribution. - Group crops with similar fertility needs where practical.
- Record every product, rate, and date so applications are not stacked. - Reassess poor growth for water, roots, temperature, disease, and insects before feeding again.
The detailed vegetable-garden fertilizer guide covers application choices. For tomatoes, use the more specific tomato feeding guide instead of treating bloom as an automatic feeding signal.
Stay Ahead of Weeds and Pests
Weeds and bugs rarely wipe out a garden in a weekend. They creep up on you when you skip quick checks, especially right after rain or a heat wave.
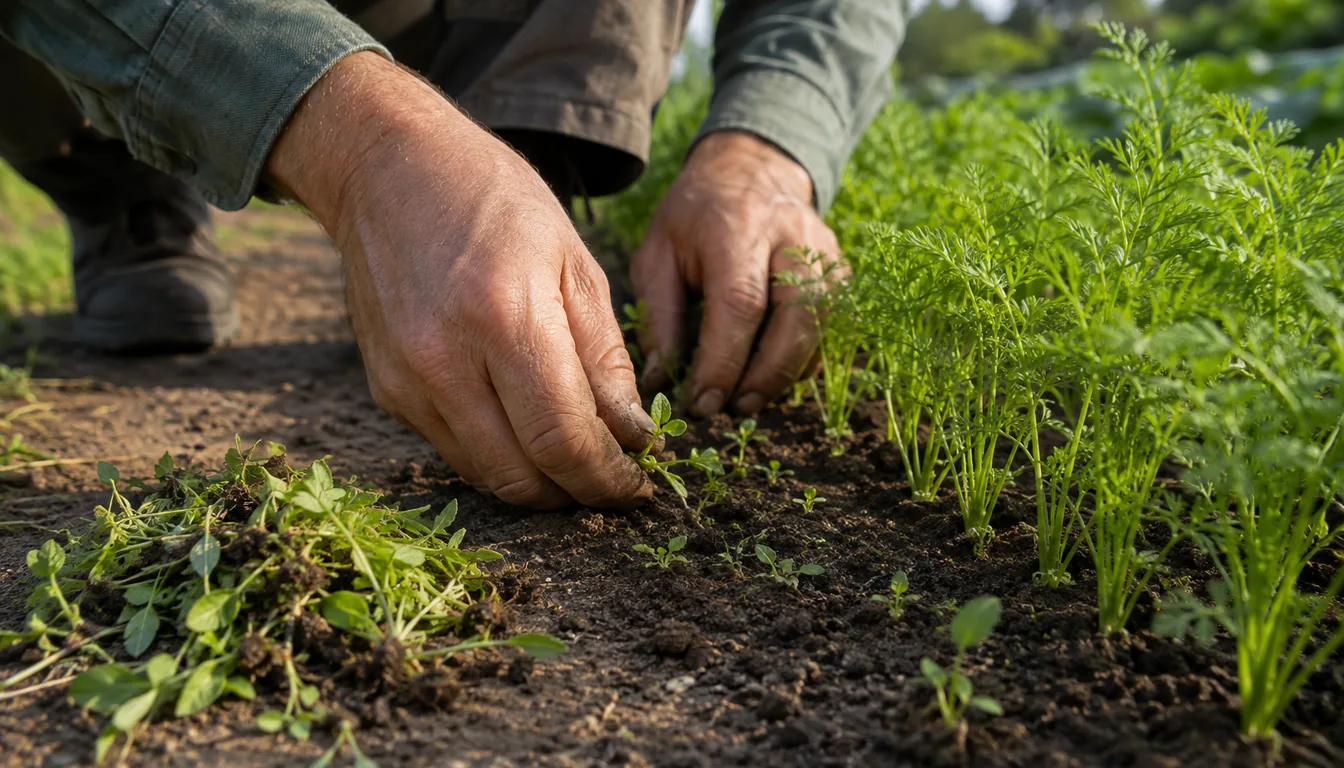
Plan on walking your beds 2–3 times per week. Take five minutes to pull young weeds, flip leaves over, and look closely at new growth.
Tiny problems are easy to fix compared to a bed choked with crabgrass or aphids.
A sharp hoe or hand weeder is enough if you start early.
Slice baby weeds at the soil surface on dry days and leave them to shrivel.
A thick mulch layer from that earlier step keeps most of them from even getting started.
For pests, focus on balance instead of carpet bombing everything. Encourage beneficial insects with nearby flowering border plants like yarrow or coneflower, use row cover on high value crops, and keep plants stress free so they can shrug off minor damage.
- Check undersides: Look under leaves of bush beans and broccoli heads for clusters of eggs or tiny caterpillars.
- Hand removal: Knock aphids into a bucket of soapy water or pinch off a few infested leaves instead of spraying the whole bed.
- Row cover: Use lightweight fabric over cabbage plants and broccoli right after planting to block cabbage moths.
- Natural options: For ongoing issues, lean on methods from natural garden pest control strategies before reaching for harsher chemicals.
A five-minute check works best when you know exactly what you are looking for.
Healthy, vigorously growing plants tolerate some chewed leaves. A spotless leaf usually means someone over-sprayed, not that the garden is healthier.
Harvest, Replant, and Learn From Each Season
Harvesting on time matters just as much as planting on time. Many vegetables taste their best across a short window, then turn woody, bitter, or seedy if left hanging during a busy week.
Pick bush green beans when pods are full but still slender, every 2–3 days. Cucumbers get seedy fast, so cut them while skins are still glossy, and keep zucchini squash under 8 inches for tender texture.
As soon as a section of the bed opens up, think about what goes there next. Pull bolting lettuce, toss the roots into the compost, and sow bush beans or a quick crop of radishes rather than leaving bare ground.
Keep basic records, even if it is just notes on your phone. Jot down varieties, planting dates, and which beds gave the best harvests.
Those details will help you rotate crops, refine timing, and avoid repeating the same mistake three years running.
- Succession plan: After spring spinach rows fade, replant with summer bush beans, then with a fall crop of carrots or beets.
- Simple rotation: Avoid planting tomatoes, peppers, potatoes, or eggplant transplants in the same spot two years in a row to reduce disease.
- Taste tests: Grow two lettuce or basil varieties side by side and note which ones bolt slower and taste better to you.
- Year-end review: In fall, spend 15 minutes reviewing what thrived and what struggled so you can adjust spacing, varieties, or timing next year.
Those notes turn year one from a guess into useful data.
Your first garden is the test plot for the second. The notes you keep now shortcut years of trial and error.
Pro Tips
- Start with no more than 32 square feet of growing space your first year so upkeep stays realistic.
- Group thirsty crops like cucumbers and leafy greens together, and keep more drought-tolerant plants on a separate drip line.
- Use plant tags or painted stakes with variety names and planting dates; memory disappears by midsummer.
- Mulch beds with 2–3 inches of straw or shredded leaves to reduce weeds and keep soil moisture steadier.
- Walk your garden daily for five minutes to spot wilting, pests, or broken stakes before problems snowball.
- Stagger sowing of fast crops like lettuce and radishes every 2 weeks so harvests keep coming instead of all at once.
- Keep a simple notebook with frost dates, varieties, and yields so you can tweak spacing and timing next season.
Frequently Asked Questions
How big should my first vegetable garden be?
For a first season, keep it small. A bed around 4x8 feet or two that size is plenty to learn watering, weeding, and harvesting without getting overwhelmed.
Can I start a vegetable garden in partial shade?
Yes, but focus on leafy and root crops. Lettuce, spinach, kale, beets, radishes, and carrots all handle 4–6 hours of sun better than fruiting crops like tomato vines or pepper plants.
Should I start vegetables from seed or buy transplants?
Use transplants for heat lovers like tomatoes, peppers, and eggplant seedlings. Direct sow fast growers such as beans, peas, cucumbers, squash, and most root crops to keep costs down and avoid transplant shock.
How soon will I harvest from a new vegetable garden?
Quick crops like radishes and leaf lettuce can be ready in 3–5 weeks. Beans and cucumber vines follow in 6–8 weeks, while tomatoes, peppers, and winter squash usually take 10–14 weeks from transplant.
Do I need raised beds, or can I plant in the ground?
Either works if drainage is decent. Raised beds warm faster and are easier to improve with compost, while in-ground rows are cheaper and hold moisture longer, similar to the tradeoffs in raised versus in-ground beds.
Sources & References
Related Guides
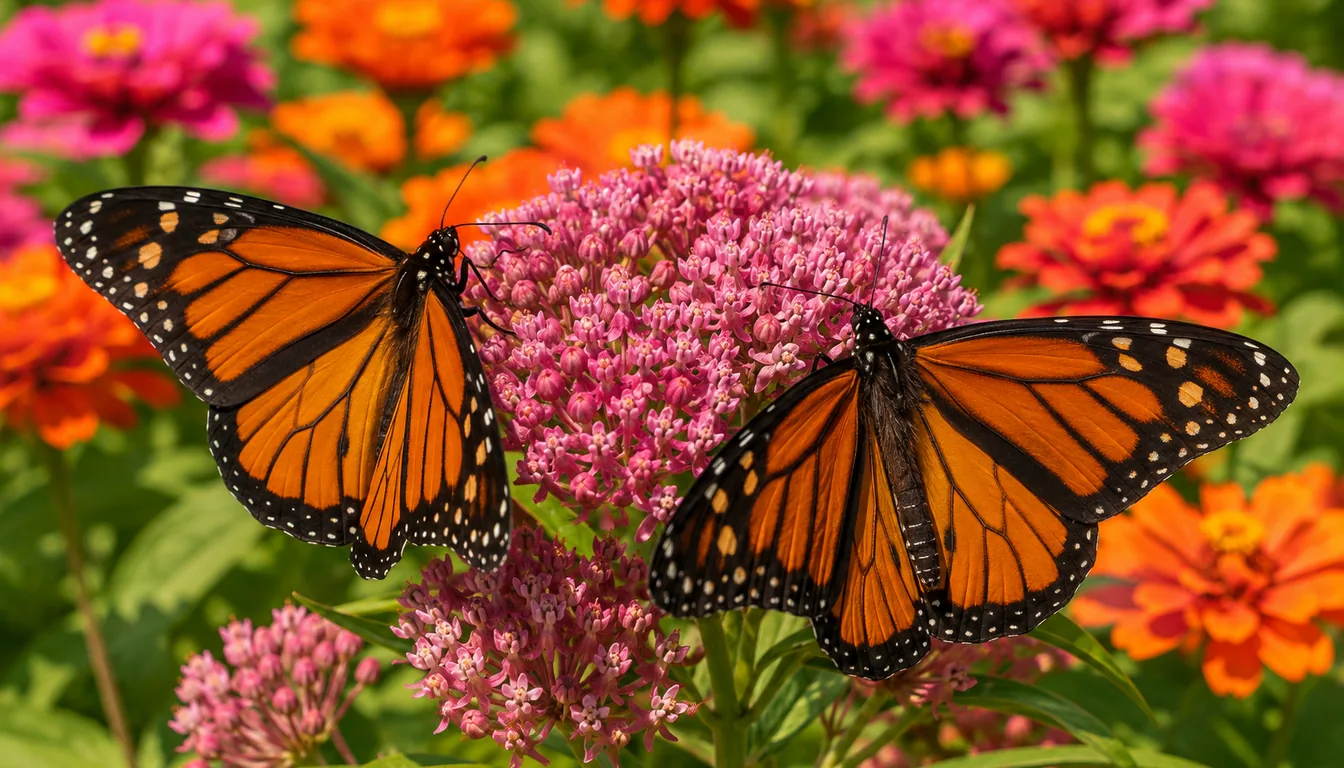
Best Butterfly Garden Plants for a Complete Habitat
The best butterfly garden plants do two different jobs. Host plants feed caterpillars, while nectar…
15 min read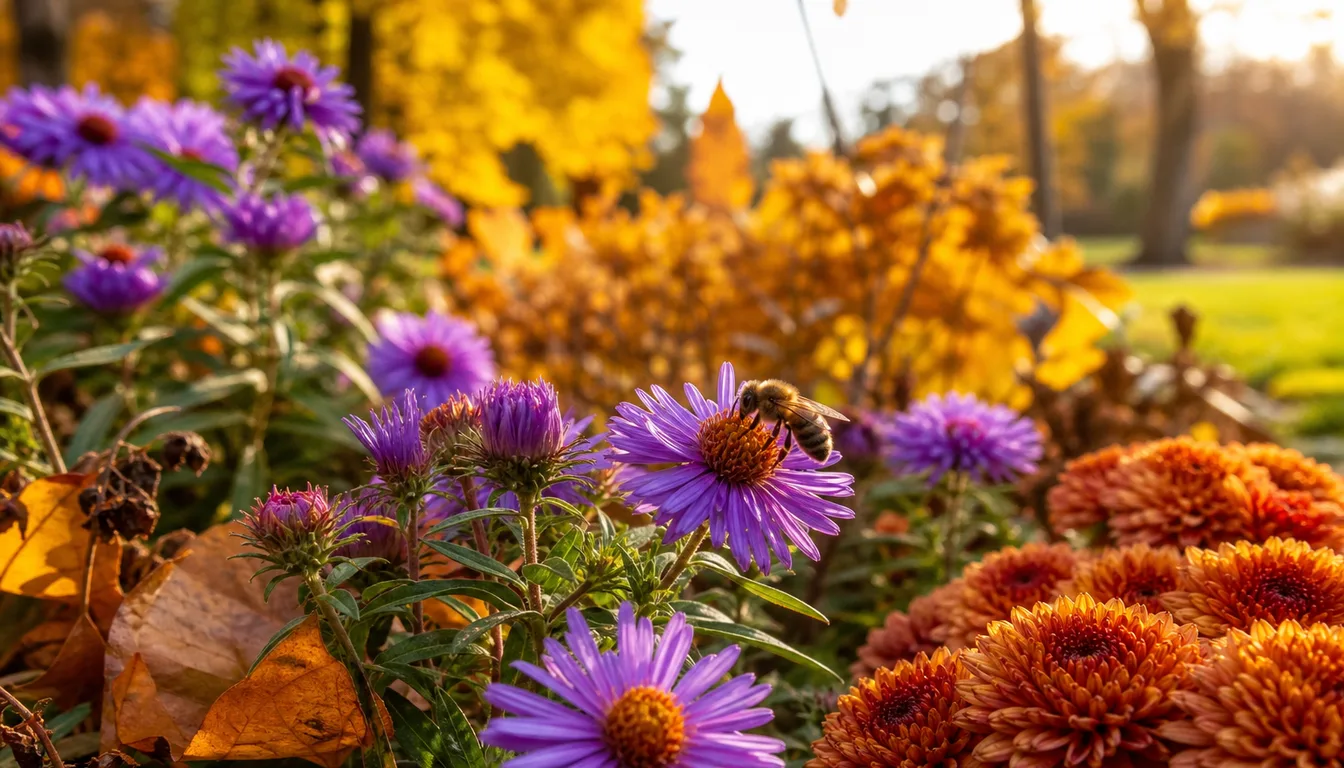
Best Fall-Blooming Flowers for Color Near Frost
A bed that still carries flowers in October usually was planned before temperatures fell.
9 min read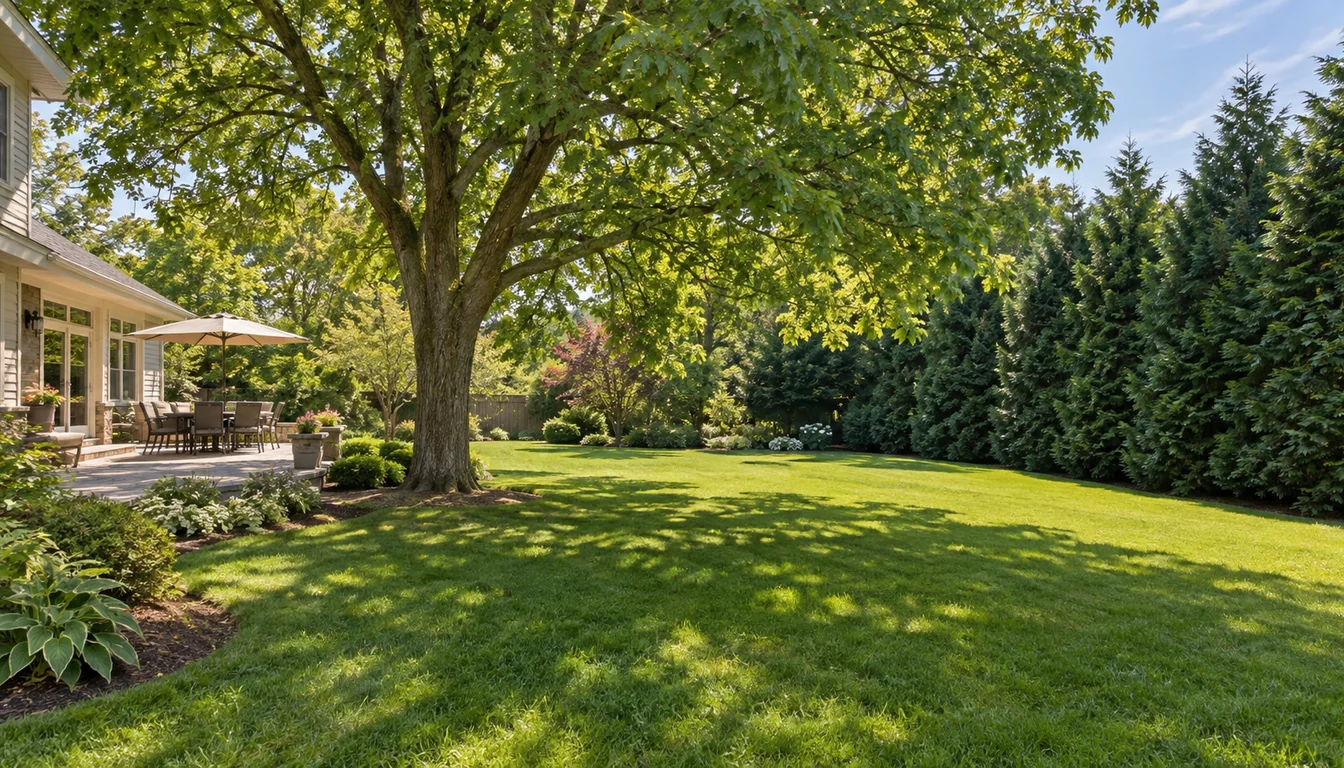
Best Fast-Growing Trees for Shade and Privacy
The best fast-growing tree is the one whose mature crown, roots, climate range, and maintenance…
16 min read
Best Fragrant Flowers for Every Yard and Season
The best fragrant flowers depend on climate, light, space, and the hours you use the yard.
15 min read
Best Full-Sun Perennials for Hot, Bright Beds
The best full-sun perennials are the ones that match the bed's soil moisture and drainage, local…
14 min read
Best Ground Cover Plants for Sun, Shade, and Slopes
The best ground cover is a plant that survives the site and performs the job without escaping into…
18 min read