
How to Build a Succession Planting Schedule
A succession planting schedule assigns each bed a sequence of sowing, transplanting, and harvest dates so one crop follows another without impossible overlaps.
The simplest version also staggers quick crops such as lettuce, radishes, and bush beans every 10 to 21 days instead of sowing the whole packet at once.
Start with your frost dates, the days to maturity for each variety, and the realistic harvest window. Then count backward from the last useful harvest date, add time for slower fall growth, and leave a small buffer between crops.
Build a bed schedule rather than a list of seed packets. A schedule works only when the outgoing crop is actually finished before the next crop needs that space.
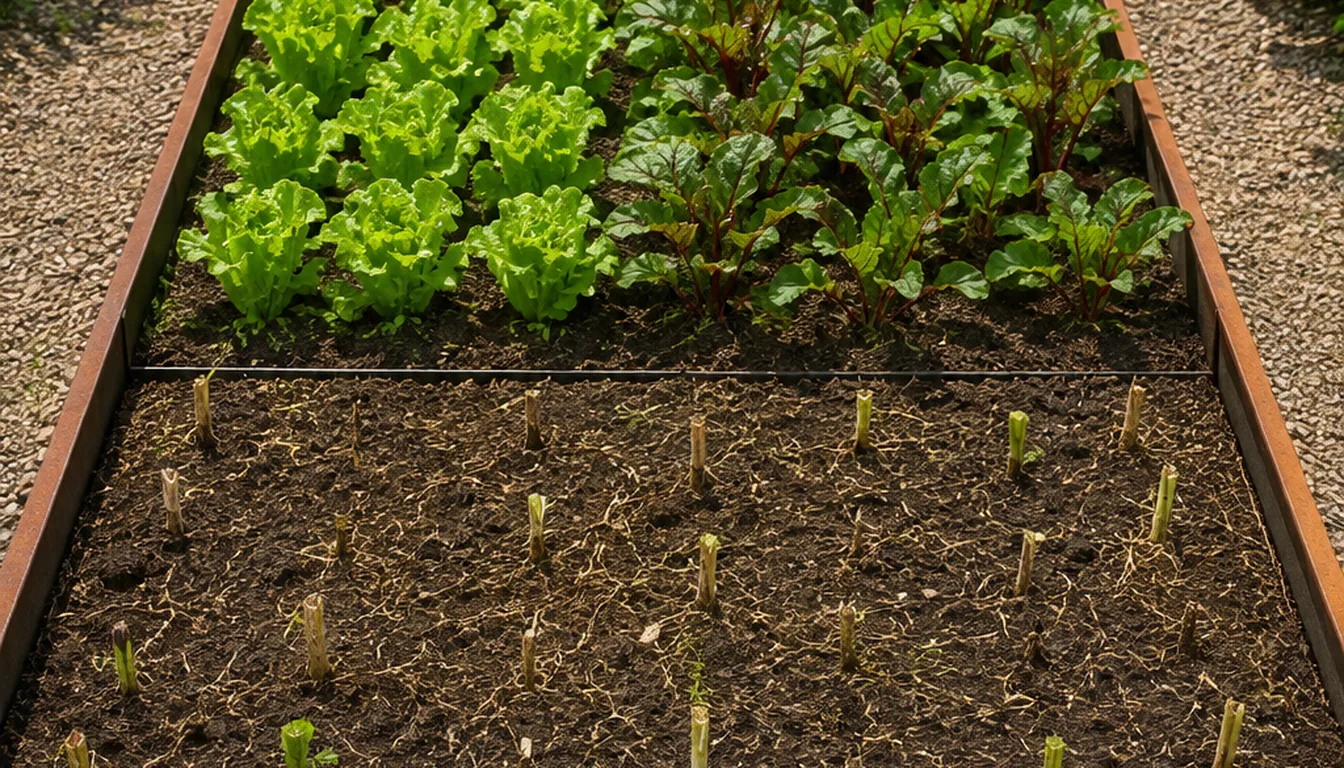
Start With Your Frost Dates and Bed Map
Local frost dates set the broad season, but they are averages rather than guarantees.
Record your average last spring frost and first fall frost, then note any protection you can actually use, such as a low tunnel or row cover.
The frost-free span does not give every crop the same window. Spinach and peas tolerate cool conditions, while tomatoes, peppers, cucumbers, and beans need warmer soil and air.
Sketch each bed or container and give it a stable name such as North Bed A or Patio Box 1. Mark trellises, afternoon shade, irrigation reach, and any perennial crop that cannot move.
If the layout is still uncertain, build the base plan with a beginner vegetable garden map before assigning dates.
Assign each bed a broad job before buying seed.
One bed might move from spring roots to summer beans and fall greens, while another remains with a long-season tomato crop.
A bed map shows when a plan asks two crops to occupy the same square feet.

Use Days to Harvest to Stack Crops
Days to maturity is a starting estimate, not the number of days a bed is occupied in every garden.
Check whether the packet counts from sowing or from transplanting, because a 60-day transplanted crop may have spent several additional weeks growing indoors.
Add the time you expect to harvest from that planting. A radish row may leave almost at once, while bush beans, cucumbers, kale, and indeterminate tomatoes can remain productive for weeks.
Use this working formula.
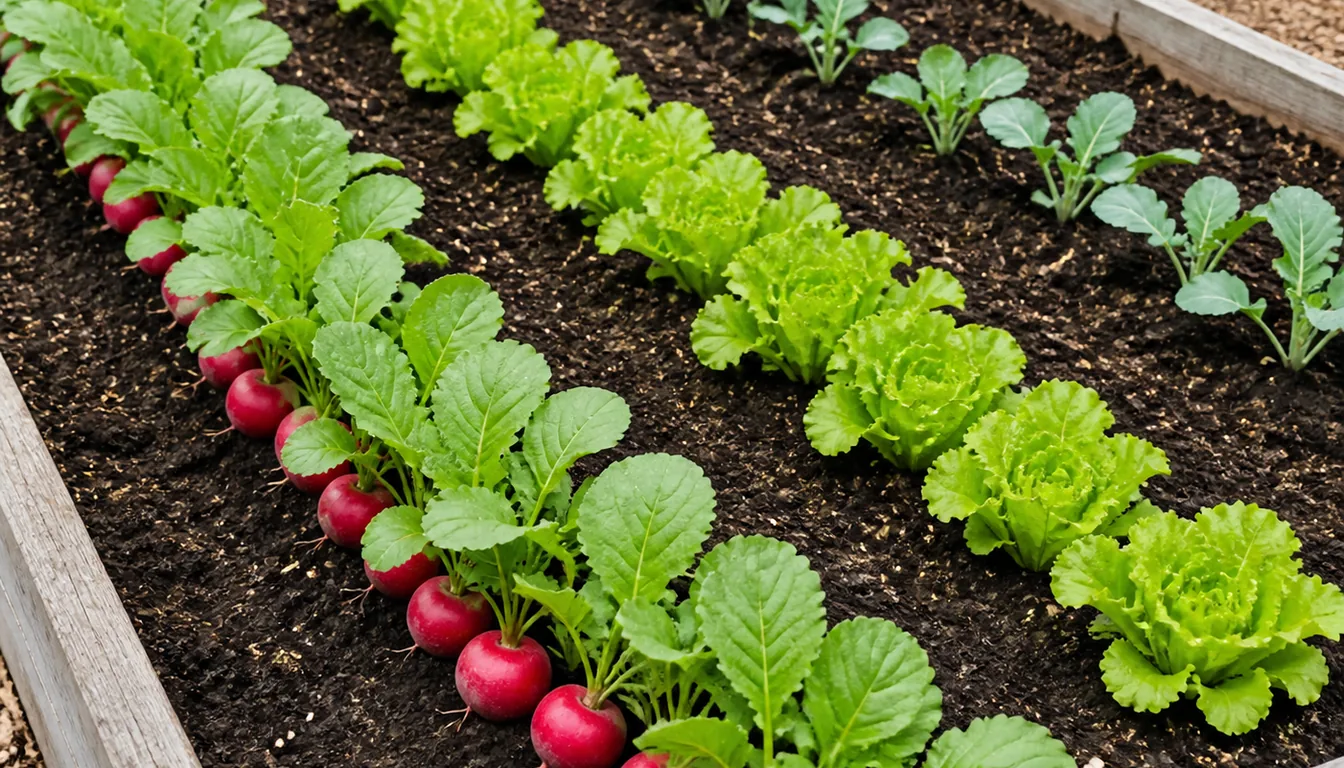
A 30-day radish with a 10-day harvest window and a 5-day cleanup buffer occupies about 45 days, not 30. A crop listed at 60 days that you expect to pick for three weeks needs roughly 86 days with the same buffer.
The old temptation is to divide the season length by the packet number. That overbooks the bed because it ignores harvest and cleanup time.
For fall crops, add more breathing room because shortening days and cooler temperatures slow growth. Seven to 14 extra days is a useful planning allowance, but your own records should replace that estimate after one season.
| Schedule field | What to enter | Why it matters |
|---|---|---|
| Sow or transplant date | The day the crop enters the bed | Starts real bed occupancy |
| First harvest estimate | Packet date adjusted for the planting method | Predicts when food begins |
| Last harvest estimate | The date you expect to clear the crop | Releases the bed for the next wave |
| Buffer | Cleanup plus weather allowance | Prevents two crops from claiming one slot |
Write all four dates in the bed row. The last harvest date releases the space.
Which Succession Method Fits Each Crop?
Succession planting includes four different methods, and the crop determines which one works best.
You can stagger one variety, replace one crop with another, combine varieties with different maturity dates, or interplant a quick crop beside a slower one.
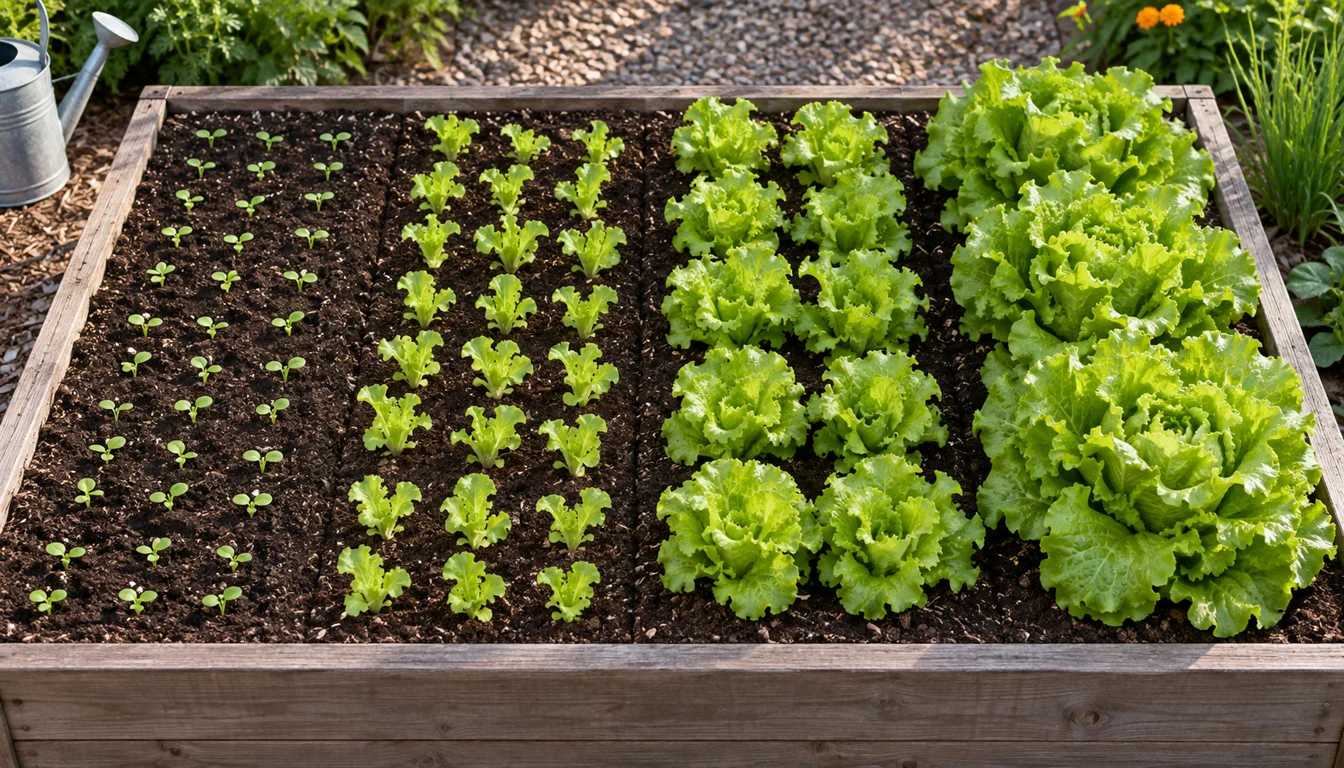
Stagger one crop
Sow a small block of lettuce, radish, carrots, cilantro, bush beans, or sweet corn at regular intervals for a spread-out harvest.
Replace the finished crop
Follow spring peas or spinach with summer beans, cucumber, or zucchini, then use the cleared bed for fall greens.
Stagger variety maturity
Plant early, midseason, and late varieties of cabbage, broccoli, corn, carrots, or tomatoes at the same time when repeated sowing is awkward.
Interplant two speeds
Harvest radishes or baby greens before a slower cabbage, tomato, or squash needs the whole space.
Staggering works best for crops with a short, concentrated harvest. Penn State suggests two-week intervals for bush beans, while lettuce timing changes with temperature and variety.
Sequential replacement works when the first crop has a clear exit. Peas can leave a trellis before climbing beans need it, but the roots and residue still need to be cleared so the next sowing has good soil contact.
Cool-season crops should not be forced through peak summer heat simply because a calendar has an empty line. Lettuce and spinach are more reliable in spring and late summer, while heat-tolerant crops occupy the middle of the season.
Choose the succession method first. A repeated sowing schedule is useful for radishes, but it adds little to a tomato plant that already fruits over a long window.
How Do You Put Real Dates on the Schedule?
Build spring successions forward from a safe planting date and fall successions backward from the last acceptable harvest date.
The backward method prevents a late sowing from running out of light and warmth before it matures.
Suppose the average first frost is October 15 and you want carrots ready by October 8. If the variety needs 70 days and you allow 14 extra days for slower fall growth, count back 84 days to a target sowing date around July 16.
That is a planning example, not a universal carrot date.
Your variety, climate, soil temperature, and desired harvest size can shift it.
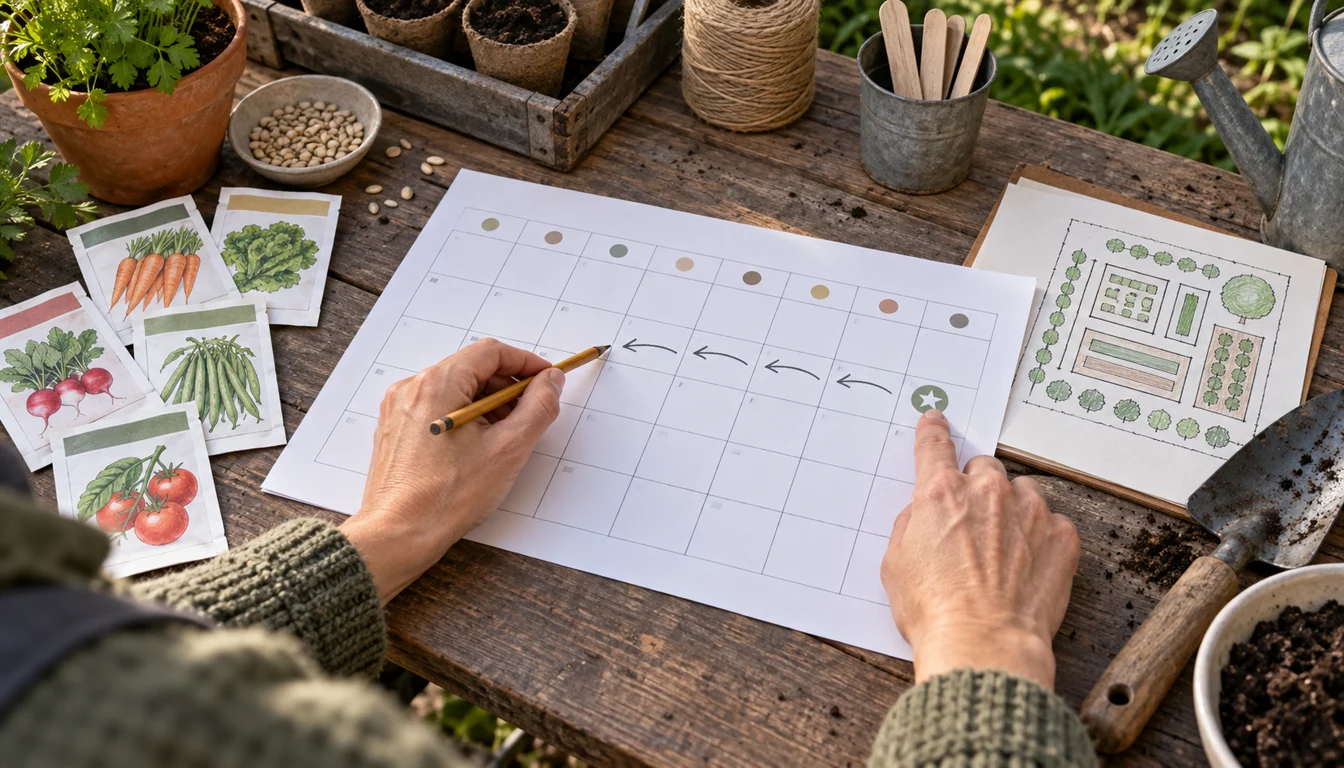
- 1. Choose the target harvest dateUse the first frost, expected heat, vacation, or another real deadline.
- 2. Subtract days to maturityConfirm whether the packet counts from sowing or transplanting.
- 3. Subtract a seasonal bufferGive fall crops extra time and allow spring soil to warm when required.
- 4. Check the outgoing cropIts last harvest and cleanup must occur before the new sowing date.
- 5. Add the reminderPut seed, bed preparation, sowing, and first harvest on the calendar.
Use a spreadsheet, paper calendar, or cards, but keep one row per bed and one line per crop. Record the variety because two lettuces or cabbages can differ enough to change the next slot.
Keep a waiting list of fast substitutes.
If a slot shrinks, a 25-day radish or baby-leaf crop may still fit where a 70-day root crop will not.
Watering, Feeding, and Soil Between Successions
The few days between crops determine whether the next wave starts evenly.
Remove the previous crop, weeds, twine, and dense residue before you sow into the strip.
University of Minnesota Extension advises removing or allowing old stems and roots to break down because fresh debris can interfere with germination. If removal is incomplete, waiting one to two weeks gives the material time to settle.
Check moisture below the surface before adding water. Dry soil needs a thorough watering before sowing, while saturated soil needs drainage and time rather than another irrigation cycle.
Use soil and weather to guide vegetable watering through germination. A shallow seed row can dry faster than established roots nearby, so mixed-age beds often need targeted watering instead of one schedule for the whole bed.
Replace nutrients according to a soil test, crop demand, and the fertilizer label. A crop-by-season fertilizer chart is more reliable than adding the same scoop after every harvest.
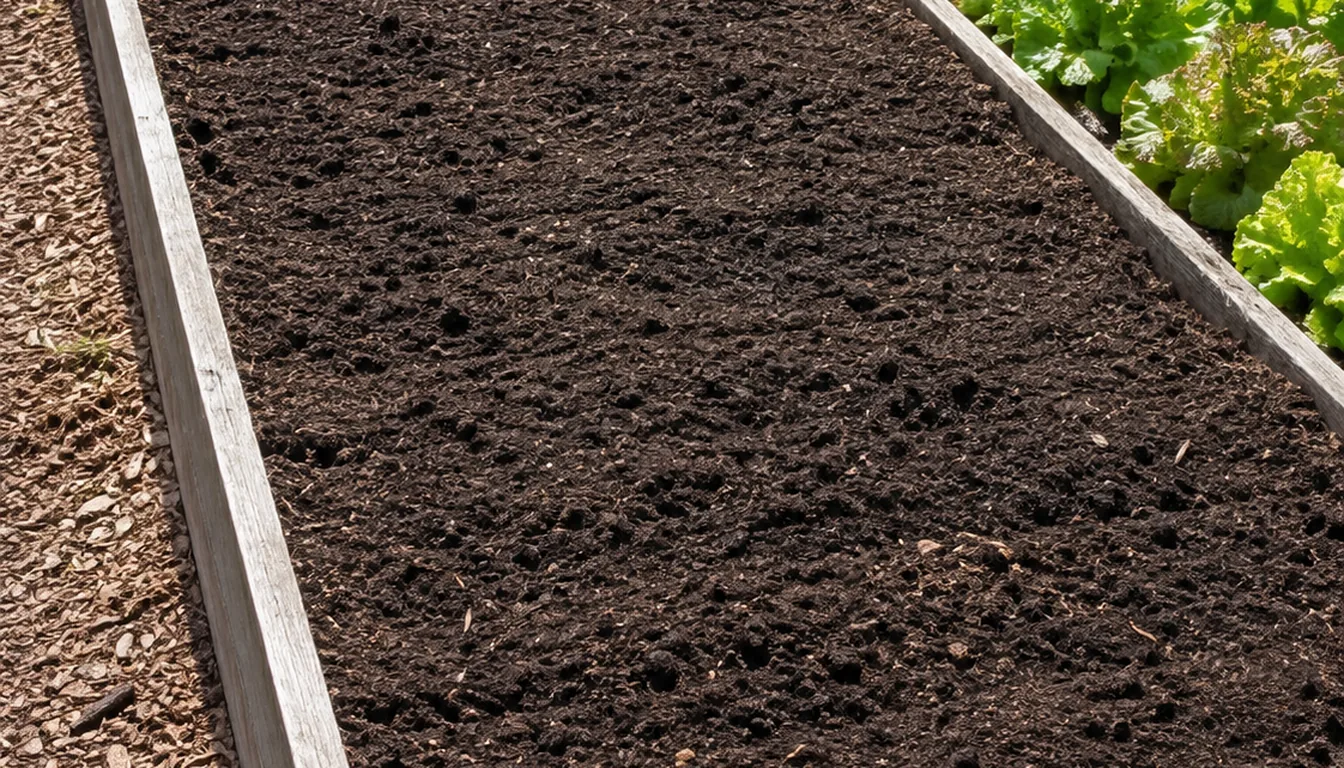
- Clear: Remove diseased plants, mature weeds, roots that block the seed line, and old supports.
- Inspect: Check soil moisture, compaction, drainage, and the previous crop's symptoms.
- Amend only when needed: Use a soil test and the next crop's demand rather than a routine heavy dose.
- Prepare the seed zone: Loosen and level only the depth needed for good seed-to-soil contact.
- Water for establishment: Keep the seed zone evenly moist without keeping the entire bed saturated.
Allow a five-day turnaround when the soil needs it. The calendar should make room for this reset.
Pest, Disease, and Shade Management in Tight Rotations
Fast turnover can carry a problem directly into the next crop.
Before replanting, identify why the outgoing crop failed instead of assuming the calendar alone caused it.
Chewed leaves may point to an active insect population, while spotted or mildewed foliage may leave infected residue. Remove affected material and follow local guidance for disposal rather than moving it to another bed.
Changing plant families can interrupt some host-specific problems, but it is not a cure for every soilborne disease or mobile pest. Keep a family column in the schedule so repeated brassicas, cucurbits, or nightshades are easy to see.
Tight succession also changes shade and airflow. A young lettuce row may benefit from afternoon shade beside tall corn, yet direct-seeded carrots can fail if an established canopy blocks too much light before emergence.
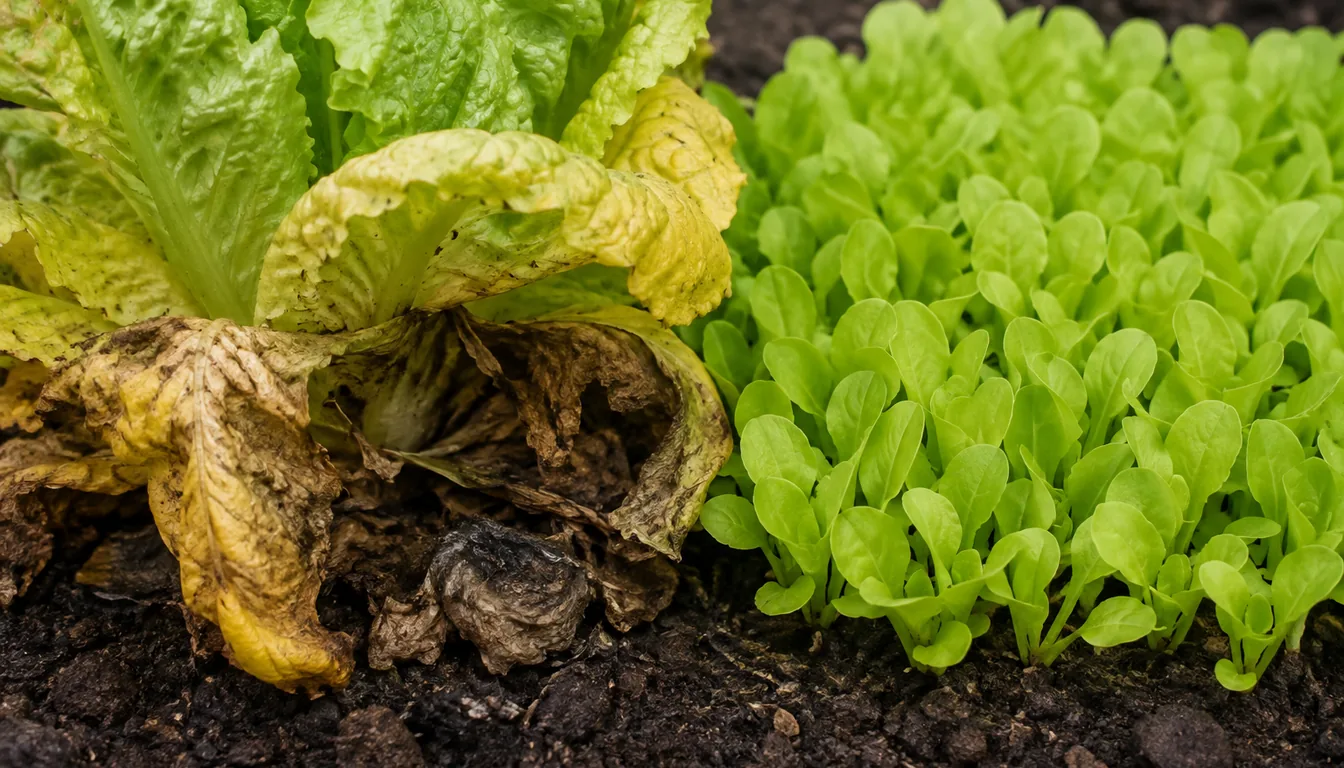
- Inspect leaf undersides, stems, and the soil line before clearing a crop.
- Record the symptom and plant family in the bed row.
- Remove diseased residue and clean reusable supports before the next wave.
- Check the mature width and shadow of crops that will overlap.
- Leave enough access to harvest the first crop without crushing the second.
Investigate an unexplained crop failure before planting the next wave. A short delay for diagnosis can prevent the same damage from repeating.
Adjusting Your Schedule for Different Zones and Seasons
A USDA hardiness zone does not tell you the local first and last frost dates or the length of summer heat.
Build the calendar from local weather records, crop temperature needs, and the protection you can provide.
Short seasons favor quick-harvest crops around one main summer crop. Radishes, leaf lettuce, baby greens, bush beans, and fast beets can fit before or after a long-season planting when the dates and temperatures align.
Longer seasons allow more waves, but heat can close the middle slot for cool crops. In hot-summer areas, spring and fall may be the main lettuce and spinach seasons even when the frost-free period is long.
Plan fall from the desired harvest date backward. After early crops such as peas, salad greens, radishes, or spinach leave, midsummer sowings of carrots, beets, kale, mustard greens, and other cool crops can supply fall harvests.
| Limiting condition | Better schedule response |
|---|---|
| Short frost-free season | Use transplants where appropriate and select quick varieties for the shoulder slots |
| Hot midsummer | Pause cool-season sowings or select heat-tolerant varieties and useful afternoon shade |
| Mild winter | Shift cool successions into fall and winter instead of crowding spring |
| Early fall frost | Count backward, add a fall-growth buffer, and use proven protection only |
A low tunnel can protect against light frost, but it does not restore lost daylight or make an immature crop finish on schedule. Use it only within a sound planting window.
Tracking, Tweaking, and Fixing a Plan That Slips
The first schedule is a forecast. Weather, germination, pests, and your available time will move the actual dates.
Record the sowing date, variety, emergence, first harvest, last harvest, and reason the crop ended. Those six facts reveal whether the next version needs an earlier sowing, a longer harvest window, or a different crop.
When a slot slips, recalculate before sowing. Compare the days remaining with establishment time, maturity, harvest window, and the seasonal buffer.
For a close decision, use direct sow versus transplant timing to see whether a healthy transplant can save enough time without harming a crop that dislikes root disturbance.
Keep the crop
Enough suitable days remain, and the next crop still has its required slot.
Switch varieties
A faster or more heat- or cold-tolerant variety meets the same harvest goal.
Use a substitute
A quick radish, baby leaf, green onion, or cover crop fits the shortened window.
Leave the bed covered
Mulch or an appropriate cover crop is better than a doomed late planting.
Do not preserve a date merely because it is printed on the plan. The schedule serves the harvest, not the other way around.
Review empty weeks and overlaps after the season. Replace packet estimates with your actual dates, but keep unusual weather in the notes so one hot or cold year does not become a false rule.
Advanced Pairings and High-Intensity Beds
Interplanting overlaps crops in space, so it needs a removal date as carefully as a sowing date.
Pair a fast crop with a slow one only when the quick crop can leave before roots, leaves, or access paths conflict.
A band of radishes or baby spinach can grow between young cabbage transplants. Harvest the fast crop before the cabbage canopy closes, even if a few roots remain smaller than expected.
Low herbs can use bed edges, but do not assume every companion improves its neighbor. The reliable benefit comes from using open space and timing the exit, not from an unsupported promise that one plant repels every pest.
Overlapping crops create uneven water demand.
Direct-sown seed needs a moist surface while an established tomato or cucumber draws water from a deeper root zone, so apply water where each root system needs it.
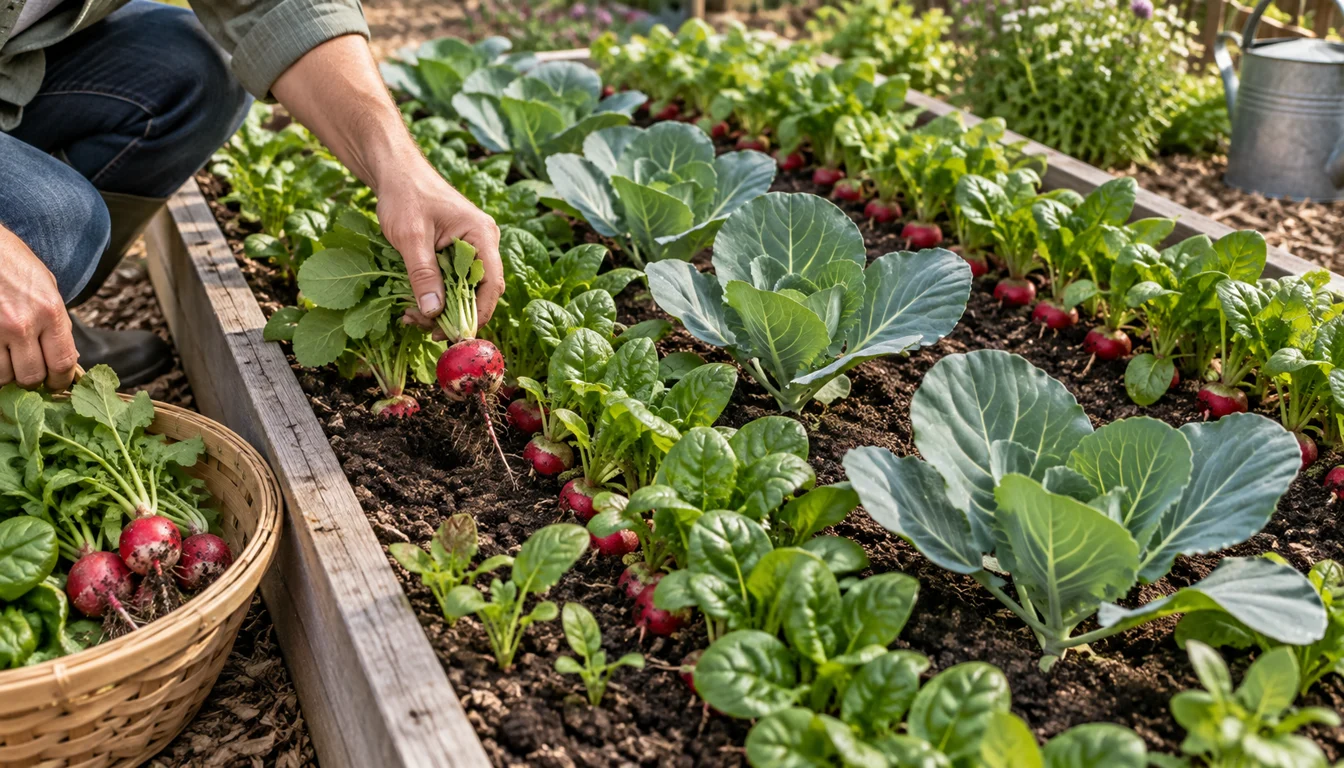
- Speed gap: Choose a quick crop that finishes well before the main crop reaches full width.
- Light check: Place the seed where it receives enough light during germination and early growth.
- Access route: Keep a way to harvest the quick crop without stepping on the main crop.
- Exit trigger: Use canopy closure, root contact, or the planned date to remove the fast crop.
- Resource check: Watch water and fertility because two age groups are sharing one bed.
Use vegetable fertilizing guidance when the bed carries demanding crops, but avoid feeding automatically. Successful interplanting needs a planned exit date.
Pro Tips
- Start with one or two beds in succession before scheduling your entire garden.
- Write sowing and expected harvest dates directly on plant labels to match reality against your schedule.
- Leave at least one week buffer between successions on paper so weather delays do not wreck the plan.
- Pair quick crops like radishes with slower ones in the same row so you harvest twice from one space.
- Use shade from tall crops like corn to tuck in late season lettuce that will not scorch.
- Snap photos of each bed every two weeks so you can improve timing in next year's plan.
- Group crops with similar watering needs together so irrigation is simpler on busy weeks.
Frequently Asked Questions
How close together can I plant successions of lettuce?
A 10- to 14-day interval is a useful starting point for leaf lettuce while temperatures suit the variety. Lengthen the interval when cool weather slows growth, shorten it only when earlier rows are maturing faster, and pause during heat that causes bolting.
Can I do succession planting in containers instead of beds?
Yes. Choose quick crops and containers deep enough for their mature roots, clear the previous root mass, replace lost potting mix, and feed according to the next crop rather than repeating one dose automatically.
Do I need to fertilize between every succession?
No. Check the previous crop, the next crop's demand, and a soil test or fertilizer label before adding nutrients. A bed following a heavy feeder may need replenishment, while repeated automatic feeding can create excess nutrients.
Is succession planting worth it in a very short growing season?
Yes, but plan around one main crop and use quick, temperature-appropriate crops in the shoulder slots. Radishes, salad mixes, green onions, baby roots, and bush beans are more realistic than trying to fit several long-season crops into one bed.
How do I keep up with a complex succession planting schedule?
Start with one or two beds and track sowing, first harvest, last harvest, and the reason each crop ended. Put reminders on a calendar, then use the actual dates to adjust next year's intervals and buffers.
Sources & References
Related Guides

Best Butterfly Garden Plants for a Complete Habitat
The best butterfly garden plants do two different jobs. Host plants feed caterpillars, while nectar…
15 min read
Best Fall-Blooming Flowers for Color Near Frost
A bed that still carries flowers in October usually was planned before temperatures fell.
9 min read
Best Fast-Growing Trees for Shade and Privacy
The best fast-growing tree is the one whose mature crown, roots, climate range, and maintenance…
16 min read
Best Fragrant Flowers for Every Yard and Season
The best fragrant flowers depend on climate, light, space, and the hours you use the yard.
15 min read
Best Full-Sun Perennials for Hot, Bright Beds
The best full-sun perennials are the ones that match the bed's soil moisture and drainage, local…
14 min read
Best Ground Cover Plants for Sun, Shade, and Slopes
The best ground cover is a plant that survives the site and performs the job without escaping into…
18 min read