
How to Grow Shasta Daisies for a Healthy Summer Border
Leucanthemum x superbum Asteraceae
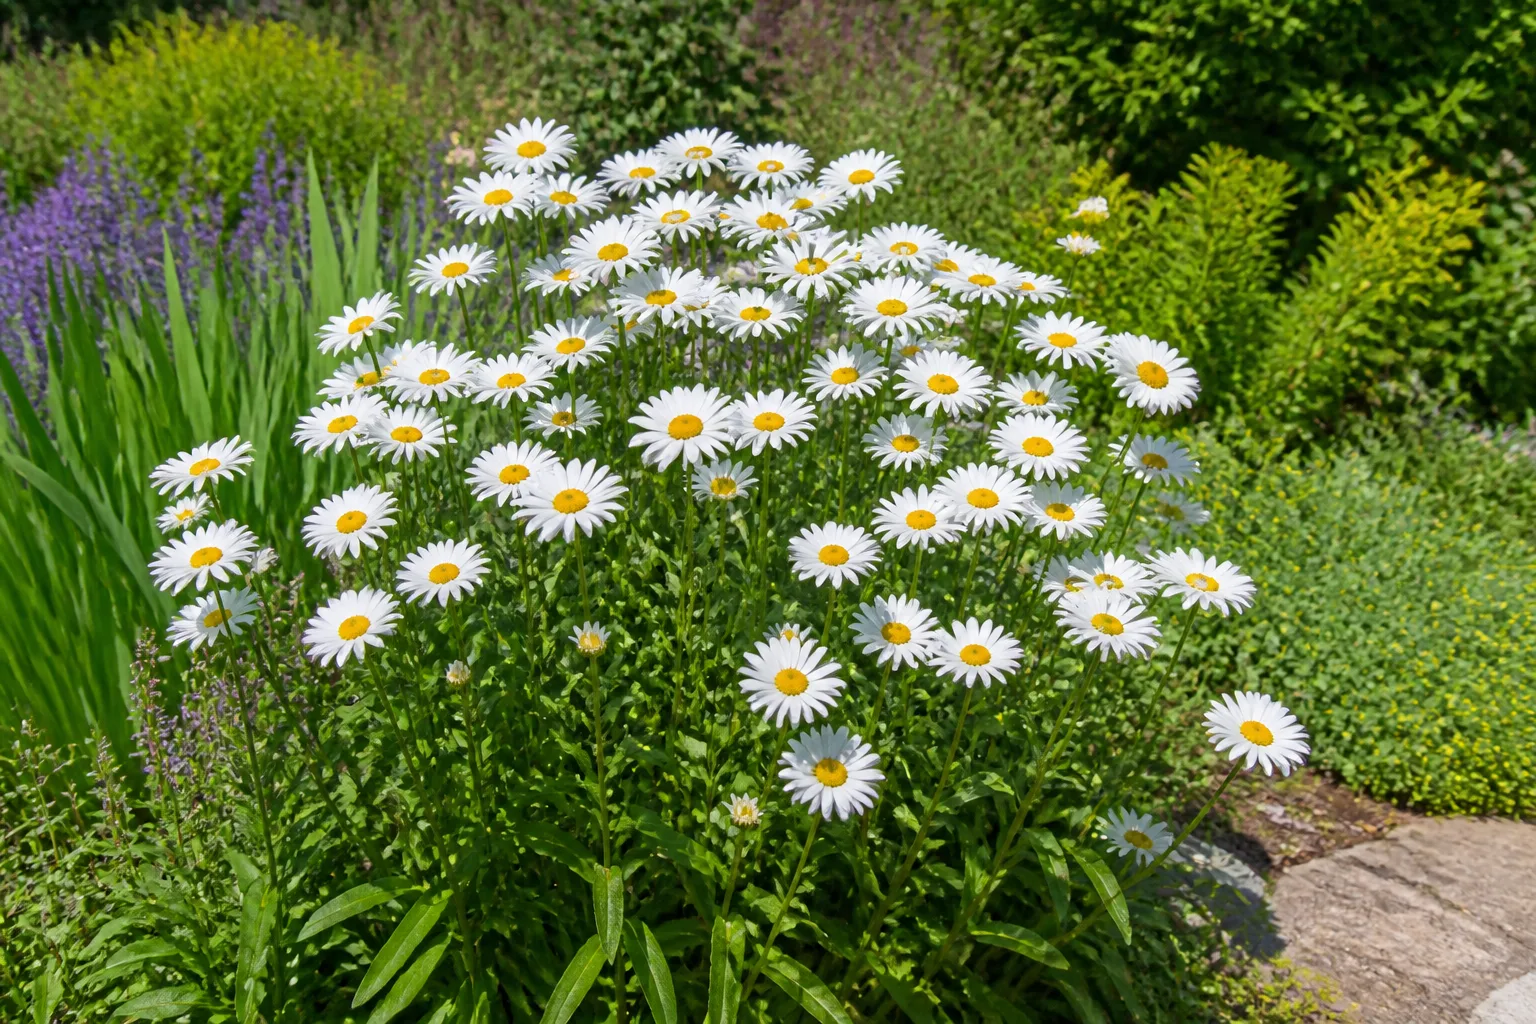
Shasta daisy is a clump-forming perennial grown for clean white petals, yellow centers, and reliable summer bloom in sunny borders. It is easy when the site is bright and well drained.
It struggles when shade, soggy crowns, or old crowded clumps are ignored.
Care snapshot
What Shasta Daisy Actually Does in a Border
As a starting point on plant habit, Shasta daisy is a herbaceous perennial, not a one-season bedding daisy. It dies back in winter, returns from the crown in spring, and forms a slowly widening clump when the crown stays dry enough to breathe.
Shasta daisy is itself a garden hybrid bred over a decade by Luther Burbank, who crossed several daisy species to combine large flower size with strong garden performance, which is why it does not appear as a true wild species anywhere.
Its job in the garden is simple but valuable, since bright white midsummer flowers read clearly from a path, porch, or street, especially useful after earlier flowers such as peonies.
Later asters can then carry the same bed into fall.
Most cultivars grow 12-36 inches tall and spread about 18-24 inches. Short types edge paths neatly, while taller types belong in the middle of a sunny mixed bed where neighboring plants can soften the stems.
Choosing Single, Double, Tall, or Compact Types
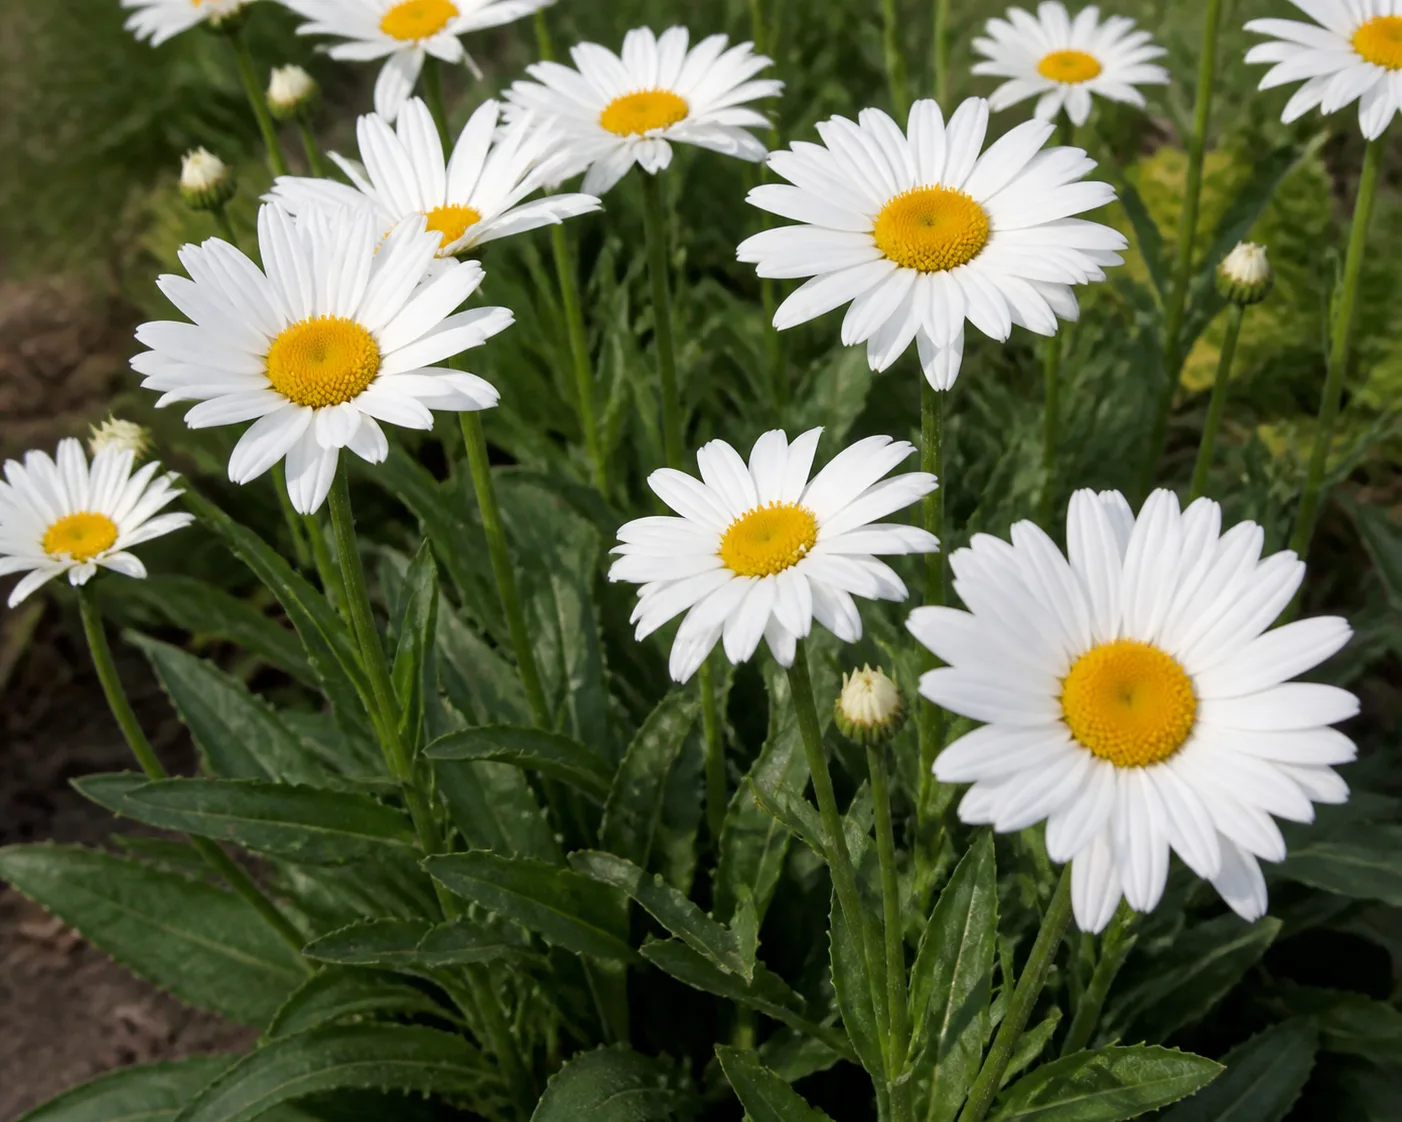
Single-flowered Shasta daisies have the classic white petal and yellow disk look. They feel looser and more meadow-like, and pollinators can reach the centers more easily than on dense doubles.
Double and semi-double cultivars give more petal texture for cutting gardens and cottage beds. They look fuller in a vase, but heavy blooms may need staking after rain.
Shasta daisies range from compact edging plants to tall cutting cultivars. The taller and more double-flowered the plant, the more likely it is to need support, division, and careful spacing to avoid a flattened clump after rain.
- Compact cultivars
- Best for edging and small beds, often 12-18 inches tall
- Mid-height cultivars
- Useful in mixed perennial borders, usually 18-30 inches tall
- Tall cutting types
- Good stems for vases, but more likely to need support
- Single flowers
- Cleaner look and better pollinator access
A cultivar bred for a shorter, stiffer stem is often the better fix for a windy or exposed site than staking a taller variety after the fact. Reading a tag's mature height honestly, rather than assuming every Shasta daisy behaves the same, saves a season of floppy stems.
Sun for Strong Stems and More Flowers
Sun exposure decides the result, since Shasta daisies need 6 or more hours of direct sun for dense growth and heavy bloom. Too much shade gives taller stems, fewer flowers, and clumps that lean outward.
In cool and moderate climates, full sun is the cleanest answer.
In hotter zones, morning sun with light afternoon shade can protect petals without turning the plant into a shade perennial.
Shasta daisies bloom best in full sun, but afternoon shade can help in hot climates. The tradeoff is stem strength, since too much shade gives taller, softer growth that needs support.
- Best bloom: open sun for most of the day.
- Hot climates: morning sun plus light afternoon relief.
- Poor-light clue: floppy stems and few buds.
- Crowding clue: leaves stay damp and lower stems yellow.
Water Deeply, Then Let the Crown Breathe
New Shasta daisies need steady moisture while roots settle in. After establishment, they prefer a deep soak followed by drying at the surface instead of constant shallow watering.
Use the same slow, root-zone habit described in deep watering. A long soak every few days during dry spells does more good than a quick daily splash.
The crown is the vulnerable point. Mulch helps conserve moisture, but keep it pulled back from the center so damp material does not sit against the plant after rain.
Water stress during bud formation shortens stems and reduces flower size. Once established, the plant handles moderate dryness, but a hard dry spell before bloom shows up in the flower display.
Container-grown Shasta daisies dry out faster than in-ground clumps, since pot volume limits how much moisture the roots can draw on between waterings.
Check pots more often during hot, windy stretches rather than assuming the in-ground schedule applies.
Soil, Drainage, and Feeding
Drainage sets the limit, since Shasta daisies grow best in well-drained, moderately fertile soil. Average loam is fine, while rich, wet soil often creates soft stems and crown trouble.
Before planting, loosen compacted soil and mix compost through the top 8-10 inches. The goal is crumbly soil that holds some moisture but releases extra water quickly.
Feed lightly in spring if growth looks weak. Heavy nitrogen is rarely helpful, because it pushes leaves at the expense of sturdy bloom stems.
If crowns heave after freeze-thaw weather, press them back into firm soil and refresh mulch around, not over, the crown. Exposed roots dry quickly once spring wind starts.
Rich soil is not always an upgrade for Shasta daisy. Too much nitrogen can grow lush stems that flop, while average soil with good drainage usually gives sturdier plants and fewer crown problems.
- Best texture
- Loam or sandy loam with reliable drainage
- Clay fix
- Raised planting area plus compost, not a wet hole
- pH range
- Slightly acidic to neutral soil is usually fine
- Fertilizer
- Light spring feeding only when needed
A soil test is worth the small cost if a clump struggles year after year despite good sun and drainage, since it rules out a specific nutrient gap rather than guessing at fertilizer type. Most established plantings never need one, but a chronically weak clump is a reasonable exception.
Deadheading and Division
Deadheading keeps Shasta daisies looking intentional and can stretch the bloom season. Cut spent flowers down to a lower side bud or strong leaf instead of snapping off only the petals.
Division is the bigger long-term task.
Every 3-4 years, lift crowded clumps, discard tired woody centers, and replant vigorous outer pieces in fresh soil.
Flopping is often a spacing and vigor signal, not only a staking problem. Overrich soil, shade, crowding, and old centers all make stems weaker, so compact cultivars or timely division are better fixes than tying every stem.
Division keeps the clump young. When flowering moves to the outer ring or the center thins out, lift the plant, discard tired woody pieces, and replant vigorous outer divisions with room for air to move.
- Water the clump the day before dividing.
- Lift the whole root mass with a spade.
- Cut into sections with several shoots and healthy roots.
- Discard dead, woody, or mushy center pieces.
- Replant divisions at the same depth, 18-24 inches apart.
- Water deeply and keep soil lightly moist while roots reset.
Cutting Shasta Daisies for the Vase
Shasta daisy is a classic cutting-garden flower, with sturdy stems and a long vase life that rewards regular harvesting instead of leaving every bloom in the border.
Cut stems in the cool morning when petals have just opened flat, since flowers picked in the heat of the day wilt faster once indoors. Choose stems where the yellow center is still tight rather than fully open and shedding pollen.
Strip any leaves that would sit below the waterline, since submerged foliage rots quickly and clouds the water.
A clean, angled cut and a change of water every couple of days can keep cut Shasta daisies looking fresh for a week or more. Adding a floral preservative packet extends that further, especially in a warm room.
- Cut in the cool morning, not the heat of the day.
- Pick stems with tight centers, not fully open ones.
- Strip leaves below the waterline before arranging.
- Change vase water every couple of days for the longest life.
Harvesting regularly for the vase does double duty as deadheading, since removing open flowers before they set seed pushes the plant to keep producing new buds. A cutting garden row of Shasta daisies can outproduce the same plants left untouched in a border.
Pests, Disease, and Flopping
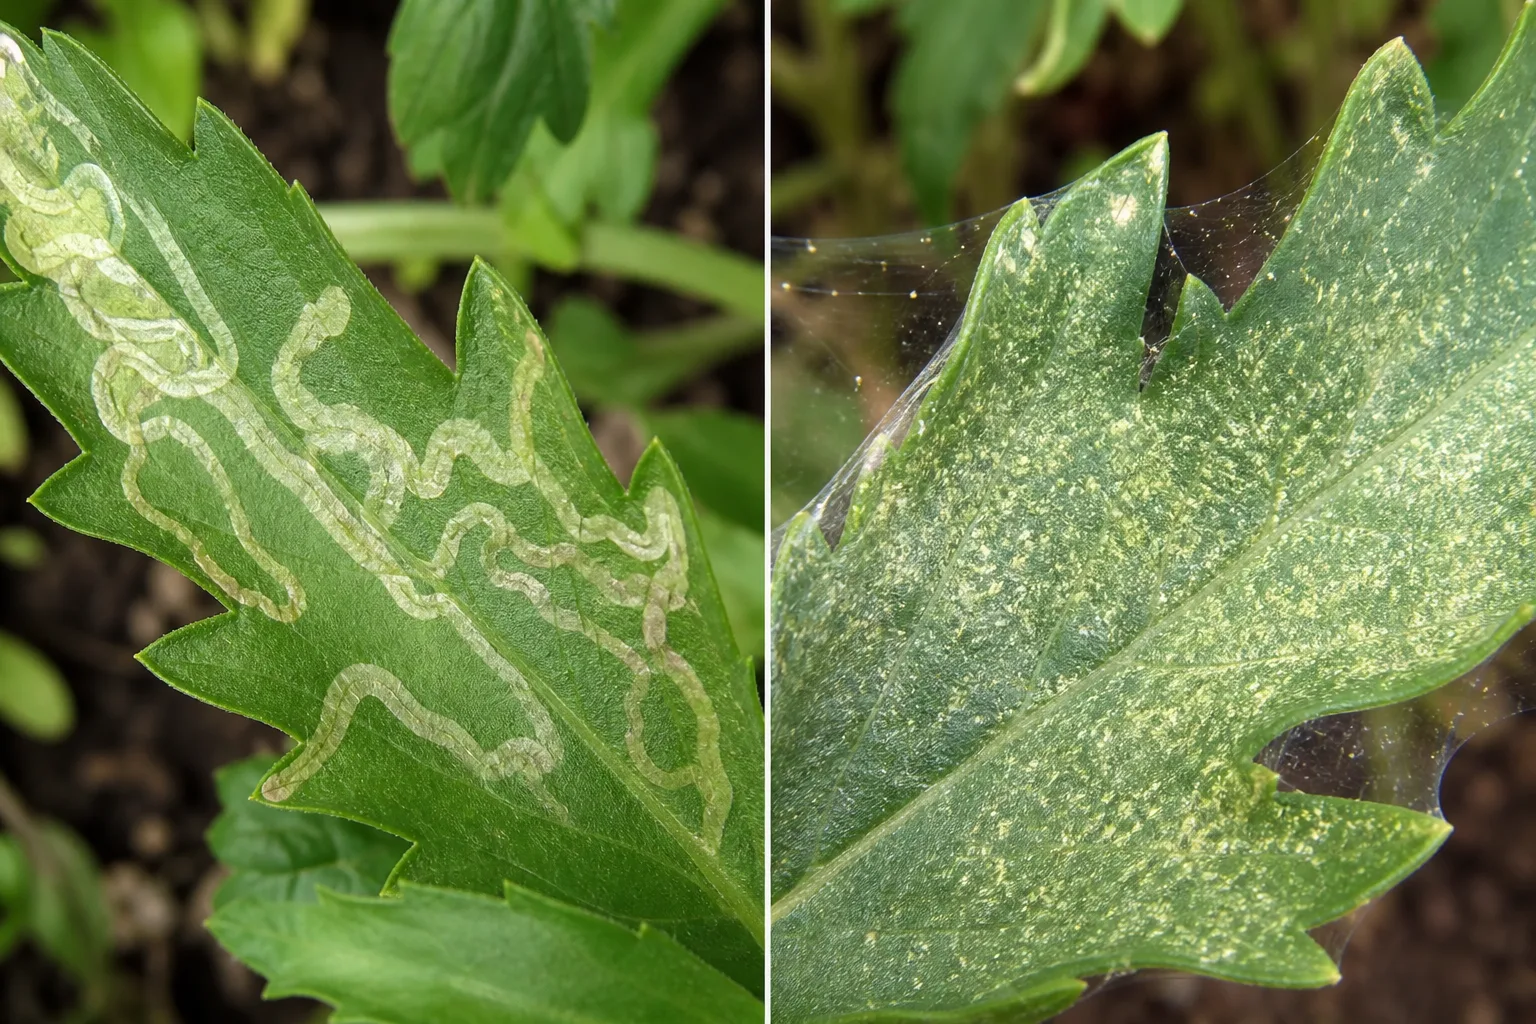
Most trouble shows up in patterns, since Shasta daisies are not fragile, but crowded or stressed plants can pick up aphids, leaf miners, spider mites, powdery mildew, and leaf spot.
Aphids cluster on soft new growth, while leaf miners leave pale tunnels inside leaves. Spider mites show up during hot dry spells as stippling and fine webbing.
Flopping usually comes from shade, overfeeding, crowded clumps, or heavy double blooms after rain. Stake tall cultivars early, but also fix the site conditions causing weak stems.
Leaf spots and crown problems increase when clumps are crowded.
Division, spacing, and watering at soil level do more for long-term health than repeatedly trimming spotted leaves.
Rinse from tender tips or use insecticidal soap if colonies persist.
Remove heavily tunneled leaves and keep the bed clean.
Improve spacing, avoid wet foliage at night, and remove infected leaves.
Suspect drainage if a clump collapses suddenly from the center.
Good airflow around the crown genuinely prevents more crown rot than any fungicide treatment after the fact, since the fungus that causes it thrives specifically in still, damp conditions at the base of the plant. Spacing divisions generously when replanting pays off years later in fewer crown problems.
Seasonal Care Calendar
In spring, clean old stems and watch for new shoots at the crown. Add a thin compost top-dressing around the clump, keeping the center open.
In summer, deadhead weekly if you want a tidy border and more bloom. Water during dry spells, especially the first year after planting or division.
In fall, remove diseased foliage and divide tired clumps. In cold climates, a light mulch after the ground cools helps buffer crowns, but heavy wet mulch can do more harm than good.
After the first flush, cut spent stems low enough that fresh basal leaves can carry the clump. If the whole plant looks tired after bloom, a light shear and deep watering usually work better than feeding heavily.
Cut back old stems, top-dress lightly, and divide if needed.
Deadhead, water deeply in drought, and support tall cultivars.
Divide crowded clumps and remove diseased leaves.
Keep crowns protected but not buried under wet mulch.
A clump that skips its usual midsummer peak sometimes just needs a full growing season to establish after division. Patience through one slower year is normal and does not mean the planting failed.
Pet Safety and Pollinator Value
For people, pets, and wildlife, Shasta daisy is not a plant to encourage pets to chew. It can cause vomiting, drooling, or skin irritation in cats and dogs, so place it where habitual grazers are less likely to sample the flowers.
For people with sensitive skin or ragweed-family allergies, gloves are sensible when cutting stems or dividing clumps.
That makes them better as one piece of a border than the whole pollinator plan, so extend the season with plants that bloom before and after.
Frequently Asked Questions
Are Shasta daisies annuals or perennials?
Shasta daisies are perennials in many temperate gardens. They return from the crown each spring, though older clumps should be divided every few years.
How much sun do Shasta daisies need?
Shasta daisies bloom best with at least 6 hours of direct sun. Too much shade usually causes weak stems and fewer flowers.
Should I deadhead Shasta daisies?
Yes. Deadheading Shasta daisies keeps the plant tidy and can extend bloom by sending energy into side buds instead of seed.
Why are my Shasta daisies flopping?
Shasta daisies flop from shade, overfeeding, crowded clumps, wet soil, or heavy double flowers after rain. More sun, lighter feeding, division, and early staking help.
Are Shasta daisies toxic to dogs and cats?
Shasta daisies can upset pets that chew them and may irritate skin. They are best planted away from dogs or cats that graze on garden plants.
When should I divide Shasta daisies?
Divide Shasta daisies every 3-4 years, either in spring in cold regions or early fall where plants have time to root before winter.
Sources & References
Related Plants
Black-Eyed Susan
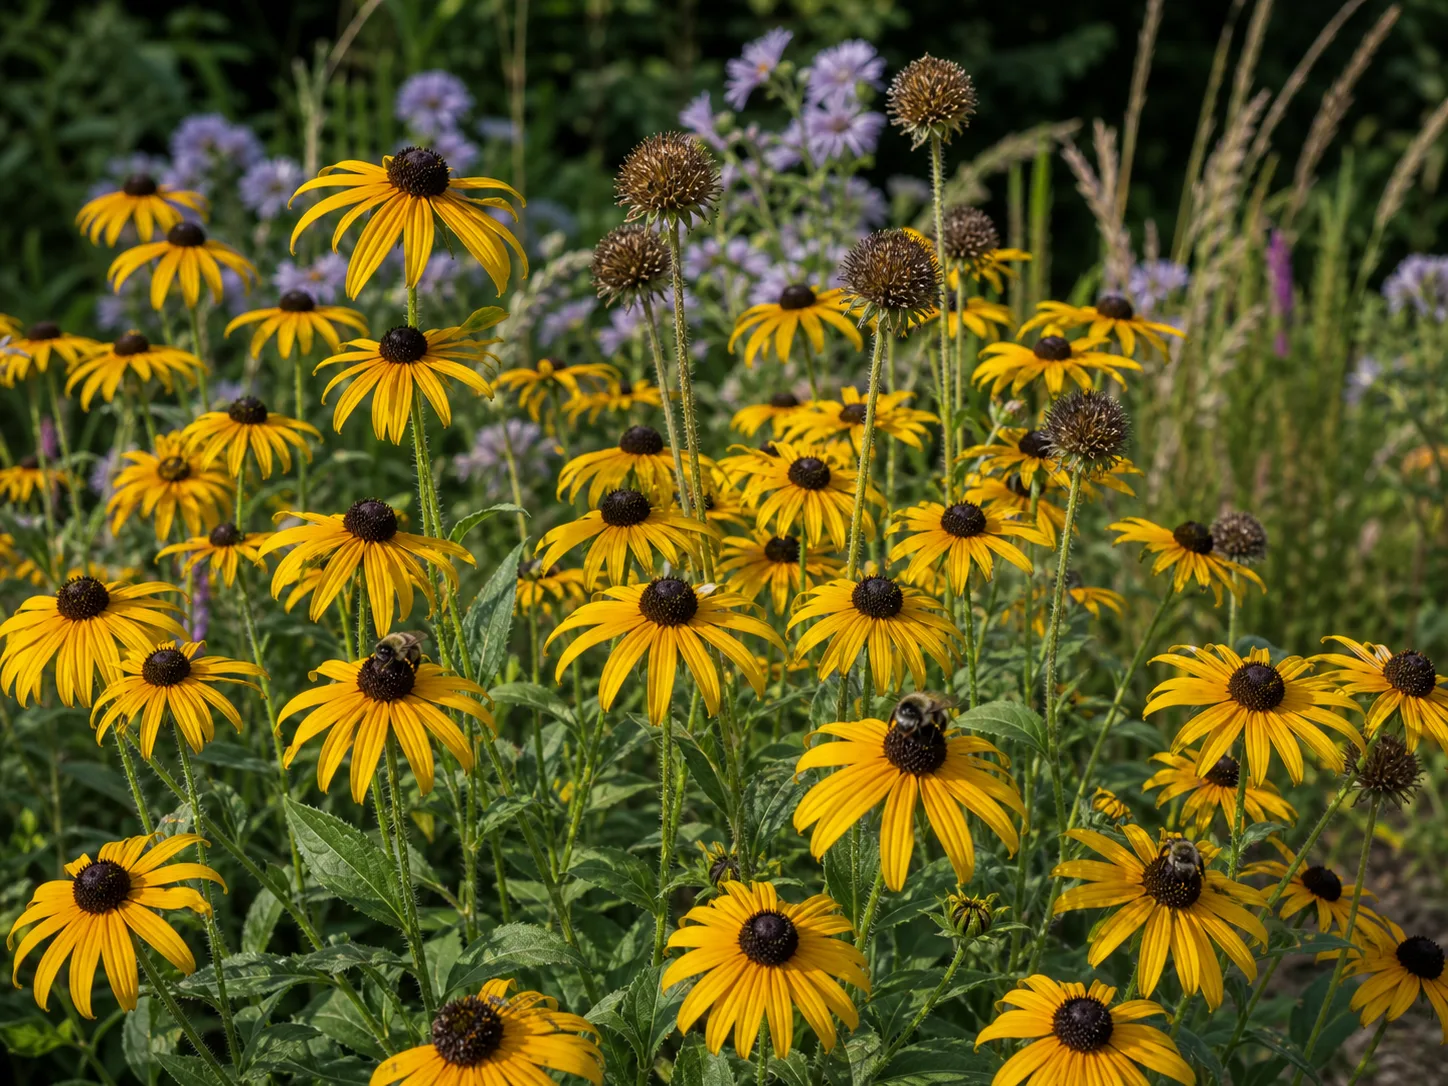
Golden daisy-style perennial that carries the sunny border after Shasta daisies peak.
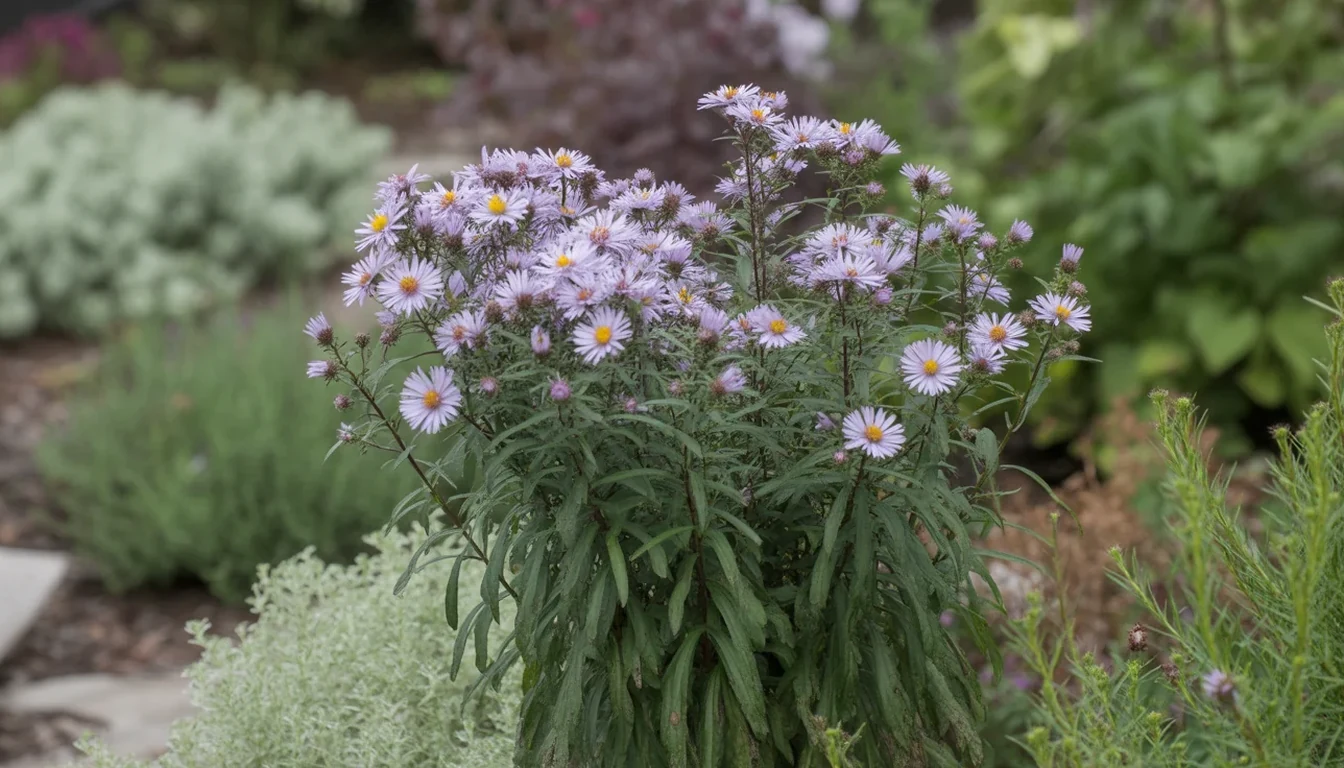
Aster
Late-season daisy flowers that extend color into fall.
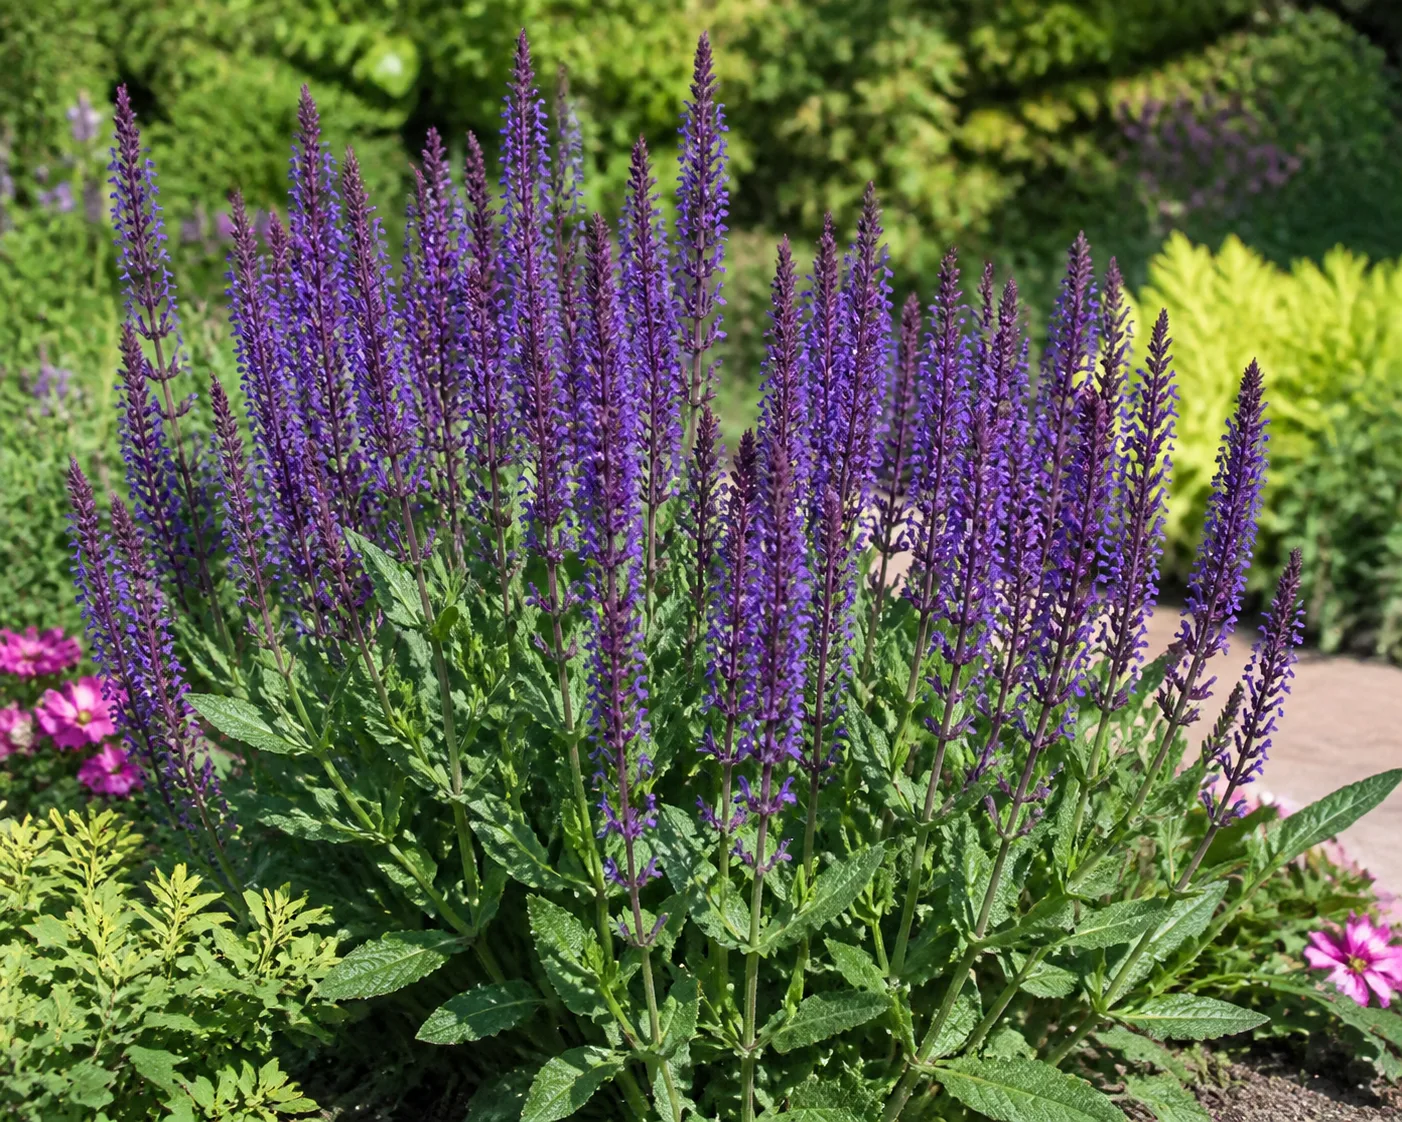
Salvia
Upright flower spikes that contrast with flat daisy blooms.
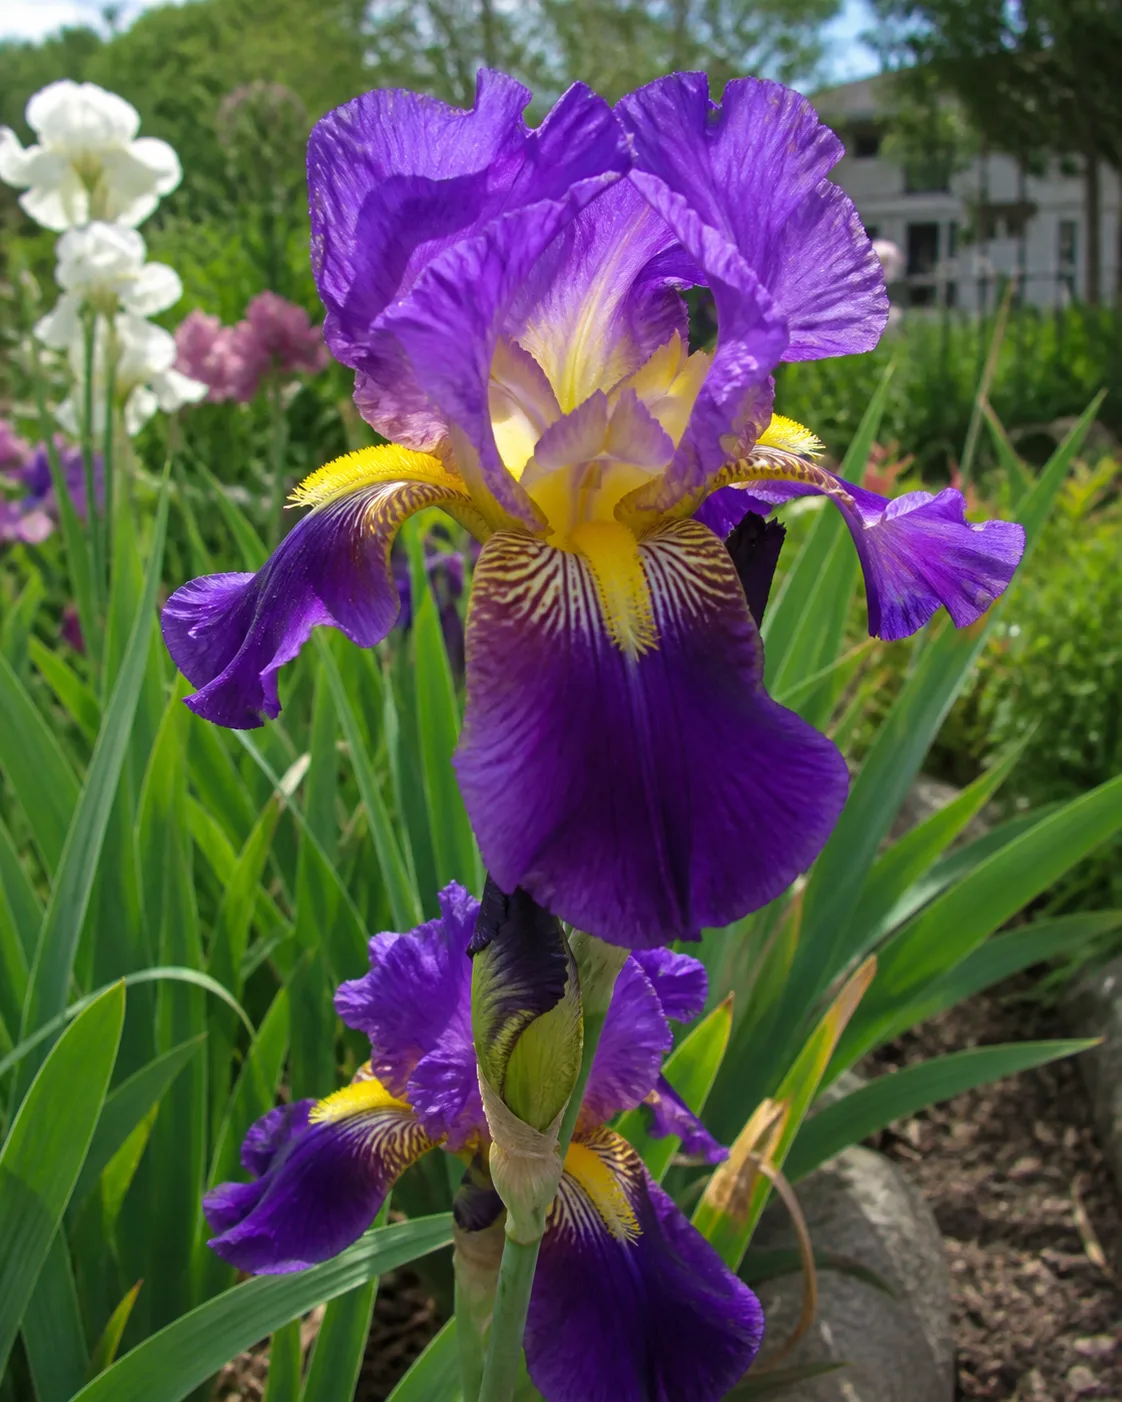
Bearded Iris
Bearded iris are tough, sun-loving perennials grown from shallow rhizomes, not deep bulbs.
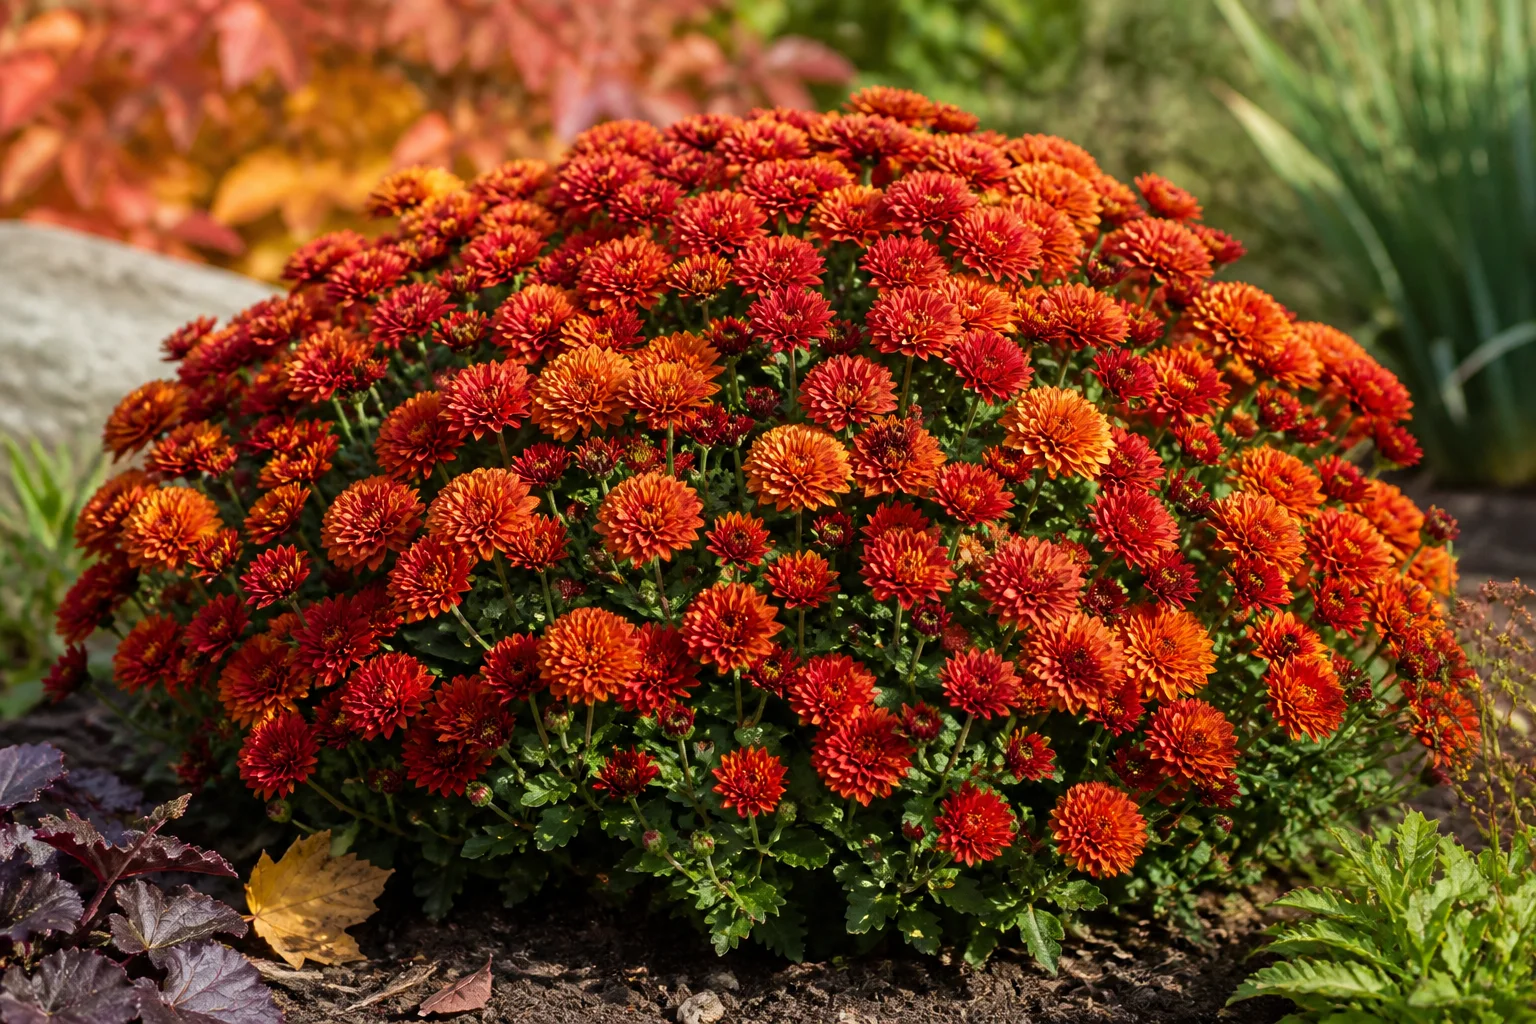
Chrysanthemum
Garden mums are the compact chrysanthemums most people buy for fall color.
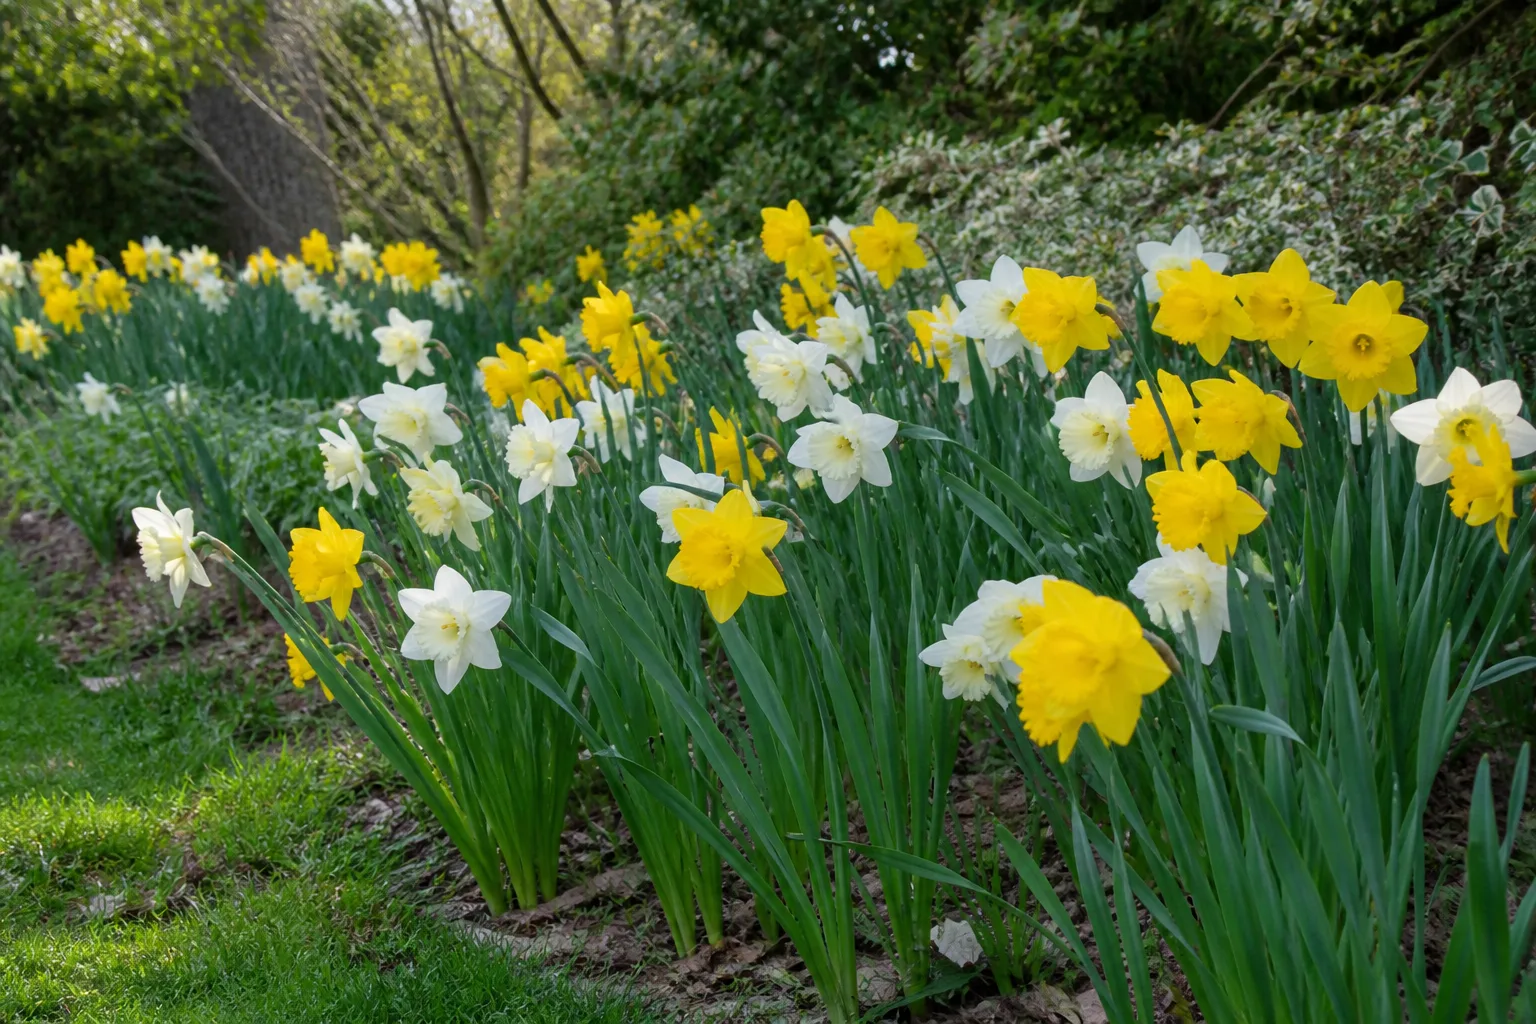
Daffodil
Daffodils are hardy fall-planted bulbs grown for reliable spring flowers, deer resistance, and decades of return bloom…