
How to Grow Russian Sage for Flowers in a Hot, Dry Border
Salvia yangii Lamiaceae
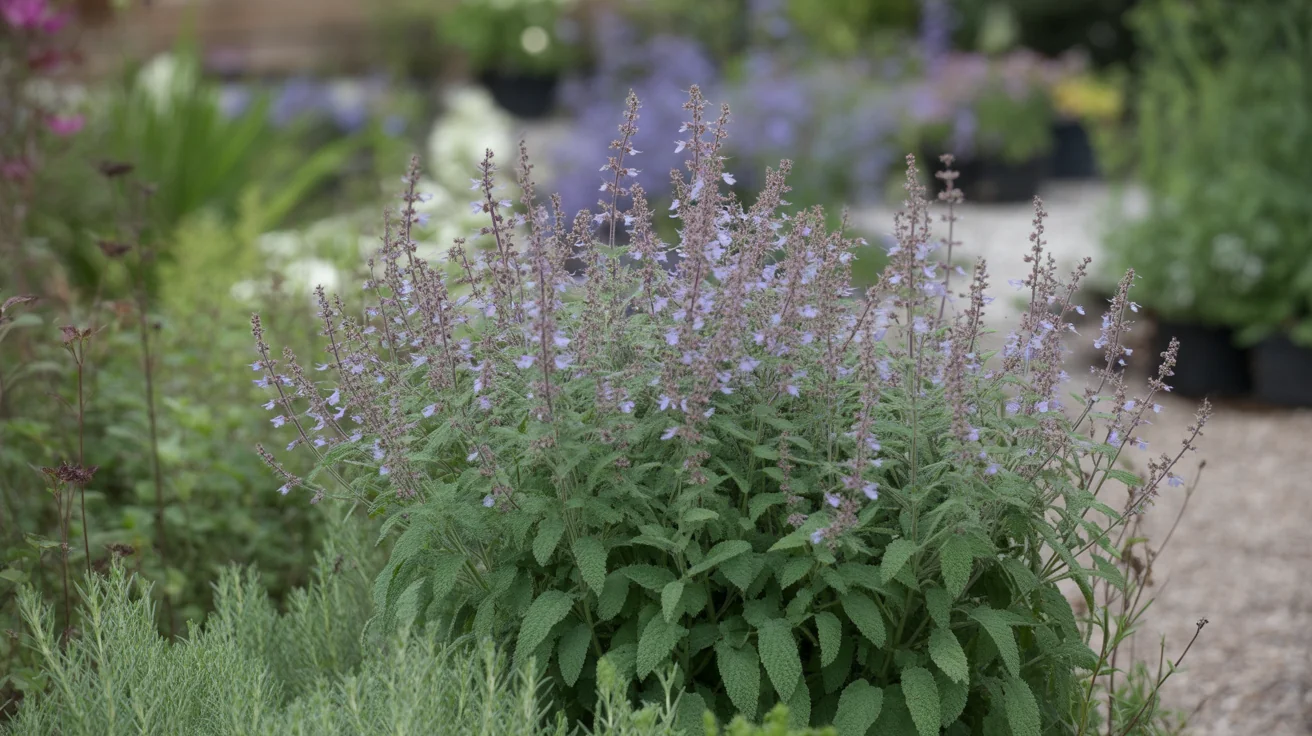
By mid to late summer, Russian Sage (Salvia yangii) throws up airy clouds of lavender-blue flowers just when many perennials fade.
It thrives in hot, dry sites that frustrate fussier plants, giving you tall, hazy color with very little ongoing maintenance.
Care snapshot
Airy Stems, Woody Base, Dry-Site Payoff
Late summer beds often look tired, but tall, hazy wands of lavender-blue from Russian Sage keep color going into fall without extra effort.
This woody-based perennial forms an upright, airy clump about 2-4 ft tall and 2-3 ft wide, with many branching stems carrying hundreds of small tubular flowers.
Fine, cut, gray-green leaves cover the stems, giving the whole plant a soft, silvery look that pairs well with Coneflower and Black Eyed Susan in mixed borders.
Cold winters can scare gardeners, but plants in Zone 3-4 usually survive because the woody crown and roots are hardy, similar to tough perennials like winter-hardy peonies.
Choose Height Before the Lavender Haze
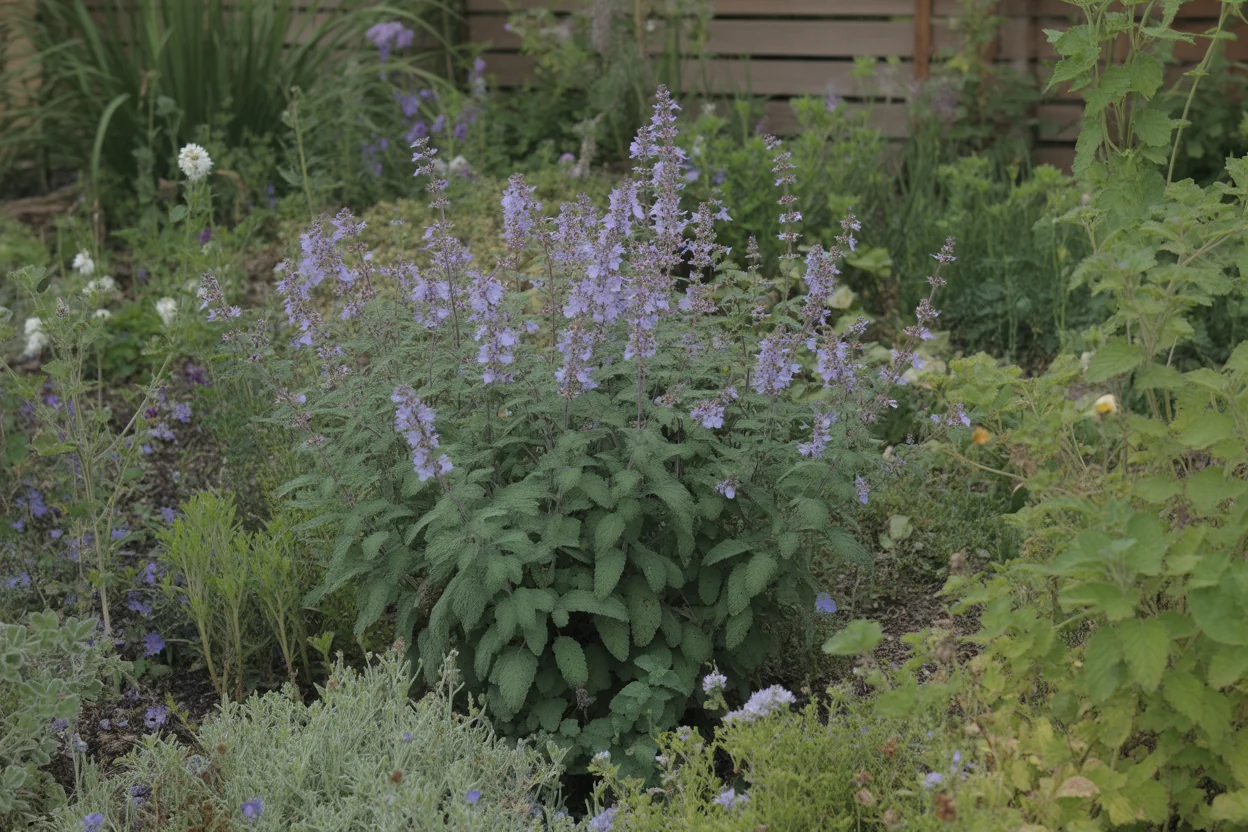
Small spaces often get overwhelmed by full-size Russian Sage, so compact cultivars solve the problem without losing the airy bloom show.
Dwarf forms like ‘Little Spire’ stay around 2 ft tall, which fits better along paths and in front of shrubs such as large hydrangeas where height control matters.
Windy sites can flatten taller types, so sturdier cultivars like ‘Perovskii Blue Spire’ keep a more upright habit and need less staking in exposed beds.
Hotter Zone 8-9 gardens often appreciate varieties with slightly thicker stems and dense branching, since these hold up better in long, dry summers than floppy, older selections.
Compact cultivars are not just smaller versions of the same plant. In windy beds or narrow paths, a shorter Russian Sage keeps the smoky effect without leaning over neighbors after summer storms.
- Standard Russian Sage
- About 3-4 ft tall, wide, airy habit, best for large borders and background plantings.
- ‘Little Spire’
- Compact, ~2 ft tall, good for smaller beds, edging, and container mixes.
- ‘Denim ‘n Lace’
- Sturdy stems, dense flowers, clean habit, useful as a tidy focal clump.
- ‘Blue Spire’
- Tall, strong vertical effect, good behind lower perennials like billowy catmint.
Full Sun Keeps the Wands Upright
Floppy, pale stems usually point to shade problems, since Russian Sage wants full sun for 6+ hours to stay upright and floriferous.
Partial shade in the morning with hot afternoon sun works in Zone 8-9, but in cooler Zone 3-5 you get the best flowering in all-day exposure like you would give sun-hungry coneflowers.
Crowded mixed borders can cast unexpected shade, so keep Russian Sage slightly forward of taller shrubs such as spring-blooming lilacs to prevent leggy growth.
Indoor starts often stretch on windowsills, so if you grow transplants under lights, hang fixtures very close to seedlings to prevent weak, etiolated stems before hardening them off outdoors.
- Choose a site with 6-8 hours of direct sun daily.
- Avoid deep shade from fences, trees, or large shrubs.
- In hot zones, afternoon sun is fine if soil drains well.
- Watch for leaning stems as an early sign of low light.
A gravel or rock mulch reflects extra heat and light back onto the lower stems, which can help a borderline-sun site hold better color but also raises the risk of leaf scorch during an unusually intense summer heat wave.
Too Much Water Causes More Trouble Than Drought
Root rot and winter dieback usually trace back to overwatering, not drought, since Russian Sage is adapted to dry, rocky soils.
During the first growing season, water deeply when the top 2-3 inches of soil are dry, then let the area dry again, using a pattern similar to deep, infrequent watering.
Established plants in well-drained soil often need little supplemental water except in extreme drought, behaving more like Sedum or other drought-adapted perennials than thirsty border flowers.
Clay-heavy beds hold moisture longer, so in those spots you should reduce frequency and consider raised beds or berms to keep crowns from sitting wet through winter.
- Water new plants weekly in the first 4-6 weeks, then taper off.
- Check moisture at root depth, not just the surface crust.
- Skip watering in prolonged cool, wet spells to avoid crown rot.
- Mulch lightly with gravel instead of heavy, water-holding mulch.
Lean Drainage Is the Winter Survival Rule
Soggy, compacted soil is the quickest way to kill Russian Sage, since its roots are built for fast-draining, lean conditions.
Gravelly or sandy loam with excellent drainage suits it best, similar to the soil mix preferred by Mediterranean herbs like woody rosemary shrubs.
Heavy clay in Zone 5-7 can freeze and stay wet, so amending with coarse sand and grit or small gravel improves winter survival by protecting the woody crown from rot.
Rich, high-nitrogen beds encourage lush leaves at the expense of flowers, so avoid overusing compost and skip regular feeding you might give vegetables like heavy-feeding tomatoes.
Do a drainage check before you add compost. If water stands in the planting hole after a storm, choose a raised berm or a different dry-site perennial such as Yarrow instead of trying to pamper the roots through winter.
- Ideal texture
- Sandy or gravelly loam with fast drainage.
- Soil amendments
- Mix in 30-50% coarse sand or grit for clay sites.
- Organic matter
- Light compost only at planting, no heavy annual applications.
- pH range
- Roughly 6.5-8.0, tolerates slightly alkaline soil well.
Root Soft Shoots Before They Turn Woody
8-inch stems give you the best cuttings for new Russian Sage plants. Younger, still-flexible shoots root faster than old woody stems and handle transplanting with less sulking.
2 main methods work for home gardeners, softwood cuttings and division. Cuttings give you more plants at once, while division is almost foolproof if the parent clump is healthy.
4 weeks is a normal rooting time in warm weather if you keep cuttings slightly moist and out of harsh sun. You can tuck a tray of cuttings near other sun lovers like lavender or rosemary to remember to water everything together.
1 good reason to master cuttings is cost. Filling a whole drift of airy purple flowers costs far less than buying a flat of other perennials like coneflower or black eyed susan from the nursery.
Once the timing is right, the cutting steps are simple, since moisture control matters more than heavy feeding.
- Cut 4-8 inch non-flowering tips from healthy, pest free stems.
- Strip the lower 2 inches of leaves so no foliage sits below the soil line.
- Dip the cut end in rooting hormone if you have it, then insert into a mix of 50% perlite and 50% potting soil.
- Water to settle, then place in bright shade and keep the medium barely moist, not soggy.
- Check for roots after 3-4 weeks by gently tugging on a cutting, resistance means roots.
Division is the sturdier option when you already have a mature clump, giving fewer starts, but they recover faster.
- Dig up the whole clump in early spring, before vigorous new growth stretches taller than 6 inches.
- Slice the root mass into 2-4 chunks with a sharp spade or hand saw, keeping several strong stems on each piece.
- Replant divisions at the same depth, spacing them 24-30 inches apart so the airy form has room.
- Water deeply once, then let the soil mostly dry between waterings while new roots grab hold.
Seed can still be useful for experiments, but it is the slowest route when you want a matched drift.
Diagnose Flop, Rot, and Rare Insects Separately
5 minutes of inspection a month is usually plenty, because Salvia yangii does not attract many serious pests. The aromatic, somewhat woody stems make it far less tempting than soft foliage perennials like phlox or hosta.
2 situations change that low-maintenance story, waterlogged soil and overcrowded plantings. Both conditions trap humidity and stress the plant, which opens the door to mildew and sap-sucking insects.
3 feet of breathing room between clumps keeps air moving through the foliage and helps prevent powdery mildew. That same spacing works well alongside other dry-loving bloomers such as shasta daisy and liatris.
After you confirm mildew or insects, use the symptom list below to choose the least disruptive fix.
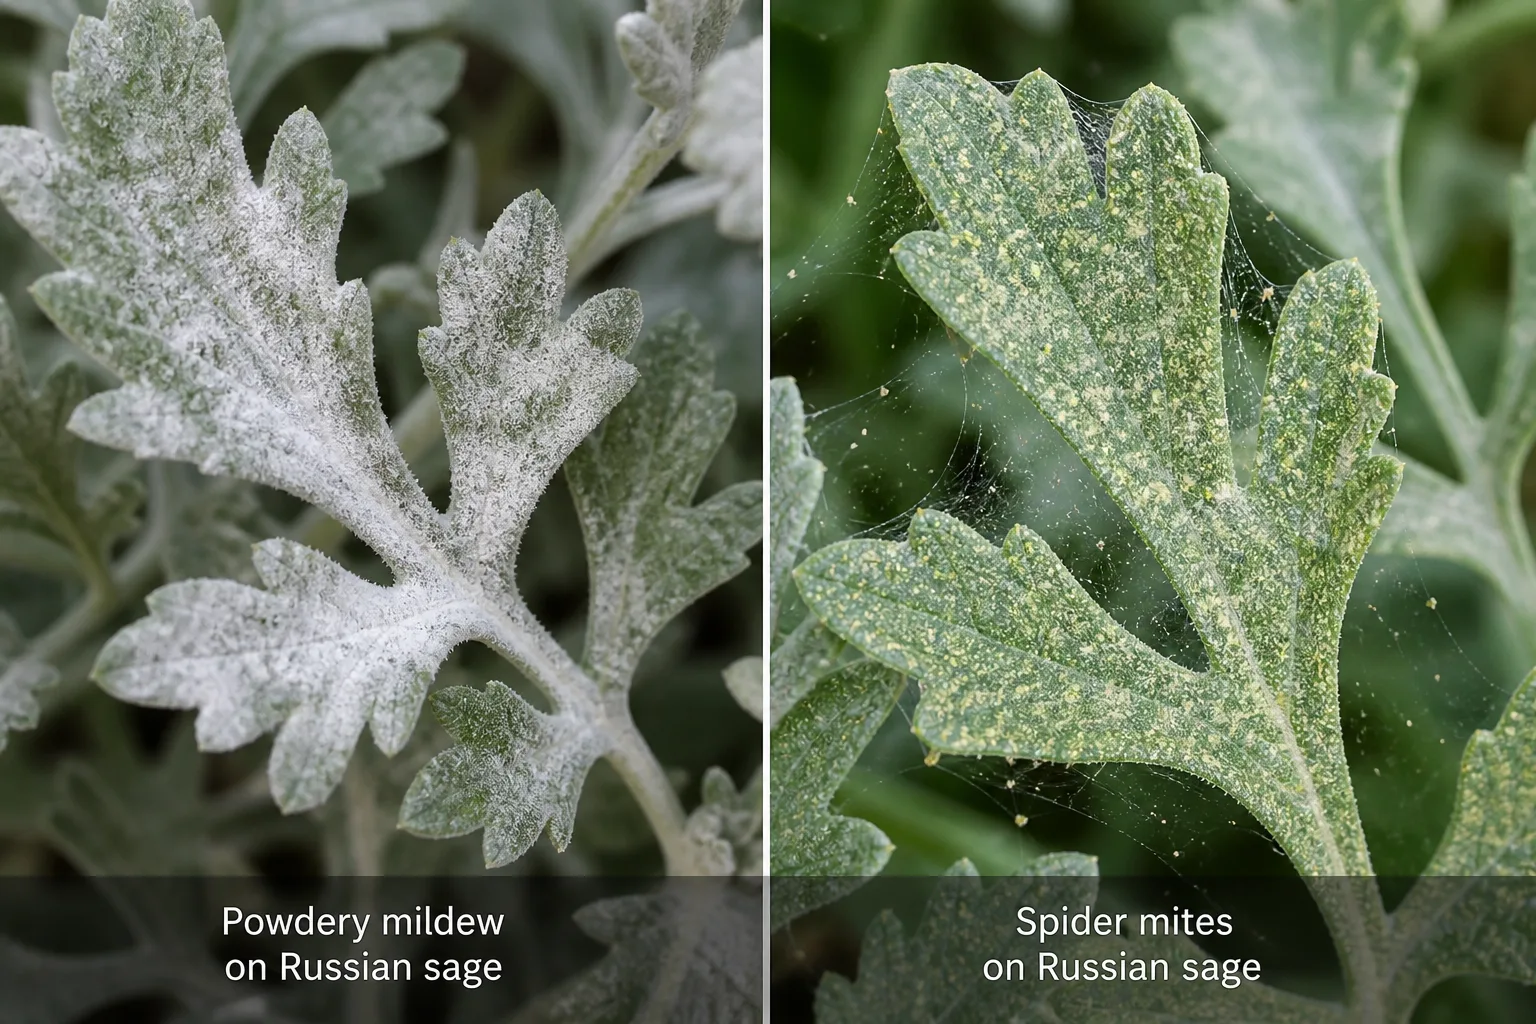
Look for white, flour-like patches on leaves but usually not much leaf distortion. Thin nearby plants, avoid overhead watering, and remove badly affected stems.
Clusters of tiny green, black, or brown insects may gather on new growth and stems, leaving sticky honeydew. Spray off with a firm stream of water or use insecticidal soap.
Fine webbing and speckled leaves in hot, dry spells hint at mites. Rinse foliage thoroughly and follow up with targeted treatments if needed.
10 seconds with your hose can often clear light aphid or mite issues before they build up. For heavier infestations, follow steps similar to treating spider mites on indoor plants, just adapted outdoors.
Cut Back on the Crown's Schedule
3 distinct tasks, spring cleanup, midseason trimming, and fall cutback, cover almost all the work this perennial needs each year. The exact timing shifts a bit between Zone 3 and Zone 9, but the steps stay the same.
6 inches of new growth is our signal to tidy plants in spring. Once stems reach that height, you can see which shoots are dead and which buds are starting to leaf out along the lower portions.
1 midseason trim around early July keeps plants dense. Shearing off the top 3-6 inches of spent blooms encourages fresh flowering spikes and stops stems from flopping into neighboring roses or daylilies.
2 choices work for fall and winter structure. You can leave stems standing at their full 2-4 foot height for winter interest, or cut them back to about 8-12 inches after hard frost to clean things up.
Use that cold-climate note to set your cutback window, since the seasonal jobs below are lighter in warm, dry gardens.
Remove only obviously dead, brittle stems first, then cut remaining growth down to strong buds around 8-12 inches tall once new shoots appear.
Shear lightly after the first big flush of flowers. Water deeply during long droughts, but let the soil dry out between soakings.
Deadhead spent spikes if you dislike the look. In colder zones, leave most stems standing to shield the crown and trap insulating snow.
Avoid wet feet at all costs, especially in Zone 8-9 winters. Raised beds or sloped sites help the way they do for other drought tolerant plants.
Keep the feeding plan restrained after those seasonal cuts, since too much fertility is what makes the plant loose and floppy.
Aromatic Foliage, Pollinators, and Pet Boundaries
2 groups care most about this plant’s safety, pet owners and pollinator gardeners. Neither ASPCA nor NC State gives a pet toxicity classification for Salvia yangii, so its effect on a dog or cat that chews the foliage is unknown.
If a pet chews or eats the foliage, contact a veterinarian or ASPCA Animal Poison Control instead of waiting to see what happens.
Keep pollinator beds apart from pet play areas so pets have fewer chances to chew them. For patio borders around pets, choose plants whose own ASPCA record lists them as non-toxic, and check each plant before you buy it.
1 of the best ecological benefits is long bloom time for bees and butterflies. The airy purple wands fit perfectly into plant lists for pollinator focused gardens where nectar through late summer really matters.
Frequently Asked Questions
Is Russian Sage invasive in home gardens?
In most North American gardens, Russian Sage is not considered invasive, but it can spread by woody crowns and occasional self-seeding. Give it space and remove unwanted seedlings, and it usually stays where you plant it.
How far apart should I plant Russian Sage?
Space plants about 24-30 inches apart. This allows each clump to reach its natural width of 2-3 ft without crowding, and it keeps good air flow to reduce mildew or flopping in humid climates.
Does Russian Sage need pruning every year?
Yes, plan on cutting stems back hard each late winter or very early spring. Remove most of the previous year’s growth, leaving a low framework of 6-12 inches, to keep plants dense and prevent woody, bare bases.
How fast does Russian Sage spread?
Clumps usually reach their full 2-4 foot width in about three seasons. Plants slowly widen from the crown rather than sending long runners, so you can keep them in bounds with division every 3-4 years.
Should I cut Russian Sage back in fall or spring?
In colder zones, leave stems standing over winter and cut them back to 8-12 inches in early spring. In warmer, drier climates, you can cut back in late fall once foliage browns without harming the plant.
Does Russian Sage need fertilizer every year?
This perennial prefers lean soil and too much fertilizer can make stems flop. A light layer of compost in spring is usually enough, especially if nearby heavy feeders like peonies or roses are getting separate fertilizer.
Sources & References
- Perennial Plant of the Year 1995, Perovskia atriplicifolia – Perennial Plant Association
- Perennial Plant of the Year Archive: Russian Sage 1995
- Salvia yangii (Russian Sage) profile – Missouri Botanical Garden
- Russian Sage for the Perennial Border – University of Illinois Extension
- Salvia yangii (Russian Sage) Profile
- Russian Sage in the Garden
- Salvia yangii (Russian Sage) | North Carolina Extension Gardener Plant Toolbox
Related Plants
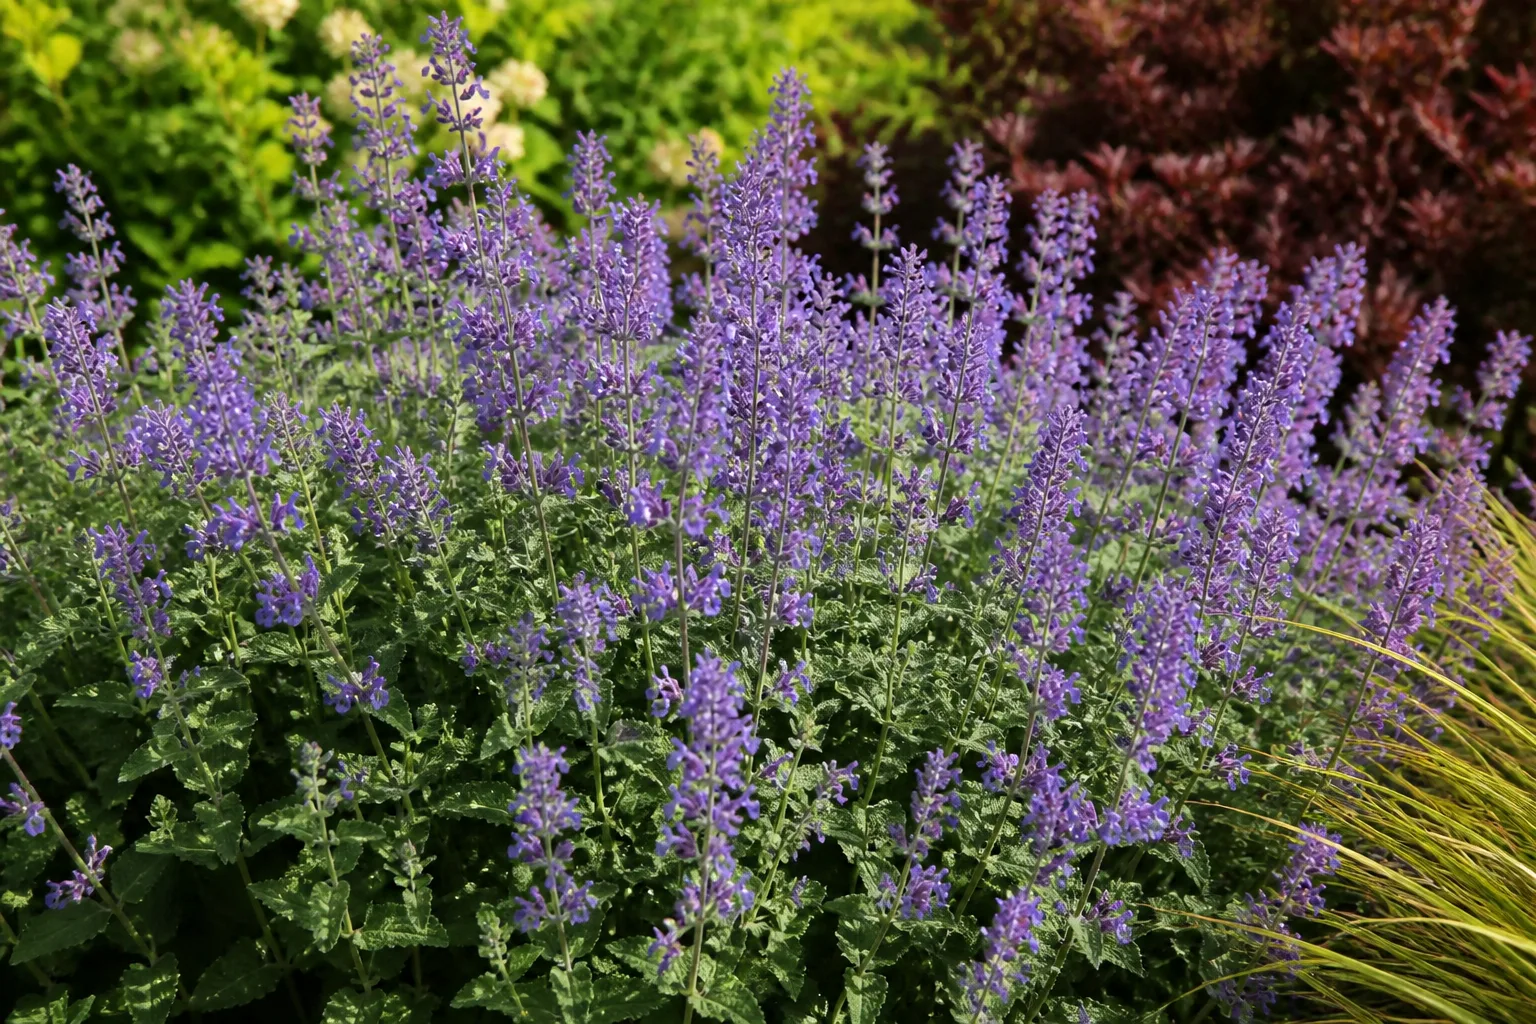
Catmint
Soft, billowy blue flowers on a lower mound, good companion for Russian Sage.
English Lavender
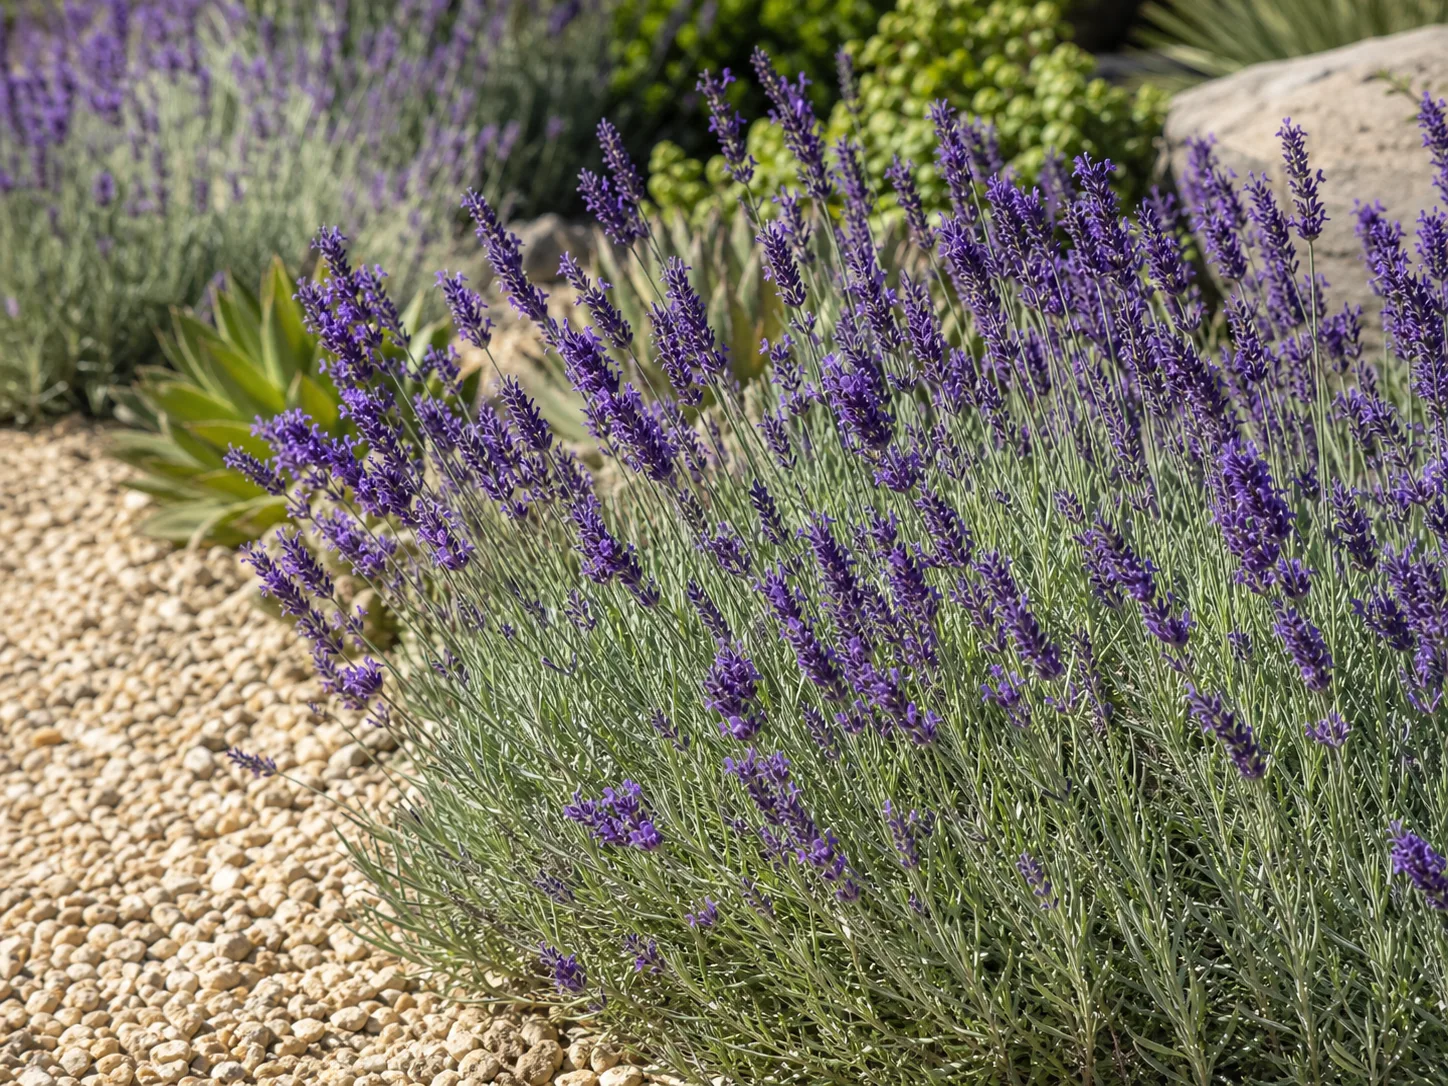
Fragrant purple spikes and silver foliage for the same sunny, dry spots.
Coneflower
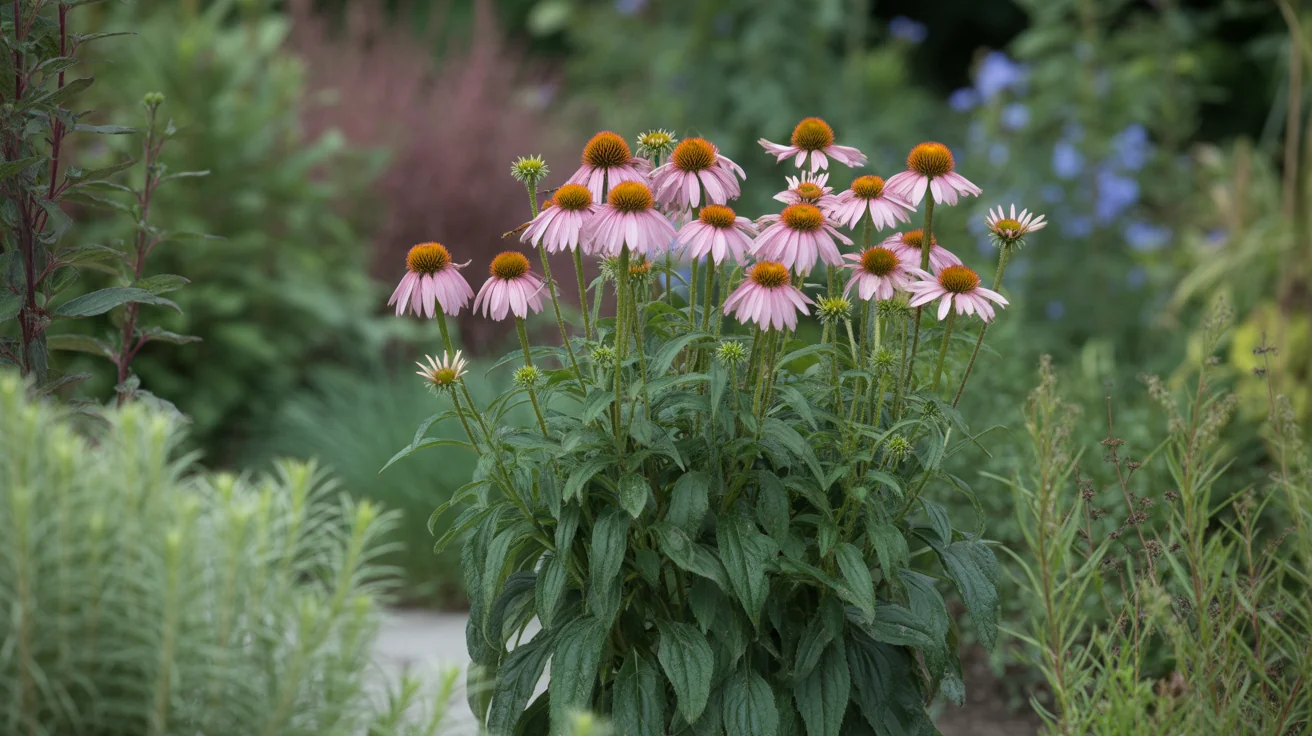
Bold daisy blooms that pair well with the airy texture of Russian Sage.
Aster
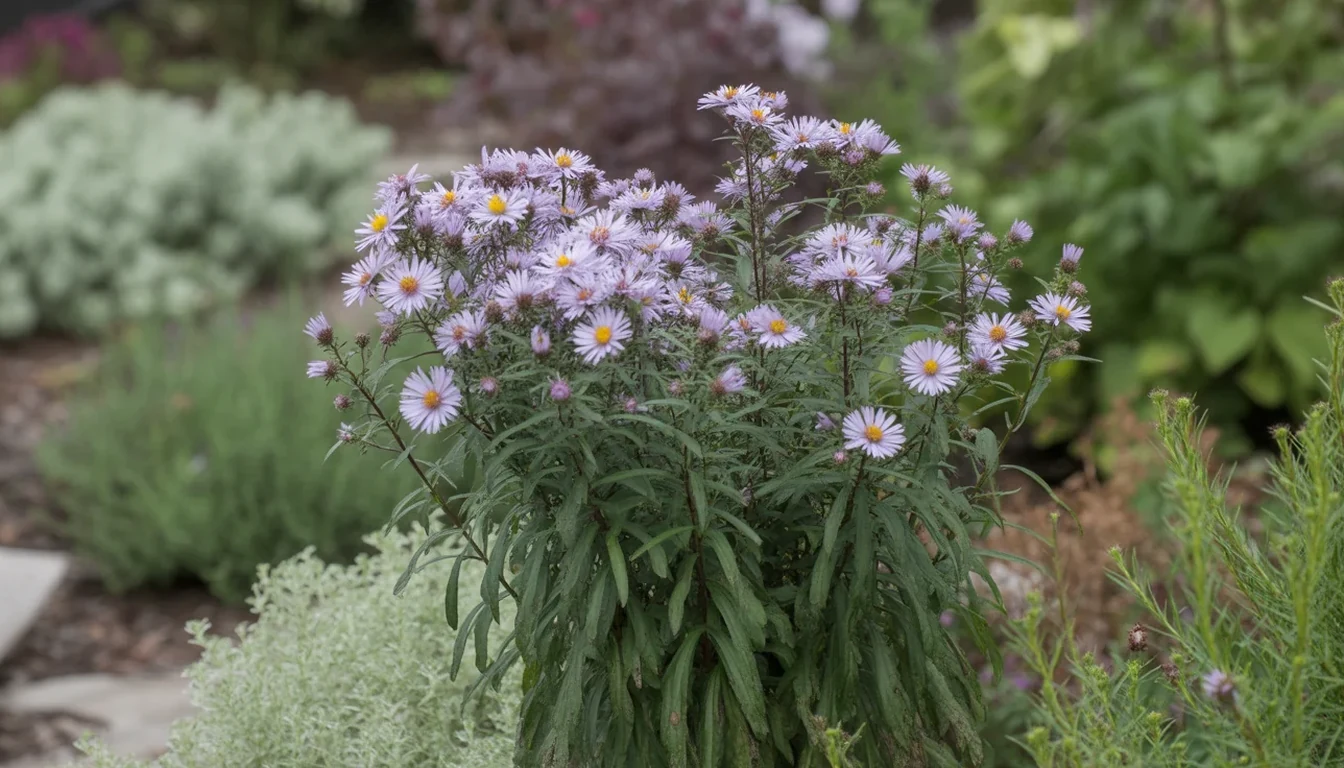
Gardeners blame the weather when an Aster splits open in September, but the shape was decided in early summer.
Astilbe
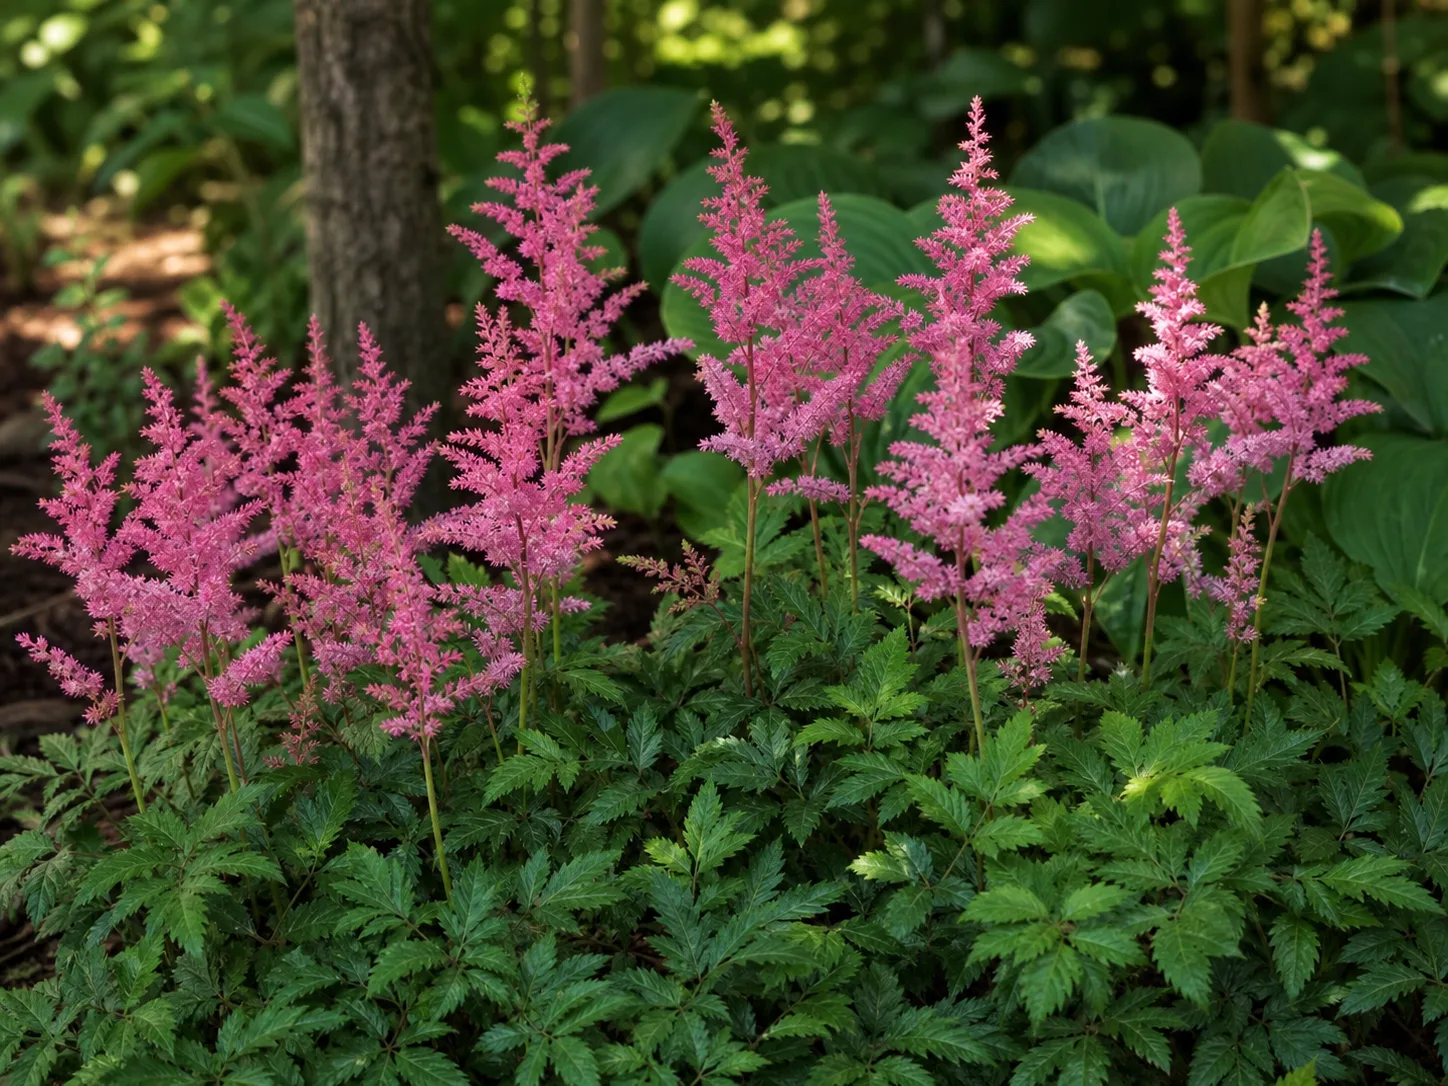
An Astilbe puts real color into a shade bed that would otherwise be green on green, but its shallow roots hold no…
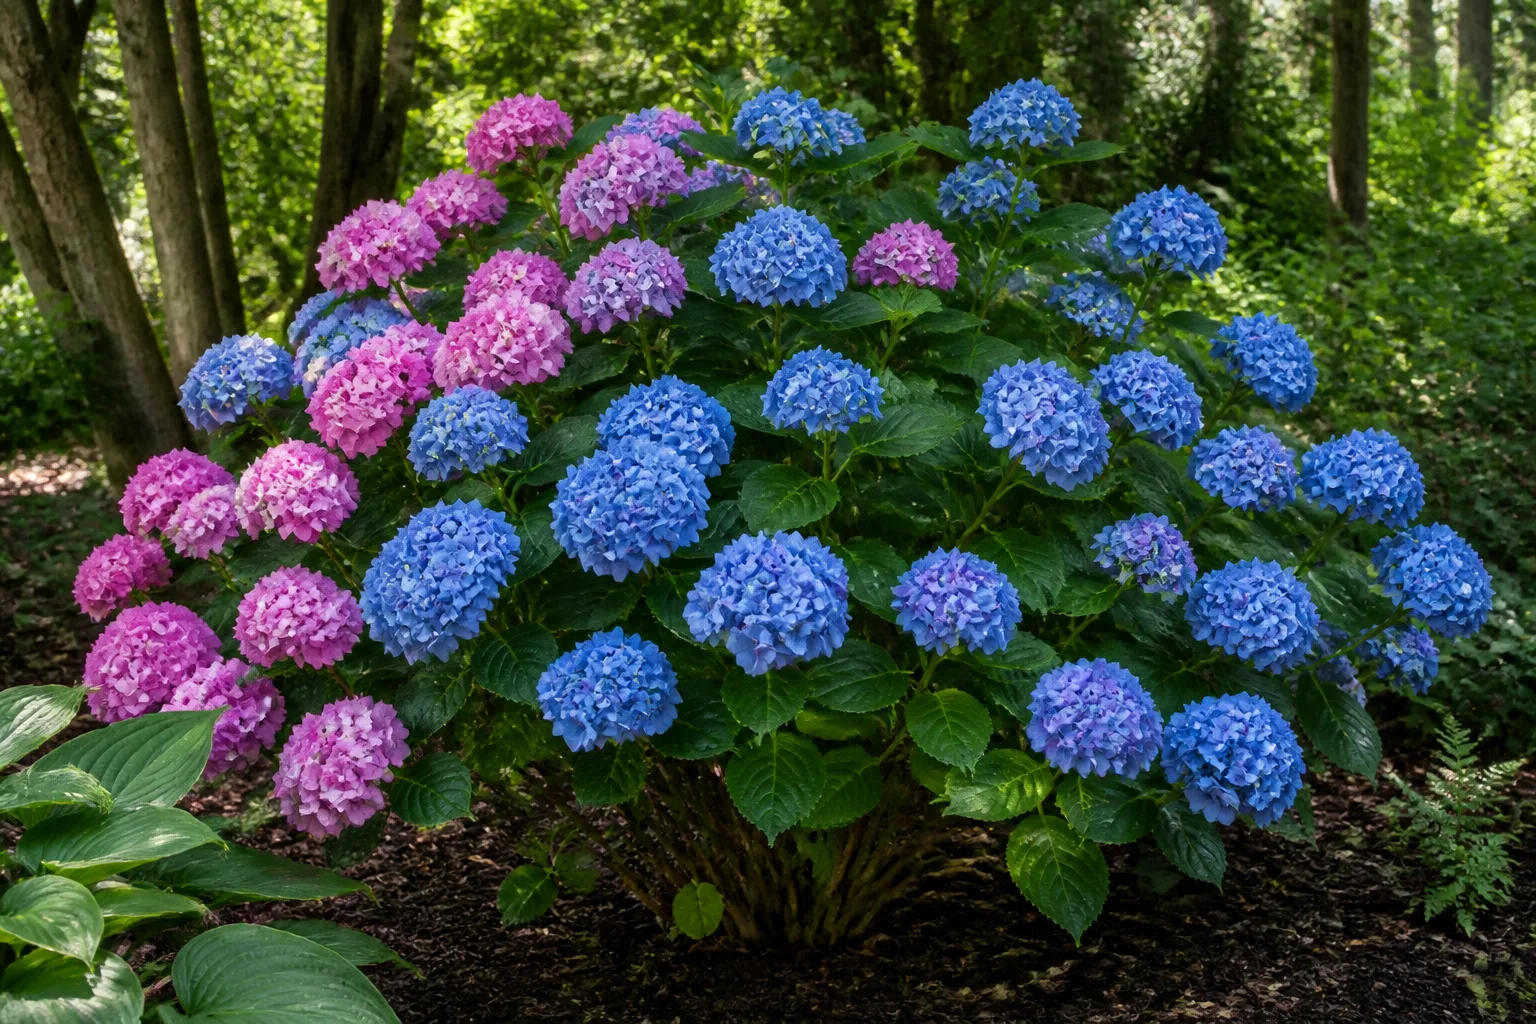
Bigleaf Hydrangea
Bigleaf hydrangea (Hydrangea macrophylla) produces mophead or lacecap flowers, but winter survival and reliable…