
How to Grow Norfolk Island Pine Indoors and Preserve Its Shape
Araucaria heterophylla Araucariaceae
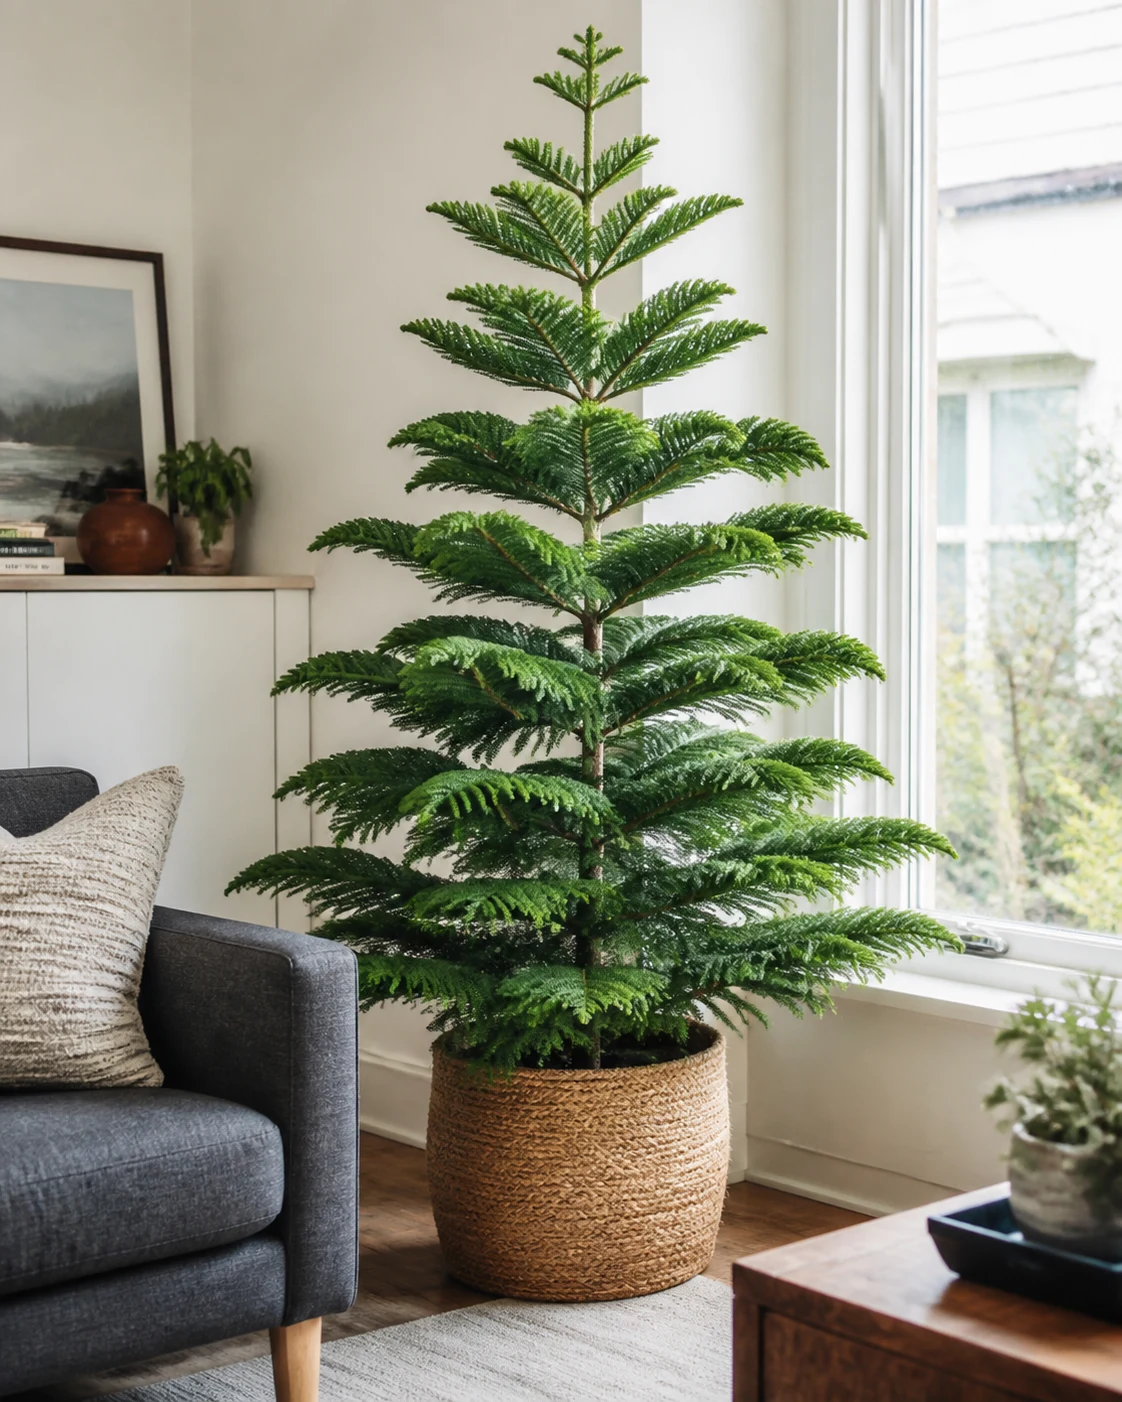
Norfolk Island pine is a frost-tender conifer with a central upright leader and tiered side branches. Indoors, bright light and a moist, well-drained root zone help maintain that shape. It can outgrow a room, and cutting off the top is not a reliable way to keep a miniature tree.
Care snapshot
A Central Leader With Tiers of Side Branches
Araucaria heterophylla comes from Norfolk Island in the South Pacific. It belongs to Araucariaceae rather than the true pine genus Pinus. The common name and holiday display do not make it a cold-hardy landscape pine.
The trunk normally carries whorls of horizontal branches around a central upright growing shoot, called the leader. That arrangement creates the familiar layered outline. A gap between tiers is part of the architecture, although increasing sparsity, dying branches, or unusually stretched new growth deserves investigation.
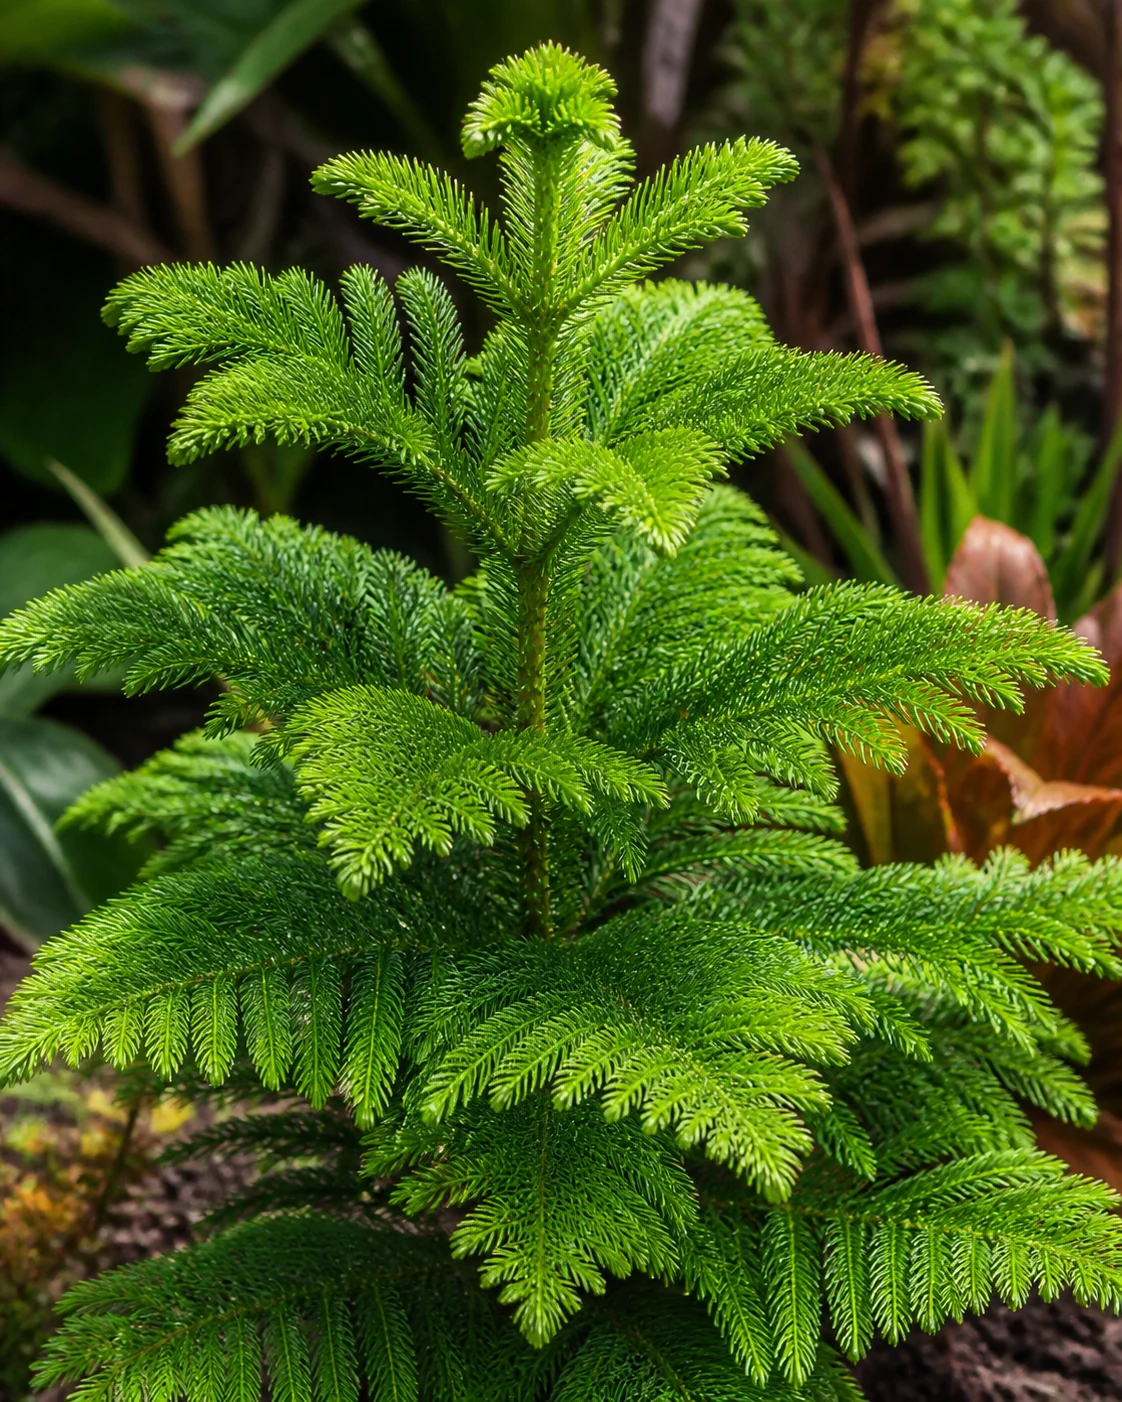
Indoor plants have fine, needle-like juvenile foliage. NC State describes different leaf forms as the tree matures, so the soft appearance of a young houseplant does not describe every part of a large outdoor tree. A close view of the leader and side shoots is useful when considering pruning or propagation.
NC State notes that plants can reach about 9 feet indoors. Container growth varies with light, root space, and growing conditions, so neither a fixed annual growth rate nor a permanent small size follows from buying a tabletop specimen. Room height and canopy width matter before the tree reaches the ceiling.
Light Reaches the Branches, Not Just the Room
Bright light supports a fuller indoor tree. NC State notes that plants may tolerate low light for a time but eventually lose leaves and lower branches. Continued survival in a dim corner is therefore different from maintaining the layered canopy that made the plant appealing.
Outdoor references describe full sun, while indoor plants may need protection from abrupt, intense exposure. A tree moved from a sheltered shop to a sunny window or patio benefits from gradual acclimation. NC State also notes that afternoon shade can help prevent foliage bleaching in exposed conditions.
Window direction is only part of the picture. An overhang, nearby trees, curtains, and distance from glass change the light that reaches the plant. A rule based on a fixed number of sun-hours or whether a person can read a book there does not capture those differences.
Turning the container occasionally can distribute exposure where the light comes from one side, but rotation cannot compensate for an unsuitable location. A tree with thin new growth still needs an assessment of light, roots, and overall condition rather than a more exact turning schedule.
The dedicated sparse-growth article examines that symptom in more detail. Routine care still needs enough light for new branches to develop without expecting fertilizer to replace it.
Buying for Shape and Future Space
A compact plant in a small nursery pot may simply be young. A “mini Christmas tree” display is not a botanical promise of a dwarf tree. A named selection needs its own reliable size information before it is treated as permanently smaller than the species.
The condition of the leader matters when choosing a plant for its upright shape. A broken or missing top can alter later growth. Brown, dead branch sections will not become green foliage again, so a healthy outline is more useful than assuming every gap can be filled after purchase.
A container with several stems deserves a closer look at their bases. Several plants sold together and a single branching tree present different future space needs. The pot label and the actual stems provide better evidence than judging only the dense silhouette.
Routine height control is difficult because cutting off the leader can permanently spoil the form. RHS recommends little or no pruning. A specimen that is too tall for the room needs a realistic longer-term location, rather than repeated topping to preserve a small-tree appearance.
- Intact leader
- Supports the central upright outline. It is different from a horizontal side shoot.
- Healthy branch tiers
- Their spacing is normal architecture, but dead foliage and continuing branch loss need investigation.
- Available room
- Allow for height and branch spread. A small purchase size does not establish a mature indoor limit.
- An alternative shape
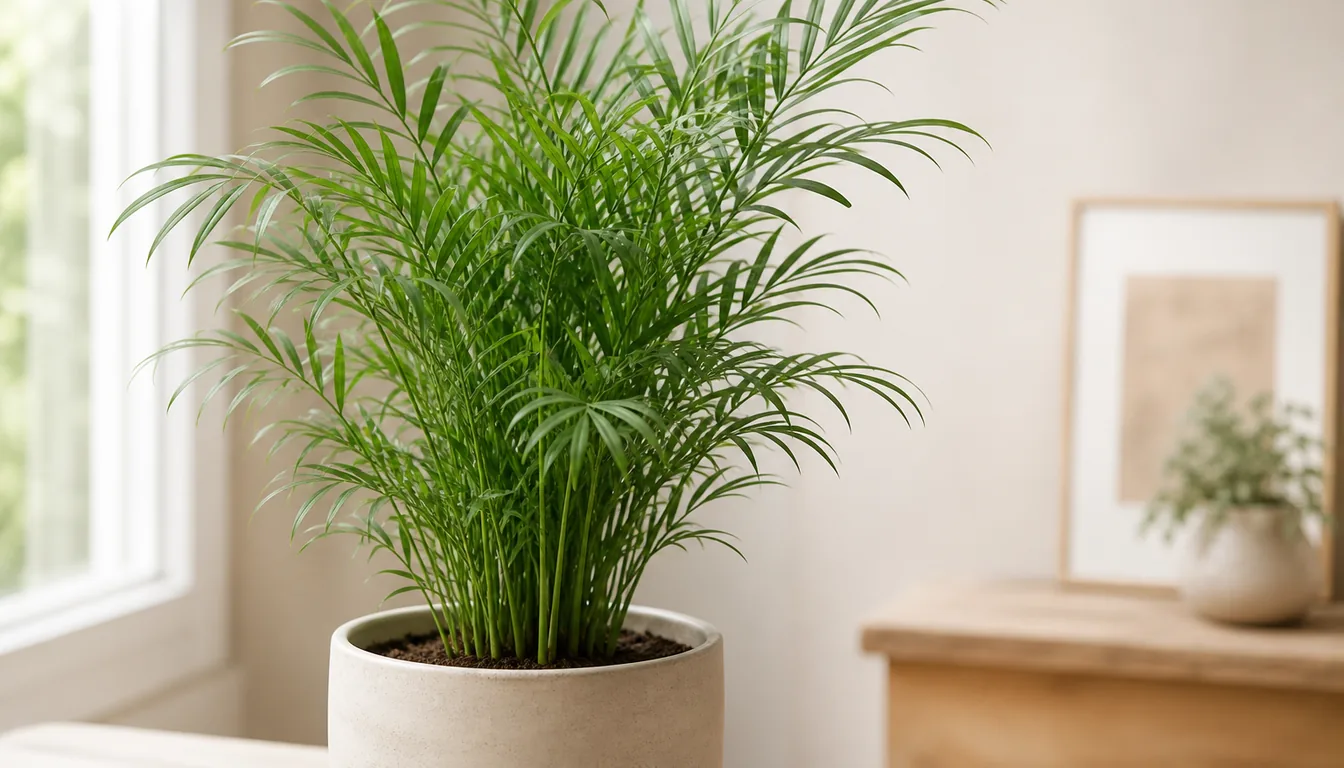
- Parlor Palm provides feathery fronds with a different growth habit when a tiered conifer does not suit the space.
A Root Zone That Holds Moisture and Air
Norfolk Island pine needs a porous, well-drained growing medium. RHS recommends a loam-based peat-free compost with added grit for container culture, while NC State emphasizes fertile, well-drained soil. The shared purpose is a root zone that retains useful moisture without remaining waterlogged.
A universal blend percentage or a drain-time measured in seconds cannot establish that balance for every pot. Particle size, old compacted mix, root volume, and container depth all affect how water moves and remains in the pot. A hole at the bottom is necessary for ordinary draining-pot culture but is only part of the decision.
A decorative basket or cachepot may hide a nursery container and trapped water. The inner pot needs drainage holes, and excess water needs somewhere to go after watering. A gravel layer inside a sealed pot does not create that exit.
Repotting becomes useful when roots are crowded, the mix has deteriorated, or the container no longer functions well. A slightly larger pot during active growth provides room without surrounding a small root ball with a large volume of wet mix. A fixed two- or three-year interval cannot replace those observations.
A heavy or declining tree is not automatically ready for a larger container. Persistent wetness calls for checking drainage and roots first, because adding more water-holding volume can prolong the problem.
Moisture and Root Function Are Different Questions
NC State describes regular watering during spring through autumn and sparing watering during winter, without keeping the soil wet. RHS similarly distinguishes freer watering during active growth from keeping the mix just moist in winter. In a home, actual drying and growth matter more than the month alone.
The upper mix beginning to dry, a change in pot weight, and the moisture below the surface help determine when water is needed. Watering then wets the root ball and allows excess water to drain. Leaving the container in that drainage water keeps the lower root zone wet after the rest of the job is finished.
Brown tips do not identify a watering direction. Dry roots can leave foliage short of water, but damaged roots in saturated mix can also fail to supply it. Fertilizer salts, exposure, and pests can complicate the same symptom, so repeated extra watering based only on brown foliage is unreliable.
Soft or decaying roots, a deteriorating stem base, and persistent decline warrant closer assessment. A pale root or a firm upper shoot does not prove the whole root system is healthy. Environmental injury and root disease may need an extension diagnosis when the cause remains unclear.
The brown-tip guide separates these observations in more detail. On the tree itself, the practical measure of improvement is whether further damage slows and later growth develops, rather than whether old brown needles become green again.
An Upright Cutting Is Not a Side Branch
Norfolk Island pine can be grown from seed or appropriate shoot-tip cuttings. UF/IFAS specifies erect shoot tips, and RHS says horizontal side branches will not form an upright tree. This distinction matters even when a side cutting produces roots.
A horizontal branch is already part of the tree’s tiered structure. Root formation does not guarantee that it will take over the role of the vertical leader. A successful cutting for the desired tree shape needs both roots and the appropriate upright growth habit.
- Vertical shoot tip
- The cutting material specified by UF/IFAS for an upright tree. Taking it may damage the parent’s intended form.
- Horizontal side branch
- May not produce the upright habit being sought. Rooting and correct tree form are separate outcomes.
- Fresh seed
- Grows a new plant without removing the parent’s leader.
- Routine pruning
- Little or no pruning preserves the natural shape. Topping is not a reliable permanent size-control method.
Fresh seed is the other method described by RHS. Seed propagation avoids cutting the leader off an established houseplant, although seed availability, freshness, and suitable growing conditions still affect the result. It does not offer a promised germination or finished-tree date.
Taking the central tip from a valued specimen can permanently alter the parent’s shape. For most owners trying to keep their existing tree attractive, retaining the leader is a more useful choice than cutting it merely to attempt propagation. A young nursery-grown plant is a practical alternative when another tree is wanted.
Where suitable upright propagation material is available, RHS recommends taking it in midsummer. Roots and shoots develop at different rates, so the cutting needs evidence of root development before transplanting. Pulling on an unestablished cutting to test it can disturb that developing root system.
Cool Bright Rooms and Short Holiday Displays
NC State describes a bright, cool room around 55–65°F and also notes that the species can adapt to warmer, drier indoor air. That is more useful than treating a single humidity percentage as a pass-or-fail rule. Direct hot airflow, drying mix, and light still need attention in a heated room.
A holiday display can move the plant away from the light that supports normal growth. A brief display followed by a return to its suitable growing position limits that change. Heavy decorations can bend branches, and lights or nearby heat sources can add heat to foliage, so the tree’s living branches need gentle handling.
During active growth, an appropriate balanced houseplant fertilizer can supply nutrients according to the product label. A large dose does not rebuild a missing branch tier. Low-light, slow-growth periods call for less feeding rather than an attempt to force new growth with fertilizer.
A summer patio move requires gradual acclimation and protection from cold. UF/IFAS gives a landscape range of Zones 10A–11, while NC State lists Zones 9a–11b. Those regional descriptions do not turn a container tree into a frost-hardy pine or provide a frost calendar for every home.
RHS recommends protection from frost. A sheltered summer position is temporary where winters are cold, and the return indoors depends on local temperatures and exposure rather than the zone printed on a label. Pest inspection before that move helps avoid bringing a hidden infestation into the room.
Webbing, Scale, and Moisture-Related Clues
Fine speckling or fading can justify a spider-mite inspection, particularly when fine webbing or moving specks are present. Magnification and a white sheet beneath tapped foliage can help reveal small moving pests. Dry air or a brown tip by itself does not identify mites.
Scale may appear as attached bumps on stems or foliage. Some stages move, and sticky honeydew or sooty mold is associated with some kinds of scale rather than every species. A fixed brown bump needs examination before it is treated as a living insect.
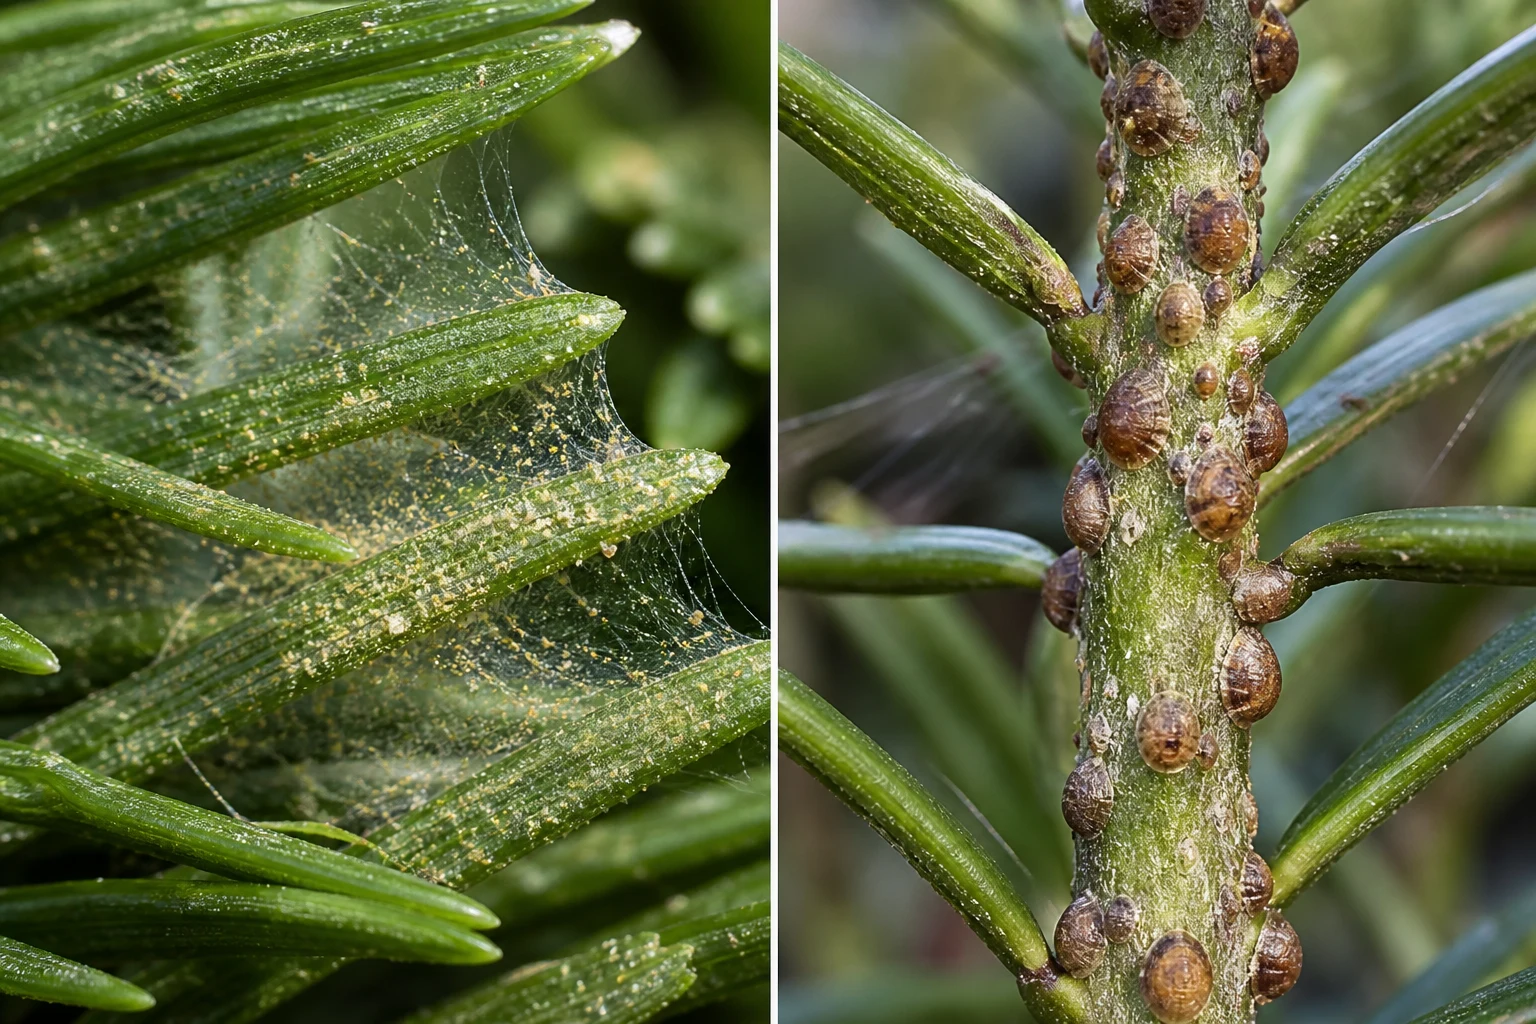
Gentle washing can reduce some indoor pests, while isolation limits contact with neighboring plants during assessment. Further treatment depends on identification and a product labeled for the plant, pest, and indoor setting. There is no universal weekly spray program that safely fits every tree.
Fungus gnats around a pot are a reason to inspect the growing medium and watering pattern. The adults do not establish that roots are being destroyed, and severe plant decline needs its own assessment. A decorative layer of sand is not a substitute for correcting persistently wet conditions.
Household detergents, concentrated alcohol applications, and improvised pesticide mixtures can injure foliage. A confirmed pest problem needs a suitable treatment, while unexplained continued branch loss may need help distinguishing pests, root damage, and environmental stress.
Animal Listing and Outdoor Tree Hazards
NC State lists Araucaria heterophylla as non-toxic to cats, dogs, and horses. That source-listed status is specific to this species. It does not mean the plant is edible, that chewing any amount is harmless, or that fertilizers, pesticides, and holiday decorations are covered by the listing.
A stable pot and reachable decorations matter around pets and children. If an animal develops symptoms after chewing the plant or another part of the display, a veterinarian can assess the actual exposure. The common name alone is not enough to identify everything sold as a small holiday tree.
Outdoors in a suitable climate, this species becomes a large tree. UF/IFAS describes landscape trees reaching roughly 60–80 feet, while NC State records much larger native specimens. A houseplant’s present size does not predict its long-term impact near a patio, building, or walkway.
Large roots can affect paving, and mature trees can produce heavy cones. NC State describes cones weighing 10–15 pounds, making placement away from regularly occupied areas a real safety consideration. An indoor container specimen does not present the same mature landscape situation.
UF’s Florida assessment in the cited landscape publication does not identify the species as a current problem there. That regional finding does not establish an invasive status for every warm region. Local planting guidance and available space still determine whether outdoor planting is appropriate.
Sources & References
- Araucaria heterophylla — NC State Extension Plant Toolbox
- Araucaria heterophylla — Royal Horticultural Society
- Araucaria heterophylla: Norfolk Island Pine — UF/IFAS ST083
- Indoor Plant Care — Purdue Extension HO-39-W
- Diagnose Indoor Plant Problems — University of Maryland Extension
- Insects on Indoor Plants — University of Minnesota Extension
Related Plants
Parlor Palm
A palm with arching fronds and different light requirements, rather than a tiered conifer.
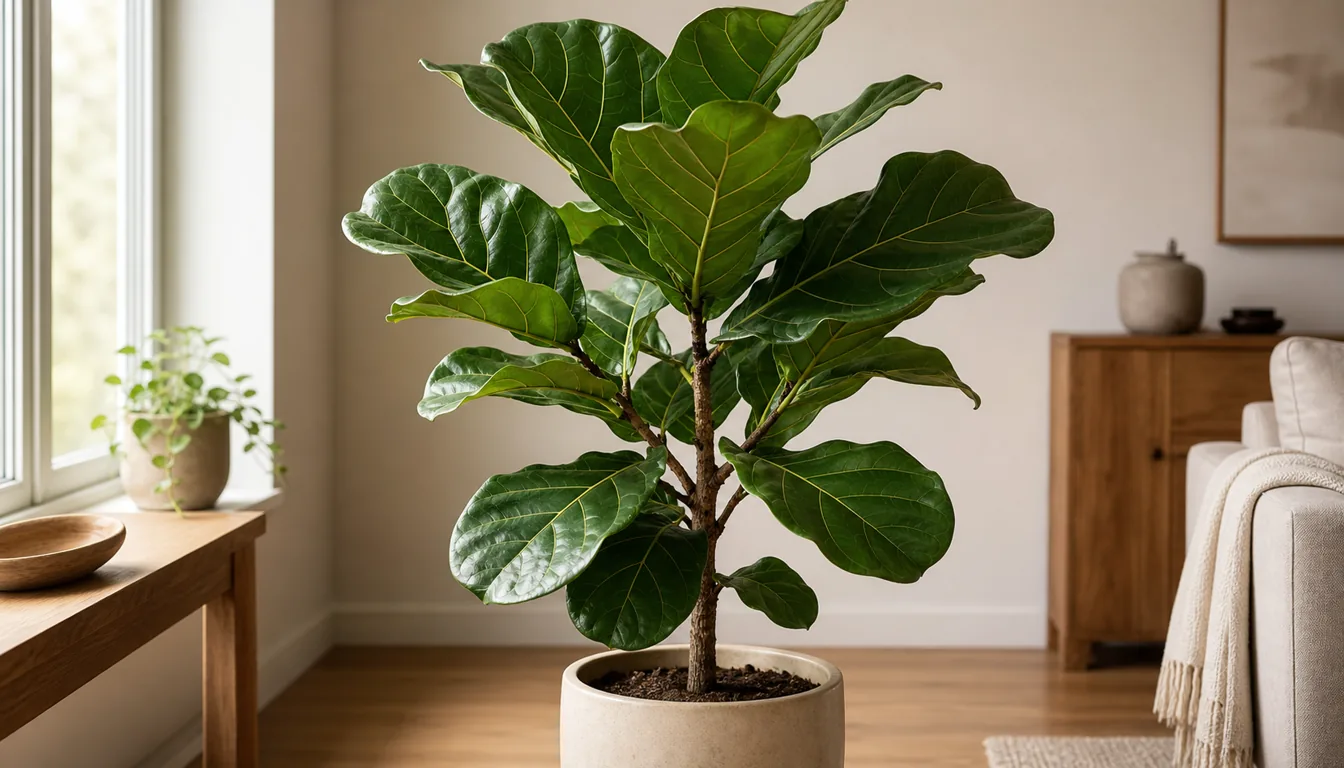
Fiddle Leaf Fig
An indoor tree with broad leaves and a different branching habit.
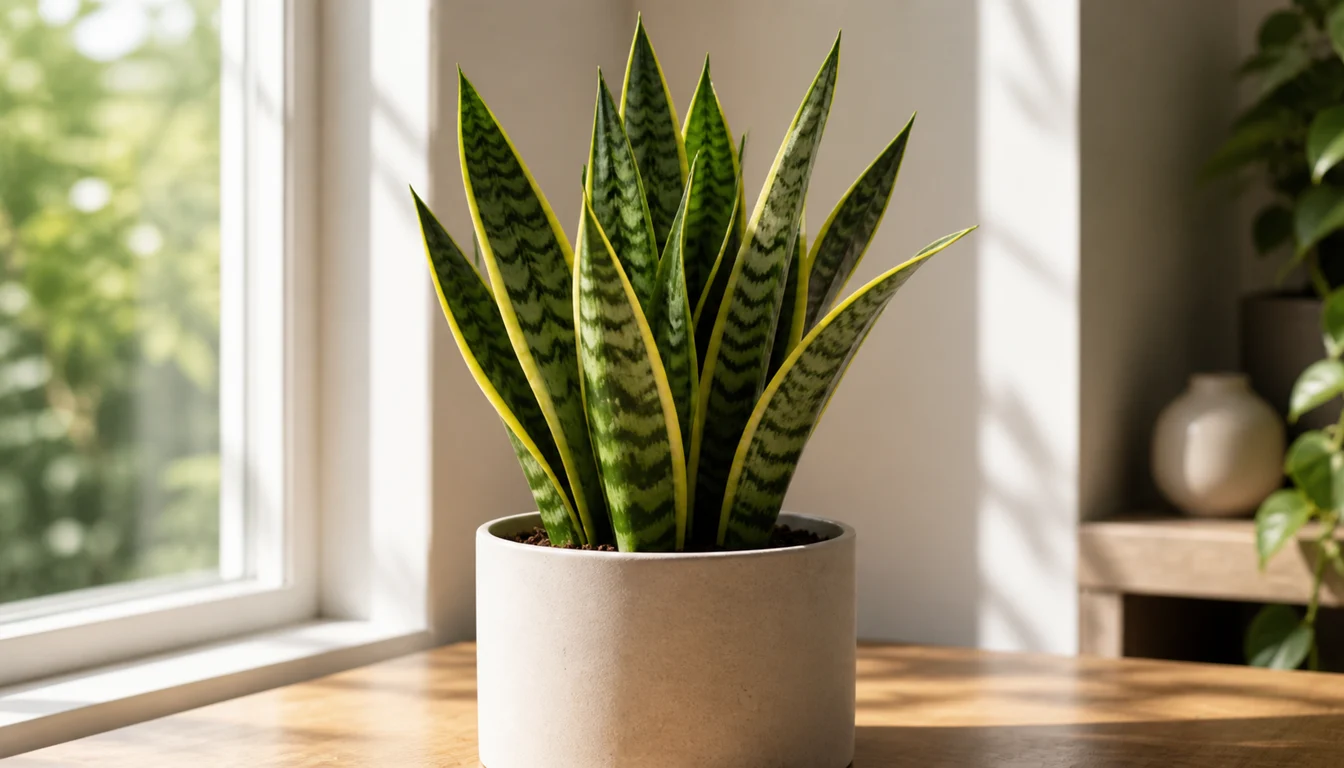
Snake Plant
Upright succulent foliage with a drier watering cycle and no tree canopy.
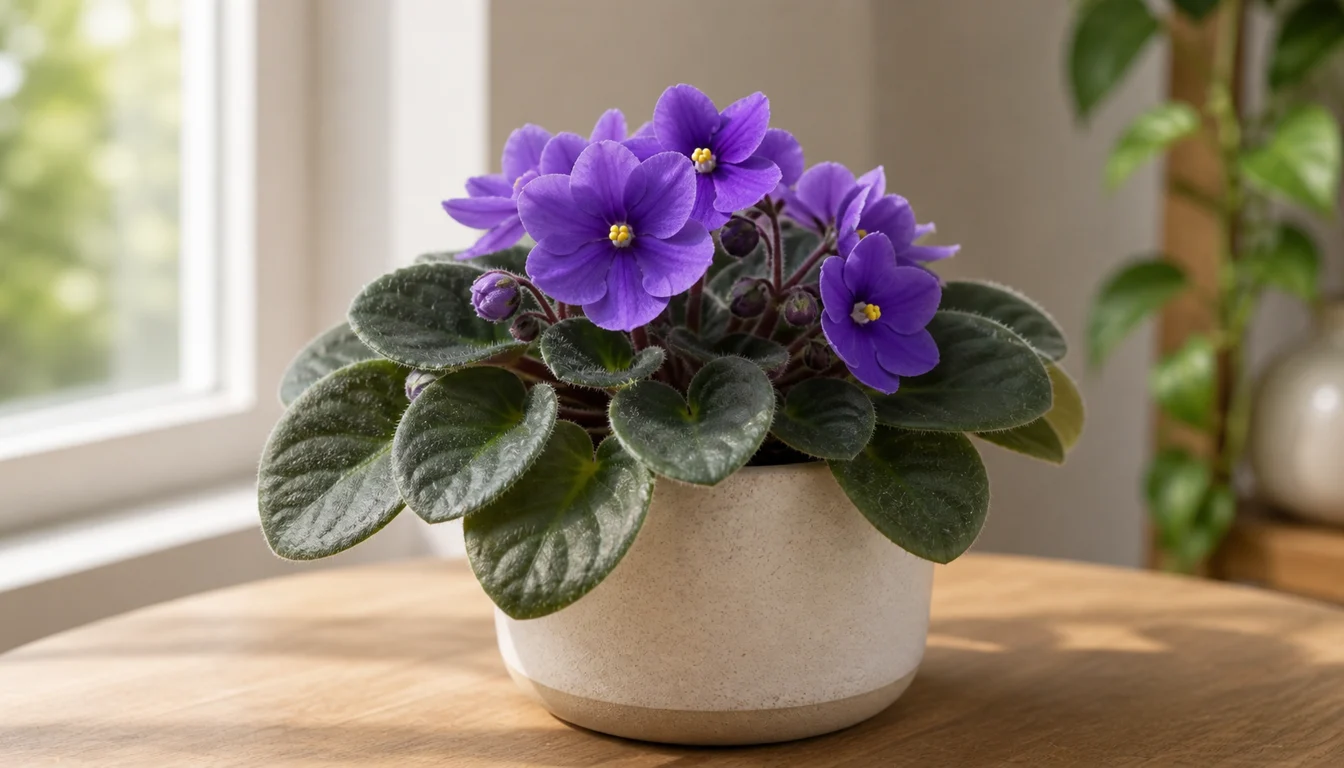
African Violet
African Violet is a windowsill bloomer that rewards steady, small-pot care.
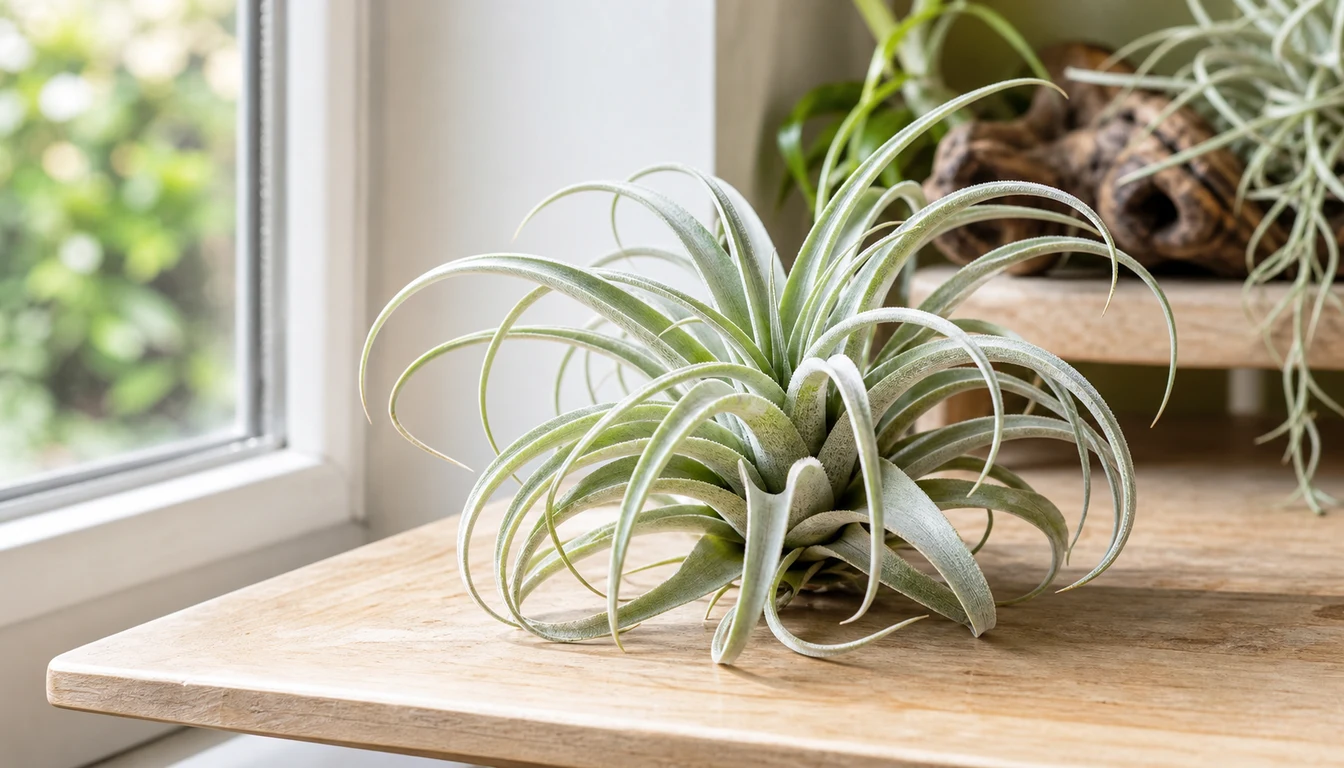
Air Plant
Air plants are living sculptures that thrive without soil, anchoring to driftwood, rocks, or shells while drawing…
Alocasia
Alocasias include compact, textured houseplants and large elephant ears that need substantial floor space.