
What's a Sweet Potato? How to Grow and Cure the Roots
Ipomoea batatas Convolvulaceae
Sweet Potato grows from rooted slips rather than seed tubers, hides its entire crop under a vine mat until harvest, and only tastes the way it should after it has been cured.
Care snapshot
What Kind of Plant Is a Sweet Potato?
Sweet Potato is Ipomoea batatas, a tender perennial vine grown as an annual, and it sits in Convolvulaceae, the morning glory family.
That is not a piece of trivia. Its flowers look like morning glories because they are morning glories, and the trailing habit that swallows a bed by August is the same habit.
It is not a potato and not a nightshade, which is the single most useful thing to know about it. Potato belongs to Solanaceae and is a completely separate plant.
The part you eat is a swollen storage root rather than a tuber, and that distinction is why the crop grows from rooted shoots instead of cut seed pieces.
The vines and leaves are edible too, which is unusual among root crops.
It came from Central and South America and reached the Pacific long before European contact, which is why it turns up as a staple across so much of the world.
Plant profile
- Botanical name
- Ipomoea batatas
- Family
- Convolvulaceae, the morning glory family
- Plant type
- Tender perennial vine grown as a warm-season annual
- Grown for
- Swollen storage roots, and edible leaves and shoots
- Native range
- Central and South America
- Not related to
- Potato, which is a nightshade tuber
What Is a Sweet Potato Slip, and Where Do You Get One?
A slip is a rooted shoot pulled from a sprouting root, and it is the only normal way this crop is planted.
That single fact separates Sweet Potato from potato, which grows from cut seed tubers. The planting line here is warm slips rather than cool tuber pieces.
You can buy them or grow them. Rooting your own takes one sound edible root, a jar of water, and three or four toothpicks holding the pointed end down with the rest submerged.
Start about 6 to 8 weeks before your outdoor planting date on a sunny windowsill. Slips need real growing time before they are worth putting in the ground.
One root will usually throw six or more slips. Twist or snap each one off once it has several leaves and a few inches of stem, then stand it in water until white roots appear.
Buy from a mail-order slip producer or an extension-recommended source when the harvest actually matters. Generic big-box slips often arrive unlabeled, and some turn out to be an ornamental type sold as edible.
One failure mode surprises people. A grocery-store root treated with a sprout inhibitor will sit in water for weeks and do nothing, which is usually the explanation rather than bad technique.
Certified weevil-free slips are worth the premium in the South. Infested planting material is the commonest way sweet potato weevil arrives in a clean bed.
Plant deep enough to bury several nodes with only the top leaves showing, because roots form at those buried nodes.
Water immediately, and shade new slips for a day or two if hot sun flattens them. Replace failures fast, since a gap costs a full season of growth the crop cannot make up.
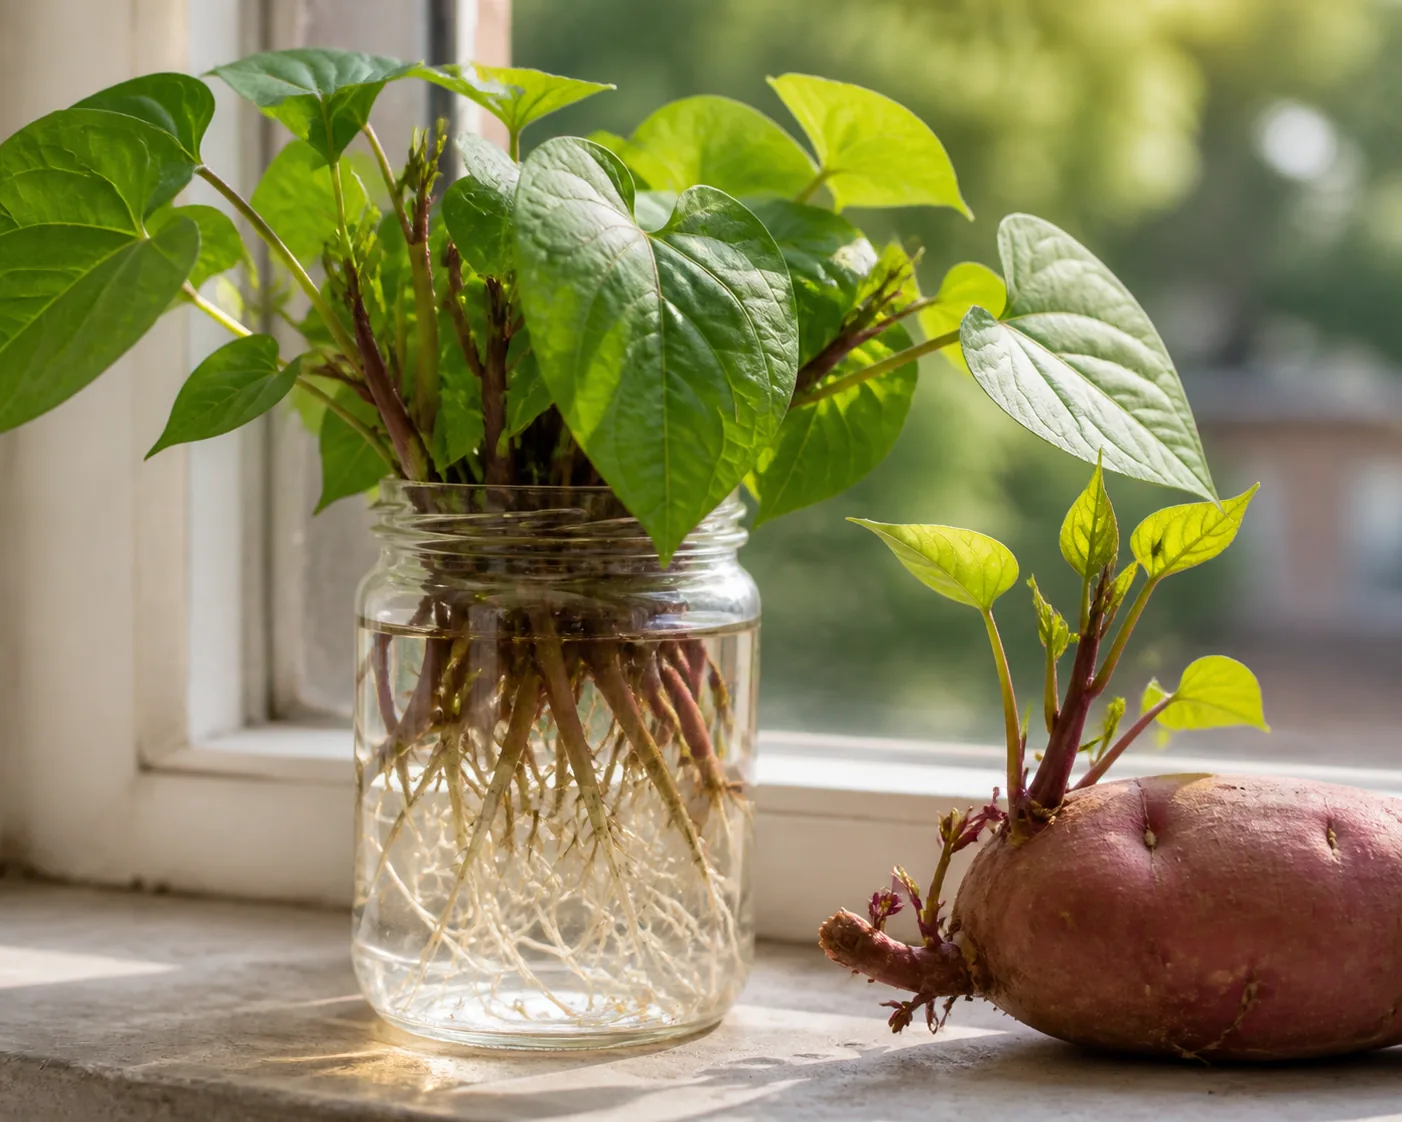
- Root your own 6 to 8 weeks ahead, or buy certified disease-free slips.
- Plant deep enough to cover several nodes, leaving the top leaves above soil.
- Water immediately and shade new slips for a day or two in hot sun.
- Replace failed slips quickly, because gaps cost yield on a long-season crop.
Is a Sweet Potato the Same Thing as a Yam?
In a North American grocery store or nursery, a label reading yam is almost always Ipomoea batatas, the plant grown from slips.
True yams are a different genus entirely. Dioscorea species are native to Africa and Asia, and they are rarely sold fresh in a typical US supermarket.
The confusion is a marketing habit rather than a botanical one. US growers began calling the soft orange-fleshed type a yam decades ago to distinguish it from the firmer pale type already on shelves, and the label stuck.
It matters most when you are buying planting stock. A nursery tag reading yam slips is selling Sweet Potato, not a Dioscorea vine that would need a completely different setup.
It surfaces again every Thanksgiving, since candied yams are made almost entirely from Sweet Potato.
- Sweet Potato (Ipomoea batatas)
- Convolvulaceae, native to Central and South America, the plant grown from slips in home gardens
- True yam (Dioscorea spp.)
- Dioscoreaceae, native to Africa and Asia, rarely sold fresh in US stores
- A US grocery yam label
- Almost always the soft orange-fleshed sweet potato
Which Sweet Potato Variety Fits Your Season?
Start from the root you expect to eat and the number of warm days you can actually count on.
Georgia Jet and Vardaman mature in roughly 90 to 95 days, which is what makes them workable in a shorter summer. Vardaman's compact bush habit also suits containers and small raised beds.
Beauregard is the widely grown 90 to 100 day standard, valued for heavy yields and dependable sweetness.
Covington needs closer to 100 days but holds in the ground without splitting, and it carries some resistance to southern root-knot nematode.
Order slips earlier than feels necessary. Suppliers ship on a schedule tied to your zone rather than to your order date, so they arrive when planting weather does.
Ornamental vines are the same species selected for leaf color rather than table quality. Their roots are often stringy or bland, so patio color is not a food crop with a bonus.
If the bed needs to turn over quickly, this is the wrong crop for it. Sweet Potato asks for a long summer and gives nothing back until harvest.
- Short-season edible
- Zones 3-6, choose 90-day types such as Georgia Jet or Vardaman
- Storage edible
- Where 100 to 120 warm days are reliable, Beauregard or Covington
- Ornamental vine
- Containers and color, with roots not selected for eating
- Slip source
- Named edible varieties from a labeled supplier when food matters
When Is It Warm Enough to Plant Sweet Potato Slips?
Three to four weeks after your last frost, once soil holds about 65F and nights have settled.
That is usually later than tomatoes go in, which catches people out. Cold wet soil stalls a slip before it can anchor, and a stalled slip never catches up on a crop this long.
In Zones 3-5, black plastic mulch or a warmed raised ridge buys the extra degrees that make the season work at all.
What Soil Do Sweet Potatoes Need to Form Good Roots?
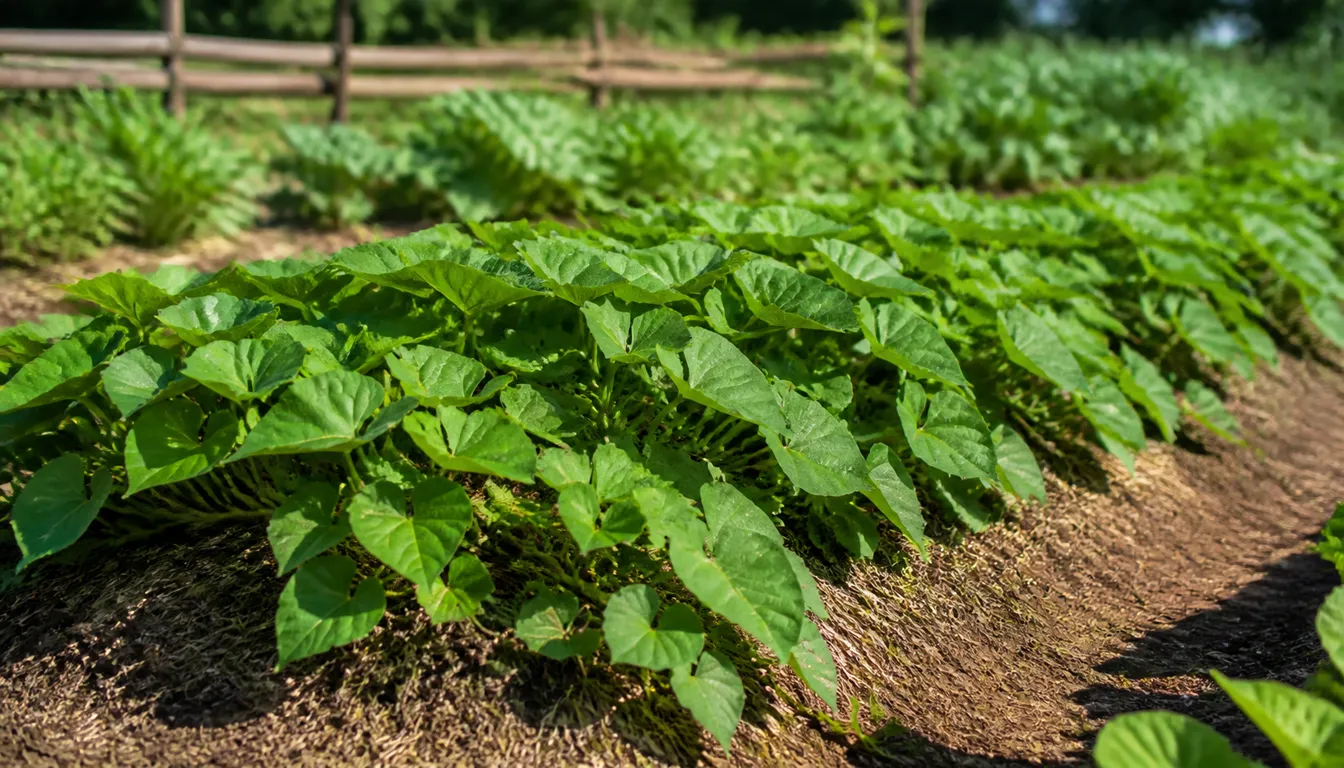
The crop forms its storage roots under a vine mat that will hide the bed completely by midsummer, so the soil has to be right before planting.
Loose soil lets roots expand into a usable shape. Compacted ground produces the skinny twisted roots that make people think they did something wrong later.
Build a ridge or raised row rather than planting flat. It warms faster and drains better than flat clay, which matters most in exactly the short-season gardens that need the help.
A practical ridge runs about 8 to 10 inches high and 2 to 3 feet wide at the base, spaced roughly 3 feet apart if you build more than one.
Skip the ridge only if your soil is already deep free-draining sand. Everywhere else it is doing two jobs at once, warming the root zone and keeping it from sitting wet.
Space slips 12 to 18 inches apart along it, with rows 3 to 4 feet apart so vines can sprawl without smothering each other.
That spacing is a real tradeoff rather than a rule. Wider spacing near 18 inches grows fewer but larger roots per plant, while tighter spacing trades size for more total roots per bed.
Aim for a pH near 5.8 to 6.2, though established beds tolerate a wider range without much trouble.
Now the part that decides the harvest. Do not overfeed with nitrogen, because lush vines look impressive while the roots stay small, the same trap that makes beets grow greens instead of good roots.
A low-nitrogen, high-potassium blend such as 5-10-10 or 8-24-24 suits this crop. Potassium is what actually drives root size, skin quality, and how well the harvest stores.
Apply a first light feeding 3 to 4 weeks after planting while vines are establishing, then a second 6 to 8 weeks later as roots begin to swell.
Mix compost in, but keep fresh manure and heavy nitrogen away from the bed right before planting. Treat vegetable fertilizer choices as a measured plan rather than a reason to chase leaves.
How Much Water Do Sweet Potatoes Need?
Roughly an inch a week from rain or irrigation, wetting the soil about 6 inches down rather than just darkening the surface.
New slips need steady moisture until their roots grab. If they wilt flat for days after planting, the crop loses the early growth a short season cannot spare.
Once vines spread, water less often and more deeply. The goal shifts to steady root bulking rather than constantly saturated soil.
A soaker hose under the vine canopy reaches the ridge evenly and keeps water off the leaves, and it loses far less to evaporation than an overhead sprinkler in hot weather.
Mulch over the root zone once vines are established buffers the swings between waterings and cuts the weeding around spreading vines.
Stop watering to a fixed schedule in the last month and check the ridge instead. The difference between a firm root and a split one gets decided in those final weeks.
Ease off as harvest nears, especially in heavy soil. A heavy watering after a dry spell splits roots or restarts soft vine growth at the worst possible moment.
- First 1 to 2 weeks
- Keep soil evenly moist while slips root
- Vine expansion
- Deep soak when the ridge dries several inches down
- Root bulking
- Avoid hard drought followed by flooding
- Final weeks
- Do not force lush new vines right before harvest
Why Are My Sweet Potatoes All Vine and No Root?
Usually too much nitrogen, and sometimes simply too short a warm season.
This crop hides its entire product underground, which makes it uniquely easy to misread. A beautiful vine mat proves the plant is alive and says nothing about what has formed below it.
That is the opposite of watching pepper blossoms turn into visible fruit. With Sweet Potatoes you are working blind until the day you dig.
Huge dark vines with a light harvest are the nitrogen signature. Stop feeding, and next season move the fertilizer toward potassium and away from nitrogen.
Tiny leaves, pale growth, or a patchy canopy point the other way, toward cold soil, poor rooting, or drought.
A single wilted runner among healthy vines is usually mechanical damage or a chewed stem rather than a spreading disease. Check that one runner before assuming the bed is in trouble.
You can check progress without wrecking the crop. Feel carefully into the ridge beside one plant about 90 days in, take one root, and leave the rest to keep bulking.
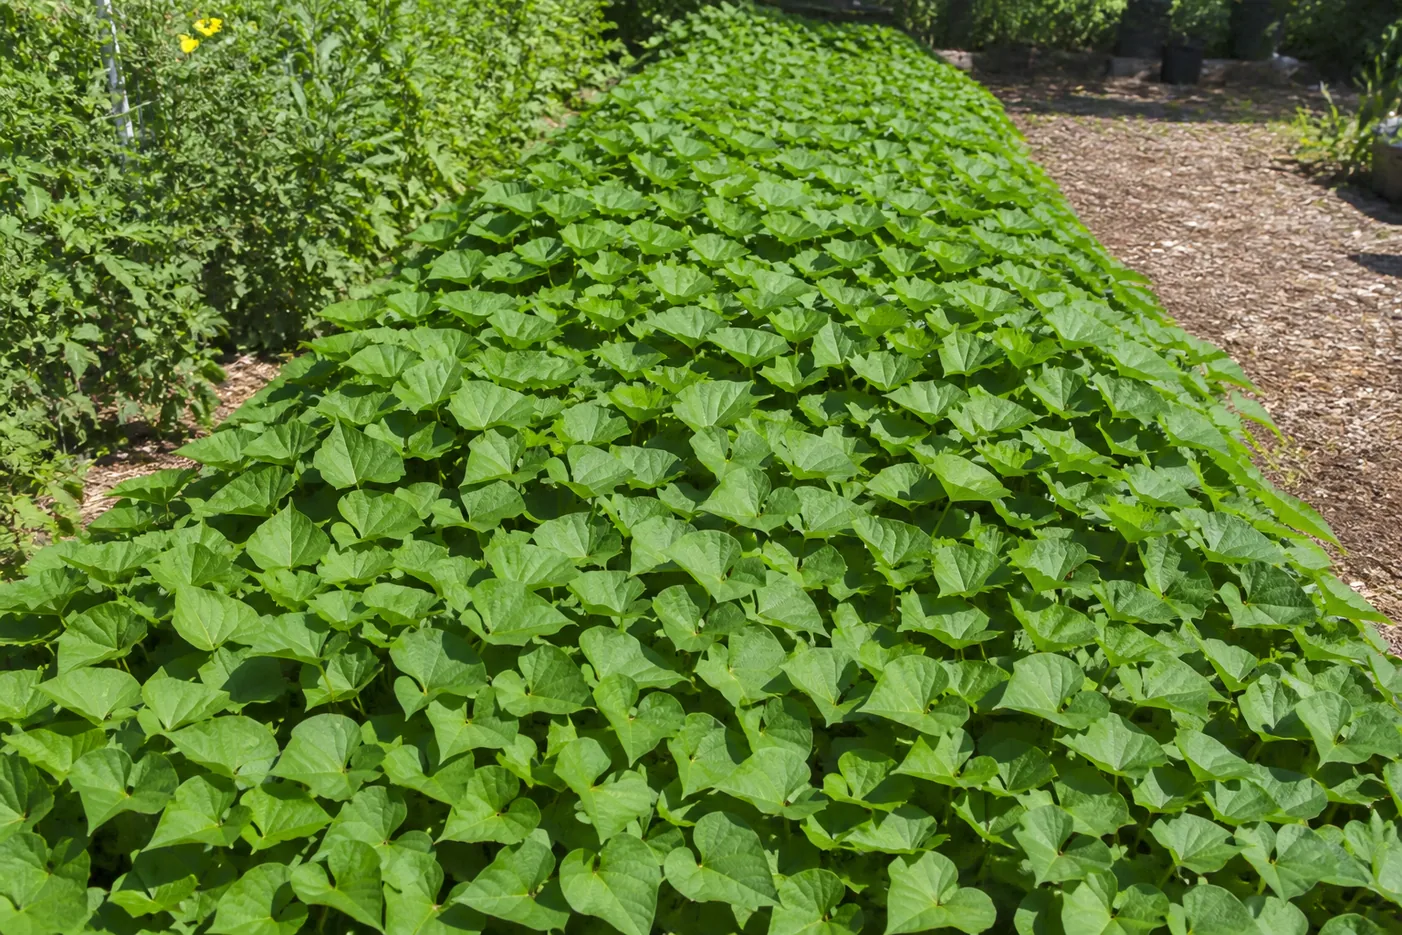
Good sign
- Vines knit the bed without darkening
- Leaves stay firm through afternoon heat
- The ridge stays loose under the mulch
False comfort
- Huge vines after a heavy nitrogen feed
- No idea what the roots are doing
- A late planting carrying pretty leaves
Action cue
- Count remaining days before first frost
- Stop feeding leaves late in the season
- Arrange curing space before you dig
When Do You Harvest Sweet Potatoes?
Before the first hard frost, and on a dry day if you get the choice.
Frost is the real deadline rather than a target date. Cold-damaged vines lead to damaged roots, and damage in the ground becomes rot in storage.
Clemson Extension lists maturity times from about 90 to 100 days for 'Beauregard' up to 120 to 135 days for 'Jewel', so count backward from your frost date when you plant rather than hoping at the end. Clemson also advises harvesting before frost, since cool soil reduces quality and storage life.
Cut the vines away first so you can see the ridge you are digging into.
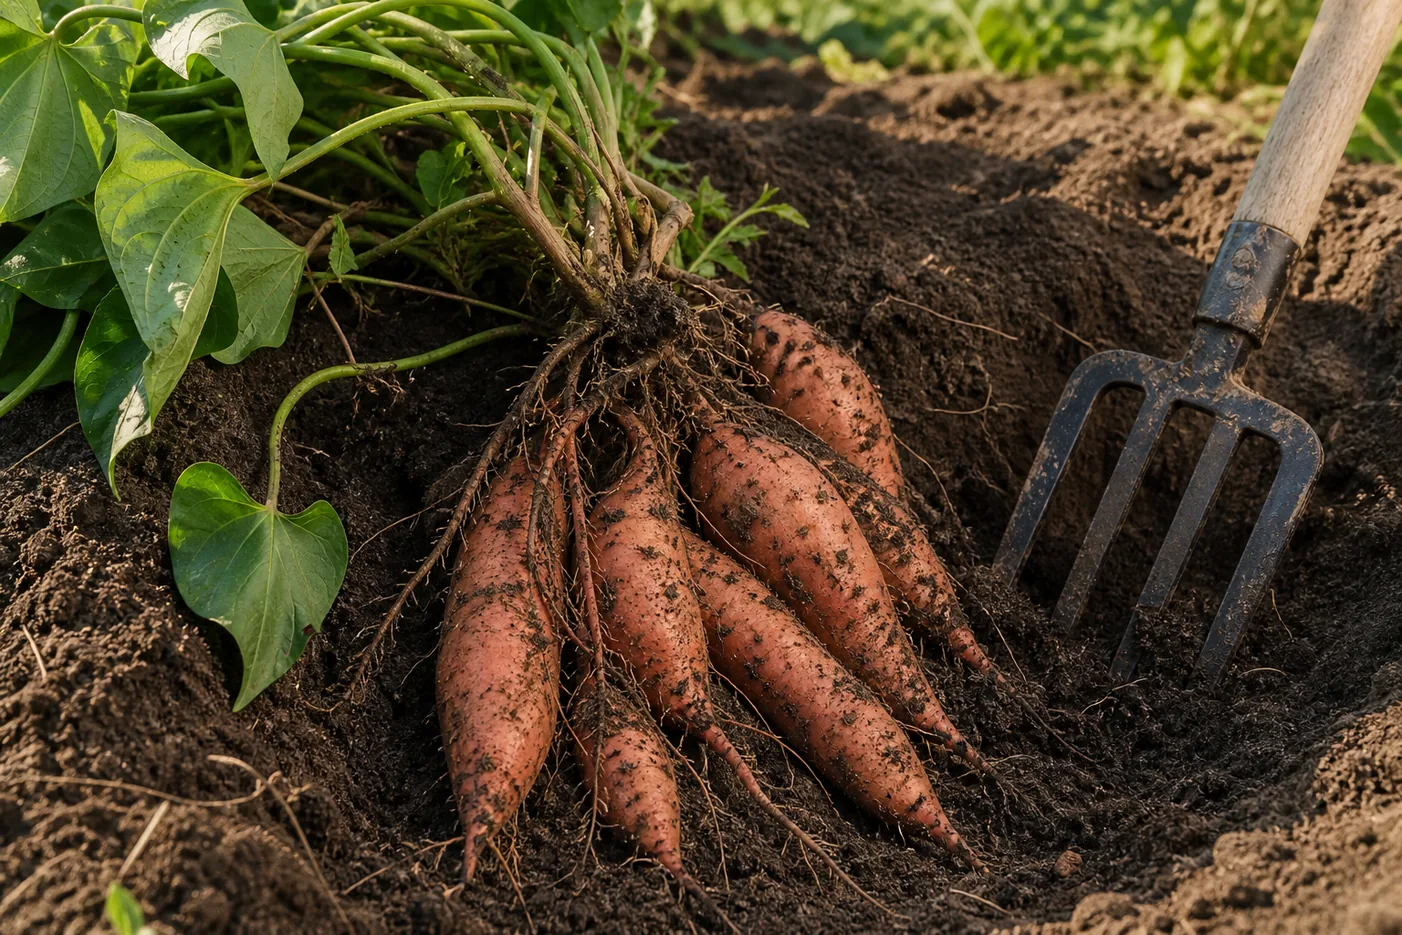
Then loosen the soil wide of the crown with a fork and lift from underneath. Roots run further out than the crown suggests, and a fork through the middle of the cluster is how most of a harvest gets ruined.
Handle them like fruit rather than like potatoes. Skinned roots do not store, so set damaged ones aside to eat within days instead of putting them in with the keepers.
Have the curing space ready before you dig rather than after. A crate of roots left on a cold porch overnight has already started down the road you were trying to avoid.
Do not wash them. Soil brushed off after curing protects the skin, and water forced into a fresh wound is exactly what starts rot.
Do Sweet Potatoes Really Need to Be Cured?
Yes, if you intend to store them, and it also changes how they taste.
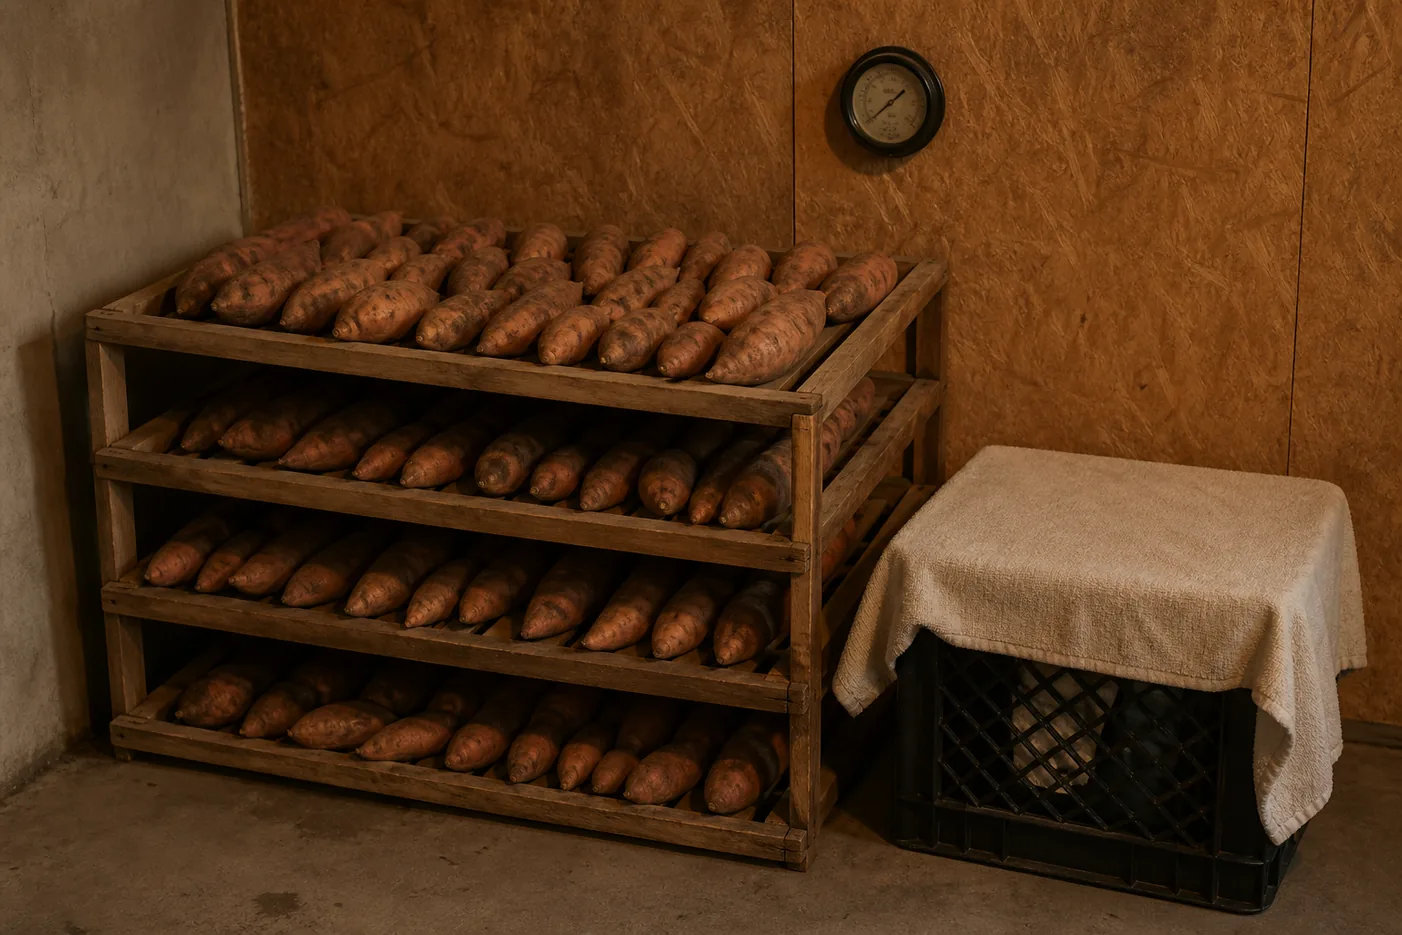
Curing means holding the roots at about 85F and 85 to 90 percent humidity for 5 to 7 days with some airflow. Clemson Extension gives 85F and 90 percent humidity for one week as the optimum, and about 14 days in the warmest room of the house for home gardeners.
Two things happen in that window. Harvest wounds seal over, and enzymes convert much of the root's starch into sugar.
That second one is why a cured sweet potato tastes noticeably sweeter than one dug and cooked the same afternoon. An uncured root is not just a shorter-lived root, it is a blander one.
If you cannot reach 85F, cure warmer and longer rather than cooler and shorter. Clemson notes that no curing happens below 70F, so a week at 65F mostly just dries the roots out.
A warm spare room with a humidifier works, and so does a covered crate near a heat source. The numbers matter more than the equipment.
After curing, move them to a cool dry dark place around 55 to 60F. Cured roots held there with reasonable humidity typically keep 4 to 7 months.
Do not refrigerate them at any point. Clemson warns against storing sweet potatoes below 50F, which causes off-flavors and can lead to rot, and chilling injury is also what causes hardcore, a hard whitish patch inside the root that never cooks soft.
- Cure at roughly 85F and 85 to 90 percent humidity for 5 to 7 days.
- Store only sound roots, and eat damaged ones within days.
- Hold cured roots at 55 to 60F, never in the refrigerator.
Can You Eat Sweet Potato Leaves?
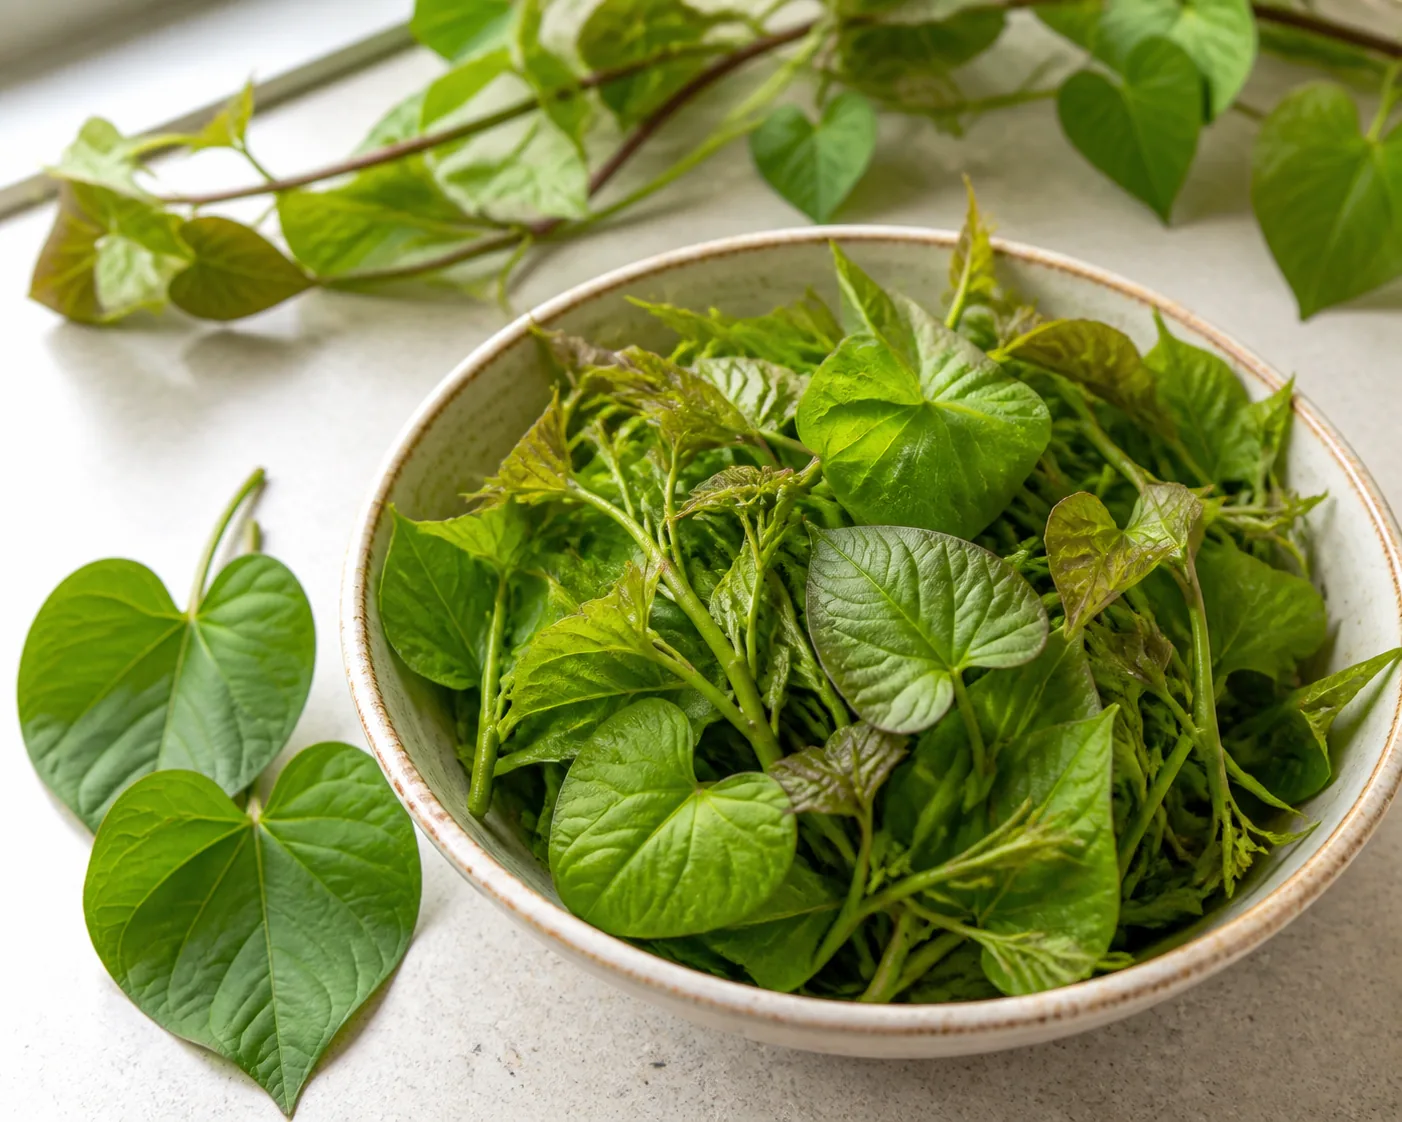
Yes, from edible varieties, and they are a genuinely good green that most gardeners throw away.
Cook them rather than eating them raw. Stir-fried, boiled, or dropped into soup, cooking softens the mild bitterness raw leaves carry.
Pick lightly if roots are still the main goal, because repeated heavy harvesting takes energy the plant was sending underground. Take a little from vigorous vines and leave the canopy intact.
What Is Damaging Your Sweet Potato Roots?
Chewed leaves almost always look worse than they are, so start below ground instead.
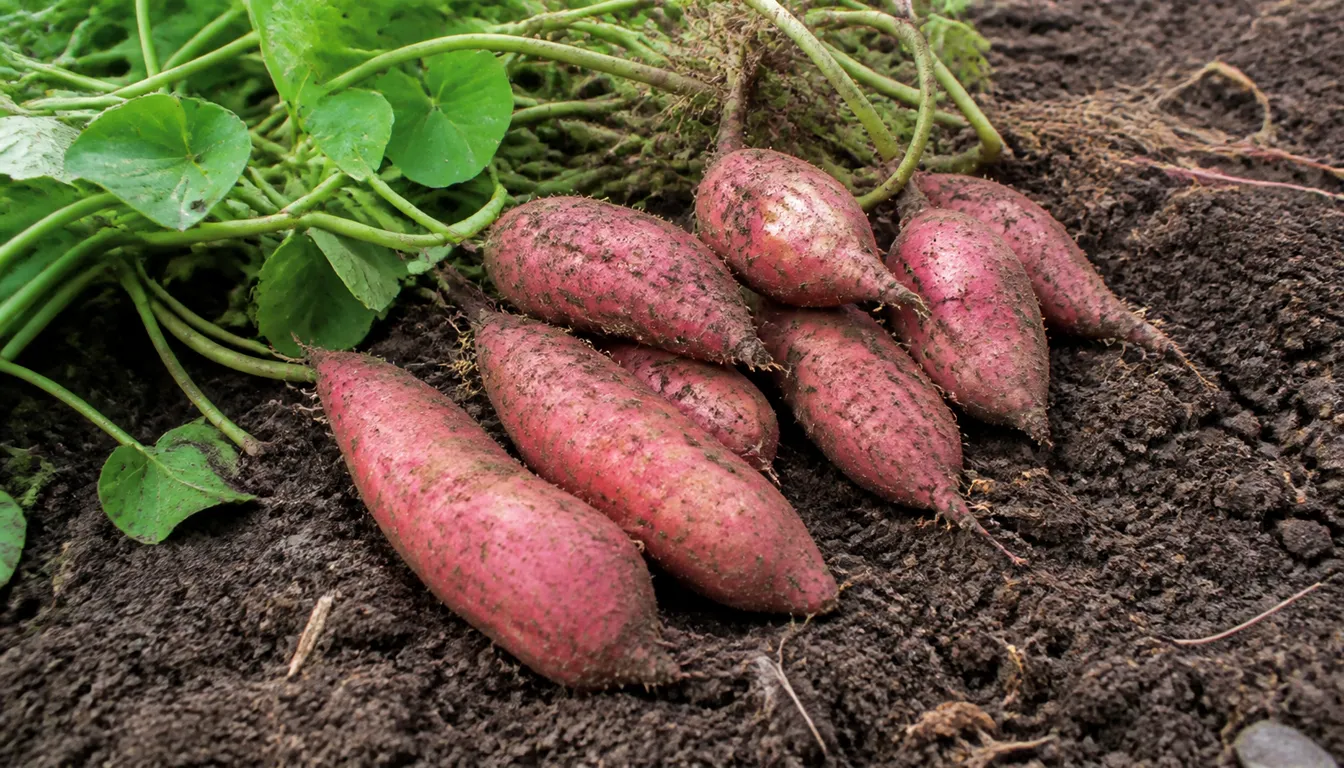
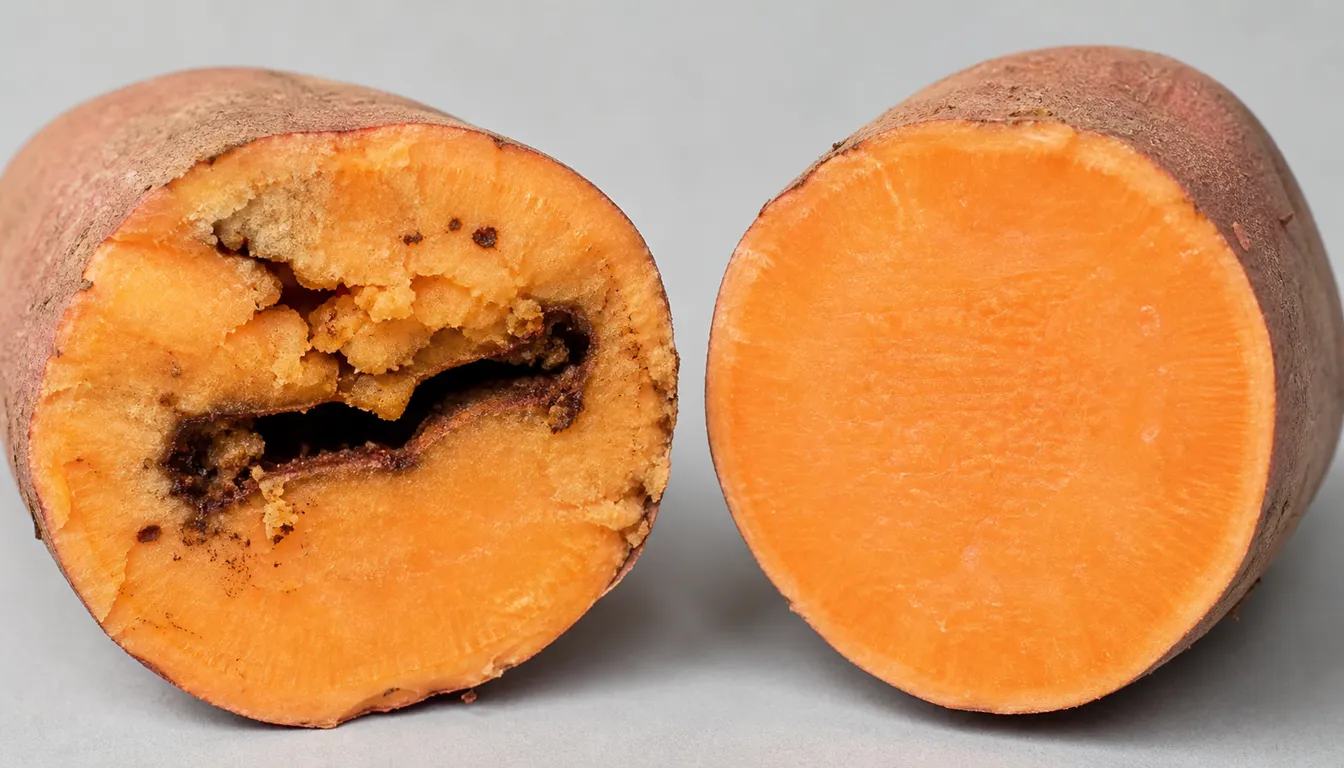
Sweet potato weevil is the one that genuinely matters where it occurs. Its white larvae tunnel straight through the root rather than scarring the skin, so the damage only appears once you cut.
Adults lay eggs in the crown or on vines right at the soil line, and the insect can run up to eight generations in a single warm season.
Two defenses do most of the work. Start with certified weevil-free slips, then mound soil around the base and mulch to stop the ground cracking, which closes the path adults use to reach the root.
Scurf is a different thing and a milder one. It leaves dark brown surface blotches that hurt looks and storage life rather than eating quality, and it travels on infected slips and roots.
Black rot shows as a dry dark sunken patch that stays shallow instead of running through the root. It usually turns up at harvest, during curing, or in storage.
In some gardens voles do more damage than any insect. They tunnel along a loose ridge and hollow roots out from underneath, which is worth ruling out before you start blaming a disease.
Root-knot nematodes scar roots with cracks and rough bumps that only appear once you dig, and they build up fastest in beds planted to Sweet Potato year after year.
Where they are known, a resistant cultivar such as Covington helps, though resistance to one nematode species does not cover all of them.
- Sweet potato weevil
- Tunnels through the root; use certified slips and mound the crown
- Scurf
- Dark surface blotches that cost storage life, not flavor
- Black rot
- Dry sunken shallow patches appearing at harvest or in storage
- Root-knot nematode
- Cracks and rough bumps; rotate and use resistant cultivars
Can You Grow Sweet Potatoes in a Container?
Yes, but only in something closer to a small raised bed than to a patio pot.
Use at least a 15 to 20 gallon container or grow bag, at least 12 to 15 inches deep, and plan on roughly one slip per 10 gallons of volume.
Fabric grow bags outperform rigid plastic here. Their porous sides let excess water escape instead of pooling around developing roots.
Bush-type cultivars such as Vardaman are the natural match, since their shorter vines do not sprawl over the rim the way a standard vining type does.
Fill with the same loose compost-rich mix you would build a ridge from, and make sure the container has real drainage rather than a few punched holes.
Expect a smaller harvest per plant than open ground gives, and expect to check moisture more often during establishment.
At harvest, tip the whole container onto a tarp rather than digging blind. One clean dump finds every root without slicing into any of them.
- Container size
- 15 to 20 gallon container or grow bag per plant
- Depth
- At least 12 to 15 inches
- Slips
- About one slip per 10 gallons of volume
- Mix
- Loose, compost-rich, free-draining, no fresh manure
What Should You Plant in the Bed Afterward?
Something that is not a root crop, and ideally something that puts organic matter back.
First clear the debris. Remove small roots and vine pieces that could sprout where you do not want them, because in warm climates missed pieces behave like volunteers.
Send the fine roots and unusable pieces to the compost rather than leaving them in the bed. They sprout readily in warm soil and become next season's weeds.
A fall cover crop of cereal rye or clover rebuilds the structure a season of digging disturbed. Sow it about 4 to 6 weeks before first frost so it roots properly, then turn it under well ahead of spring planting.
Greens or a planned vegetable rotation work just as well if you would rather eat from the space than rest it.
Where weevil scarred the roots, wait at least 3 years before Sweet Potato returns to that bed. The insect persists in leftover roots and in nearby weeds such as wild morning glory.
Rotate root and vine crops through the bed on a multi-year cycle either way, so no single pest or nematode gets time to build up. Rotating with beans does that and feeds the soil at the same time.
Frequently Asked Questions
Do sweet potatoes grow from seed potatoes?
No, they grow from slips, which are rooted shoots pulled off a sprouting root. Regular potatoes grow from cut tuber pieces, so the planting method and the soil timing are both different.
How long do sweet potatoes need to grow?
Clemson Extension lists about 90 to 135 days depending on the cultivar, with 'Beauregard' at the faster end. Short-season varieties such as Georgia Jet or Vardaman can work in colder zones if the soil is warmed and slips go in after frost.
Can you eat a sweet potato right after digging it?
You can, and it will taste starchy and bland. Curing converts much of that starch to sugar, which is why a cured root tastes noticeably sweeter than one cooked the day it came out.
Are ornamental sweet potato vines edible?
They are the same species, and the ASPCA lists sweet potato vine (Ipomoea batatas) as non-toxic to dogs, cats, and horses. That is a pet listing, not an eating recommendation. Ornamental types were bred for foliage, their roots tend to be small and stringy, and a named edible variety is the choice when food is the point. Morning glories, which are other Ipomoea species, are a separate case and the ASPCA lists them as toxic.
Why should I never refrigerate sweet potatoes?
Chilling below about 55F causes hardcore, a hard whitish area inside the root that stays firm no matter how long you cook it. A cool dark cupboard at 55 to 60F is the right place.
Sources & References
- Growing sweet potatoes in home gardens, University of Minnesota Extension
- Curing and Storing Sweetpotatoes, Louisiana State University AgCenter
- Sweetpotato Weevil, University of Florida IFAS Featured Creatures
- Sweetpotato, Clemson Cooperative Extension Home and Garden Information Center
- Sweet Potato Vine, ASPCA Toxic and Non-Toxic Plants
- Morning Glory, ASPCA Toxic and Non-Toxic Plants
Related Plants
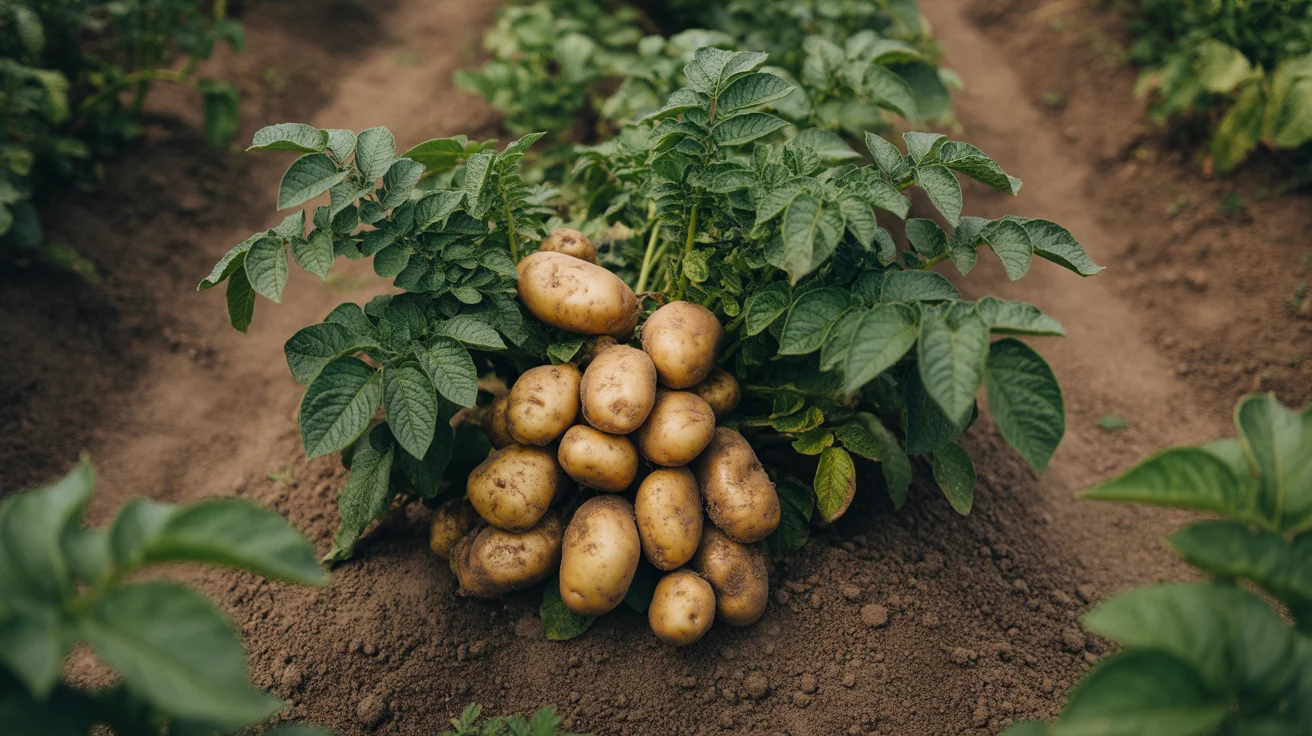
Potato
A cool-season tuber grown from cut seed pieces, which is the opposite planting method.
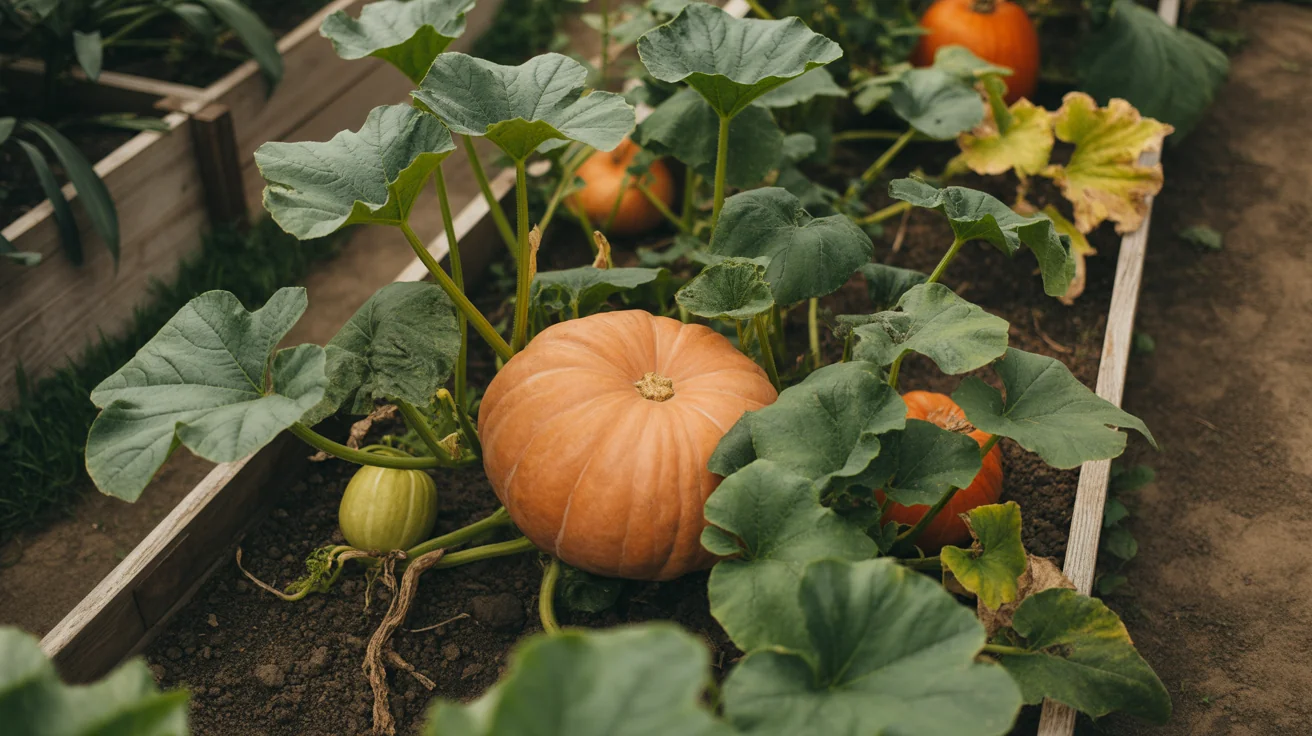
Pumpkin
Another sprawling warm crop that also needs curing before it will store.
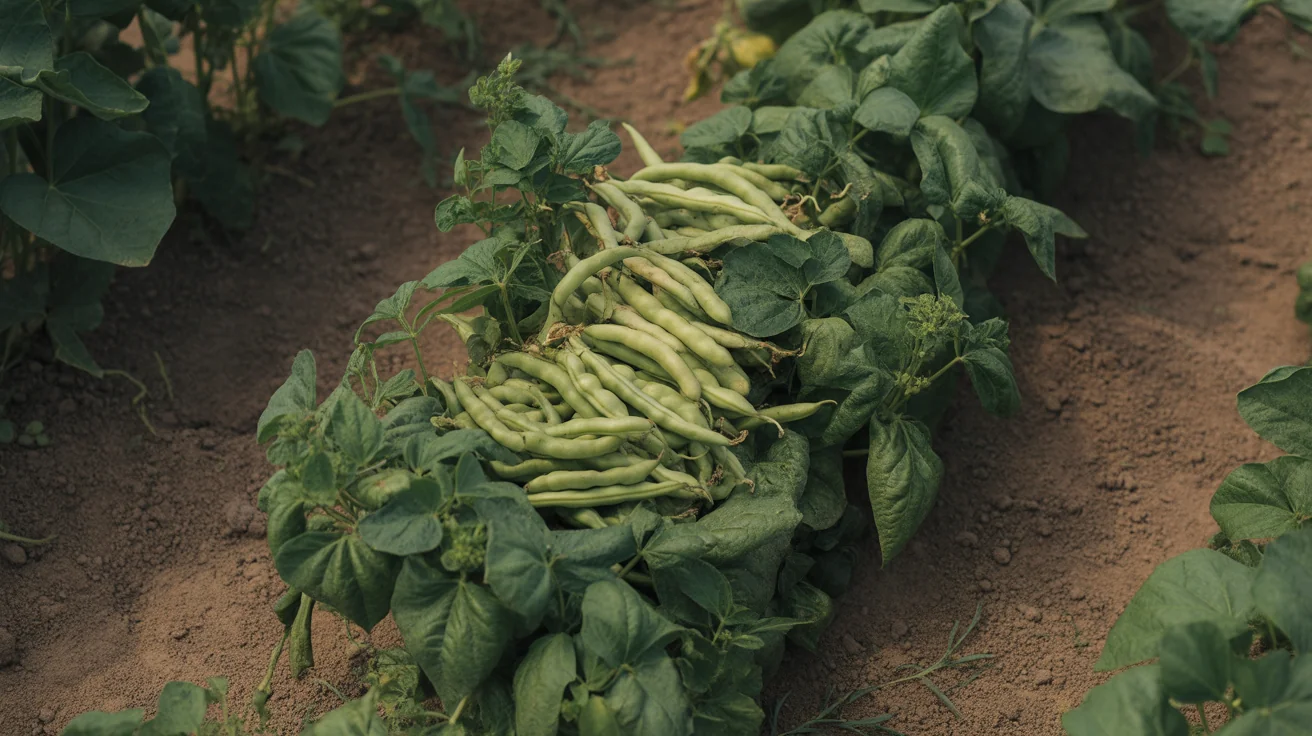
Beans
A good rotation partner, since it feeds the soil rather than drawing another root crop through it.
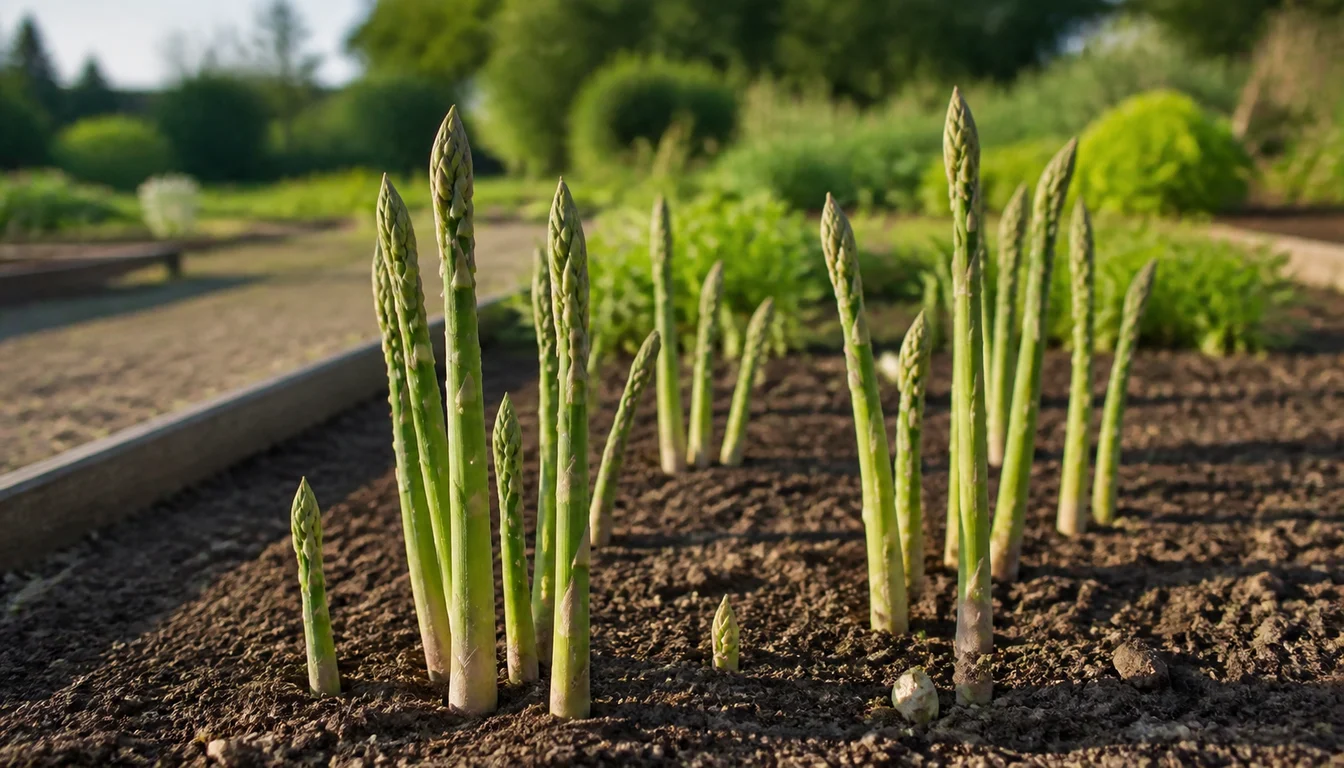
Asparagus
Asparagus rewards careful establishment with spring harvests for many years.
Beet
Beet care starts with one unusual fact. Each seed ball can make several seedlings, so the crop needs early thinning…
Bell Pepper
Bell Pepper rewards growers who manage flowers, roots, and heat together.