
How to Grow Polka Dot Plant and Keep Its Stems Full
Hypoestes phyllostachya Acanthaceae
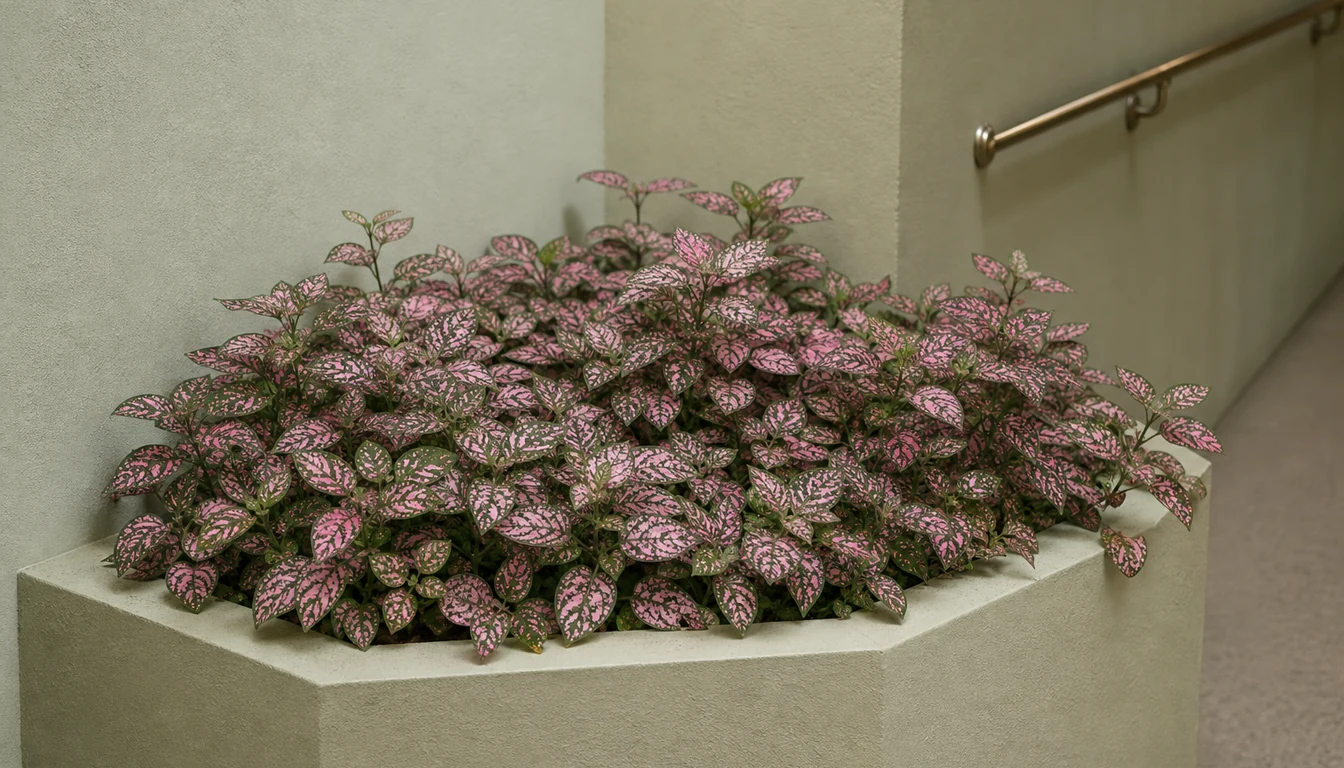
Polka Dot Plant has pink, red, or white patches across soft leaves. Bright filtered light helps preserve its color, while moist, freely draining mix and tip pinching support a compact display.
Greener growth, wilting, and bare stems call for different checks. Color varies by cultivar, and an aging plant may be easier to renew from cuttings than to reshape repeatedly.
Care snapshot
How to Recognize Polka Dot Plant
Polka Dot Plant is Hypoestes phyllostachya, a tender Madagascan member of the acanthus family. Its opposite, oval leaves carry patches of pink, red, or white, ranging from fine freckles to broad areas that nearly cover the blade.
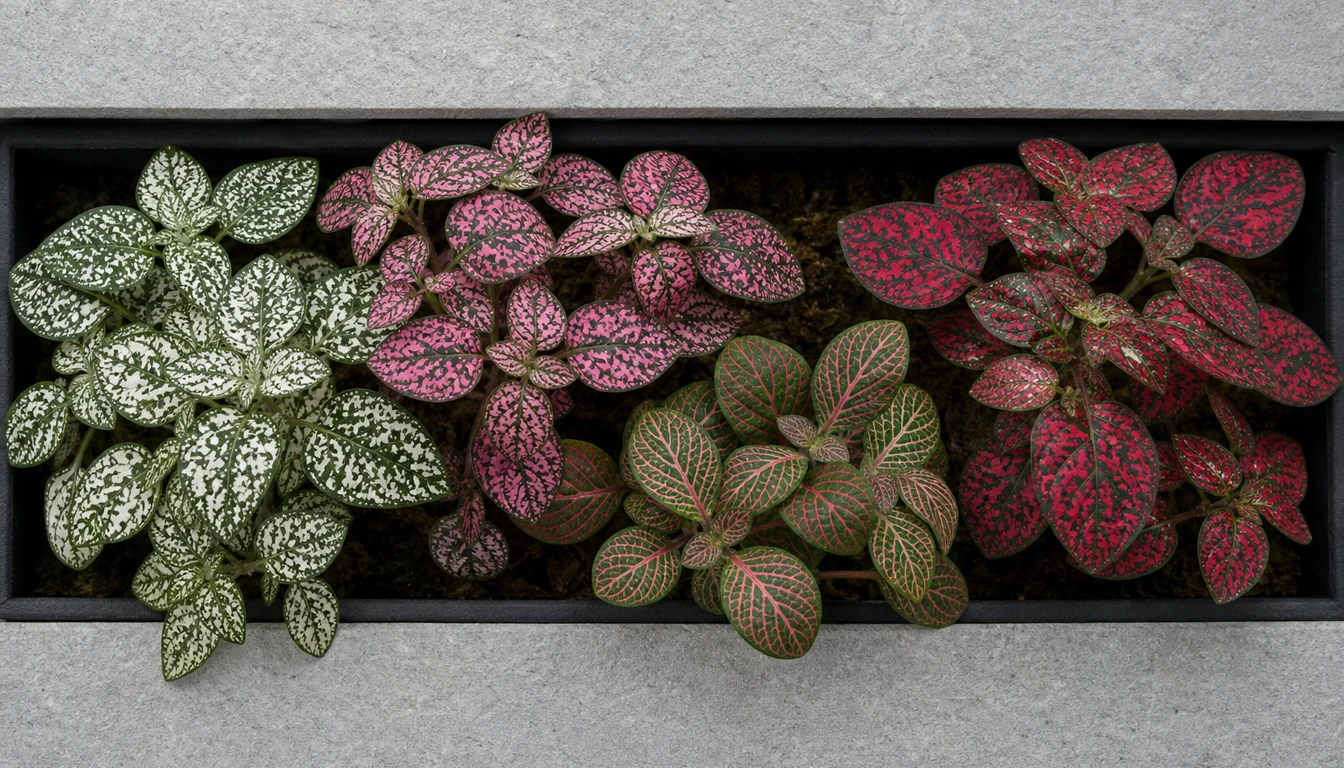
The patches help distinguish it from Nerve Plant, whose contrasting veins form a connected net. Polka Dot Plant branches upward on soft stems, whereas Fittonia usually makes a lower, spreading mat. Neither color alone nor a common name reliably identifies a cultivar.
- Pink Dot
- Pink spotting
- Pink Brocade
- Mottled pink foliage
- Carmina
- Bright red markings
- Wit
- White marbling
These are foliage descriptions listed by Wisconsin Extension, not rankings for shade tolerance. A named plant provides a better starting point for judging color changes than comparing it with a different cultivar on the same shelf.
Compact selections can stay much smaller than the species, which Wisconsin describes as reaching about 30 inches in favorable conditions. Pot size, light, pruning, and age also affect the finished mound. A nursery label is more useful for predicting space than one height assigned to every plant.
Small lilac flowers may appear above the foliage, but the spotted leaves provide the main display. Indoor plants do not necessarily flower on the same schedule as summer bedding plants.
Why Are New Leaves Turning Greener?
Low light can reduce color and encourage longer gaps between leaf pairs. A run of greener new leaves on a stretching shoot is more informative than a single plain leaf, because spotting naturally varies across the plant.
The useful comparison is new growth on the same plant under known conditions. Comparing different cultivars, young unfolding leaves, or a shaded photograph with a bright one can suggest a change that the plant has not actually made.
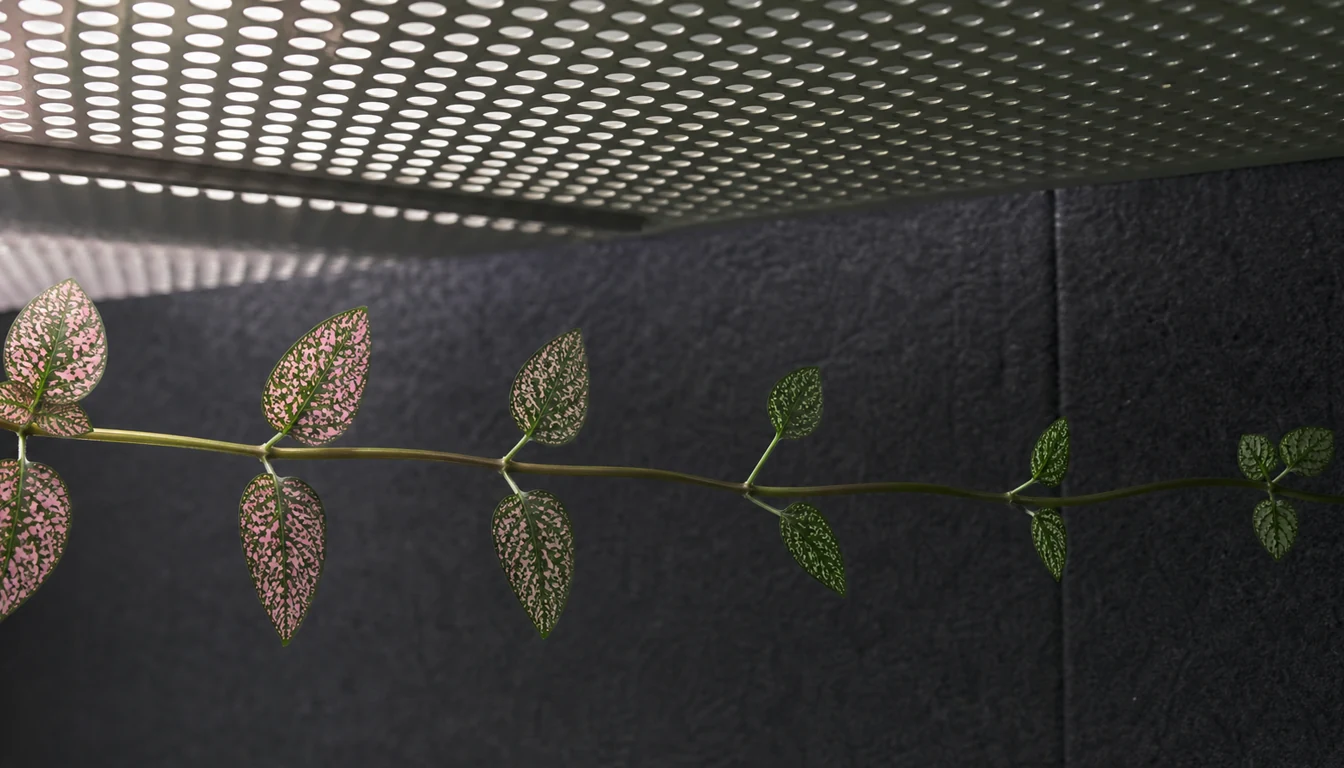
Bright filtered light is the usual starting point indoors. Wisconsin Extension notes stronger color in partial shade than full sun outdoors. A brighter position therefore does not mean the hottest unfiltered window.
NC State describes crinkling and curling with excessive sun, but those signs are not unique to light injury. Moisture shortage and pests can also change a leaf. Exposure history, the potting mix, and inspection of both leaf surfaces help narrow the possibilities.
Old damaged tissue will not become an undamaged leaf after a move. Subsequent growth helps show whether conditions have improved, but one new leaf cannot confirm that every root or pest problem has been resolved.
Pinching and the Choice to Keep Flowers
Regular tip pinching encourages side growth and helps keep the plant compact. It works best while the stems still carry useful foliage, before most of the color sits at the ends of long bare stems.
Wisconsin Extension describes long days maintaining vegetative growth and flowering in late summer or fall. That explains a common seasonal pattern rather than a promise that every indoor plant will bloom on a particular date.
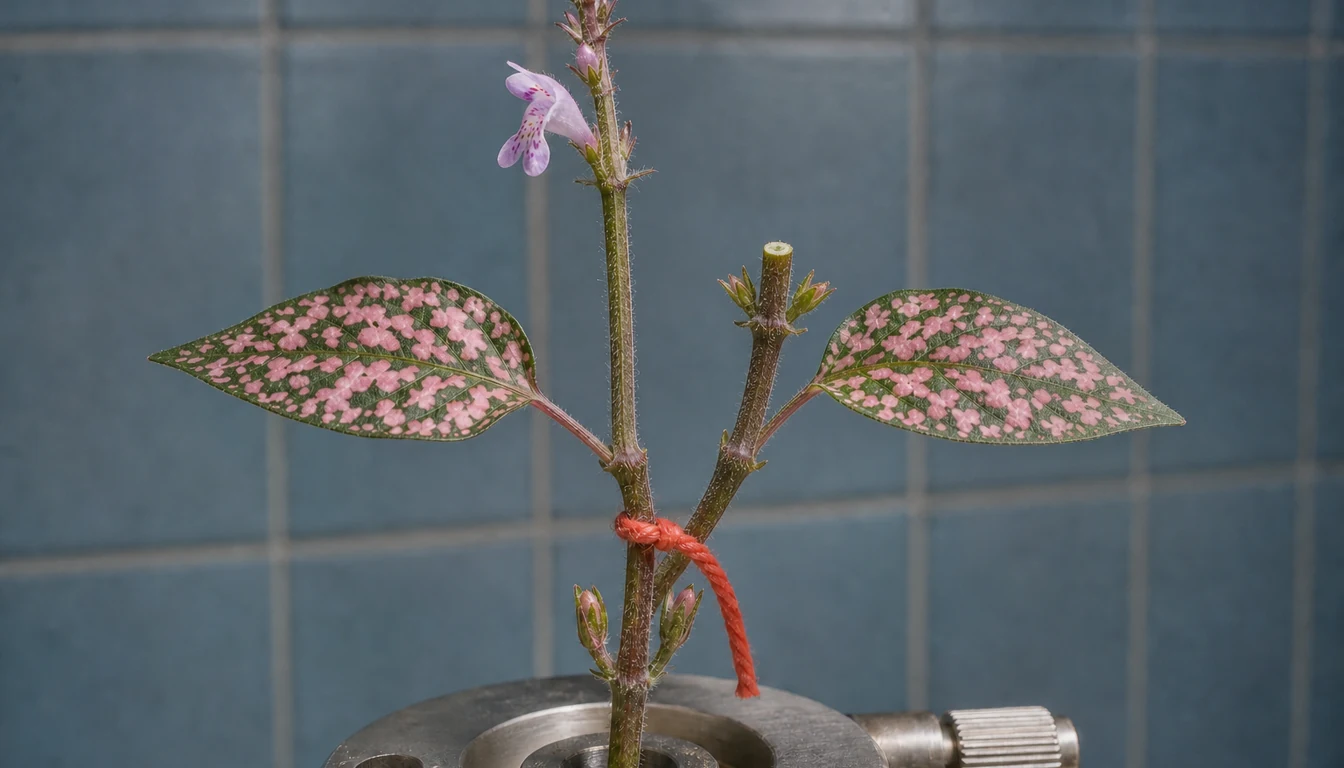
- Select an elongated shoot that still has healthy-looking leaves below the intended cut.
- With clean fingers or scissors, remove the soft growing tip just above a leaf pair, leaving that pair attached.
- Retain enough foliage to support growth and allow side shoots to develop before further trimming.
Buds below the removed tip can extend as side shoots. Selective cuts let you keep useful foliage while changing the outline, but there is no need to trim every stem or force a perfectly round mound.
Keeping a flower spike is a display choice. Removing it can help maintain a foliage-focused plant, but pinching does not reverse poor light or damaged roots. If long bare stems remain after conditions improve, young cuttings may provide a fuller replacement.
What Does Sudden Wilting Tell You?
Thin leaves can wilt as the root ball dries. The same droop can also occur when damaged roots cannot supply water from wet mix, so moisture below the surface matters more than the wilt alone.
Pot weight is useful when compared with that same container after watering and after partial drying. A heavy ceramic cover pot can obscure the change, and a pale surface does not reveal whether the center is still wet.
If the mix is drying, thorough watering allows the root ball to take up moisture more evenly than small daily splashes. Excess water needs an exit, and the saucer or cover pot needs emptying. Porous, organically rich potting mix can hold moisture without keeping all its air spaces full of water.
An early drought wilt may improve after watering, but that response does not prove that all roots are healthy. Repeated severe drying can damage foliage. Persistent wilt after moisture is corrected needs further attention to roots, temperature, exposure, and pests.
An open pot, humid terrarium, and outdoor container lose water at different rates. Slight drying between waterings is compatible with moist culture; letting this thin-leaved plant repeatedly collapse is not a useful watering schedule.
Renewing Bare Stems With Tip Cuttings
Aging Polka Dot Plants can become leggy even with regular pinching. Renewal is useful when the remaining leafy tips could make a better display than the bare framework below them. There is no fixed age at which every plant must be discarded.
Wisconsin Extension describes stem cuttings rooted in water or moist medium. A nonflowering tip with healthy-looking tissue gives new growth a starting point, but a cutting from a pest-infested or rotting stem can carry the problem with it.
- Cut a leafy tip below a node with a clean blade.
- Remove the lower leaves so they will not sit in water or be buried in rooting medium.
- Keep the remaining foliage above the water or mix in warm, filtered light.
- Maintain clean water or evenly moist, airy rooting medium, without leaving the cutting in hot direct sun.
Water rooting makes developing roots visible. Rooting directly in a porous medium avoids a later change from water to potting mix. Both methods need moisture and air around the rooting stem, not a container filled with stagnant, saturated material.
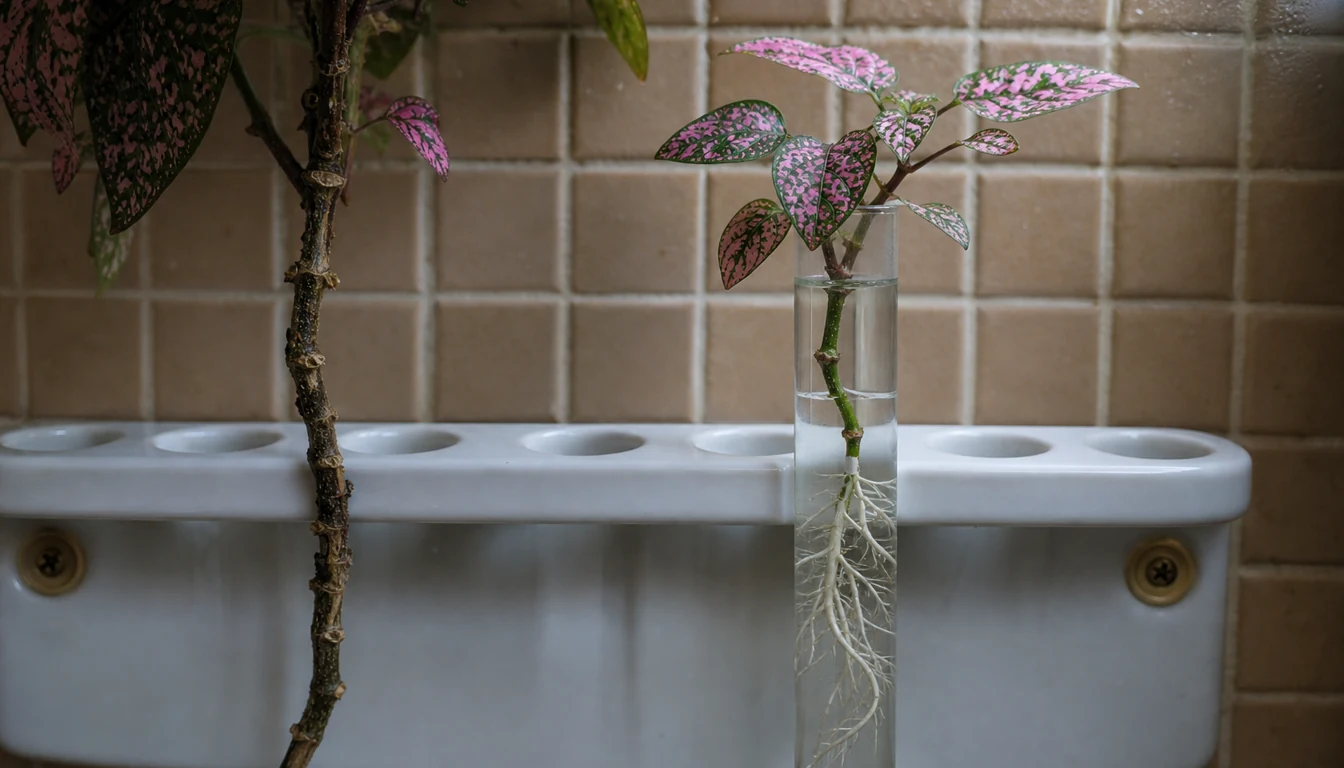
Established roots and ongoing growth support moving a water-rooted cutting into a small pot. Roots are fragile during handling, and a large volume of wet mix is difficult for a small cutting to use. A modest container gives closer control of moisture as the new plant settles in.
Several established cuttings can share a pot for a fuller display if their roots have room. The number and spacing follow the actual plant material and container, rather than a required arrangement.
Warmth, Humidity, and Different Containers
Polka Dot Plant is cold-sensitive. Wisconsin Extension recommends outdoor placement only when nights remain above 50°F and notes better growth above 60°F. These are culture guidelines, not a guarantee that a wet, newly moved plant will tolerate every cool night.
Outdoor perennial hardiness in Zones 10 and 11 describes a climate range, not an indoor thermostat setting. A summer container in a colder region needs protection before cold arrives, and its foliage needs gradual adjustment to brighter outdoor conditions.
- Open room
- Filtered light and protection from drying drafts, with direct checks of pot moisture
- Terrarium
- Slower drying and greater humidity, with attention to crowded wet foliage and fallen debris
- Summer container
- Weather-dependent humidity, wind, sun, and rainfall, plus a freely draining container
Humid air can reduce moisture loss from thin leaves, but it cannot supply a dry root ball or repair saturation. A humid summer may suit the plant, while a hot, dry summer may increase stress. Moving outdoors does not automatically solve low humidity.
Misting briefly wets leaves without maintaining room humidity. Where dry indoor air is an issue, a room humidifier provides steadier moisture, used without leaving surrounding surfaces wet. Air movement and enough space around the foliage help avoid a constantly damp, crowded canopy.
Light feeding during active growth can support this foliage plant. Wisconsin describes periodic dilute fertilizer, but the product label and any fertilizer already in the mix matter. More fertilizer will not correct dim light, cold conditions, or injured roots.
Repotting becomes useful when crowded roots or deteriorated mix make watering difficult. A small increase in container size is generally easier to manage than a wide collar of unused damp mix. A plant that has merely grown bare stems may need pruning or renewal instead of a larger pot.
Natural Spots or New Leaf Damage?
Natural pink, red, and white patches are part of the leaf tissue. A new surface coating, scattered feeding marks, or expanding damaged area needs a different explanation. These observations guide inspection without proving one cause.
Normal pigmentation
- Color lies within the blade
- Compare the same plant and cultivar
- No pesticide is needed for normal spotting
Surface coating
- Material appears above the leaf surface
- Powdery mildew is one possibility; residue is another
- Wiping alone does not identify the cause
Insects or mites
- Inspect undersides, new tips, and stem joints
- Look for actual pests, wax, honeydew, or webbing
- Fine pale marks alone do not identify a pest
Exposure or root stress
- Compare damage with sun and temperature history
- Check moisture and drainage
- Yellowing or curling alone is not a root diagnosis
Wisconsin lists powdery mildew, root rot, aphids, mealybugs, and whiteflies among possible problems. Powdery growth may occur on the surface, but pale deposits can also come from water or sprays. Fresh changes on nearby leaves and close examination provide more useful evidence than removing one mark with a cloth.
Soft, deteriorating roots or a collapsing base are concerning, especially in persistently wet mix. Pale or firm roots are not a complete health clearance. Inspection starts with the least disruptive checks and progresses below the soil only when decline or moisture problems justify it.
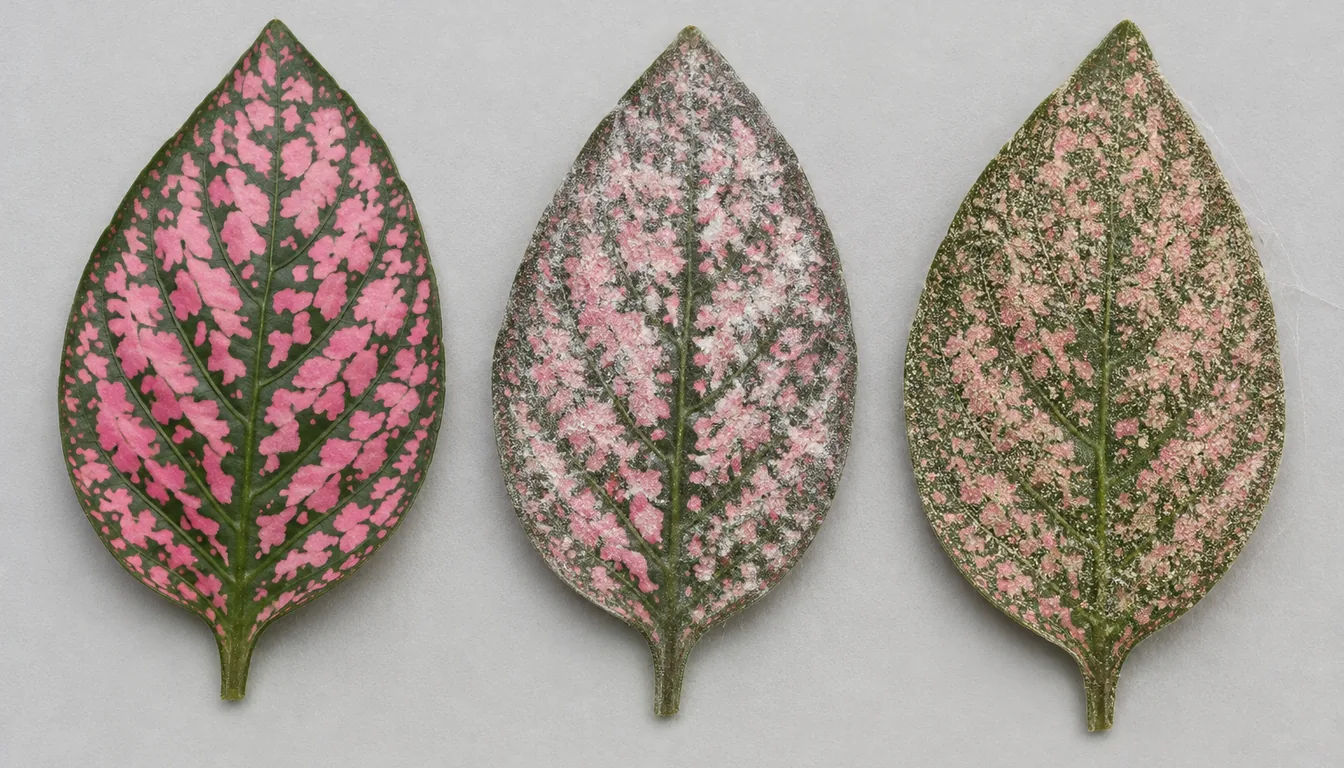
Separating a plant with suspected pests from nearby foliage limits contact while the problem is identified. Treatment needs to match the actual pest or disease and a product labeled for that use. A stable scar may remain after the cause ends, so removing every marked leaf can unnecessarily strip useful foliage.
What Does the Pet-Safety Listing Cover?
ASPCA lists Hypoestes phyllostachya as non-toxic to dogs, cats, and horses. That is a species-specific listing for this plant, rather than a claim that every spotted houseplant or everything in its pot is safe.
The same ASPCA record notes possible mild vomiting or diarrhea. Non-toxic does not mean edible, and potting mix, fertilizer, or pest treatments have their own risks. Keeping cuttings and fallen leaves away from repeated chewing remains sensible.
Contact a veterinarian or animal poison service if a pet develops symptoms or the plant identity is uncertain. A label, clear photographs, and details of any treatments help them assess the actual exposure. Severe symptoms need prompt veterinary attention.
Sources & References
Related Plants
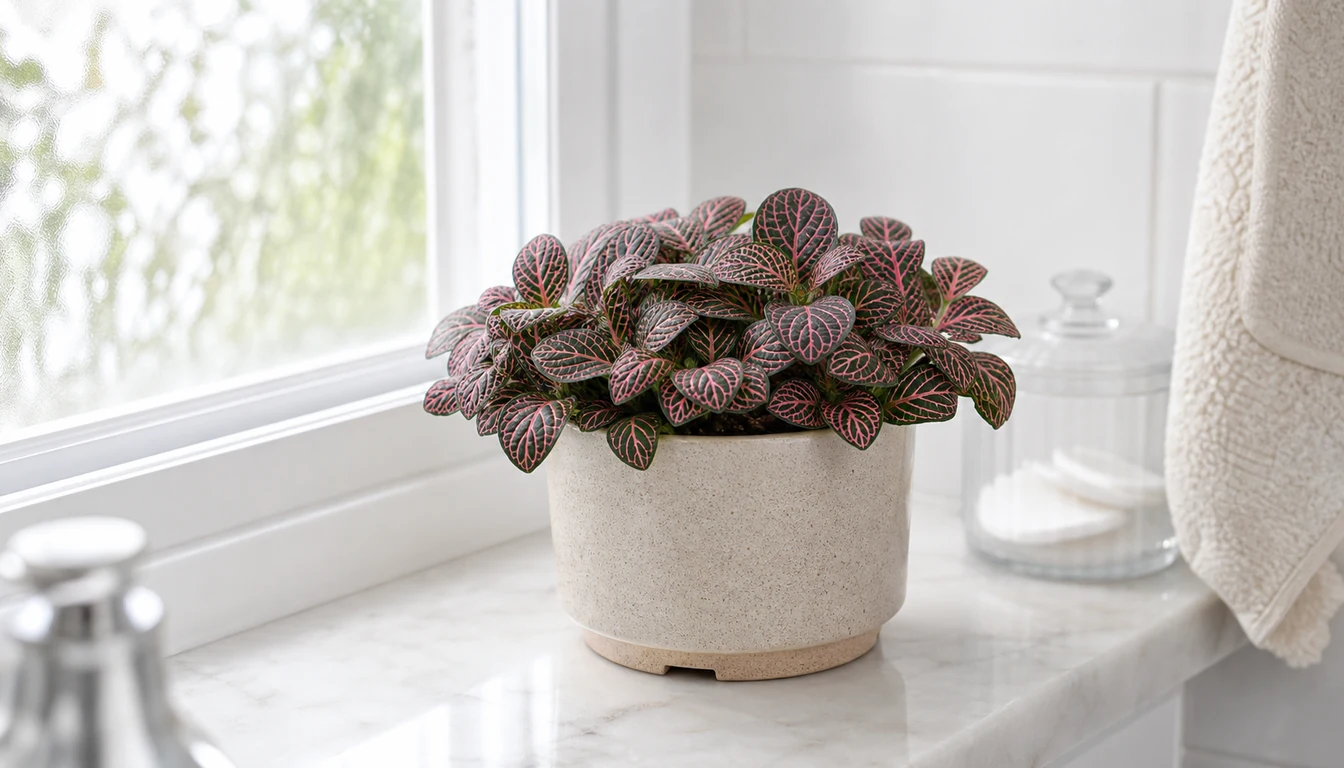
Nerve Plant
Colored veins form a net across a creeping leaf instead of scattered spots between the veins.
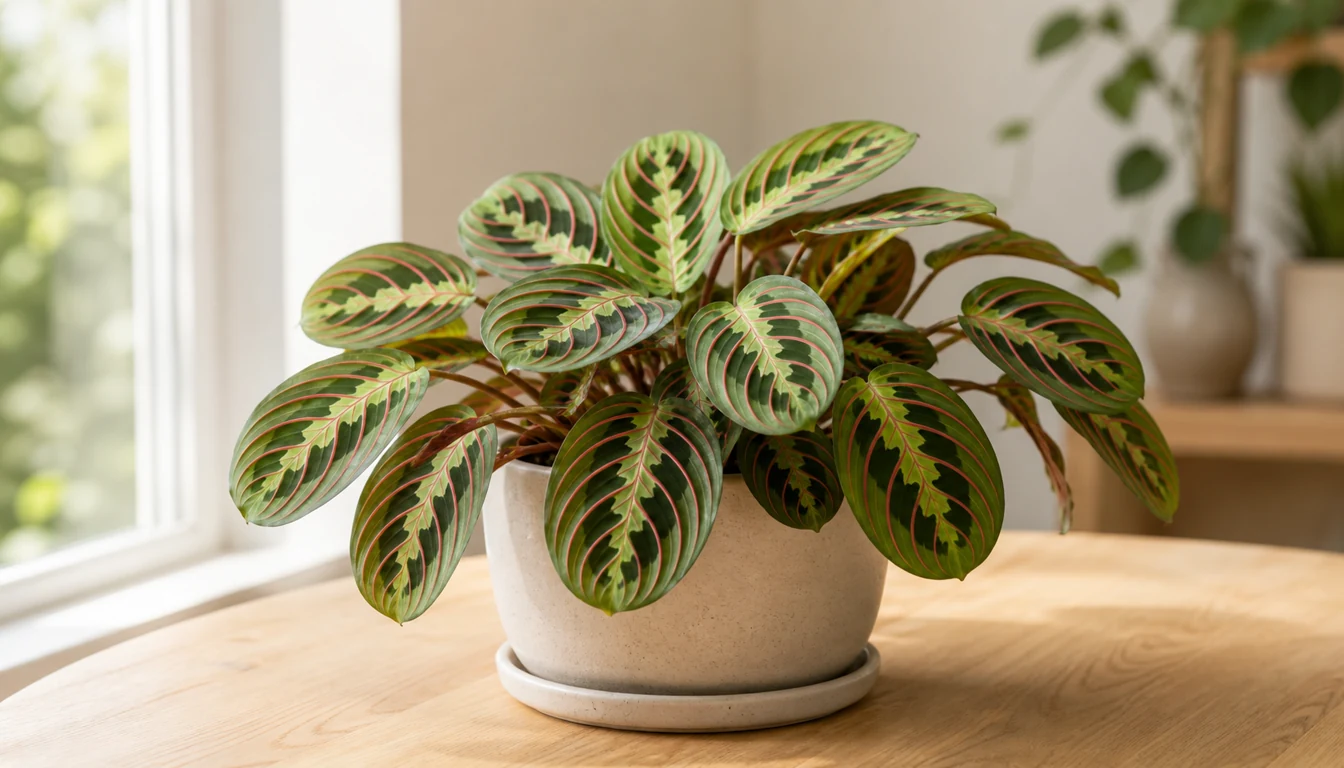
Prayer Plant
Broader patterned leaves fold upward at night and grow from a lower spreading base.
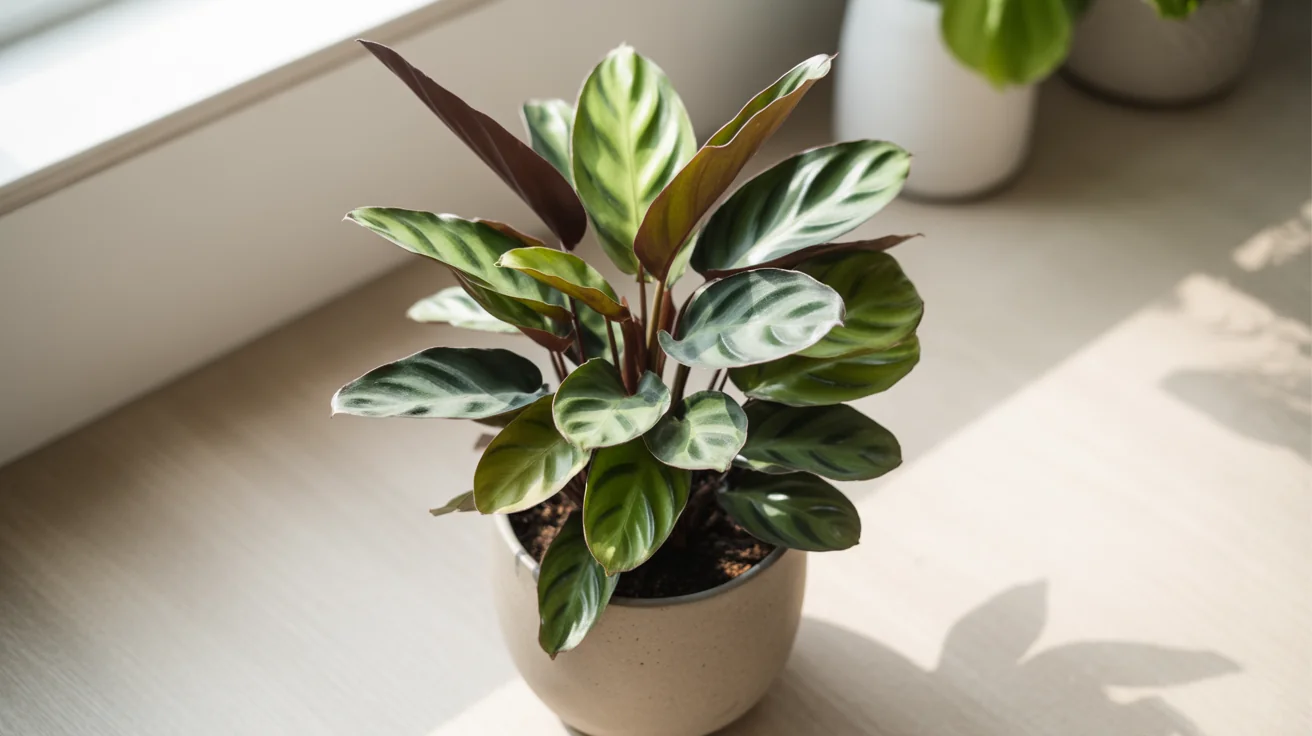
Calathea
Larger patterned leaves offer a different display in warm rooms with filtered light.
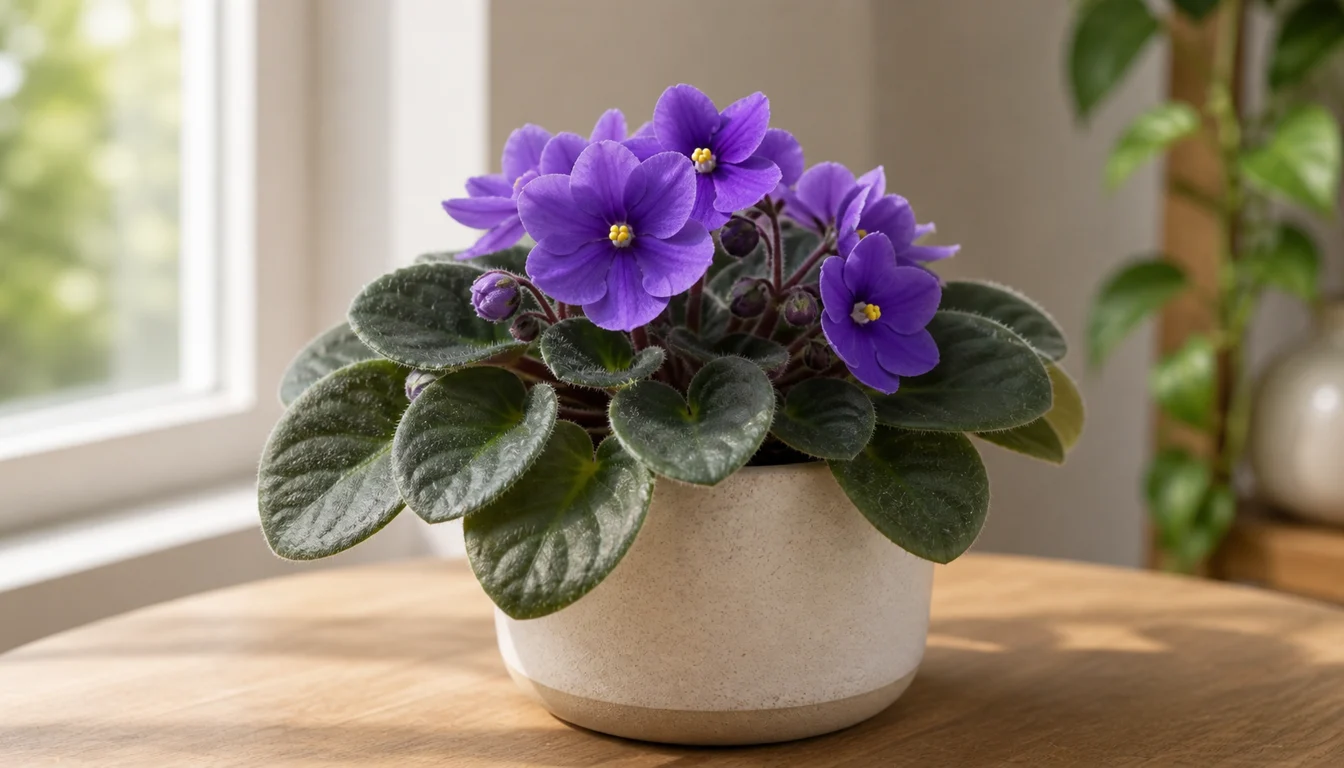
African Violet
African Violet is a windowsill bloomer that rewards steady, small-pot care.
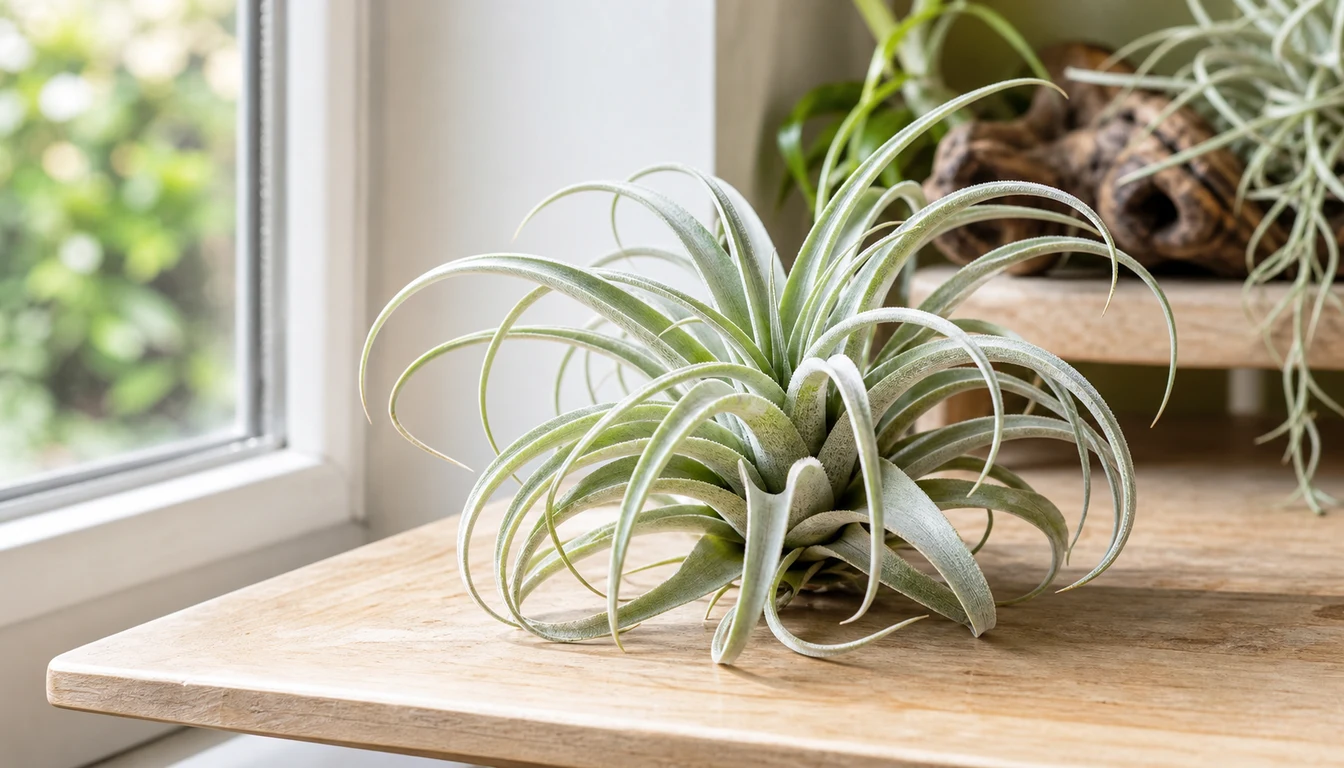
Air Plant
Air plants are living sculptures that thrive without soil, anchoring to driftwood, rocks, or shells while drawing…
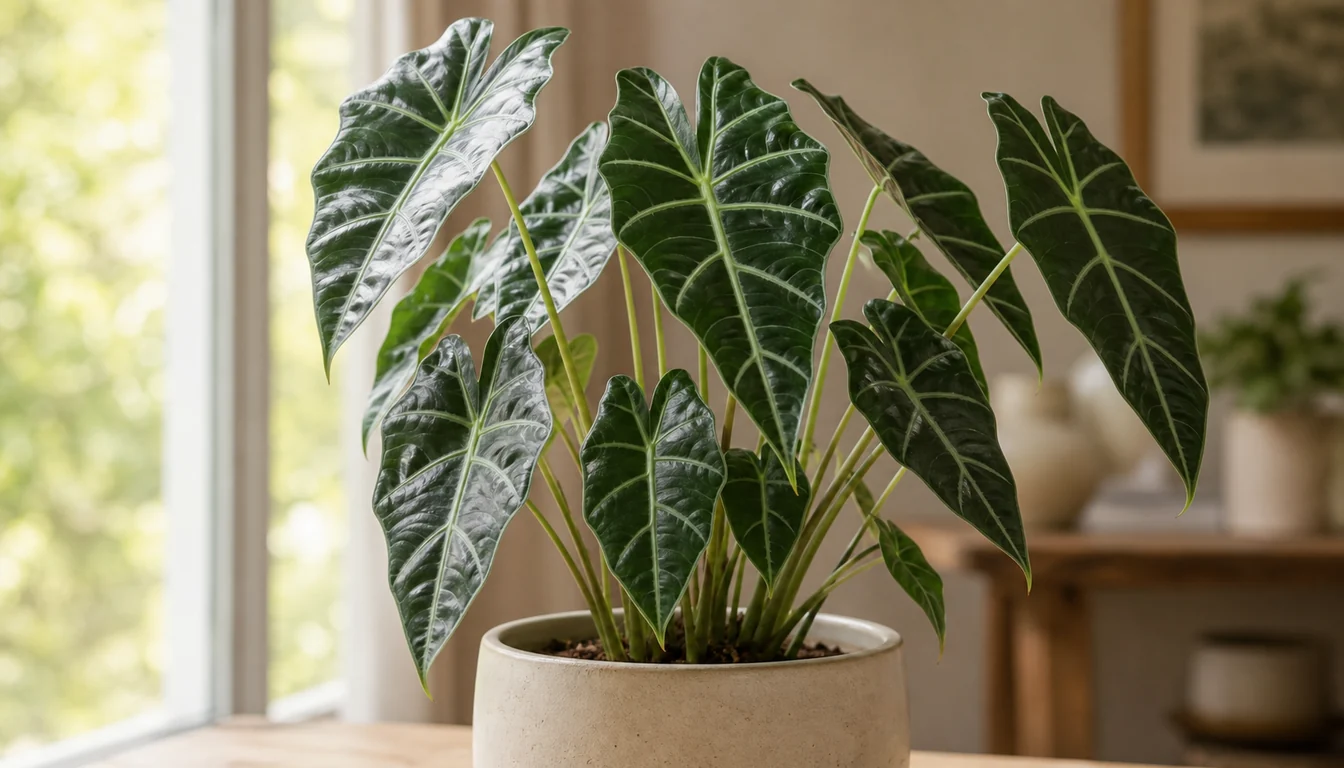
Alocasia
Alocasias include compact, textured houseplants and large elephant ears that need substantial floor space.