
What's Bay Laurel? How to Keep a Tree Alive in a Pot
Laurus nobilis Lauraceae
Bay laurel is a tree grown as a container plant, which is why every decision about it looks the way it does.
It reaches 8 to 12 feet in the ground, comes indoors below Zone 8b, and needs its roots cut back every two years to stay in balance with its top. The ASPCA lists it as toxic to dogs, cats and horses, both from the essential oils in the leaf and because whole leaves can block the gut.
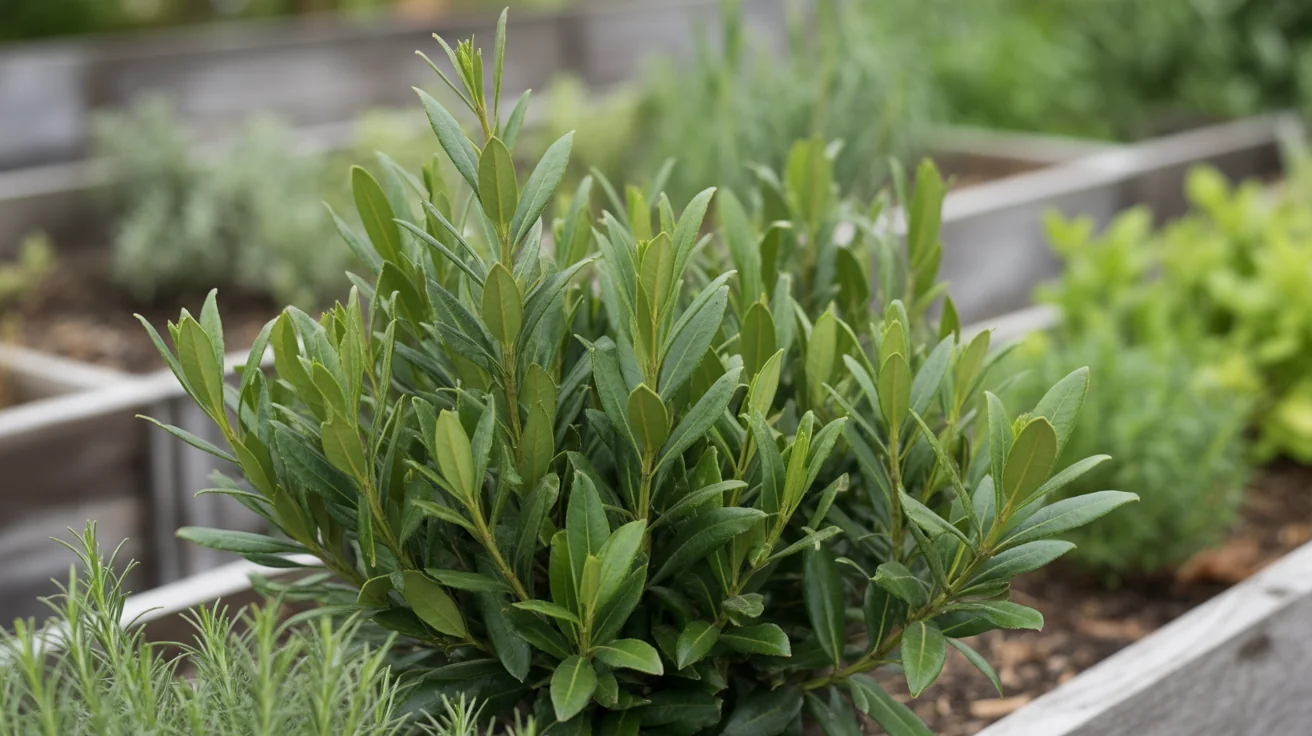
Care snapshot
Why Is Bay Laurel Always Sold in a Pot?
Laurus nobilis is a tree. NC State puts it at 8 to 12 feet tall and 8 to 30 feet wide in the ground, which is not a herb-bed plant by any reading of those numbers.
- Height in the ground
- 8 to 12 feet
- Width in the ground
- 8 to 30 feet
- Light
- Full sun or partial shade
- Soil
- Clay, loam or sand, with good drainage
- Hardiness
- Zones 8b to 10b, brought indoors below that
A container changes every one of those figures. NC State notes that it is generally grown in a container as a patio or houseplant, where it stays much smaller, and Wisconsin Horticulture adds that it is relatively slow-growing and does well in pots.
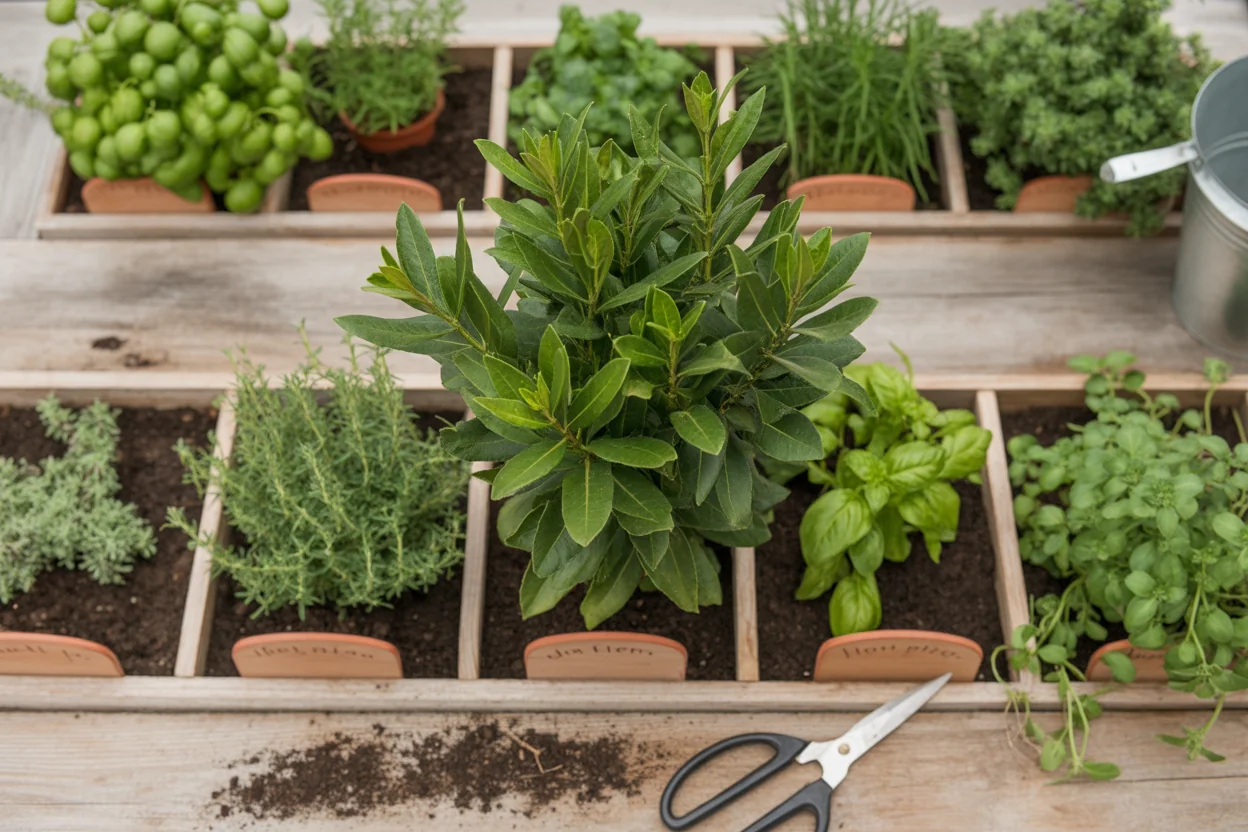
The pot is the arrangement that keeps a tree usable on a doorstep, and it sets bay apart from the soft herbs on the essential herb list.
Slow growth is what makes that work. A fast tree in a pot becomes a problem within a season, while this one gives years between the decisions that keep it in bounds.
Which Zones Can Bay Laurel Stay Outside In?
Three extension sources give three answers, and they are close rather than identical.
NC State lists Zones 8b to 10b.
Illinois calls it an evergreen shrub or tree in zones 8 and above. Wisconsin puts the ornamental range at zones 7 to 10.
On the boundary that spread matters. A gardener in Zone 7 or 8 is being told by one source that the plant is fine and by another that it is not, which is a reason to treat it as marginal rather than to pick the answer you prefer.
Maryland reaches the same conclusion from a colder state, listing bay among the tender herbs that do not always survive its winters and can be overwintered indoors.
That is the argument for the container even in a zone where the plant might just manage. Moving a pot indoors costs an afternoon, and replacing a mature tree costs years.
Rosemary sits in exactly the same position a zone or two further north.
Should It Winter Cool and Dark, or Warm and Bright?
Wisconsin gives two different winters, and they ask opposite things of the grower. In a cool room the tree goes dormant, and in a warmer room it keeps growing and needs as much sun as possible, which is the bright indoor position Illinois describes.
- Cool and dormant, which Wisconsin puts at 35 to 60°F, needing little light and very little water.
- Warm and bright, which Wisconsin describes as regular watering like any houseplant and as much sun as possible, and Illinois as moving the plant indoors before frost into as bright a location as possible.
The choice is usually made by the house rather than the gardener. An unheated porch or garage that stays above freezing gives the first, and a heated room gives the second.
What matters is not mixing them. A tree kept warm and watered as though it were dormant dries out, and a tree kept cool and watered as though it were growing sits wet through the months when it can do nothing with the water. Both failures look like the plant declining for no reason.
The cool winter is the easier of the two. A dormant plant in a cold porch asks for almost nothing, while a warm one has to be given the light conditions the next section sets out.
Spring is simpler either way. Wisconsin says indoor plants can move back outdoors once temperatures are consistently above freezing, and Iowa State gives the same instruction for tender perennials, moving them out once the danger of frost has passed.
Why Is Bay Hard to Keep Indoors?
Iowa State sorts herbs into the ones that do well indoors and the ones that do not, and bay laurel is in the second group. The two reasons it names are higher than normal light requirements and significant pests, spider mites in particular.
Both conditions can be met, but an ordinary houseplant spot meets neither.
Light is the first requirement and the one most rooms fail. Maryland asks for at least five hours of sun a day from a south or west window, which is a lower bar than the eight hours Iowa State gives for herbs generally.
Where a window cannot manage it, both sources describe the same fix with different numbers. Maryland sets supplemental lighting to shine 14 to 16 hours a day, and Iowa State places the lights 6 to 12 inches from the leaves.
The pot and the mix are the other part of an indoor setup.
Maryland mixes two parts soilless potting mixture to one part perlite, and Iowa State prefers clay or terracotta pots because they are porous and dry out more readily than a glazed or plastic one.
- At least five hours of direct sun from a south or west window, or lights 6 to 12 inches away for 14 to 16 hours.
- Two parts soilless mix to one part perlite, the mix Maryland gives for herbs in containers.
- A clay or terracotta pot, which Iowa State prefers because it dries out more readily.
Maryland also mists indoor herbs daily or stands the pots on a tray of moistened pebbles to raise the humidity around them.
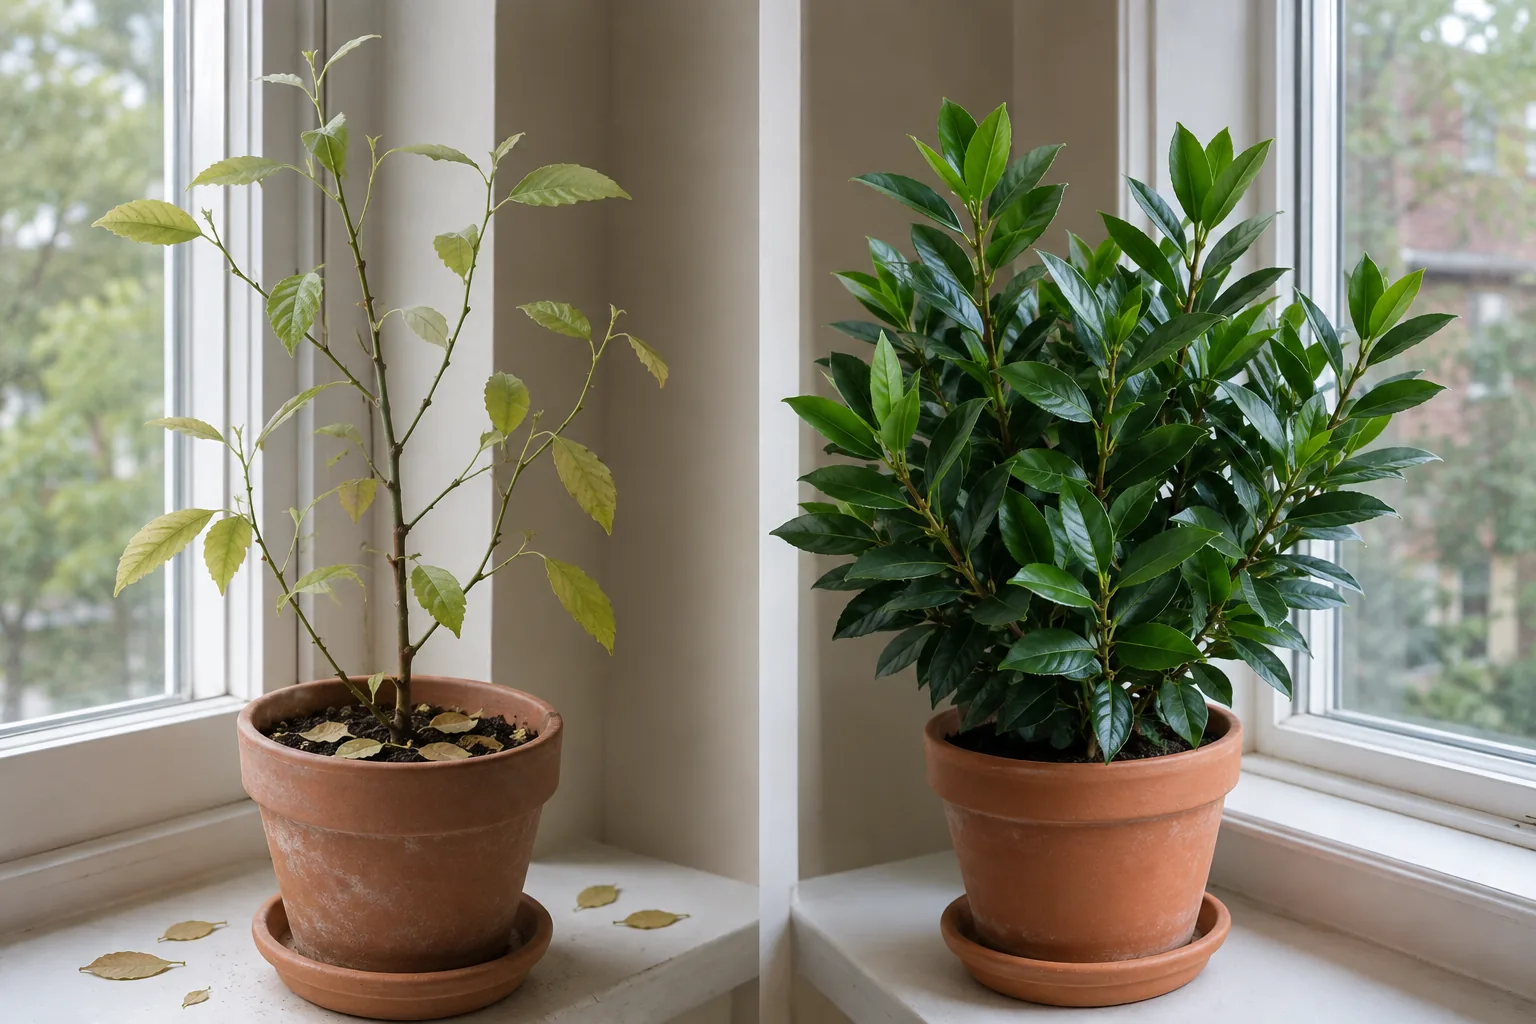
A bay short of light shows it slowly. UMN Extension says inadequate light gives thin, spindly growth, and on bay that means sparse stems carrying pale leaves, the difference the photograph below shows.
Other herbs cope with a winter sill far better, and the herbs that grow well indoors make easier company for it.
Why Do the Roots Need Pruning Too?
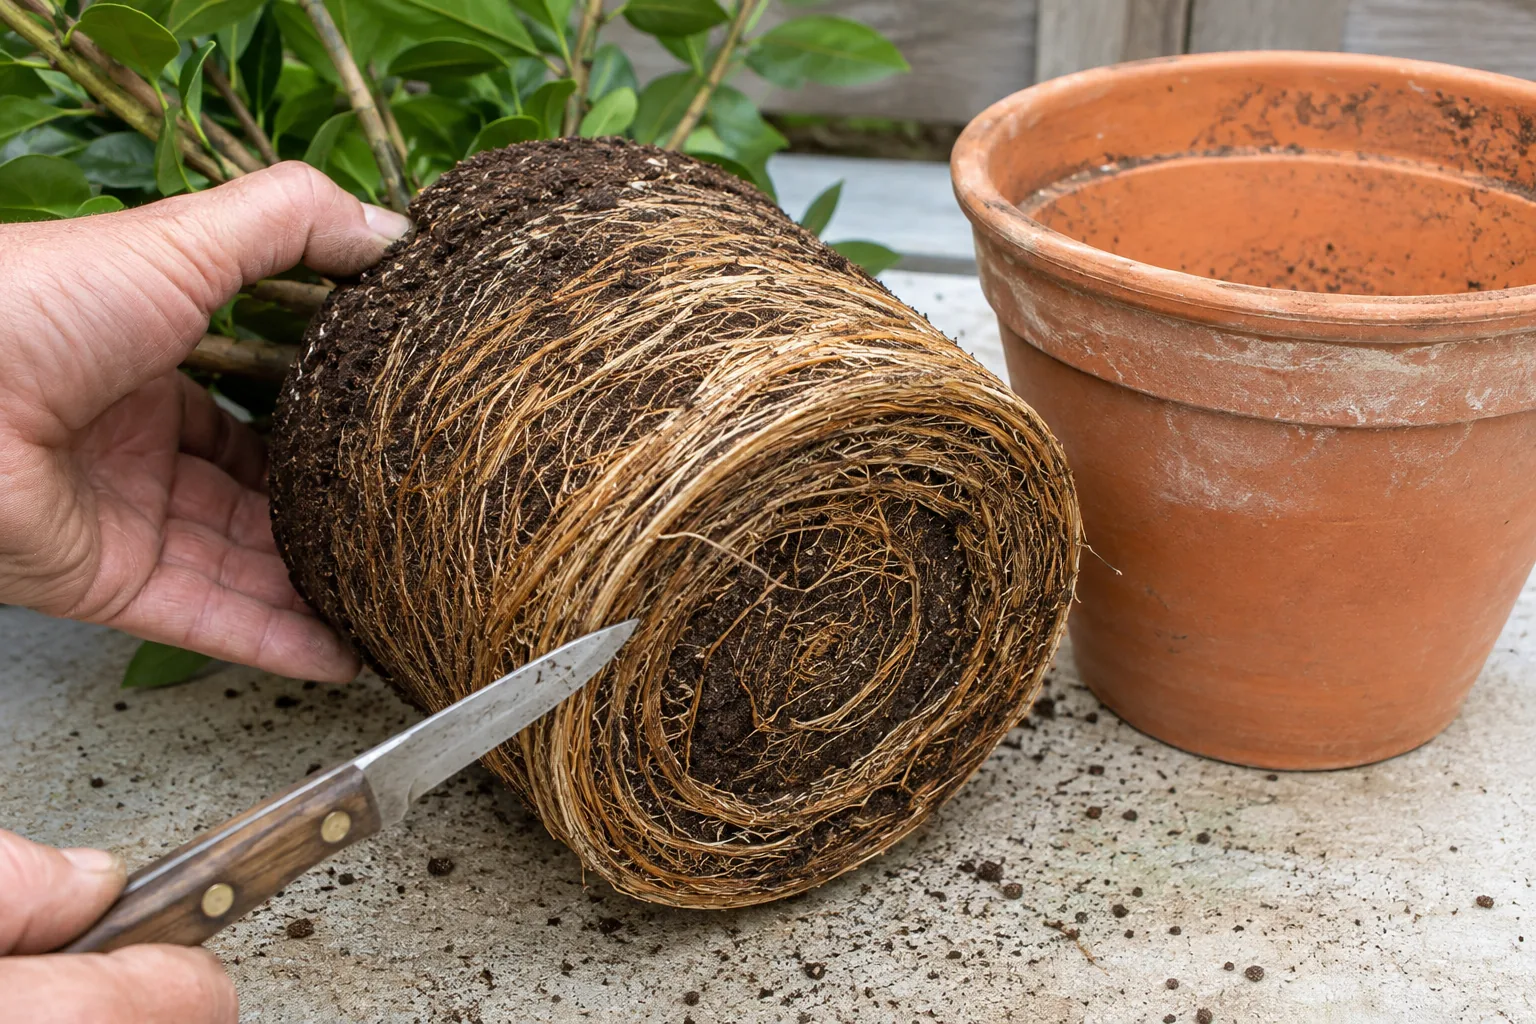
The maintenance nobody expects is below the soil. Wisconsin says container plants should be repotted to maintain a balance between the size of the roots and that of the top, and that the roots should be cut where they had touched the surface of the old pot.
The word doing the work is balance. A pot fixes how much root the plant can carry, so a top that keeps growing above a root system that cannot is a plant heading for trouble.
Cutting the outer roots and replacing the soil resets both sides of that at once. It is closer to pruning the canopy than to potting on, which is why it happens on a schedule rather than when the pot looks full.
- Lift the plant out and look at where the roots circled the old pot.
- Cut off the roots where they had touched the pot surface.
- Replace what came away with fresh compost-soil mix.
- Repeat every one to two years, whether or not the pot changes.
Watering runs alongside it, and the sources sound like they disagree. Wisconsin says the plant can never be allowed to dry out completely, Maryland groups bay with thyme, oregano and sage as the herbs that need to dry out between watering, and Illinois says to water when the soil starts to become dry, warning that soil kept too moist invites root rot.
They are describing different depths. The top of the mix drying is what Maryland and Illinois mean, and a root ball going dry all the way through is what Wisconsin warns against, so the working rule is to let the surface dry and water before the whole pot goes light.
On a pot deliberately kept small that is a closer call than it sounds, which is why a pot that actually drains matters more here than on a plant with room to spare.
A neglected pot shows it slowly. Growth stalls, the newest leaves come smaller, and nothing about the top of the plant explains why.
Which Bay Leaves Have the Most Flavor?
Illinois answers by leaf and Wisconsin answers by season. Leaves can be harvested throughout the season as needed, and Illinois says the larger, older leaves tend to have the strongest and best flavor.
That reverses the habit from soft herbs, where the young growth is what gets picked. A bay leaf is a leathery evergreen, as NC State describes it, and it stays on the tree through more than one season.
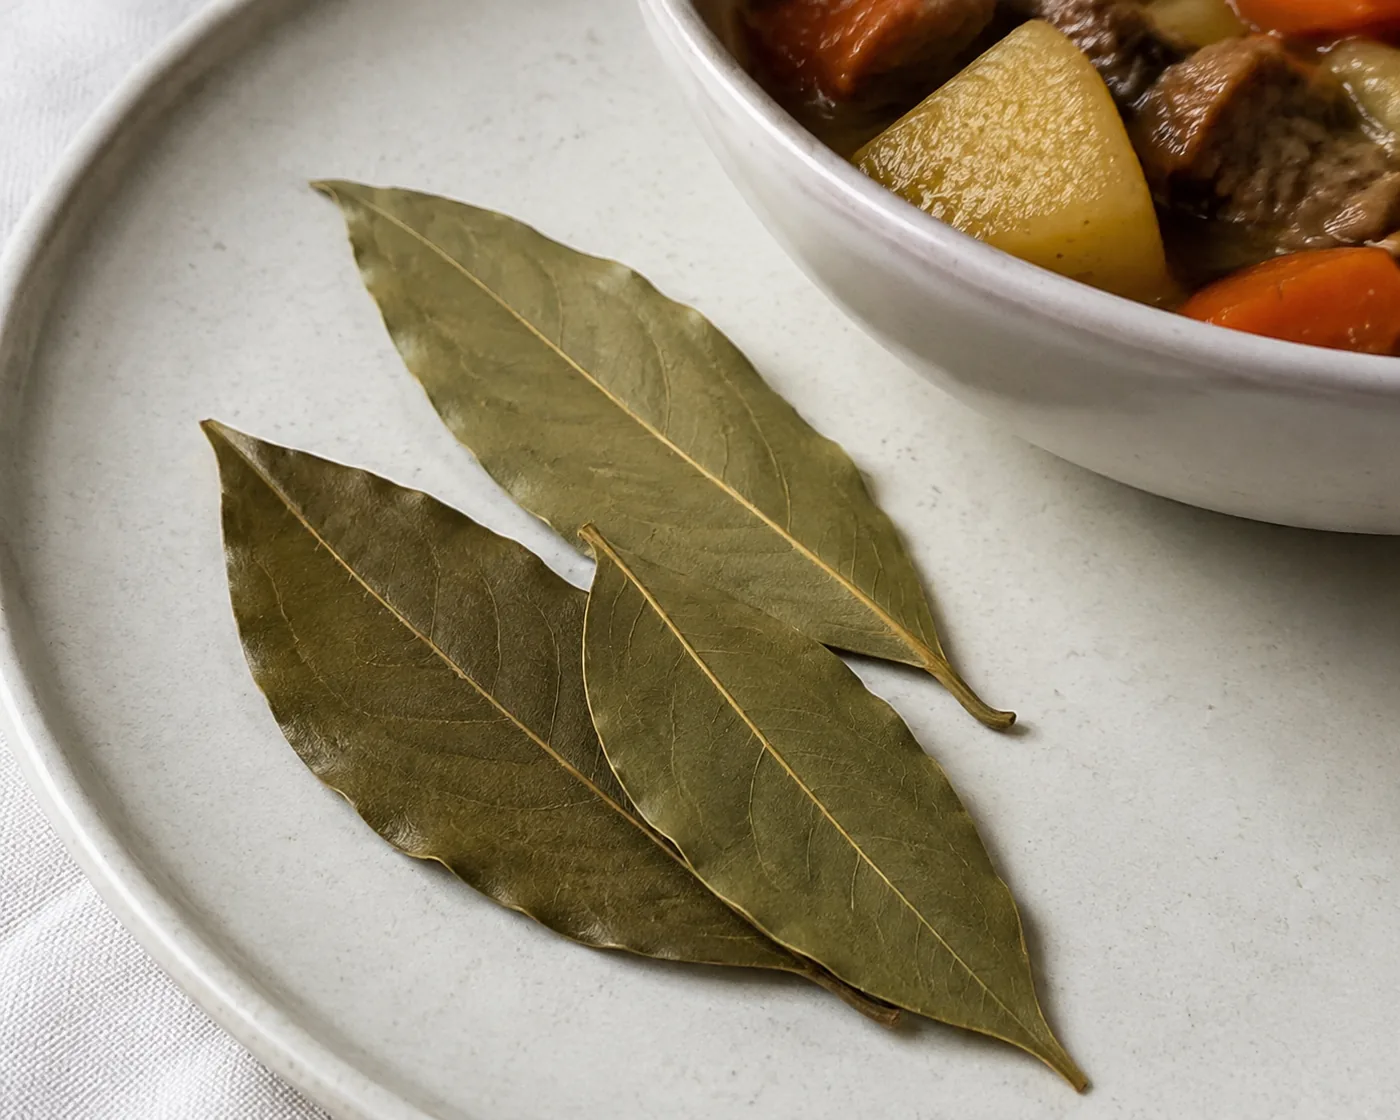
Wisconsin adds the timing, saying to harvest in mid summer to maximize flavor. The two answers point at the same leaves, since a leaf that is large and old by midsummer has had a full season to build up what makes it worth using.
Drying is where the flavor is held. Illinois says to dry the leaves before storing them in sealed containers, and a dried bay leaf keeps its shape, which is unusual among dried herbs.
It goes into a pot whole and comes out whole, which is convenient in a kitchen and matters for a different reason around animals. Cutting leaves is also the only pruning it routinely gets, and the habits of pruning soft herbs apply to it only loosely.
Can You Propagate Bay Laurel at Home?
Wisconsin states plainly that bay is difficult to propagate, and Illinois says it germinates poorly and slowly and that cuttings are difficult to root.
Wisconsin lists three routes, and none of them is quick. Fresh seed germinates erratically and wants a warm seed bed, half-ripe cuttings taken in summer may take several months, and air-layering asks for the same patience. Rosemary by comparison roots from a cutting in ten to twenty days.
The slow growth that makes bay a good container plant is the same trait working against you here. A rooted cutting is years from being a tree worth having.
What Goes Wrong With Bay, and Is It Safe Around Pets?
Scale is the pest that follows this plant indoors. NC State lists scales and psyllids as occasional pests, and Wisconsin says scales can be a problem particularly indoors, which is exactly where a bay tree spends its winter.
Scale is easy to miss because it does not look like an insect. The giveaway is often the black sooty mold that grows on what it leaves behind.
Spider mites are the other one, and Iowa State names them as one of the two reasons bay is difficult indoors at all. Both pests are winter problems on this plant, because winter is when it is indoors.
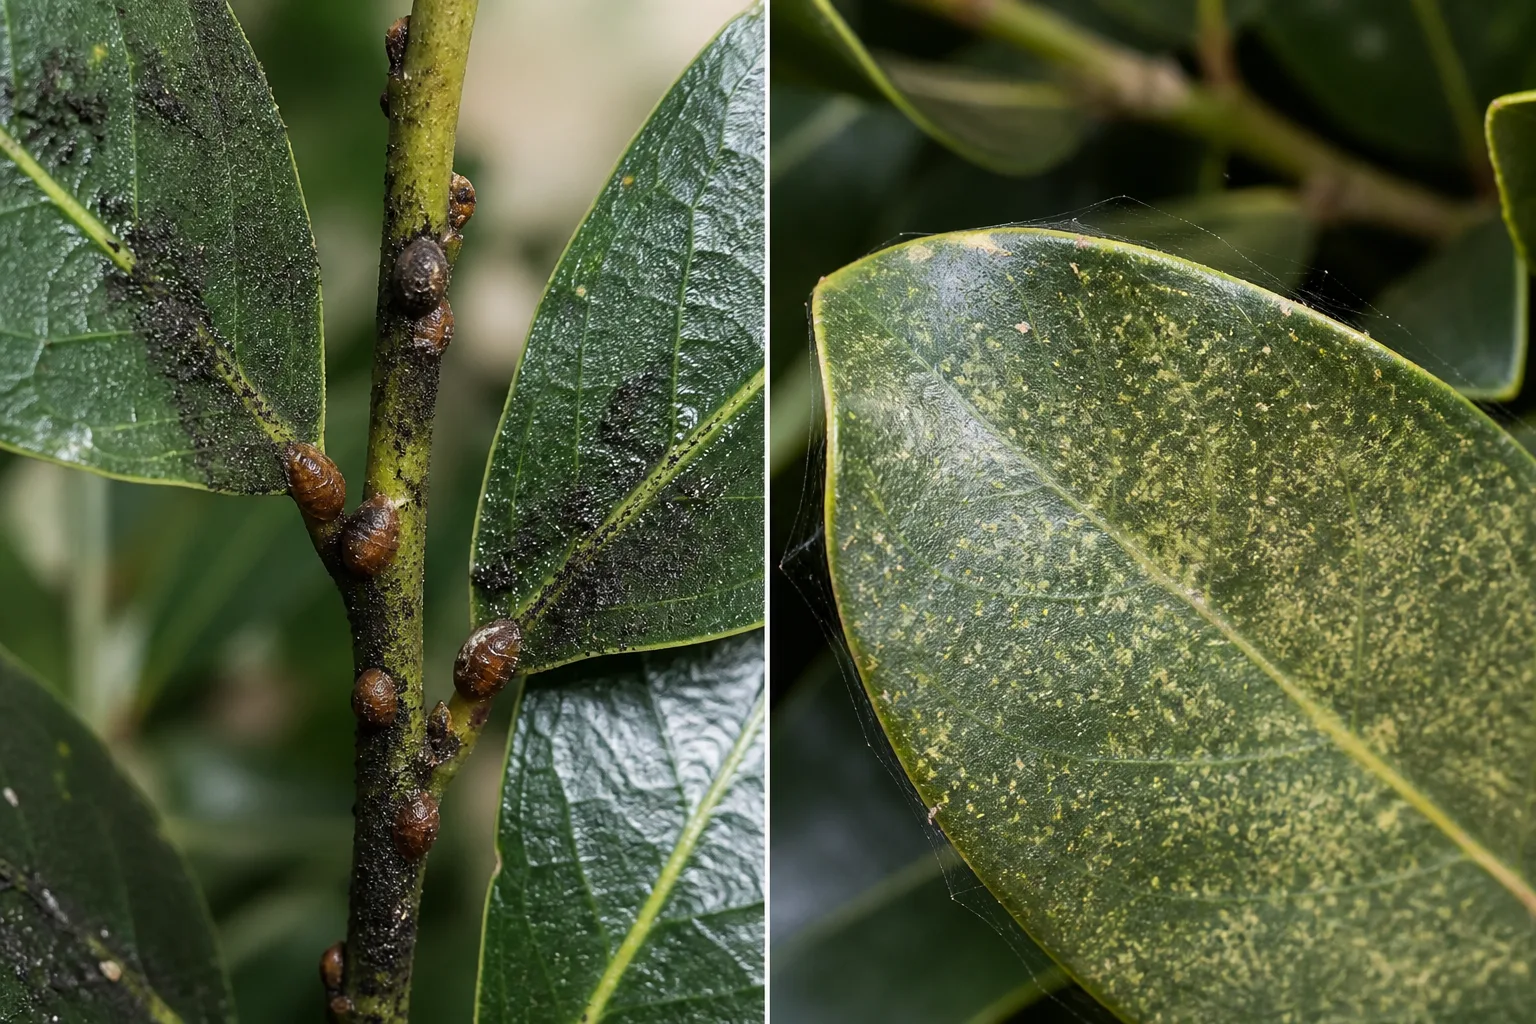
- Immobile brown domes on stems, often with black sooty mold beneath them, are scale.
- Heavy yellow stippling with fine webbing is spider mite damage, which Iowa State names as a significant pest of bay indoors.
- Laurel wilt, phytophthora and root rot are the diseases NC State names, and Illinois links root rot to soil kept too moist.
- A stalled plant with no pest and no disease points back to the roots, which Wisconsin says need pruning at least every two years.
Mite damage on bay looks and behaves like mite damage on any indoor plant, so the advice on handling mites on houseplants applies here unchanged.
Bay laurel is toxic to dogs, cats and horses, according to the ASPCA. Its record names eugenol and other essential oils as the toxic principles, gives vomiting and diarrhea as the signs, and adds that a large ingestion of whole leaves can cause obstruction.
That gives bay two separate risks. The oils in the leaf cause the stomach upset, and the leaf itself causes the blockage, because a dried bay leaf is stiff and stays whole through cooking. NC State lists the same signs and the same obstruction warning, rates the severity as low, and includes people alongside cats, dogs and horses.
In practice the potted tree, fallen leaves and the dried leaves in the kitchen all belong out of reach of an animal that chews plants, and a cooked leaf comes out of the dish before it is served or scraped into a bowl. For a suspected ingestion, the ASPCA's advice is to call a veterinarian or its Animal Poison Control Center.
Apart from the winter move, the root job and that care with the leaves, bay asks for little, which is why it appears on low-maintenance planting lists.
Frequently Asked Questions
Can bay laurel live outside all year?
Only in the warmer zones, and the sources disagree on where the line falls. NC State gives Zones 8b to 10b and says it must come indoors below that, Illinois says zones 8 and above, and Wisconsin puts the ornamental range at 7 to 10.
How big does bay laurel get?
In the ground NC State gives 8 to 12 feet tall and 8 to 30 feet wide. In a container it stays much smaller, which is why it is almost always sold and grown in a pot.
How should bay laurel be overwintered indoors?
Pick one of two strategies and stay with it. Wisconsin describes a cool room at 35 to 60F where the tree goes dormant on very little light and water, or a warmer room with regular watering and as much sun as possible, which matches the bright indoor position Illinois describes.
Why do bay laurel roots need pruning?
To keep the roots in balance with the top. Wisconsin says to cut the roots where they touched the old pot and to do it at least every two years, even if the plant stays in the same pot.
Which bay leaves should I pick?
The larger, older ones. Illinois says those tend to have the strongest and best flavor, and Wisconsin adds that harvesting in mid summer maximizes it.
Is bay laurel toxic to pets?
Yes. The ASPCA lists bay laurel as toxic to dogs, cats and horses, naming eugenol and other essential oils, with vomiting and diarrhea, and warns that a large ingestion of whole leaves can cause obstruction. NC State gives the same signs and rates the severity as low.
Sources & References
- NC State Extension Gardener Plant Toolbox: Laurus nobilis
- Wisconsin Horticulture: Sweet Bay, Laurus nobilis
- Illinois Extension: Bay Laurel
- University of Maryland Extension: Growing Herbs in Containers and Indoors
- Iowa State Extension: Growing Herbs Indoors
- ASPCA Toxic and Non-Toxic Plants: Bay Laurel
- University of Minnesota Extension: Growing herbs in home gardens
Related Plants
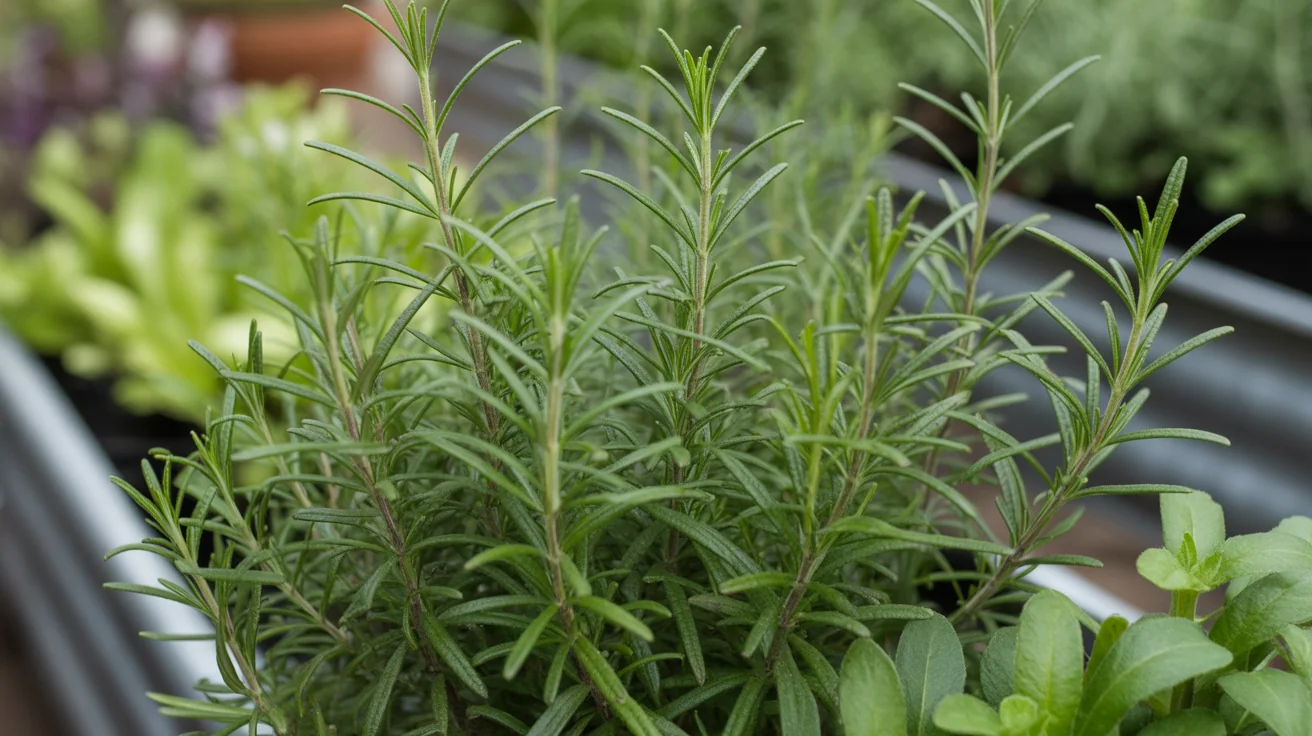
Rosemary
Woody Mediterranean herb that pairs well with bay in roasts and thrives in similar sun and soil.
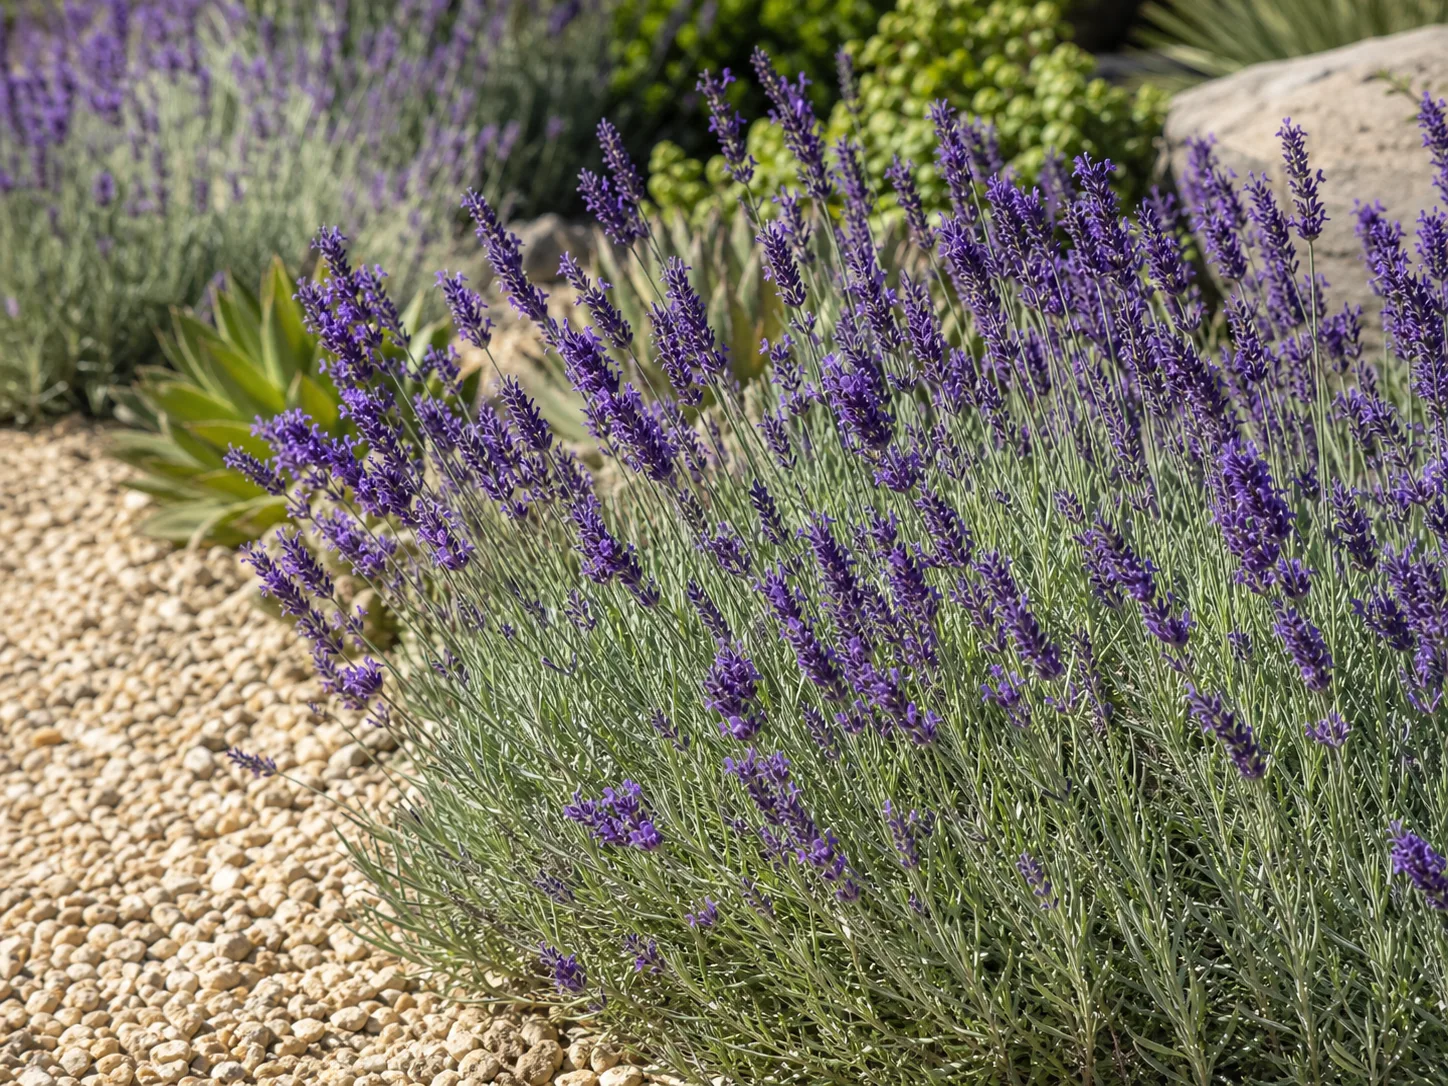
English Lavender
Fragrant perennial that enjoys the same dry, sunny conditions as bay when grown outdoors.
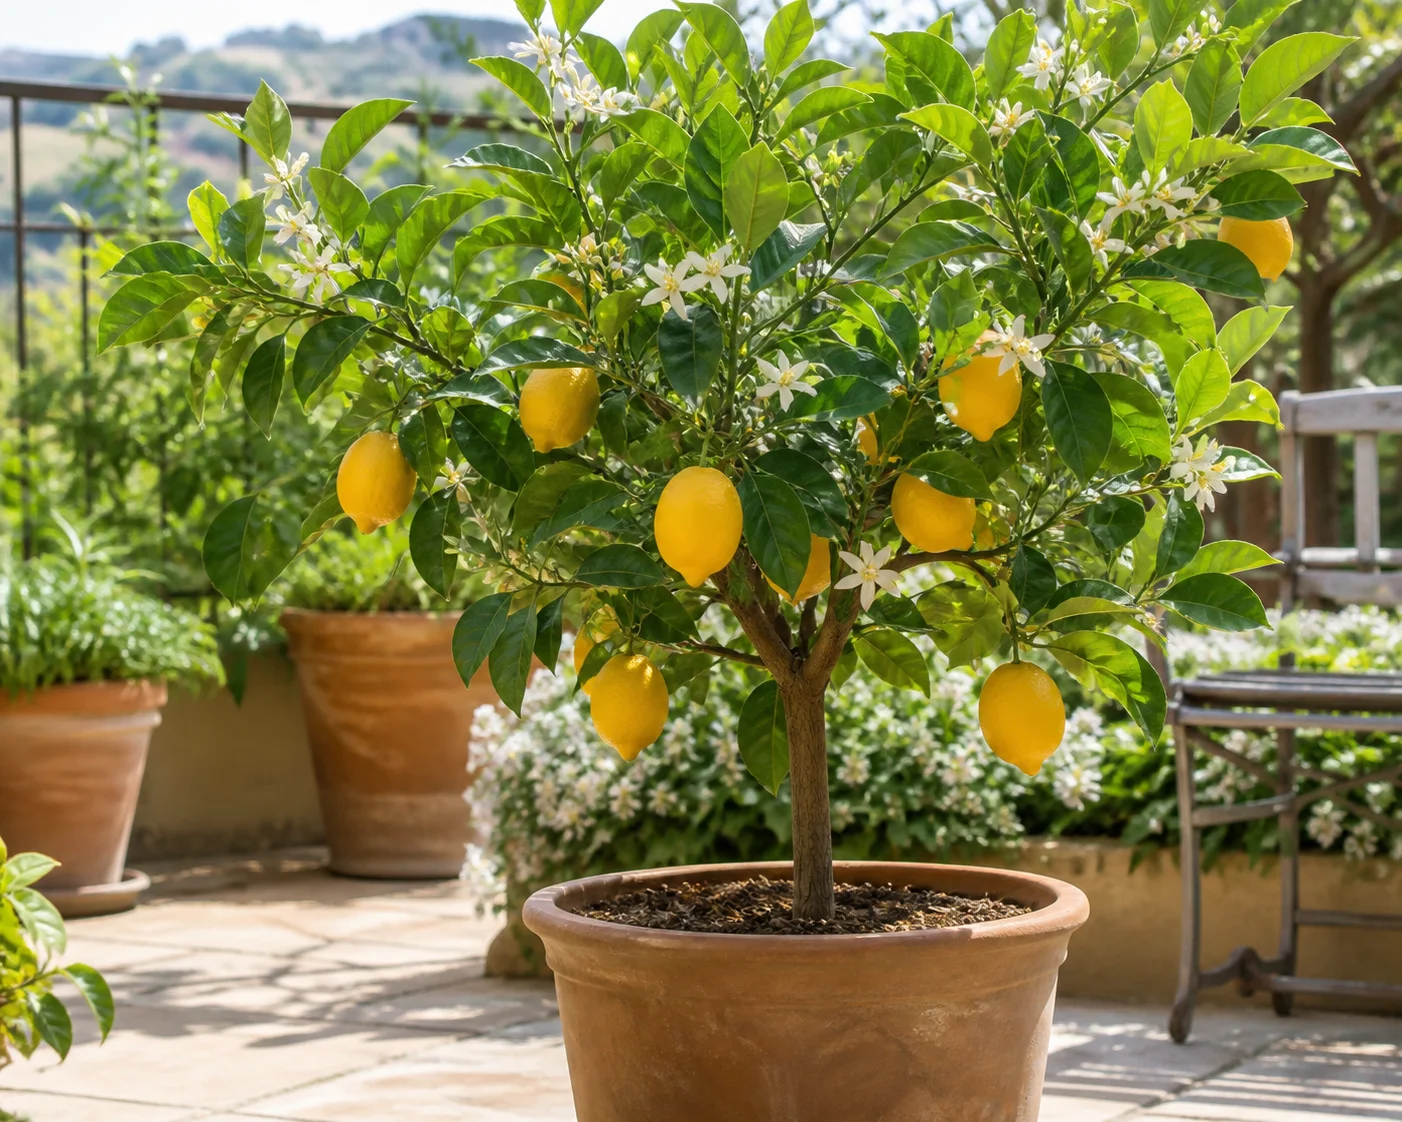
Meyer Lemon
Citrus tree often grown in containers alongside bay in cooler zones for a Mediterranean feel.
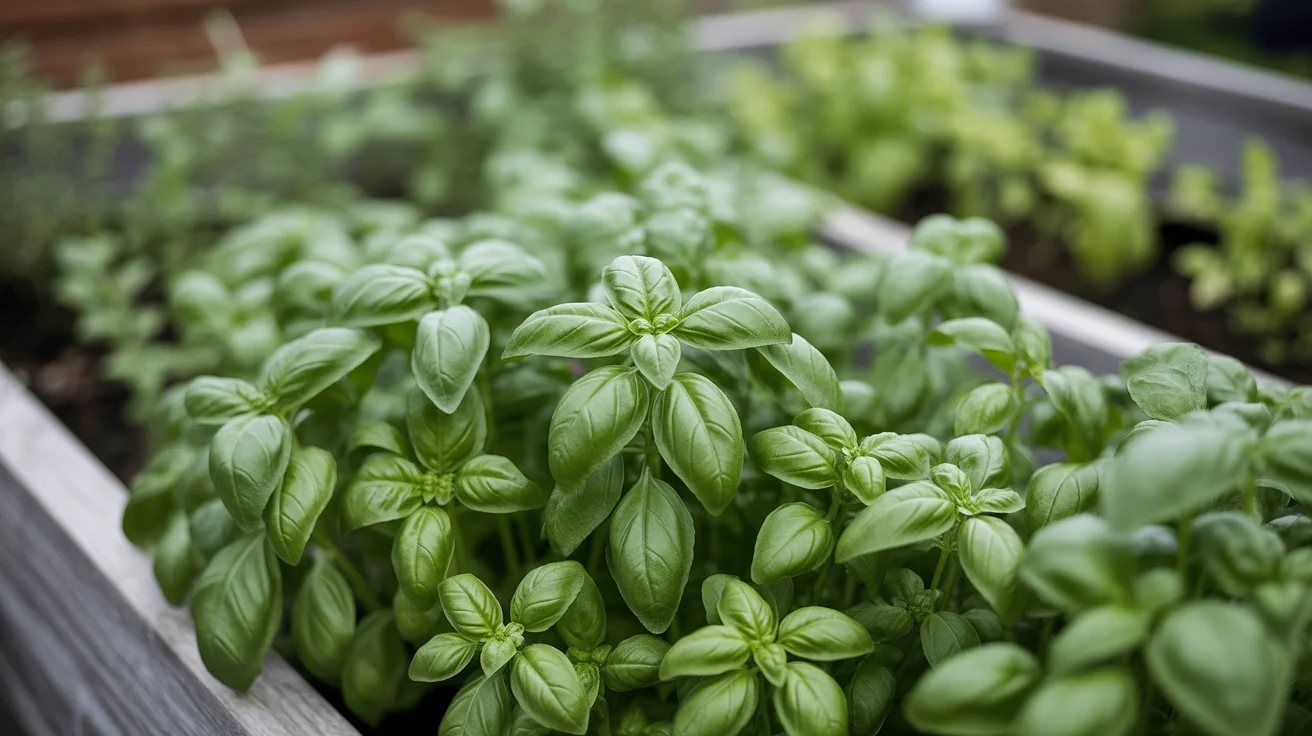
Basil
Basil is a tender annual that turns a warm season into armfuls of soft leaves, as long as it goes out into warm soil…
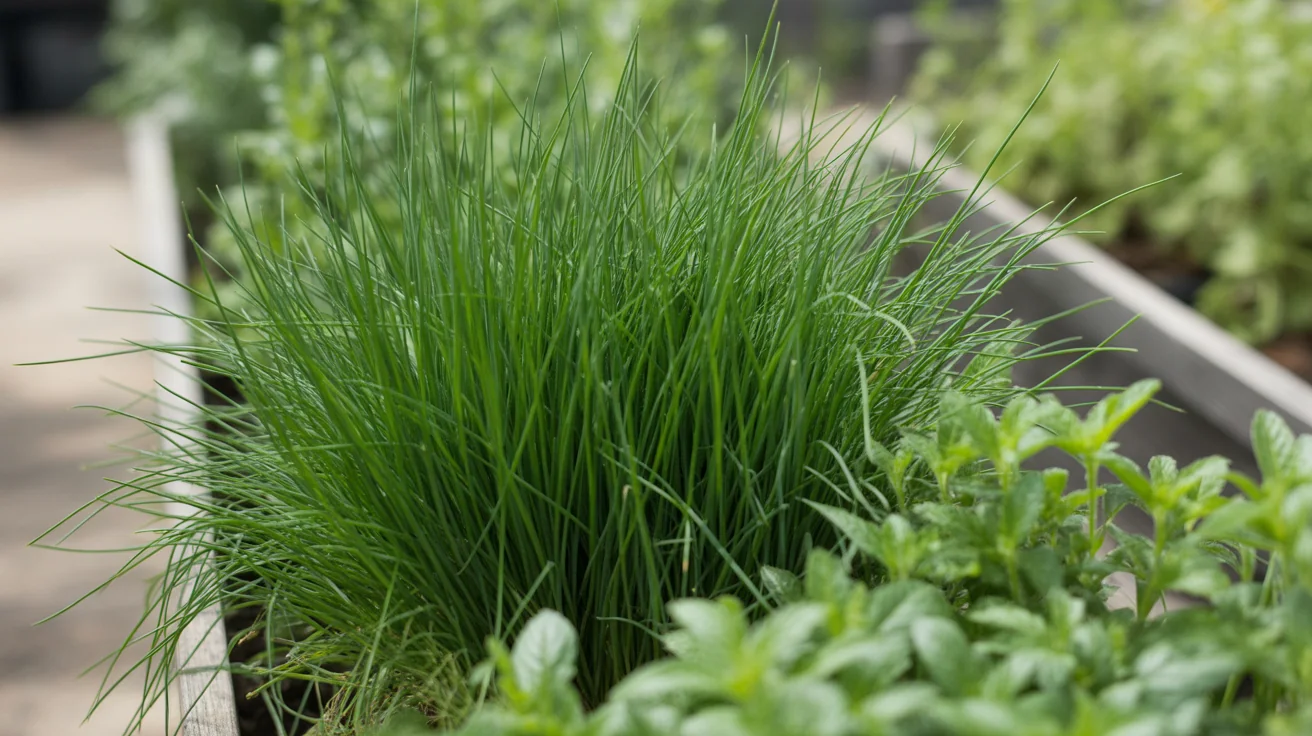
Chives
Chives are an Allium, in the same genus as onion and garlic, and that explains the flavor, the clump of small bulbs…
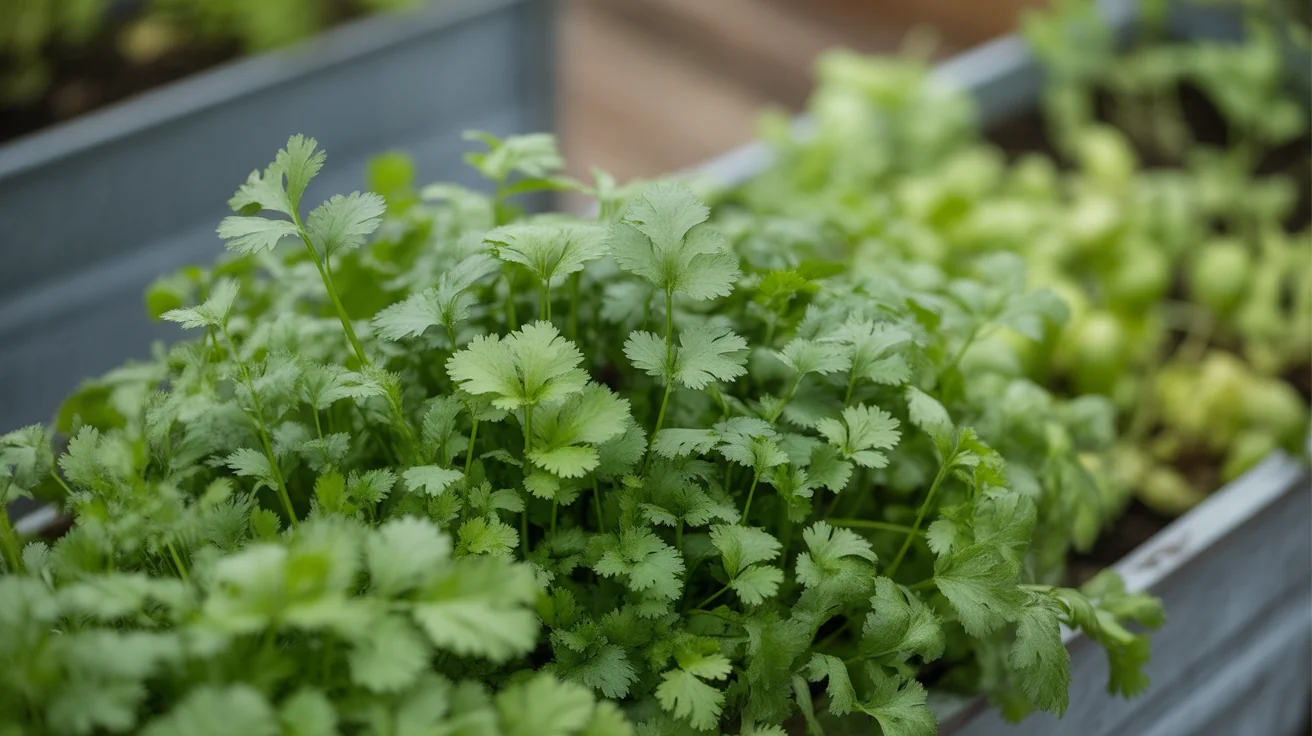
Cilantro
Cilantro and coriander are one plant at two stages, and the two crops need different spacing from the day the seed goes…