
What's a Chive Plant? How to Stop It Seeding the Whole Bed
Allium schoenoprasum Amaryllidaceae
Chives are an Allium, in the same genus as onion and garlic, and that explains the flavor, the clump of small bulbs that gets divided rather than pruned, the one to two inch cutting height, and the listing that makes them a problem for cats, dogs and horses.
The flowers are the trap. They are edible and long-lasting, and left on the plant past fading they seed the rest of the bed.
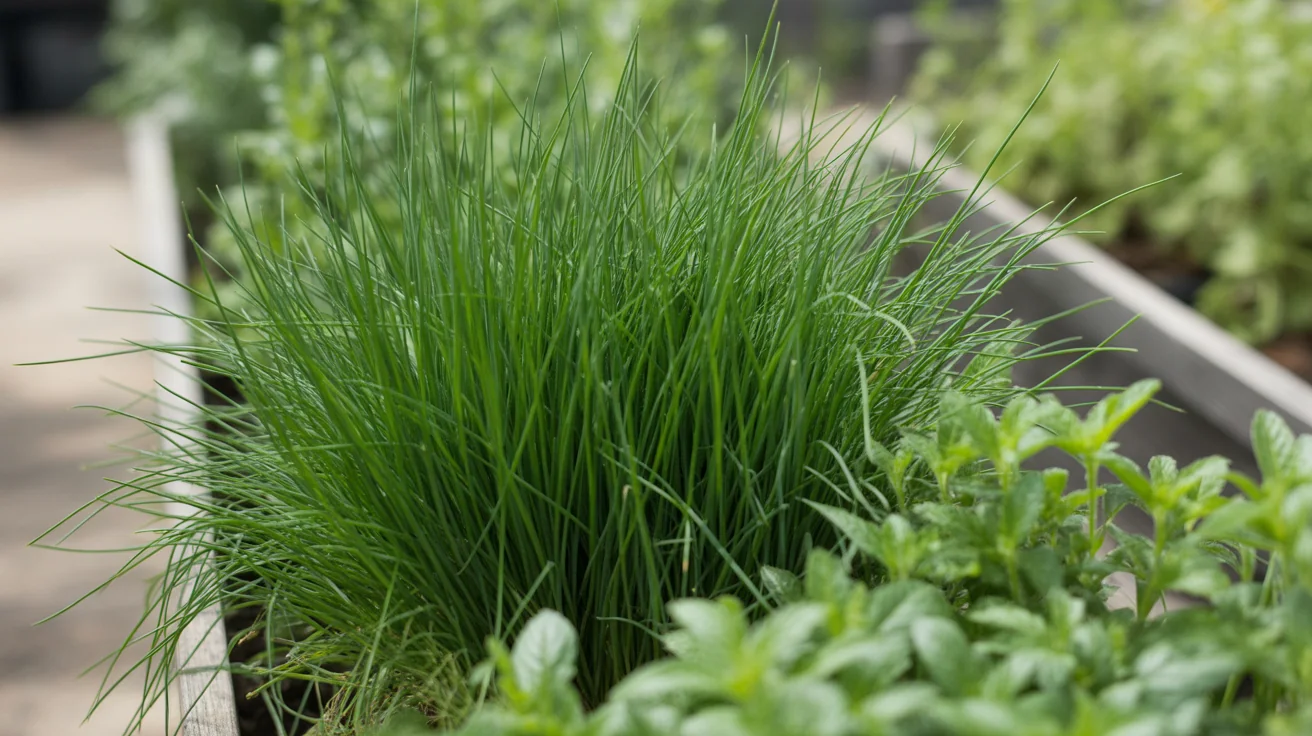
Care snapshot
Why Do Chives Behave Like a Small Onion?
Chives are Allium schoenoprasum, which puts them in the same genus as onion and garlic. That single fact explains more about the plant than anything else here.
The flavor, the shape, the way it is propagated and the warning about pets all follow from it.
The plant grows as a clump of small bulbs rather than a single crown, reaching 1 to 1.5 feet tall and about as wide, with hollow tubular leaves Wisconsin puts at 8 to 20 inches long. Each leaf comes up from its own bulb.
That structure is why chives are divided rather than cut back.
A woody herb is renewed with a pruning cut, and a clump of bulbs is renewed by being lifted and split.
Nothing done to the top growth changes what is happening underground.
It is also a hardy plant in the cold direction. Wisconsin calls it hardy to zone 4a, which puts it among the herbs that come back on their own in most of the country, and the perennial habit is what makes the division schedule further down worth keeping.
Should You Grow Common or Garlic Chives?
Two different plants are sold under almost the same word.
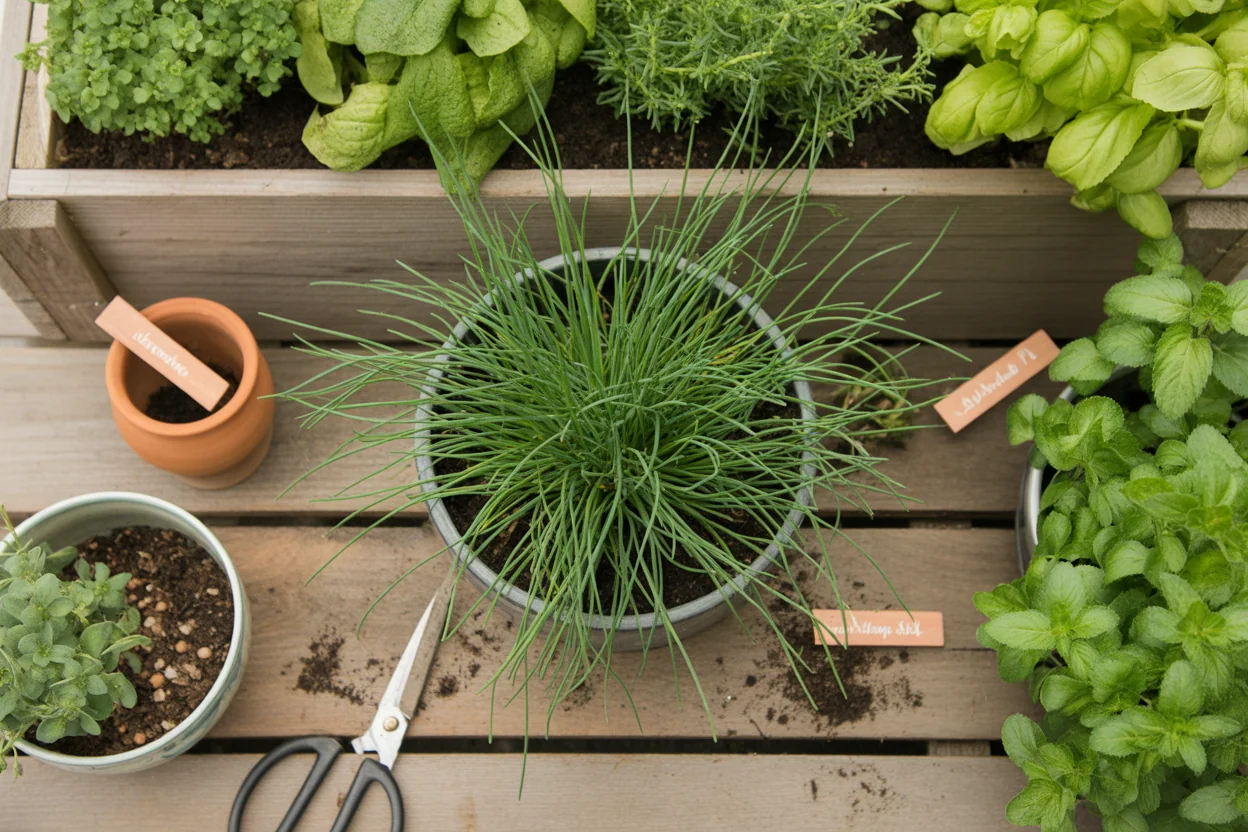
Common chives are Allium schoenoprasum, hardy in Zones 4a to 8b, with the round pink to purple heads most people picture.
Garlic chives are Allium tuberosum, a separate species with flat leaves, a garlic flavor and cream-white flowers.
- Common chives (Allium schoenoprasum)
- Zones 4a to 8b, hollow round leaves 8 to 20 inches long, pink to purple flower heads, onion flavor, and spread by seed alone
- Garlic chives (Allium tuberosum)
- Zones 3a to 9b, flat leaves, umbels of 25 to 55 pale yellow to cream flowers, garlic flavor, and described by NC State as weedy, spreading by seed and by underground rootstocks
The difference that matters is not the flavor. NC State describes garlic chives as weedy, and says the plant spreads readily by self seeding and by underground tuberous rootstocks.
One of those spreading routes can be stopped by cutting flowers and the other cannot.
A gardener who wants a clump that stays where it was put should buy common chives, and read the label rather than the leaf. Both are worth growing, but only one of them is a small commitment.
How Do You Start Chives, and How Far Apart?
The easiest start is not seed. Planting rooted clumps in spring, once frost danger has passed, gives a usable plant in the first season and skips the slowest part of the job.
Seed still works and is cheaper. Utah State plants it a quarter inch deep, and Wisconsin either starts it indoors a few weeks before the average last frost or direct sows it once the soil is warm.
- Rooted clumps planted in spring after frost danger, which is the quickest route to a usable plant.
- Seed sown a quarter inch deep, thinned to 4 to 6 inches in all directions.
- Seed started indoors a few weeks before the average last frost, which is what Wisconsin suggests.
- Seed sown direct once the soil is warm, which is the simplest but the slowest.
Spacing is the same whichever route is taken. Utah State puts plants 4 to 6 inches apart regardless of whether they came from seed or as transplants, and thins seedlings to the same distance in every direction.
The timeline is worth knowing before deciding. Utah State says harvest can begin as early as 60 days after seeding or 30 days after transplanting, which is the difference a rooted clump buys.
Crowding costs more than it looks. A clump left at two inches competes with itself for the light that the hollow leaves need, and the leaves come thinner and flop sooner.
It is also worth planting more than one clump. A single clump cut hard for the kitchen has no rest, and two clumps cut alternately keep both in better condition through the summer.
What Happens If You Leave the Flowers On?
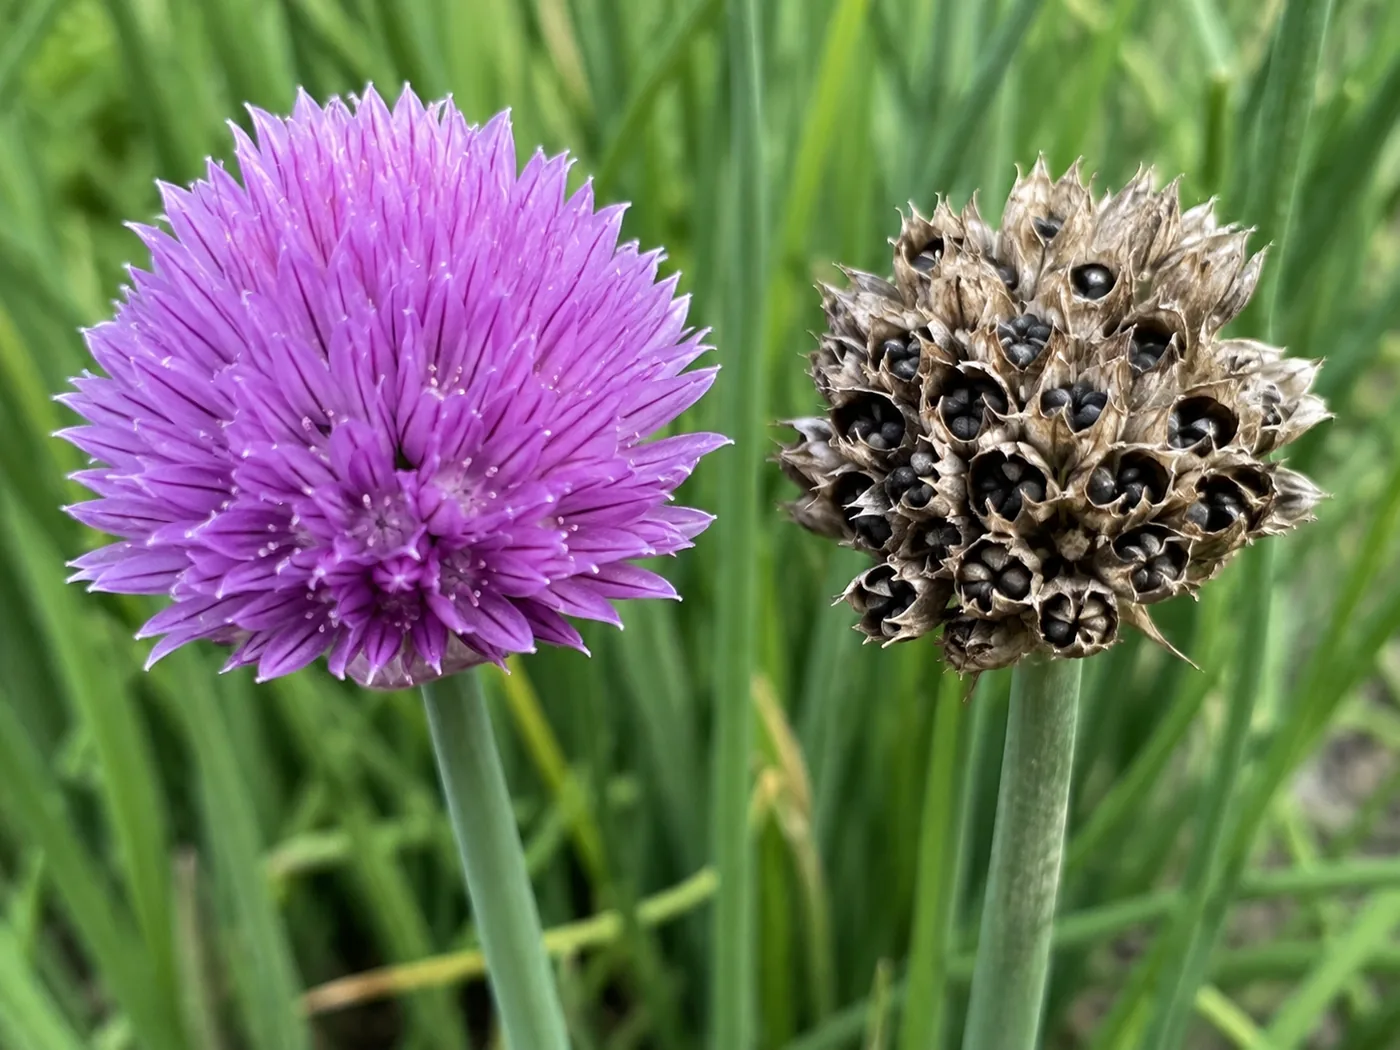
The flowers are the reason many people grow chives at all. They arrive mid spring to early summer as tight round globes of pink to pale purple, they last for weeks, and Wisconsin confirms they are edible.
Illinois notes they can be harvested as a garnish.
Leaving them alone is the obvious thing to do.
It is also how a chive clump becomes a chive problem.
Illinois puts it plainly, saying chives can self-sow and overtake a garden unless flowers are removed before they fade.
The word doing the work in that sentence is before.
A fresh head is colored and tight.
A spent one turns papery and pale, the petals drop away, and black seeds sit exposed in the open segments.
By the time a head looks like that, the seeds are ready to leave.
Cut heads are usable. They go on food as a garnish and hold their color for a few days in water, which makes the deadline easier to keep than it sounds.
Garlic chives need the same treatment and get less out of it. NC State recommends deadheading them, but the underground rootstocks carry on spreading whatever is done to the flowers.
How Do You Cut Chives and Keep the Clump Going?
Cutting height decides whether a clump stays usable.
Illinois says to cut leaves toward the base, about one inch above the soil, and Utah State gives within 1 to 2 inches.
Wisconsin's figure of about 2 inches from the base sits in the same band, so anywhere in there is right.
Wait for length before the first cut. Wisconsin cuts as needed once the leaves are about 6 inches long, which on a spring clump comes quickly.
Trimming the tips instead leaves a clump of blunt stubs. They never grow out of it, because nothing about a shortened leaf prompts the bulb to send up a new one, and the clump gets shorter every time it is cut that way.
- Lift the clump in early spring, which is when all three sources put division.
- Split it into pieces of at least 5 bulblets, which Wisconsin says establish quickly, or the 4 to 6 bulbs Illinois gives.
- Replant at the same depth, 4 to 6 inches apart, and water them in.
- Repeat every 2 to 3 years to prevent overcrowding.
Splitting a clump is the same job as splitting any other perennial, and the division technique carries over directly even though the plant does not.
Storage favors the freezer.
Wisconsin says the leaves can be frozen or dried, but that they lose a lot of their flavor when dried, so chopping and freezing keeps more of what you cut them for.
The other essential kitchen herbs mostly go the other way and dry well.
What Soil and Feeding Do Chives Need?
The sources agree closely here. Wisconsin says chives do best in full sun in organic rich, well-drained soil, while tolerating light shade, and Utah State says they grow in all soil types provided those are rich, well drained, moist and fertile.
- Full sun of six or more hours, with light shade tolerated rather than preferred.
- Rich, well-drained soil with organic matter through it, which most beds already have.
- Watering regular enough to keep soils near field capacity, which is Utah State's phrase.
- A sidedress in May and July, and nothing else through the year.
The feeding rate is small and specific. Utah State sidedresses in May and July with 1 teaspoon of 21-0-0 fertilizer per square foot, which is a light touch by vegetable-bed standards and reflects a plant that is not being pushed for bulk.
Overfeeding does not help. A clump given more nitrogen than that puts on soft leaf that flops, and the flavor thins with it, which is the same trade feeding any leaf crop involves.
Water is the part that gets missed.
Near field capacity means the soil stays damp through rather than being watered on a schedule.
A clump that dries out repeatedly gives thin leaves however well it is fed, and no amount of feeding compensates.
Can Chives Be Kept Going Indoors Over Winter?
Two sources give two different answers and both are workable.
Wisconsin says small clumps can be potted up and moved indoors in the fall to grow on a bright windowsill through the winter.
Illinois says to dig clumps from the garden after a freeze, in December or January, and warns that plants potted in the fall do not perform as well and tend to become leggy.
The disagreement is about whether the plant needs its cold period first.
Illinois clearly thinks it does.
Wisconsin is content to skip it.
The gap between them is probably light, since a plant that never went dormant needs a brighter sill than one that did.
Either way the indoor plant is fed and watered rather than left alone. Utah State grows chives indoors in pots of ordinary potting soil, watered and fed regularly, and the indoor herb guide covers how they sit beside the tender herbs on the same sill.
What Bothers Chives, and Are They Safe for Pets?
The two sources part company here, and the gap is worth stating.
Wisconsin says chives have no significant insect or disease problems.
Utah State names thrips, root maggot, pink root and downy mildew.
Both can be true. Wisconsin is describing a clump in a home garden and Utah State is describing what an allium crop is prone to, and the four it names are onion problems that reach chives because chives are an onion.
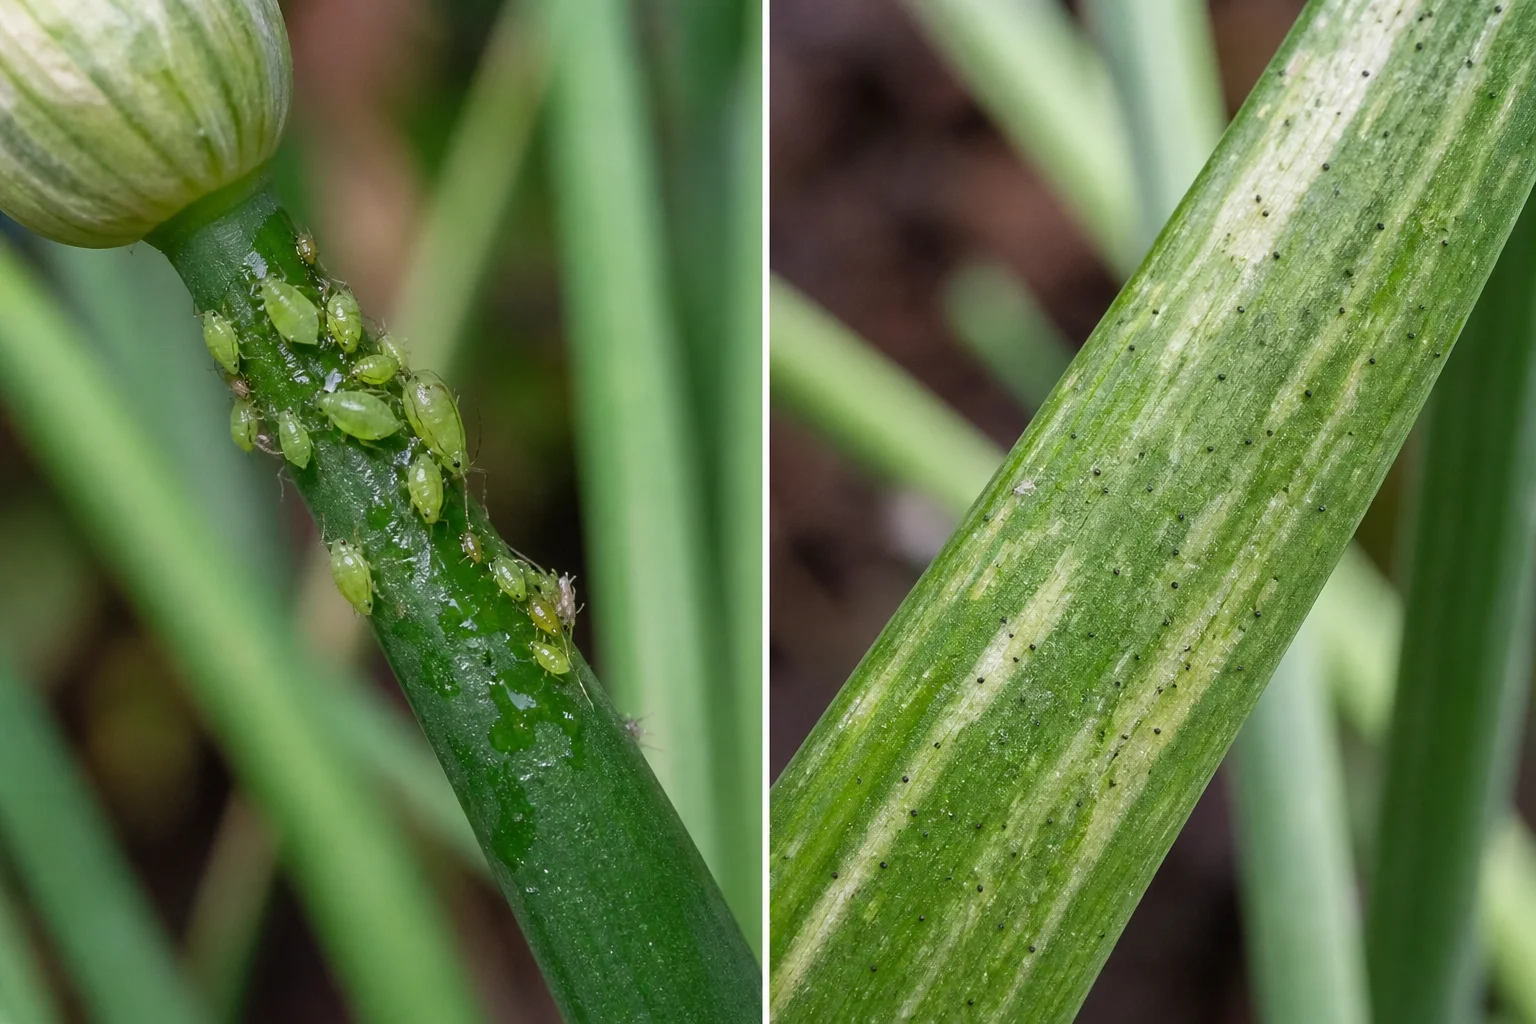
- Insects clustered on a flower stalk under an unopened bud are aphids.
- Pale silvery streaks along a leaf with tiny dark specks are thrips damage, and the insects may already be gone.
- Pink root and root maggot work below ground, so a clump failing with clean leaves is worth lifting to look at.
- Neither one opens the leaf. A hollow tube split along its length is mechanical damage or an animal, not an insect either source names.
The response differs by where the problem sits. Aphids come off with water and can be watched for on the stalks, thrips damage is found by turning a leaf to the light, and the root problems are only found by lifting the clump, which is the same job as diagnosing rot in any other allium.
The pet question is settled by the genus.
NC State tags Allium schoenoprasum as a problem for cats, dogs and horses. That is the same listing onion and garlic carry, for the same reason.
Most gardeners already know not to give onion to a dog. Fewer connect that to the pot of chives on the step.
Frequently Asked Questions
Should I let my chives flower?
Only if you cut the heads before they fade. Illinois says chives can self-sow and overtake a garden unless flowers are removed before that point, and Wisconsin says deadheading after they fade will reduce or eliminate volunteer seedlings.
How far down should chives be cut?
Within one to two inches of the soil. Illinois gives about one inch, Utah State gives 1 to 2 inches, and Wisconsin about 2 inches from the base, once the leaves are around 6 inches long.
How far apart should chives be planted?
Utah State spaces plants 4 to 6 inches apart whichever way they were started, and thins seedlings to the same distance in all directions after sowing a quarter inch deep.
How long until chives can be harvested?
Utah State says as early as 60 days after seeding, or 30 days after transplanting, which is the main reason to start from rooted clumps rather than seed.
How often do chives need dividing?
Every 2 to 3 years, in spring. Wisconsin says divisions establish quickly when they contain at least 5 bulblets, and Illinois puts each division at about 4 to 6 bulbs.
Is it better to dry or freeze chives?
Freeze them. Wisconsin says the leaves can be frozen or dried, but that they lose a lot of their flavor when dried.
What is the difference between chives and garlic chives?
They are separate species. Common chives are Allium schoenoprasum with hollow leaves and purple flowers, and garlic chives are Allium tuberosum with flat leaves and cream flowers, which NC State describes as weedy and spreading by seed and underground rootstocks.
Are chives safe for cats and dogs?
No. NC State tags Allium schoenoprasum as a problem for cats, dogs and horses, which is the same listing that onion and garlic carry.
Sources & References
- NC State Extension Gardener Plant Toolbox: Allium schoenoprasum
- NC State Extension Gardener Plant Toolbox: Allium tuberosum
- Wisconsin Horticulture: Chives, Allium schoenoprasum
- Utah State University Extension: How to Grow Chives in Your Garden
- Illinois Extension: Chives
- Toxic and Non-toxic Plants: Chives | ASPCA
Related Plants
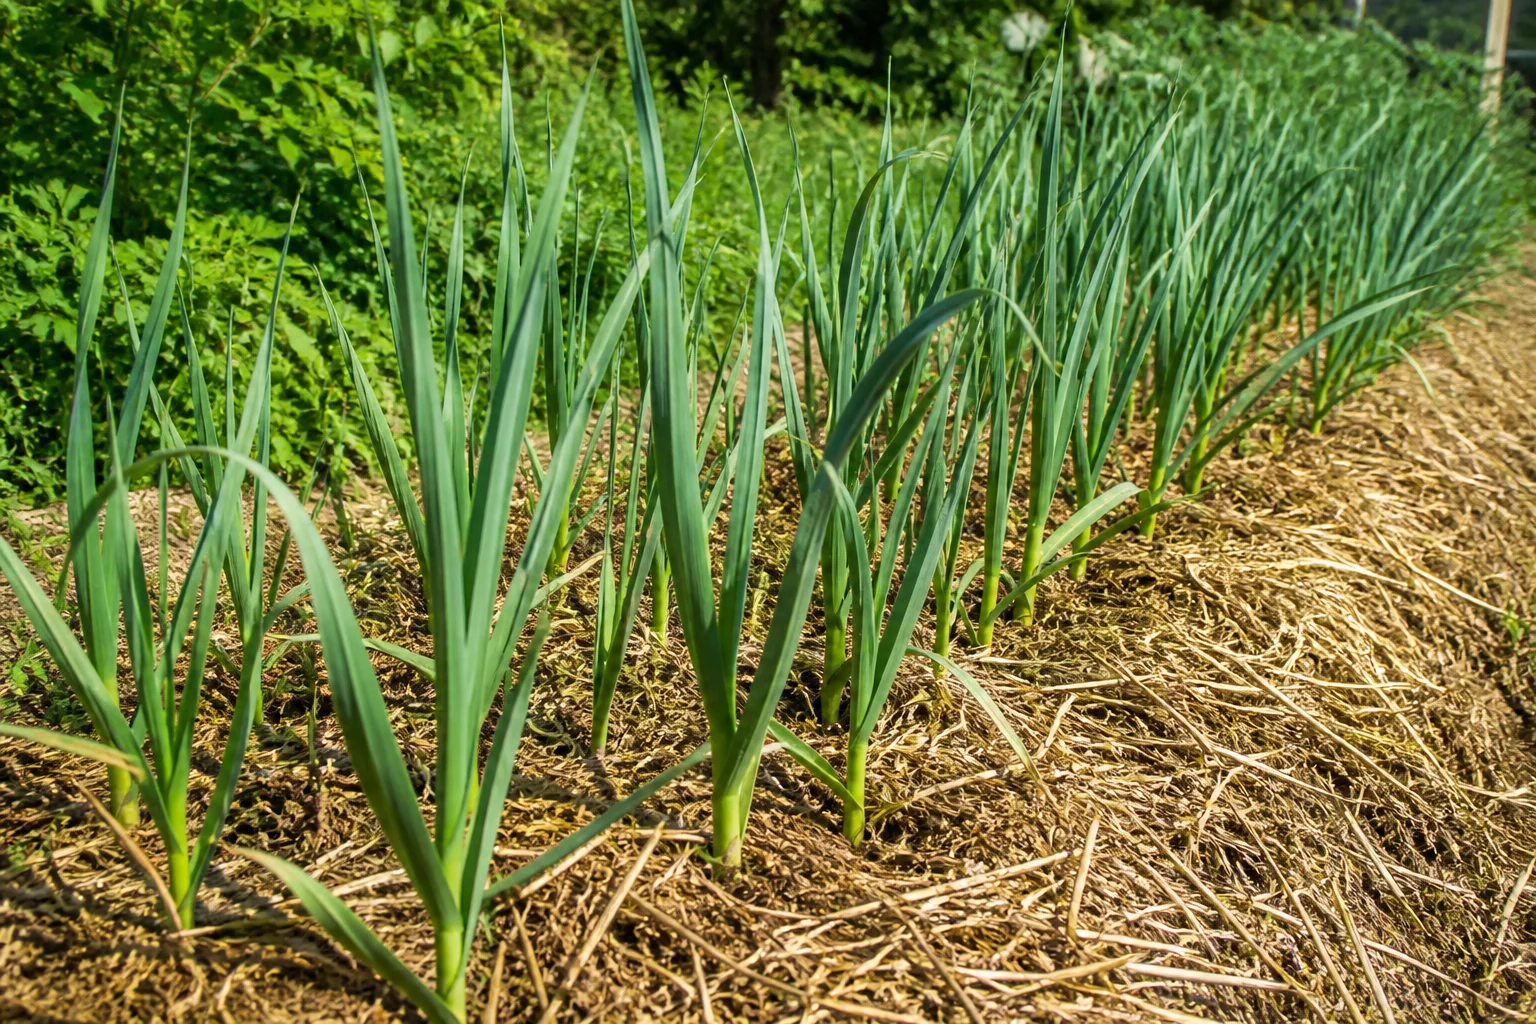
Garlic
A fellow Allium grown for bulbs instead of hollow leaves, good to pair with chives in kitchen beds.
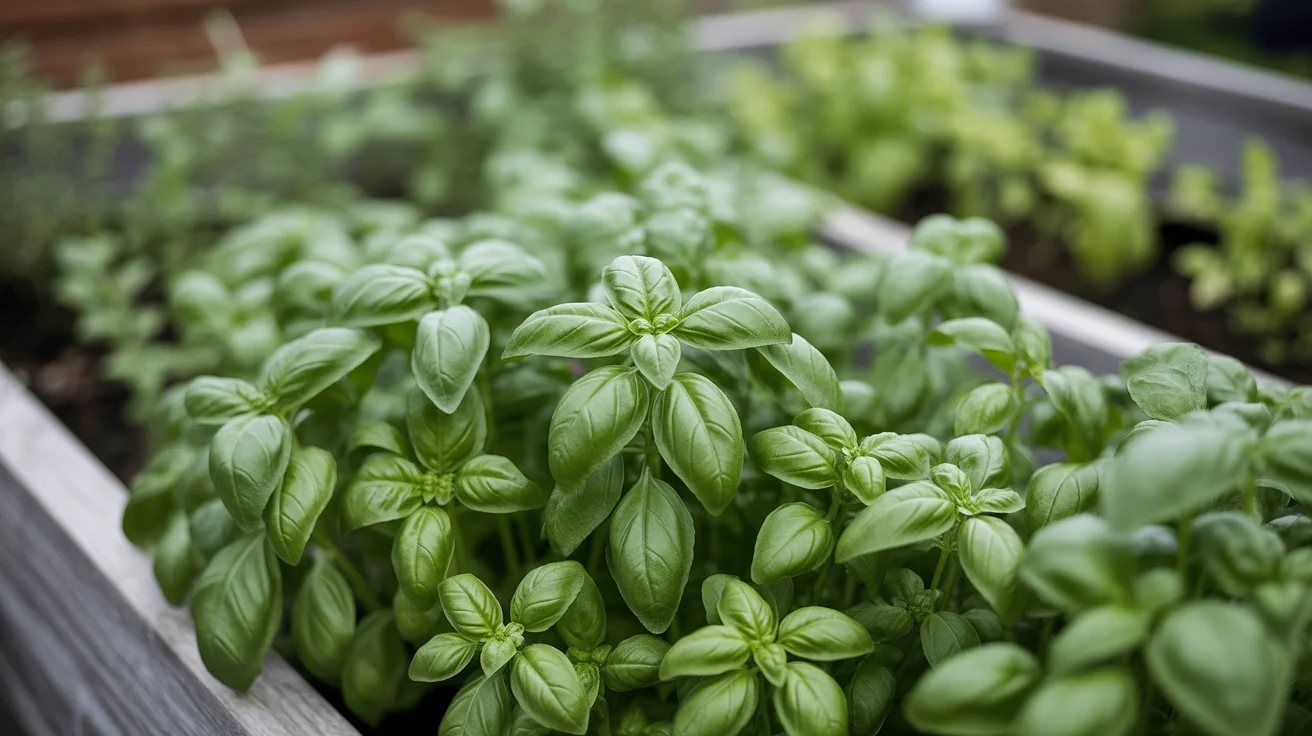
Basil
Tender annual herb that likes similar sun and fertile soil but more heat than hardy chives.
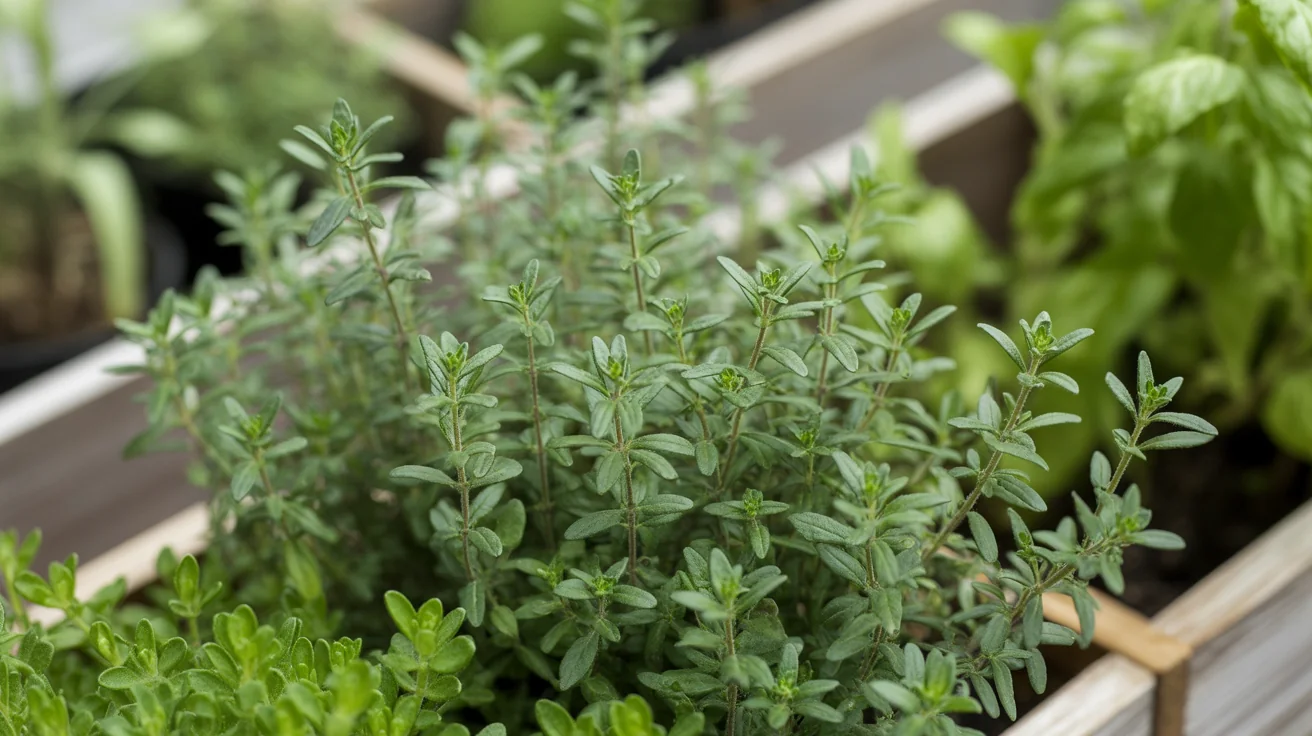
Thyme
Low, woody herb that prefers drier soil than moisture-loving chives but shares full-sun beds well.
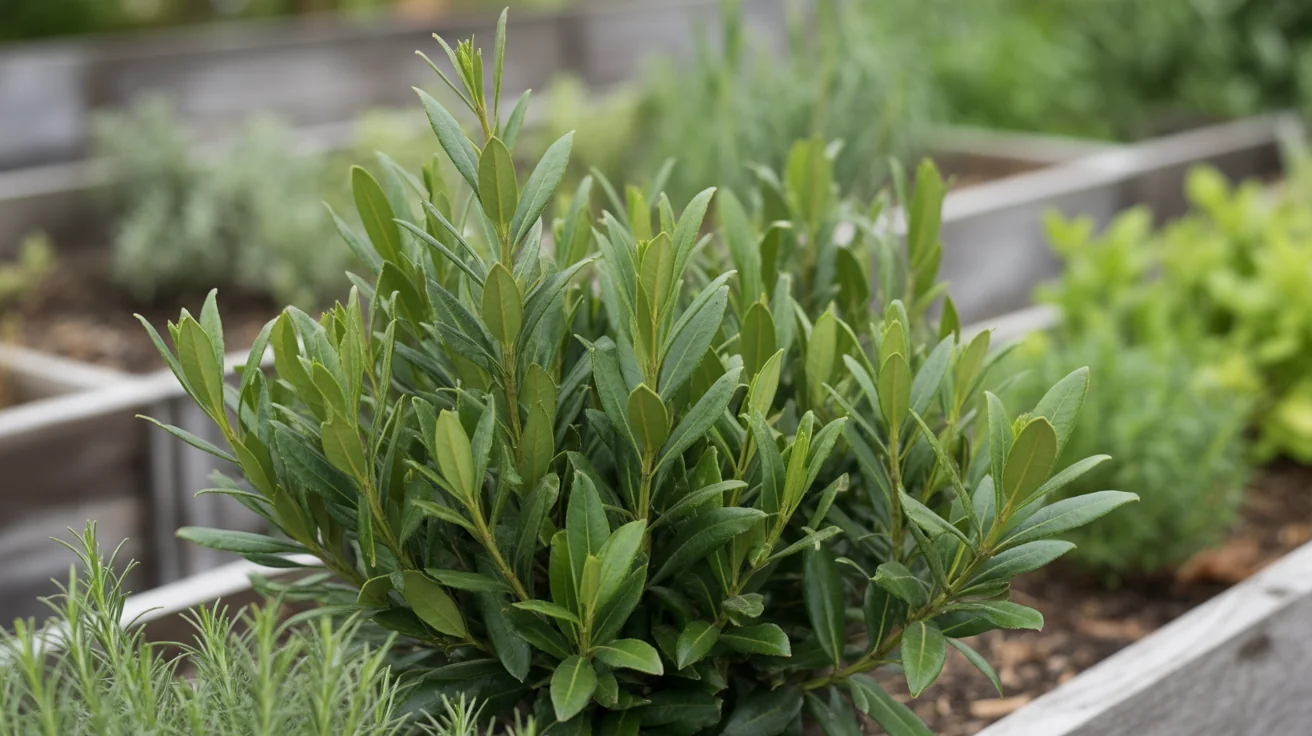
Bay Laurel
Bay laurel is a tree grown as a container plant, which is why every decision about it looks the way it does.
Cilantro
Cilantro and coriander are one plant at two stages, and the two crops need different spacing from the day the seed goes…
Dill
Dill reaches two and a half to five feet, which the small pot it is sold in does not prepare anyone for, and it…