
How to Start No-Dig Gardening in an Existing Yard
No-dig gardening replaces broad annual cultivation with permanent beds and surface applications of finished organic matter.
You still open small planting holes, pull persistent weeds, and loosen genuinely compacted ground when necessary, but you stop turning the whole bed.
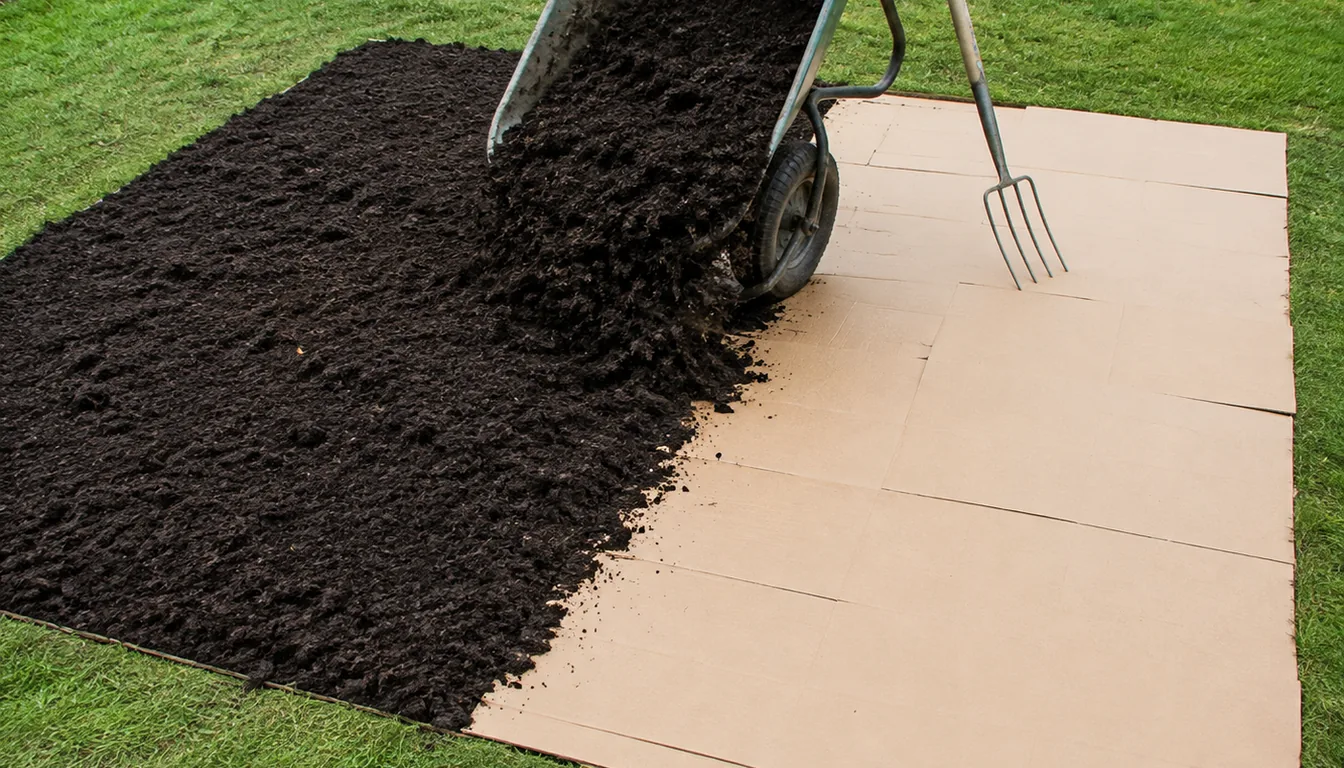
For a new bed over lawn, cover the vegetation with overlapping plain cardboard and add 4 to 6 inches of mature compost or other well-rotted organic matter.
An existing workable bed usually needs no cardboard, while a waterlogged or severely compacted site needs correction before it can support crops.
The method saves future soil disturbance, not every minute of setup. The site diagnosis decides whether you can mulch immediately or must solve a deeper problem first.
At a glance
What Does No-Dig Gardening Change Below the Surface?
Healthy soil is not loose powder. Mineral particles form aggregates around pores, roots, organic matter, fungal strands, and compounds produced by microorganisms.
Repeated tillage breaks those aggregates into smaller pieces. University of Minnesota Extension notes that intensive tillage can reduce water-holding capacity and make soil more vulnerable to later compaction and erosion.
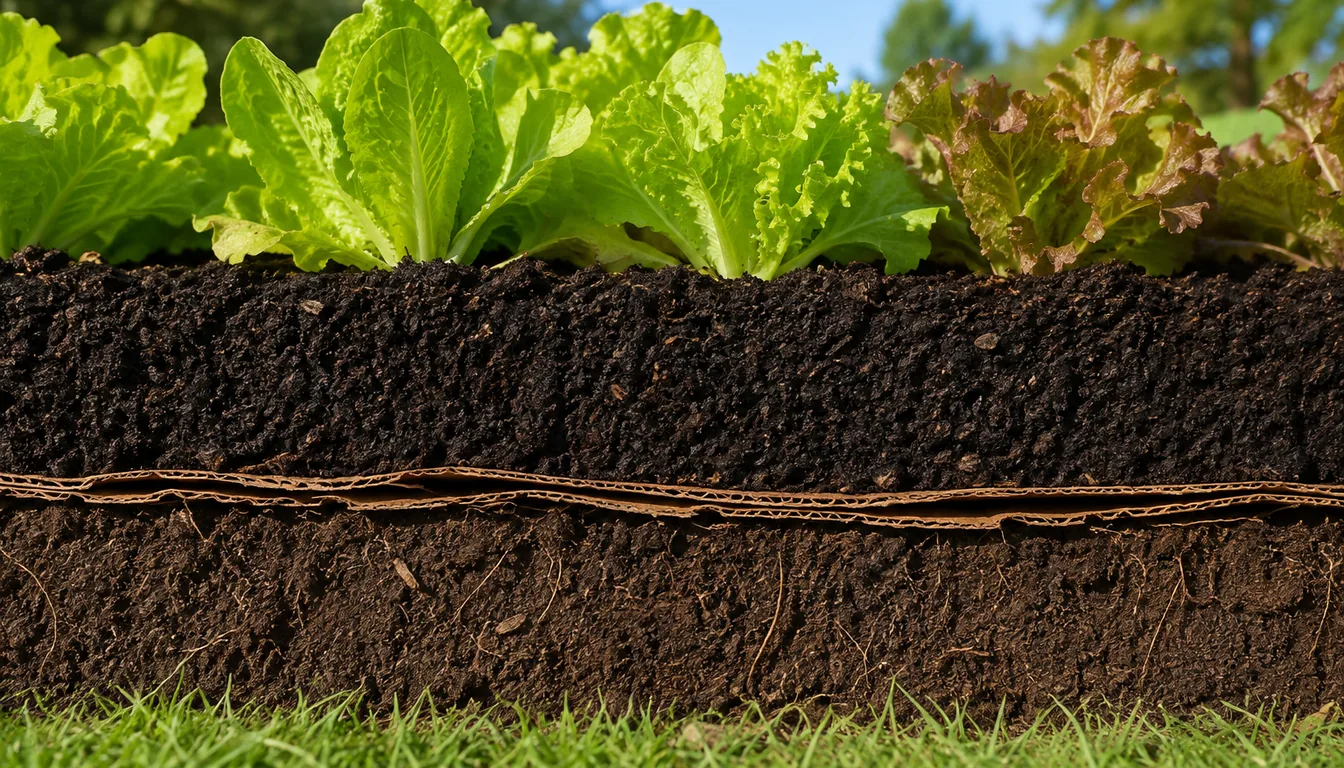
No-dig management leaves most of that structure in place and feeds the surface instead. Earthworms and other soil organisms gradually incorporate organic material, while roots use existing pores and create new channels as they grow and decay.
This does not mean that a cardboard layer instantly creates deep fertile soil. During establishment, crops depend heavily on the quality and depth of the material above the old surface, and the connection to native ground improves as the paper softens and roots cross it.
- Soil disturbance
- Limited to planting holes, harvesting, shallow hoeing, and necessary repairs
- New-bed feed
- A deep initial layer of mature organic matter that can support planting
- Established-bed feed
- A surface mulch renewed as it settles and decomposes
- Traffic rule
- Keep routine foot traffic in permanent paths
- Main limit
- Mulch cannot correct standing water, contamination, or severe compaction by itself
No-dig and no-work are different claims.
The method shifts labor from turning soil toward sourcing compost, maintaining edges, and making small corrections at the place where they are needed.
Is the Site Ready to Cover, or Does It Need Repair First?
Push a garden fork into moist ground before ordering compost.
If it enters with firm pressure and water drains after rain, you can usually build on top without loosening the entire area.
Ground that has carried vehicles or heavy equipment can have a dense layer that roots and water cannot cross. In that case, University of Minnesota Extension accepts one-time tillage as an option for extreme compaction, while a broadfork or garden fork can aerate less damaged ground without flipping it.
Drainage is a separate decision.
Compost improves the surface, but it does not give trapped water an exit, and the Royal Horticultural Society recommends raised beds where heavy soil is prone to waterlogging.
- Rainwater leaves the proposed bed rather than standing for a day or more
- A fork enters the moist soil without bouncing off a hard layer
- The area receives enough light for the crops you plan to grow
- Deep-rooted perennial weeds have been identified before they disappear under mulch
- Downspouts, low spots, and irrigation leaks will not empty into the bed
- Food-growing soil has been tested where lead or other contamination is plausible
- The bed can be reached from a path without regular foot traffic across it
If one of those checks fails, fix that condition rather than burying it.
Regrade or drain a low spot, loosen a compacted layer once, remove persistent roots, or use a raised bed with clean material where a soil test shows the native ground is unsuitable for food.
Which Materials Belong in the Bed, and Which Belong on Paths?
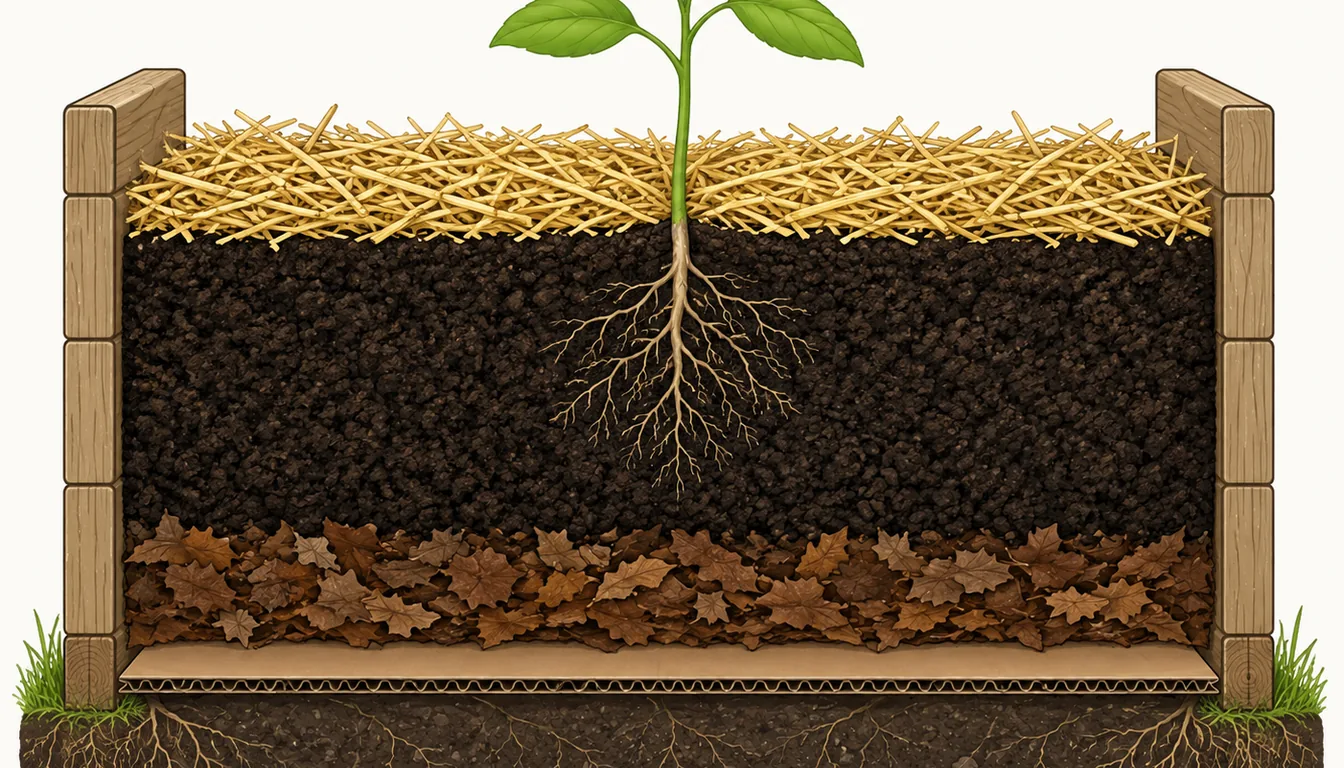
The simple version uses fewer layers than many diagrams suggest. Plain cardboard suppresses lawn or annual weeds, finished compost provides the planting layer, and an optional loose mulch protects the surface after crops are in place.
Lasagna gardening adds alternating green and brown materials that continue composting in the bed. That can be useful when time and local materials are plentiful, but unfinished layers are not the same as the mature surface needed for fine seed or young roots.
| Material | Best position | What it does | Important limit |
|---|---|---|---|
| Plain brown cardboard | Over mown lawn or annual weeds | Blocks light until the covered plants die | No tape, staples, glossy or heavy print |
| Mature compost | Top planting layer | Fine root zone, nutrients, organic matter | Quality varies by source |
| Well-rotted manure | Below or blended with compost | Adds organic matter and nutrients | Can carry salts, weed seed, herbicide residue |
| Shredded leaves | Under compost, or light surface cover | Local bulk and surface protection | Whole leaves mat and shed water |
| Straw | Around established plants | Slows evaporation, softens rain | Brings seed and slugs; blows around |
| Fresh wood chips | Paths, or around established plants | Weed cover and firm footing | Never mix into the seedbed |
| Purchased topsoil | Only where extra depth is needed | Adds bulk and mineral texture | Label proves nothing; ask for a test |
Cardboard is optional in an existing bed that is already weed-free. Adding it every year can separate new compost from the root zone for no useful reason, so reserve it for initial vegetation suppression or a specific patch that needs it.
Compost also deserves a source check. A dark color does not prove maturity, balanced nutrients, or freedom from persistent herbicides.
How Much Compost Does a No-Dig Bed Need?
Calculate volume from the bed area, not from the number of beds.
Multiply length by width in feet, multiply by depth in feet, then divide cubic feet by 27 to convert the order to cubic yards.
A 4-inch layer is one-third of a foot, and a 6-inch layer is one-half of a foot. Round bags upward because the calculated volume has to cover the whole surface after raking, while bulk deliveries can usually be ordered in quarter-yard or half-yard increments.
| Bed area | Compost at 4 inches | Compost at 6 inches | 1.5-cu-ft bags at 6 inches |
|---|---|---|---|
| 4 x 4 ft | 0.20 cu yd | 0.30 cu yd | 6 bags |
| 4 x 8 ft | 0.40 cu yd | 0.59 cu yd | 11 bags |
| 8 x 12 ft | 1.19 cu yd | 1.78 cu yd | 32 bags |
| 10 x 10 ft | 1.23 cu yd | 1.85 cu yd | 34 bags |
| 100 sq ft annual top-up at 2 inches | 0.62 cu yd | Not applicable | 12 bags |
The initial depth depends on what lies below and when you want to plant.
The Royal Horticultural Society advises 4 to 6 inches of well-rotted organic matter for a new no-dig bed and says immediate planting needs at least about 4 inches of suitable material.
Use the deeper end over active lawn, uneven ground, or when transplants need a dependable root zone immediately.
An established, workable bed does not need another 6 inches each year, and the RHS annual recommendation is about 2 inches at the surface.
Ordering by volume is only half the budget. A delivery pile needs a legal drop location, wheelbarrow access, and enough time to spread before it dries into hard clumps or blocks a driveway.
How Do You Convert Lawn or Weedy Ground Without Tilling?
Build when the ground is moist but not saturated. Late winter or early spring is convenient in many climates because cool soil loses less water and the bed can settle before heavy planting, though a sound site can be converted in any season.
Remove woody crowns and deep storage roots first. Mulch reliably suppresses annual seedlings and lawn grasses, but bindweed, quackgrass, horsetail, brambles, and other persistent perennials can travel through seams or emerge beyond the edge.
- Mark permanent beds and pathsKeep beds about 3 to 4 feet wide where both sides are accessible, then reserve paths wide enough for your wheelbarrow and working stance.
- Cut existing growth lowMow or cut lawn and annual weeds close to the ground so cardboard makes contact instead of bridging over a springy canopy.
- Remove persistent roots and woody crownsDig only where needed to take out the plants that a light-blocking layer is unlikely to exhaust.
- Water dry groundMoisten the soil before covering it. Do not add water when the site is already saturated.
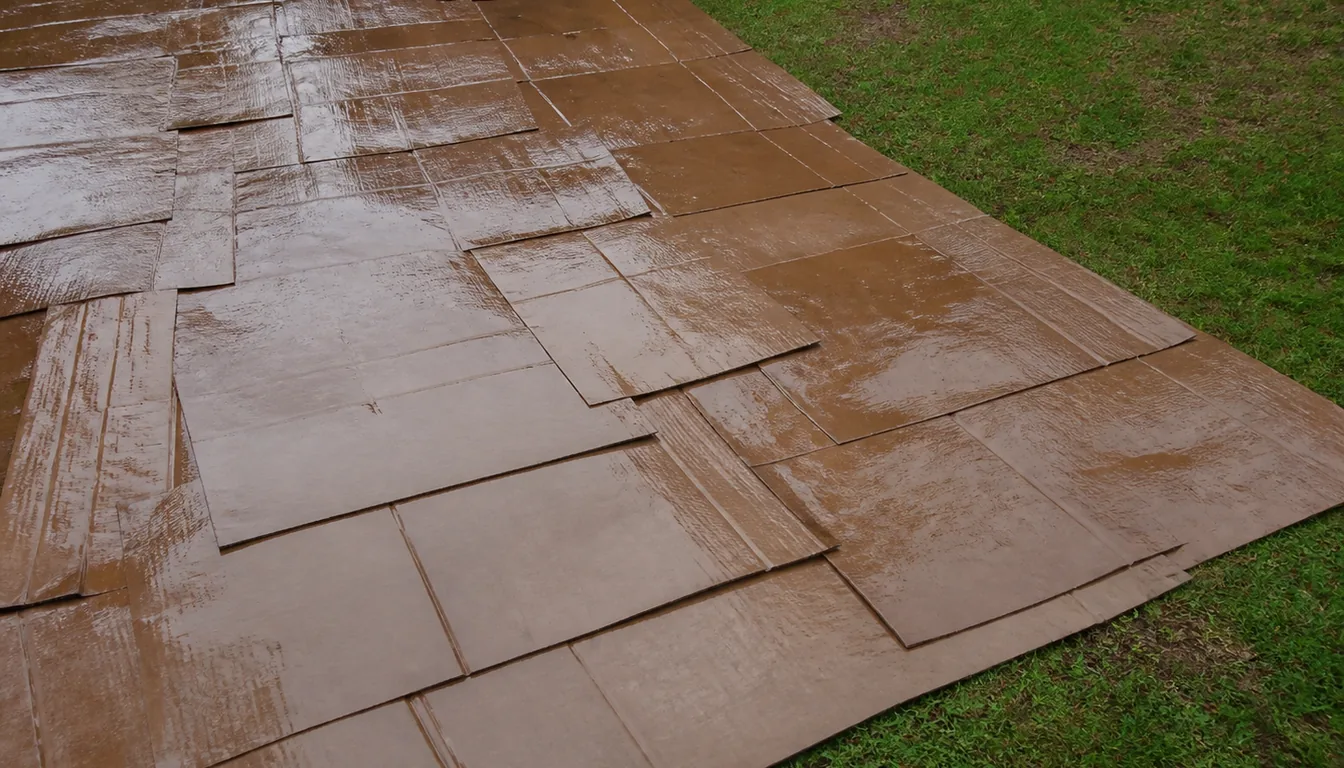
- Lay plain cardboardRemove tape and staples, overlap every seam generously, and extend the cover slightly beyond the final bed edge.
- Wet the cardboardSoak it enough to settle and stay in place while you work, without turning the ground below into mud.
- Spread mature compostAdd 4 to 6 inches over the entire bed and level it gently without mixing it into the cardboard.
- Finish paths and edgesPut wood chips or another durable cover on paths, then define an edge that stops lawn from creeping back into the bed.
You do not need boards around a ground-level no-dig bed. Edging helps contain loose material and makes the boundary obvious, while an unframed mound costs less and allows roots to explore native soil beyond the bed.
Do not step onto the finished growing surface to rake the center.
Work from both paths or lay a temporary plank that spreads your weight, then remove it when the bed is complete.
The bed is ready for transplants when the compost is mature, cool, and deep enough to hold their root balls. If the material smells sour, releases heat, or contains many recognizable fresh ingredients, let it finish before planting into it.
How Do You Sow and Transplant Into a New No-Dig Bed?
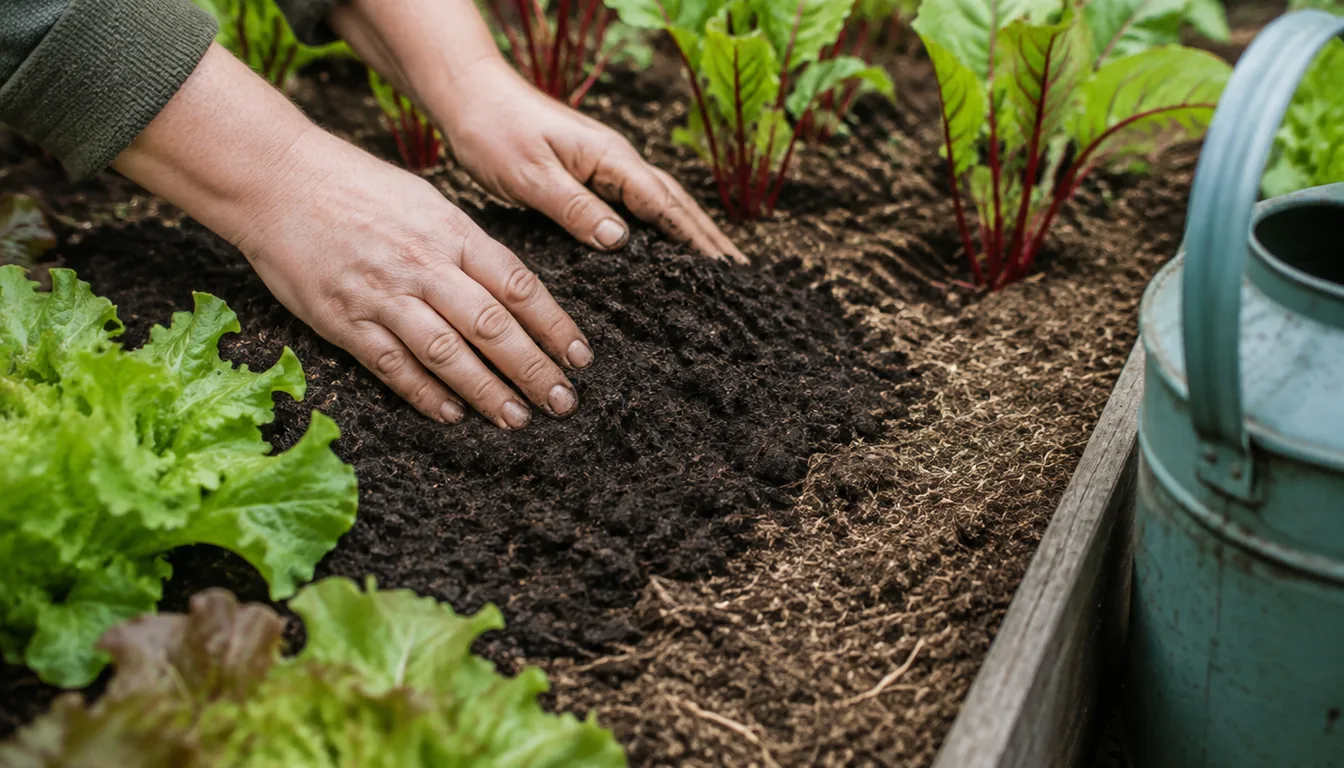
Planting holes do not violate the method. The practical rule is to disturb the smallest area the crop needs instead of cultivating the full bed before every planting.
Transplants are the easiest first crop because their root balls begin in mature compost and soon grow through softened cardboard into the soil below. Set each plant at its normal depth, firm the compost around it, and water the root ball and surrounding layer together.
Direct sowing requires a finer surface. Rake aside coarse mulch, break only the top layer into small crumbs, make a shallow drill, and keep that narrow band consistently moist until seedlings establish.
Young transplants
Open a hole through compost and softened cardboard only as wide as the root ball. This gives lettuce, tomatoes, brassicas, and herbs the most reliable first-season start.
Large seeds
Beans, peas, squash, and corn can be sown into holes or drills in mature compost. Make sure each seed contacts fine moist material rather than a dry leaf pocket.
Fine seeds
Carrots, lettuce, and similar seed need a smooth compost surface with coarse mulch moved away. Shallow hoeing and raking are compatible with no-dig management.
Large perennials
Cut a planting opening large enough for the roots, plant into the soil below when needed, and return surface organic matter without burying the crown.
A new bed over cardboard can dry from the top even while the native soil below remains moist. Check the transplant root ball or the seed row with a finger instead of watering on a calendar.
Mulch placement changes with crop size. Keep loose straw and leaves away from fine seed rows, and hold coarse material back from small stems until the plants can stand above it.
How Do You Manage Water, Weeds, and Slugs Without Turning the Bed?
Surface cover slows evaporation, but it does not create one correct watering interval. Weather, crop size, soil texture, compost depth, and irrigation method decide when the root zone dries.
Push a finger or trowel below the loose surface and check where active roots sit. Water when that zone is beginning to dry, apply enough to wet it evenly, and then wait for air to return rather than keeping the bed continuously soggy.
New weeds tell you where the system failed. Seedlings scattered across the compost arrived from wind, birds, or the compost itself, while shoots at seams and edges usually come from vegetation that survived below or crept in from outside.
| What you see | Likely cause | Best response |
|---|---|---|
| Dry surface, moist soil below | Sun and wind dried the loose top | Water seed rows and new transplants only |
| Water beads or runs off | Matted leaves or a crusted surface | Break the cover up, water in two slow passes |
| Wet bed, sour smell | Poor drainage, overwatering, or raw material | Stop watering, open the surface, fix the water source |
| Many tiny weed seedlings | Seed from the compost or the wind | Hoe shallowly on a dry day |
| Strong shoots at seams and edges | A perennial root or creeping grass survived | Trace it to the crown and pull repeatedly |
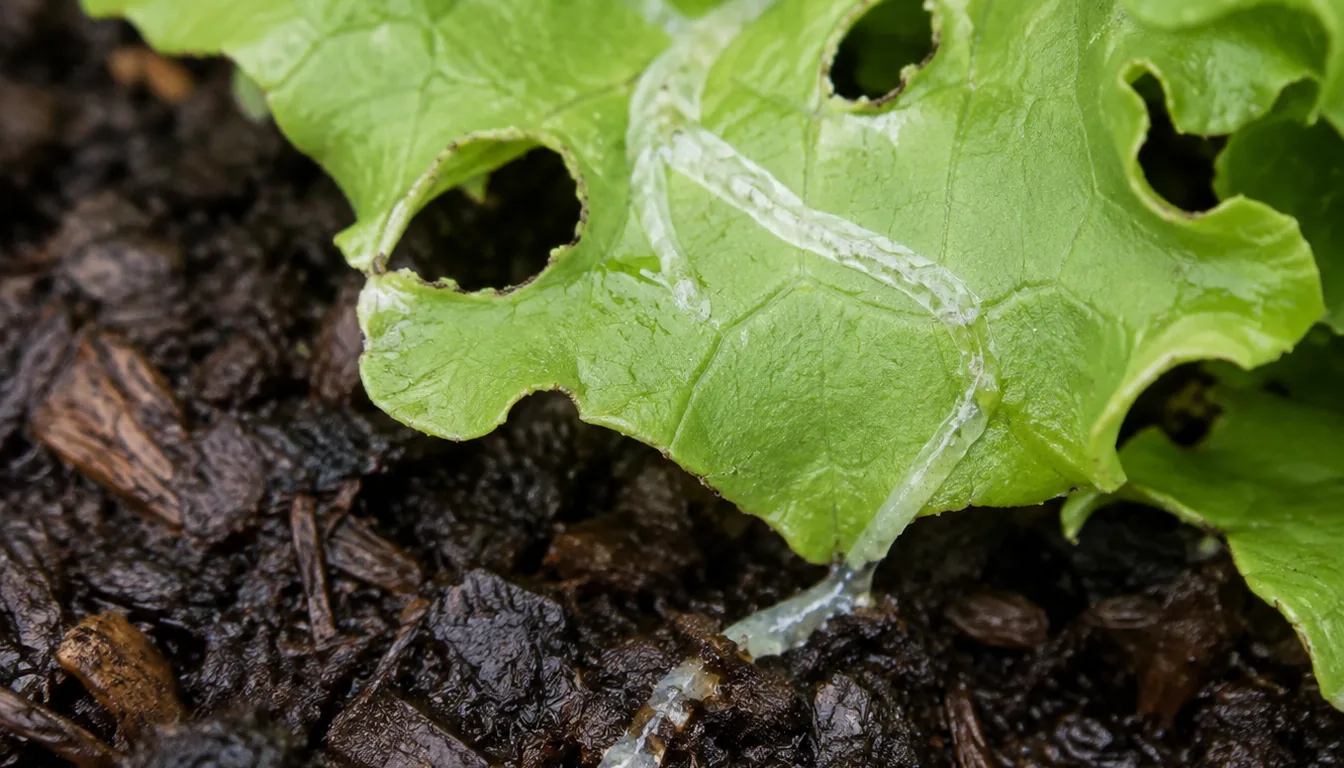
| Ragged holes and slime trails | Slugs sheltering in moist cover | Pull mulch off young stems, clear hiding places, check after dark |
| Yellow growth near fresh wood chips | Raw material in the planting zone, or another nutrient problem | Move the chips to paths, then diagnose |
Mulch also changes pest habitat. The same cool damp cover that protects soil can shelter slugs and pill bugs, so keep it away from vulnerable stems and use larger transplants where pressure is high.
Do not answer every pale leaf with manure or fertilizer. Test the moisture pattern first, inspect roots and new growth, and consider compost quality because waterlogging, high salts, herbicide damage, and nutrient shortage require different responses.
A no-dig bed should become easier to weed, but it never becomes weed-free. Short, frequent removal prevents a small edge problem from rebuilding the vegetation you covered.
What Maintenance Keeps the Bed Productive Each Year?
An established bed needs a surface renewal, not a reconstruction.
Remove crop debris that is diseased or too woody to manage in place, leave sound roots to decay when practical, and add mature organic matter without turning the soil.
The RHS recommends an annual mulch about 2 inches deep. Late winter reduces the chance that soluble nutrients wash away during a long wet season, though climate, crop timing, and the maturity of your compost can justify another convenient date.
- Pull perennial weeds and edge-running grass before they spread under new mulch
- Clear blocked irrigation emitters and confirm water still reaches the root zone
- Add mature compost where the bed has settled or crops removed substantial material
- Keep fresh wood chips in paths and renew them where soil is exposed
- Reform a shallow, level surface for small-seeded crops rather than cultivating deeply
- Rotate crop families where space allows and remove plants with serious soilborne disease
- Keep compost and mulch at least 6 inches from tree trunks and avoid burying crowns
The bed may settle noticeably after its first season because coarse material decomposes and loose compost consolidates. Restore the growing surface with finished compost, but do not assume every lost inch represents a nutrient deficiency.
Paths are part of the soil plan. Permanent access keeps repeated foot pressure out of the root zone, provides a place for coarse chips, and lets you work after rain without kneading wet bed soil.
For large gardens, divide the area into beds you can reach from both sides instead of making one wide no-dig field. The growing method remains the same, while fixed paths make planting, harvest, and irrigation easier to repeat.
When Is Digging or Deeper Soil Disturbance the Better Choice?
No-dig is a management direction rather than a ban on using a spade. A small, justified disturbance that fixes a lasting constraint is different from turning every square foot on schedule.
Pros
- Break a verified compacted layer once with a broadfork or fork
- Remove bindweed rhizomes, woody crowns, buried debris, or construction rubble
- Open the hole required for a tree, shrub, potato harvest, or soil test
- Correct grade or install drainage where water has no outlet
Cons
- Rototill each spring only because the bed surface looks firm
- Mix fresh chips or unfinished organic matter through the crop root zone
- Turn the whole bed to remove small annual weed seedlings
- Dig wet clay, which smears pores and forms hard clods as it dries
Firm soil is not automatically compacted soil. Look for standing water, restricted roots, a dense layer that resists a fork when moist, and a known history of heavy traffic before deciding that the entire bed needs mechanical correction.
Contaminated ground is another boundary. For food gardens, a laboratory soil test and local extension advice should determine whether to remove soil, cap it, use a raised bed with clean material, or grow ornamental plants instead.
The most useful rule is specific and reversible. Disturb only the place needed to solve a demonstrated problem, then return that area to permanent beds, surface feeding, and protected paths.
Pro Tips
- Remove tape, labels, and staples while boxes are dry. They are much harder to find after the cardboard is wet.
- Mark bed edges with a string before spreading compost so the walking path does not gradually become part of the growing area.
- Keep a small reserve of finished compost for settling around transplants and repairing exposed cardboard at the edges.
- Check moisture below the surface cover before watering. A dry-looking top can hide a moist root zone.
- Pull creeping grass from the outer edge first, because that is where it can travel under new cardboard unnoticed.
Frequently Asked Questions
Can you start a no-dig bed without cardboard?
Yes, skip cardboard on an existing bed that is workable and mostly free of perennial weeds, then apply mature compost at the surface. Cardboard is mainly an establishment tool for suppressing lawn and annual vegetation.
How long does cardboard last under a no-dig bed?
There is no fixed breakdown date because moisture, temperature, cardboard thickness, and soil life all change the rate. Expect it to soften during establishment and avoid adding another layer unless vegetation suppression is still needed.
Can fresh wood chips go in a no-dig garden?
Use fresh chips on permanent paths or as a surface cover around established plants. Keep them out of seed drills and do not mix them into the active root zone, where unfinished woody material complicates planting and nutrient management.
Does a no-dig garden need fertilizer?
Mature compost can supply substantial nutrients, but its analysis and crop demand vary. Diagnose a deficiency or use a soil test before adding fertilizer rather than treating no-dig as a promise that every compost meets every crop need.
Will no-dig gardening work on clay soil?
It can work well on clay that drains and is not severely compacted. Rock a fork through a restrictive layer without flipping it, and use a raised bed or correct drainage where the site stays waterlogged.
Can you walk on a no-dig bed?
Occasional careful access will not destroy the system, but routine traffic should stay on permanent paths. A bed about 3 to 4 feet wide lets most gardeners reach the center from either side.
Sources & References
- Royal Horticultural Society: No-Dig Gardening
- University of Minnesota Extension: Reducing Tillage in Your Garden
- University of Maryland Extension: Soil to Fill Raised Beds
- Oregon State University Extension: Sheet Mulching and Lasagna Composting With Cardboard
- Oregon State University Extension: Interpreting Compost Analyses
- University of California Statewide IPM Program: Mulches
- Penn State Extension: Compost—How to Make It and How Much to Use
Related Guides

Best Butterfly Garden Plants for a Complete Habitat
The best butterfly garden plants do two different jobs. Host plants feed caterpillars, while nectar…
15 min read
Best Fall-Blooming Flowers for Color Near Frost
A bed that still carries flowers in October usually was planned before temperatures fell.
9 min read
Best Fast-Growing Trees for Shade and Privacy
The best fast-growing tree is the one whose mature crown, roots, climate range, and maintenance…
16 min read
Best Fragrant Flowers for Every Yard and Season
The best fragrant flowers depend on climate, light, space, and the hours you use the yard.
15 min read
Best Full-Sun Perennials for Hot, Bright Beds
The best full-sun perennials are the ones that match the bed's soil moisture and drainage, local…
14 min read
Best Ground Cover Plants for Sun, Shade, and Slopes
The best ground cover is a plant that survives the site and performs the job without escaping into…
18 min read