
When Should You Plant Tomatoes Outside?
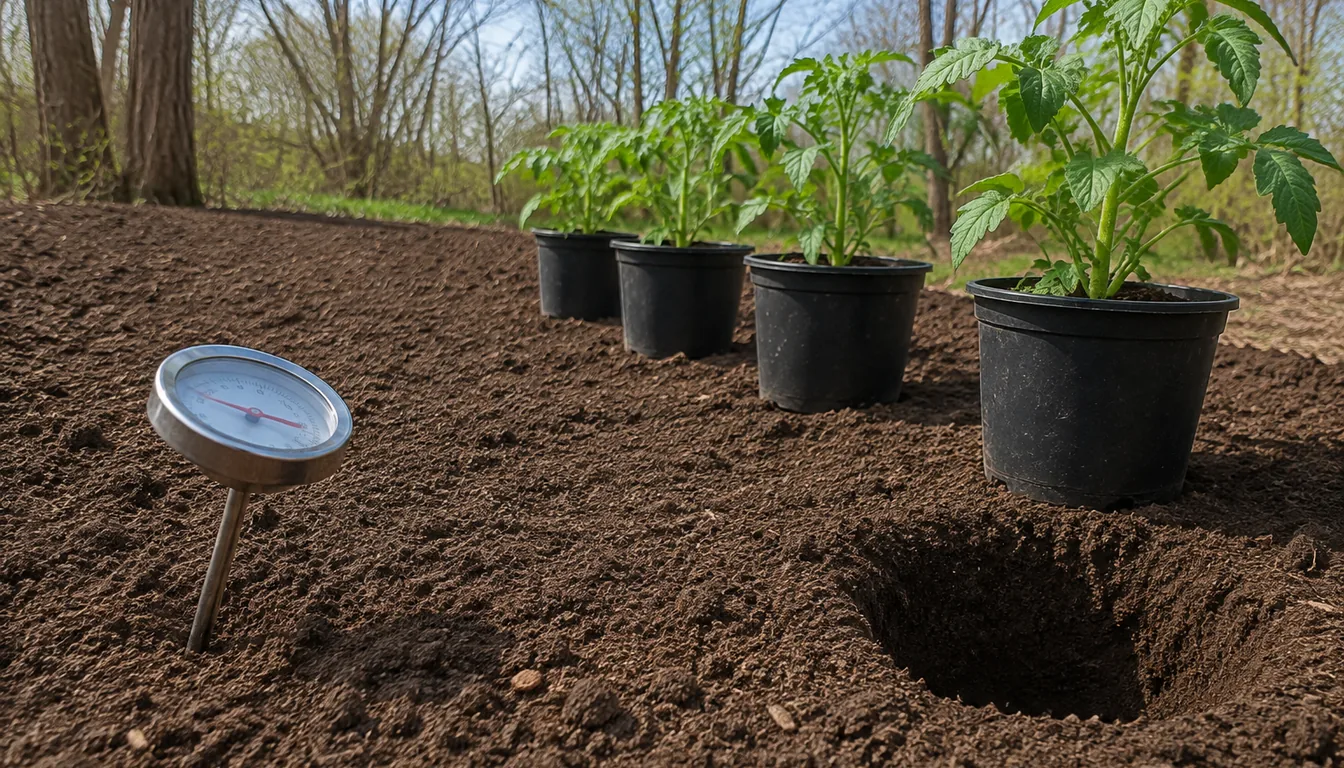
Tomato transplants are ready for outdoor planting when frost risk has passed, the soil has warmed, and the plants have gradually adjusted to outdoor conditions. Soil around 60°F or warmer is a practical starting guideline, while stable mild nights are preferable to repeated cold exposure.
A local frost date helps with planning. The current forecast, the temperature in the actual bed, and the seedlings’ condition determine whether that date suits this planting.
If cold weather is approaching or the plants are not acclimated, keeping the tomato transplants protected preserves the option to wait. One warm afternoon does not establish that the root zone or coming nights are suitable.
At a glance
Are Your Tomatoes Ready to Go Outside?
The safest planting date is the first day when the weather, soil, and plant are ready at the same time. That usually comes after your average last frost, but it may arrive earlier or later in a particular year.
- Frost risk
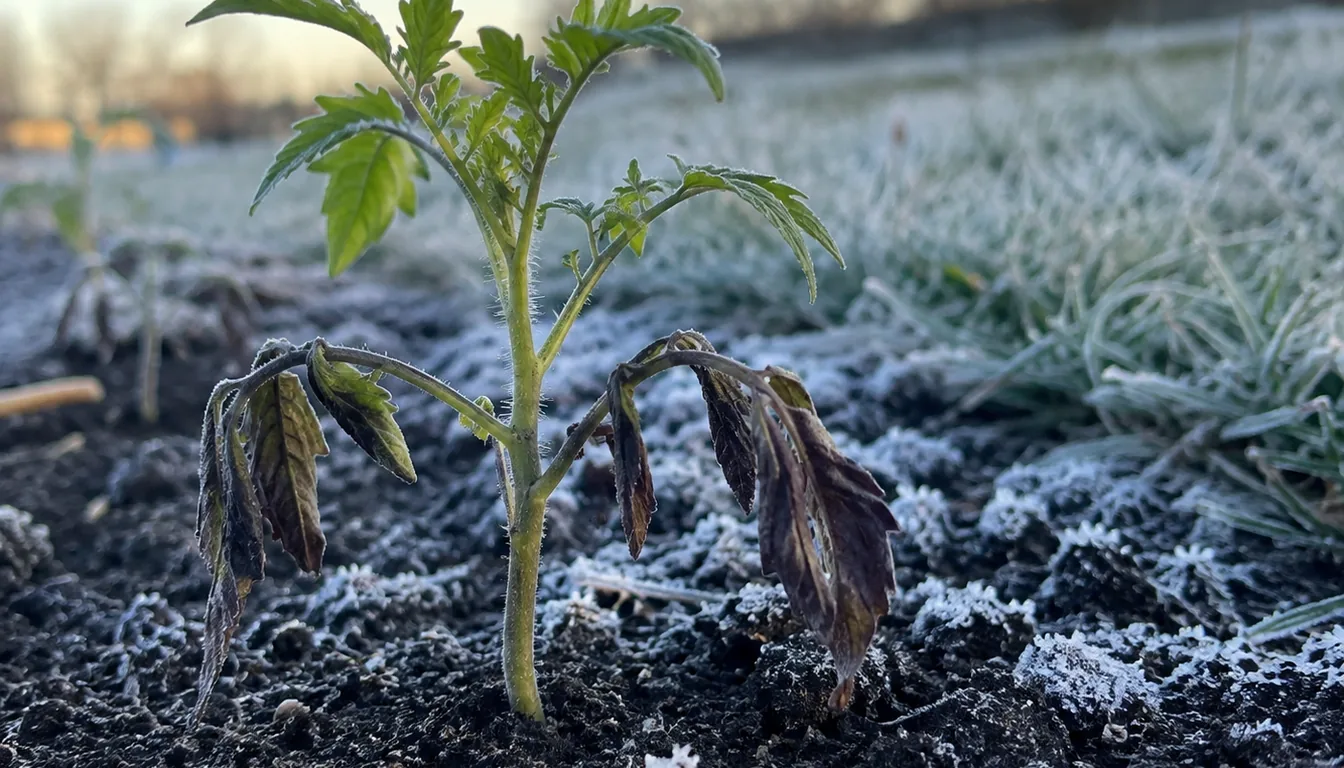
- No freeze in the forecast and the normal last-frost window has passed
- Soil
- Around 60°F or warmer in the root zone
- Nights
- Stable mild nights rather than repeated cold exposure
- Plant
- Gradually accustomed to outdoor sun, wind, and temperatures
A forecast low of 48°F is not automatically a disaster for a hardened plant in warm soil. Several cold, wet nights in a row are a reason to wait because roots absorb water and nutrients slowly in cold ground, while wind and sun continue pulling moisture from the leaves.
A later transplant in warm soil may establish more readily than one placed into cold ground. Warm soil and a suitable forecast work together, so a thermometer reading should not override an approaching frost.
Why Your Frost Date Matters More Than Your USDA Zone
Your USDA Plant Hardiness Zone describes the average annual extreme winter minimum. It does not tell you the date of your last spring frost, the temperature of your soil, or whether a cold front will arrive next week.
Start with a local average last-frost date from a nearby weather station or extension office. The site's frost-date guide explains how to compare probability dates instead of treating one average as a guarantee.
The colder pockets inside one neighborhood can differ by several degrees.
Low ground collects cold air, exposed beds lose heat to wind, and a south-facing wall can warm soil sooner than an open bed. Measure the bed where the tomato will grow rather than relying on a citywide number.
| Clue | Useful for | What it cannot tell you |
|---|---|---|
| Average last frost | Estimating when freeze risk usually declines | This year's exact final frost |
| USDA zone | Choosing plants that survive winter cold | A spring transplant date |
| 7 to 10 day forecast | Spotting an approaching cold spell | Conditions later in the season |
| Soil temperature | Showing whether the root zone is warm enough now | Whether the seedling is hardened off |
A planting window based only on zone can be wrong by weeks across elevations and regions. Local frost history plus current measurements gives a defensible date without pretending the weather follows a national calendar.
How Do You Check Soil and Night Temperatures?
Push a soil thermometer 3 to 4 inches deep into the prepared bed. Repeat readings at a consistent depth and time over several days. One warm surface reading after sunshine can misrepresent the conditions roots will experience.
OSU recommends soil of at least 60°F for warm-season crops and describes 65–70°F as preferable for tomatoes. These are planting guidelines, not a guarantee of success when other conditions are unfavorable.
A warm root zone supports establishment, but soil warmth does not measure acclimation or remove frost risk. Temperature and the plant’s condition need to be considered together.
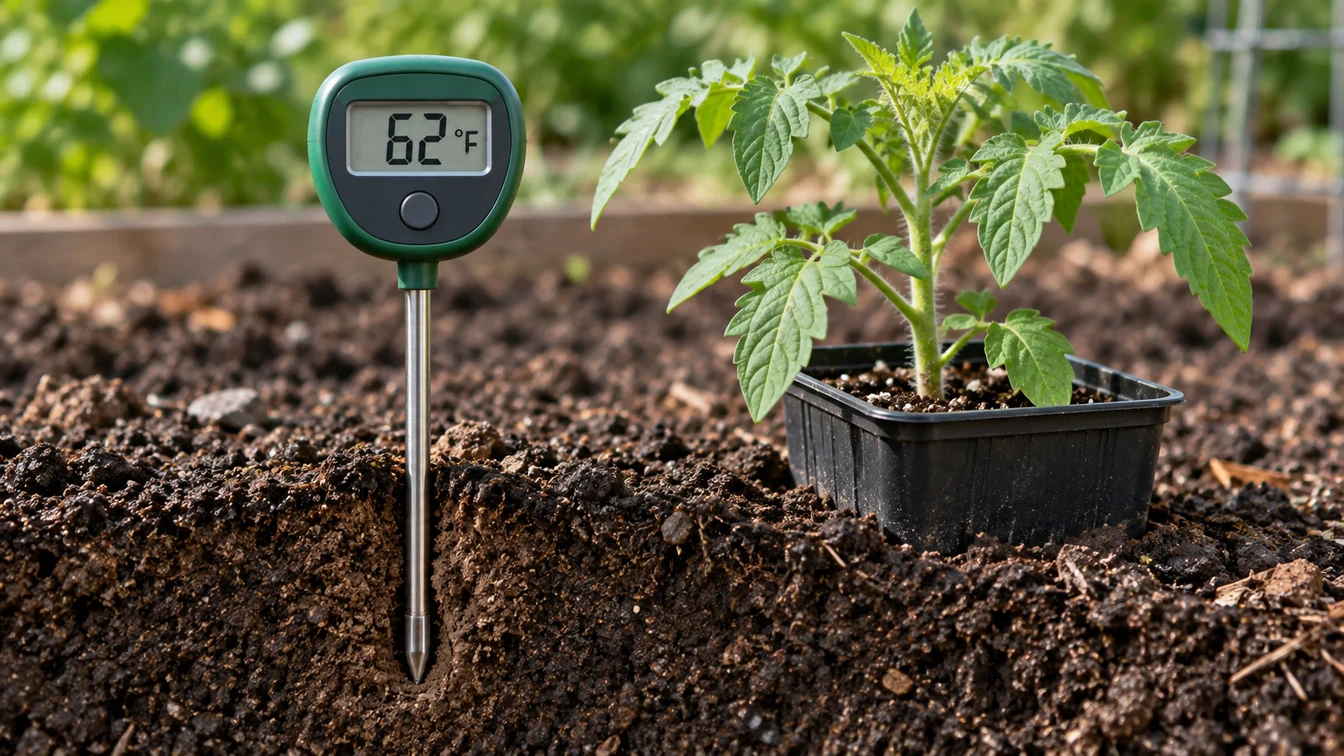
- Measure the bedInsert the probe at root depth in the actual planting area, away from a warm wall or stone edge unless the plant will grow there.
- Repeat consistentlyCheck at the same depth and time on successive days to distinguish a warming trend from a brief warm spell.
- Read the forecastLook at the next 7 to 10 nights, not only tomorrow's low. A run of nights in the low 40s can keep the bed cold.
- Make the callPlant acclimated transplants when the soil is warm and frost risk has passed, using the forecast to avoid repeated cold nights.
Air temperature still matters after the soil passes. Cool conditions can slow growth. Penn State describes nights above 60°F as preferred growing conditions, while temperatures near 50°F are a caution point in transplant guidance. Preferred growth, survival, and protection from frost are different questions.
A raised bed or container can have different conditions from nearby ground. Measure the actual planting location, and keep checking the forecast even when its soil has warmed.
How Should You Harden Off Tomato Seedlings?
Hardening off prepares leaves and stems for stronger sunlight, moving air, and wider temperature swings. Plants moved directly from indoor lights or a greenhouse can develop white or tan sunscald patches, torn leaves, severe wilting, and stalled growth even when the soil is warm.
Plan on 7 to 14 days. The hardening-off process starts with protection, then increases exposure as the plant tolerates it. Weather can extend that planning window.
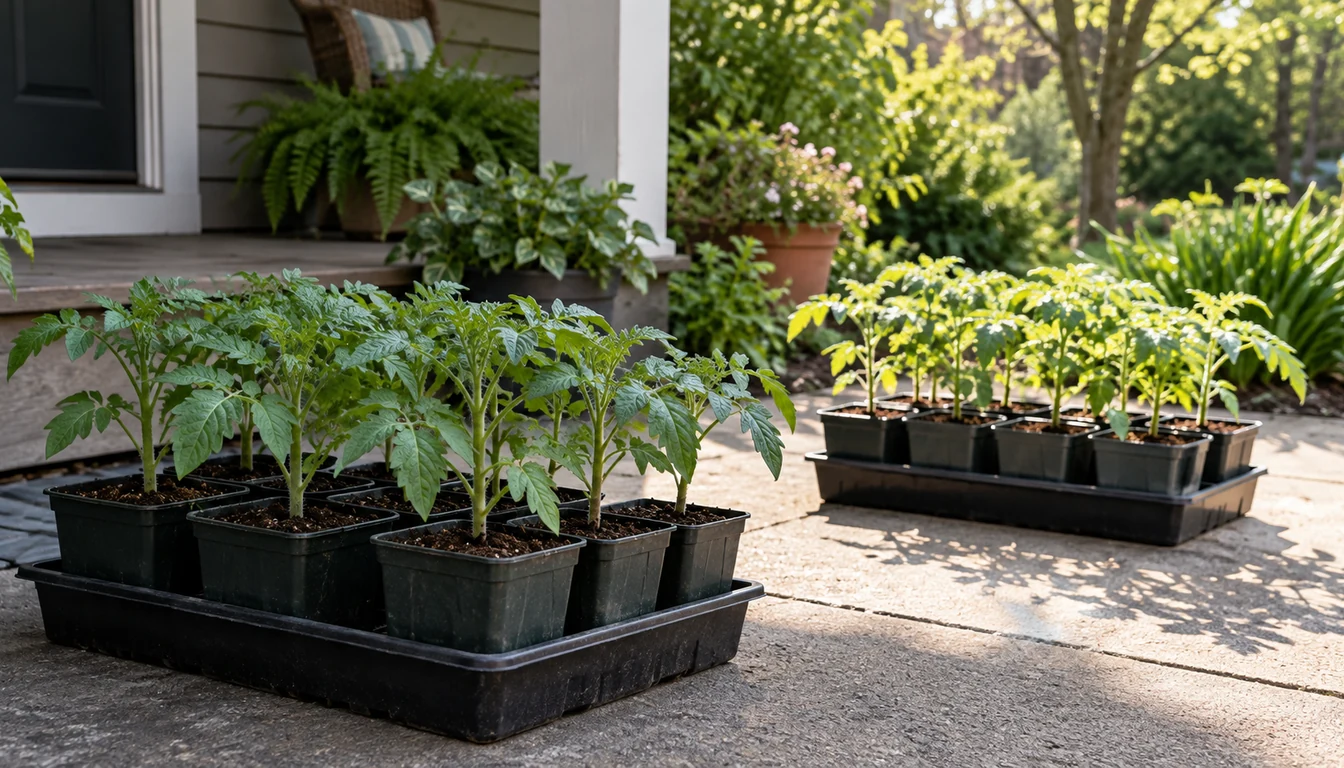
- First sessionsPut plants in a sheltered, bright-shade location for two or three hours, then bring them back inside.
- As sheltered sessions go wellAdd gentle morning sun and another hour or two outdoors. Avoid strong wind.
- As tolerance buildsExtend direct sun and outdoor time, while checking that small pots do not dry out.
- Before plantingLeave plants out for a full day and, when nights are safely mild, one protected night before transplanting.
Water enough to prevent wilting, but do not keep the mix saturated. Small cells dry much faster outdoors, so check the root ball instead of assuming yesterday's watering still counts.
An upright plant with firm leaves after a full day outside is encouraging, but appearance does not certify readiness. Bleached patches or persistent wilt call for reviewing exposure, moisture, and root condition rather than assuming a single cause.
Move the tray back to shelter and resume in smaller steps.
What Should You Do on Planting Day?
Choose a calm, cloudy day or plant in late afternoon so the transplant does not face intense sun while its roots are disturbed. Water the pot first, then slide out the root ball while supporting the root ball rather than pulling or squeezing the stem.
Utah State describes stocky transplants about 6 to 10 inches tall with five to seven leaves as a useful planting stage. Healthy roots and the plant’s condition matter alongside those size guides. If the plant is tall and leggy, remove the lowest leaves and bury part of the stem vertically or in a shallow trench because tomatoes can form roots along buried stem tissue.
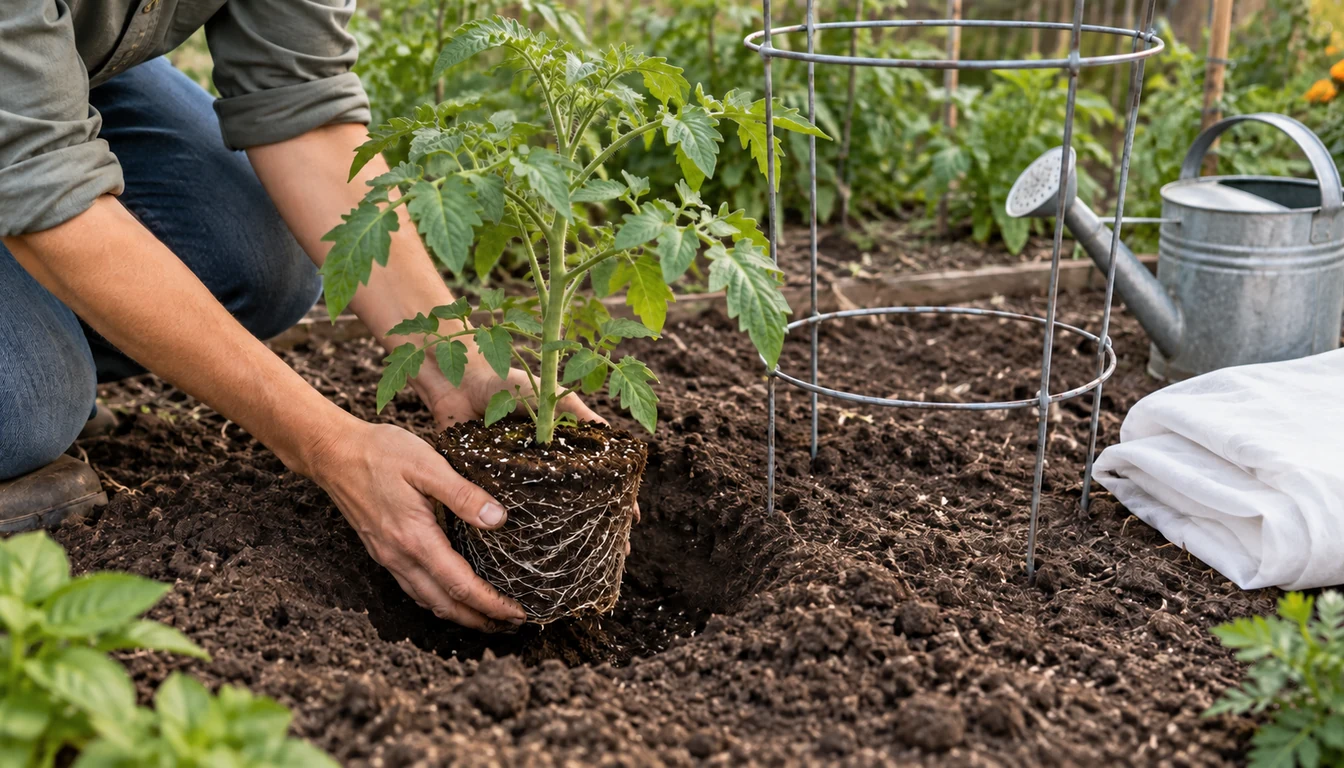
- Prepared hole deep enough for the root ball and any bare lower stem
- Cage, stake, or trellis installed without spearing roots later
- Water ready for settling soil around the root ball
- Loose emergency cover available if the forecast changes
- Plant label showing the variety and days to maturity
Set the root ball in the hole, backfill gently, and water deeply to settle soil around the roots.
Install the support immediately if it is not already in place.
Wait until the soil has warmed before laying a thick organic mulch that can insulate cold ground. Once the bed is warm, a 2 to 3 inch layer helps moderate moisture, but keep it back from the stem.
Fertilizing tomatoes depends on soil needs and existing nutrition. Base amendments on a soil test or a known deficiency, since excess nitrogen can favor leafy growth over flowering and fruit.
Can You Plant Tomatoes Early With Protection?
Black plastic mulch, low tunnels, hot caps, and floating row cover can warm the root zone or buffer a cool night.
They are useful season extenders, but they require monitoring and do not make frozen soil suitable for roots.
Black plastic in close contact with the soil can help warm the bed before planting. Cut planting holes only when you are ready to transplant, and keep the stem from touching hot plastic.
Row cover needs secure edges and enough support that wind does not rub fabric against tender leaves. Open or remove plastic covers on sunny days because the air beneath them can overheat quickly even when outdoor air feels mild.
| Conditions | Better decision |
|---|---|
| Warm soil, frost risk passed, stable mild nights | Plant acclimated, healthy transplants |
| Warm soil but a cold night approaching | Keeping transplants portable is the simpler precaution |
| Cold soil despite a warm afternoon | Wait or use a suitable warming method, then measure again |
| Frost or freeze in the forecast | Keep plants protected and portable |
| Plants not hardened off | Begin acclimation before planting |
Cover materials provide different amounts of protection. A cover can change temperature beneath it, but its presence alone does not establish a suitable root zone or frost protection. Measure the conditions it creates.
If you cannot check and vent a cover, waiting for stable weather is safer than trapping heat by day and losing plants to cold at night.
Containers offer another flexible option because you can move them into a garage or other frost-free shelter. A large container is heavy once watered, so place it on a sturdy caddy before relying on that plan.
How Late Can You Plant Tomatoes Outside?
The last useful planting date comes from the other end of the season. Find your average first fall frost, then compare the time remaining with the variety’s stated days to maturity. Allow additional time for establishment and weather, plus a harvest period after the first fruit ripens.
Check whether the seed packet counts maturity from transplanting or from sowing. Most tomato labels use transplanting, but the packet is the authority for that cultivar.
- First fall frost
- October 15
- Variety maturity
- 75 days from transplant
- Assumed extra allowance for this example
- 14 days
- Date produced by these assumptions
- About July 18
The 14-day allowance is an example, not a measured guarantee. This calculation estimates time to the first ripe fruit, not a long harvest. Planting a week or two earlier gives the plant more time to produce after it reaches maturity.
An early-maturing cultivar gives more room for a late start than a late-maturing one. The determinate and indeterminate growth habits describe plant and harvest patterns, but neither habit nor small fruit proves a particular maturity date. The cultivar’s stated timing and local performance are more useful.
Hot-climate gardeners may face the reverse problem. When daytime heat and warm nights interfere with fruit set, a late-summer transplant for fall harvest may perform better than pushing a new plant into peak heat. Use local extension planting dates because elevation, humidity, and the first cool spell change that window.
What Do Tomato Transplants Need During the First Two Weeks?
New transplants benefit from close observation after planting and after cold, wind, or strong sun. A symptom narrows the questions to ask, but rarely identifies a cause by itself.
| What you see | Possibilities to consider | What to check |
|---|---|---|
| Wilt with some overnight recovery | Temporary water stress or a wilt disease | Root-ball moisture, one-sided yellowing, and whether decline continues |
| White or tan dry patches | Light injury, cold injury, or another leaf problem | Recent exposure and whether new patches keep appearing |
| Purple leaf undersides or stems | Phosphorus-related stress or other stresses | Root establishment, soil conditions, and nutrition before adding fertilizer |
| Dark, limp tissue after cold | Cold injury is plausible | Actual temperature history and which tissues remain alive |
| Wet soil and stalled growth | Poor drainage, cold roots, or root disease | Root-zone moisture and drainage rather than another automatic watering |
Maryland Extension notes that Fusarium wilt can include some recovery at night. Improvement by morning therefore does not rule out disease. Persistent wilt, one-sided yellowing, or spreading damage warrants a closer diagnosis through local Extension.
Root-ball moisture checks help distinguish a dry transplant from one whose roots are sitting in wet soil. Water the root ball and surrounding soil after planting, then let actual moisture guide subsequent irrigation.
Secure cages and covers before a storm. If the plant moves excessively, a suitable support and soft tie can reduce physical damage without constricting the stem.
Normal new growth and fewer signs of stress are encouraging. They do not make every old symptom irrelevant, so continuing decline needs investigation even after some healthy leaves appear.
Sources & References
- Growing Tomatoes in Home Gardens, University of Minnesota Extension
- How to Grow Tomatoes in Your Garden, Utah State University Extension
- Tomatoes: From Seedlings to Fruit, Penn State Extension
- OSU Extension: Patience Pays Off When Planting Vegetables in Oregon
- OSU Extension: An Educator’s Guide to Vegetable Gardening, EM 9032
- USDA Plant Hardiness Zone Map: How to Use the Maps
- University of Maryland Extension: Key to Common Problems of Tomatoes
- University of Minnesota Extension: Maintaining Healthy Transplants Through Cool Weather
Related Guides
Best Butterfly Garden Plants for a Complete Habitat
The best butterfly garden plants do two different jobs. Host plants feed caterpillars, while nectar…
15 min read
Best Fall-Blooming Flowers for Color Near Frost
A bed that still carries flowers in October usually was planned before temperatures fell.
9 min read
Best Fast-Growing Trees for Shade and Privacy
The best fast-growing tree is the one whose mature crown, roots, climate range, and maintenance…
16 min read
Best Fragrant Flowers for Every Yard and Season
The best fragrant flowers depend on climate, light, space, and the hours you use the yard.
15 min read
Best Full-Sun Perennials for Hot, Bright Beds
The best full-sun perennials are the ones that match the bed's soil moisture and drainage, local…
14 min read
Best Ground Cover Plants for Sun, Shade, and Slopes
The best ground cover is a plant that survives the site and performs the job without escaping into…
18 min read