
How to Level a Sloping Yard for Safer, Flatter Space
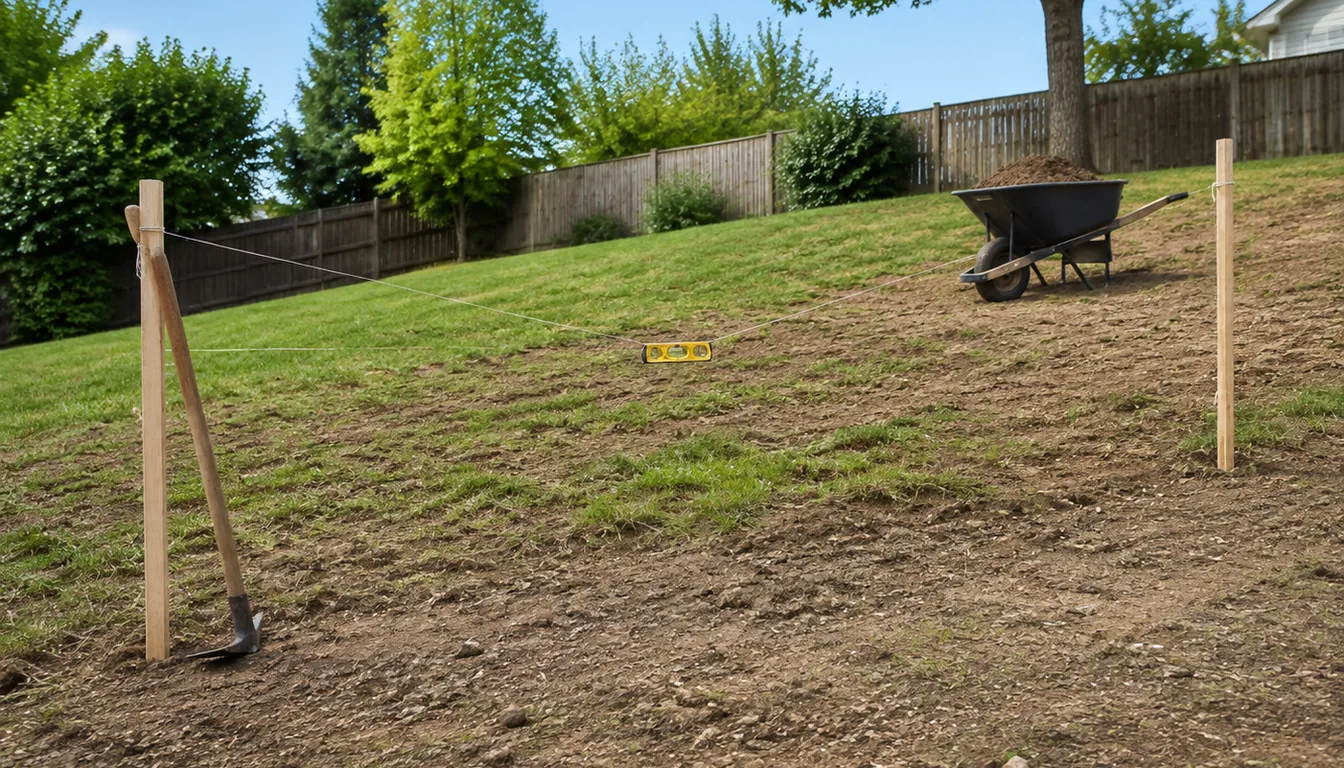
To level a sloping yard, flatten only the area you will actually use, cut soil from the high side to fill the low side, and keep at least 6 inches of fall in the first 10 feet away from the house. Cover the new grade with sod or mulched seed before the first heavy rain, because bare soil on a slope washes.
Contact 811 a few business days before any digging. Utility lines can sit closer to the surface than you expect, and a regrading job cuts deeper than most garden work. A tall bank, a retaining wall, or grading right against the foundation is where the job stops being a weekend project.
At a glance
Decide How Flat You Really Need
The right level depends on how you use the yard. A play area or seating spot needs to be close to flat, while open lawn can keep a gentle grade.
Start by sketching the yard and marking the zones that truly need to be level. Often you only need to flatten a rectangle where a shed, trampoline, or patio will sit.
Water decides the rest. Close to the house, the usual standard is a drop of at least 6 inches within the first 10 feet of the foundation, which is a 5 percent slope. North Dakota's emergency services agency, drawing on Iowa State University Extension, gives that figure for keeping water out of basements. Farther out, a lawn can be much flatter. Penn State Extension suggests grading lawns at 1 to 4 percent, a 1 to 4 foot drop per 100 feet, and Michigan State University Extension says a fall of about 1 foot every 50 feet, roughly 2 percent, normally keeps water from standing on a lawn.
Trying to make the entire yard perfectly flat usually costs more and creates drainage problems. Keep slight slopes where water can safely move.
If you plan planting beds with shrubs like evergreen borders, you can use those areas to hide grade changes with gentle berms.
Never flatten the ground so it slopes toward your foundation. Water must always move away from the house.
Keep that drainage rule in mind before choosing the exact finish grade.
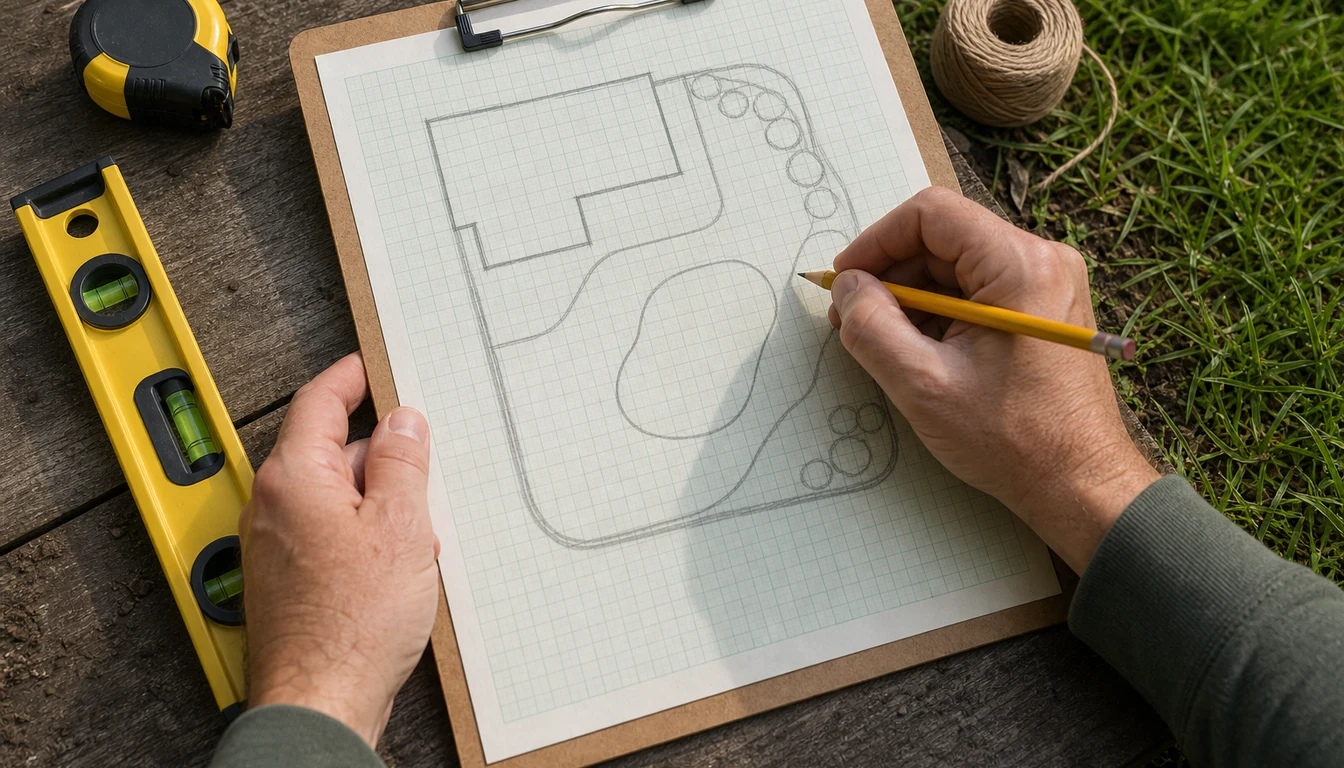
- Within 10 feet of the house: At least 6 inches of fall, about 5 percent.
- Open lawn and play areas: About 1 to 4 percent, so water drains without the slope being noticeable.
- Banks of 10 percent or more: Expect sod to need pegs or staples, and consider ground cover instead of turf.
Measure Your Current Slope Accurately
A rough guess by eye is usually wrong. Taking ten minutes with simple tools saves hours of moving soil later.
You can measure slope with a long straight board, a 2 to 4 foot builder's level, and a tape measure. For big yards, a 50 to 100 foot tape and a string line with a line level work better.
Pick two points along the slope, at least 10 to 20 feet apart. Stretch the board or string between them, make it level, then measure the vertical drop from the string down to the ground at the low end.
Slope percentage equals the vertical drop divided by the horizontal distance, times 100. A 6 inch drop over 10 feet is a 5 percent slope, which is the foundation standard above. A 1 foot drop over 50 feet is 2 percent.
Measure next to the house as well. Check the drop from the foundation wall out 10 feet, and if it is less than 6 inches, or slopes toward the house, fixing that strip comes before any other leveling.
Steeper ground is harder to keep in turf. Michigan State notes that too great a slope leads to erosion, mowing difficulty, and scalping, and Cornell's turfgrass program calls mowing equipment on steep areas potentially dangerous.
- Gentle lawn grade: 1 to 4 percent drains and mows easily.
- Foundation strip: 5 percent or more for the first 10 feet.
- Steep banks: Terraces, steps, or ground cover are often easier than turf.
Plan Your Cut-and-Fill Grading Strategy
Flattening a slope usually means moving soil from higher spots (cut) to lower spots (fill). The more you reuse your own soil, the less you spend on deliveries and hauling.
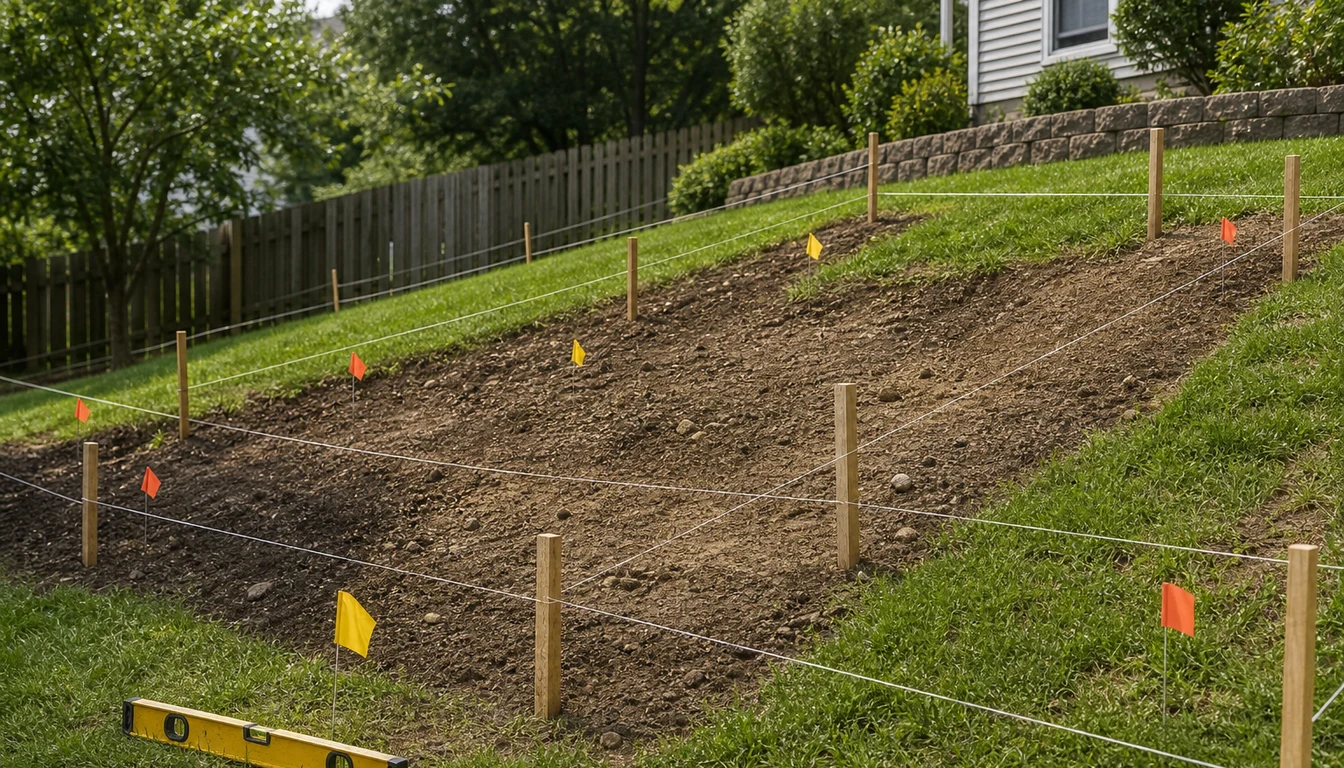
Start by marking future finished heights with stakes. Use string lines at the desired elevation for patios, play zones, or flat lawn pockets.
Walk the area and note which sections sit well above those strings and which sit far below.
High areas become your cut zones.
Low pockets are your fill zones.
Keep cuts and fill away from large trees like mature shade oaks. Iowa State University Extension notes that most of a tree's roots grow in the top 12 to 18 inches of soil and often spread beyond the edge of the canopy. Removing soil injures those roots, and adding soil cuts off their oxygen, so the safest plan leaves the grade unchanged inside the dripline.
A retaining wall that holds back a tall bank, or grading right against a foundation, is a job for a professional designer. Local building offices set when a wall or regrading project needs a permit.
Use gentle transitions where new flat areas meet untouched yard. Spread grade changes over 8 to 10 feet instead of creating sudden steps or humps.
- Reuse existing soil: Saves money and avoids mismatched textures.
- Add topsoil on top: Michigan State and the University of Nebraska both call for at least 4 inches of topsoil as the root zone.
- Preserve drainage paths: Leave low routes where water already exits the yard.
Strip Sod and Move Soil the Right Way
Before you move soil, decide what happens to the existing grass. Healthy sod can be saved and relaid, but only if it is cut cleanly and kept from drying out.
For healthy turf like warm-season bermudagrass or cool-season tall fescue, cut the sod in strips you can lift and roll. Roll or stack the pieces in a shady spot and keep them moist. Penn State Extension warns that harvested sod deteriorates within 24 to 48 hours in warm weather, so relay it quickly.
If the grass is mostly weeds, it is usually better to strip it, compost or discard it, then reseed or resod when grading is done.
Use a flat shovel, mattock, or rented sod cutter to remove turf from your cut and fill areas. Removing that top layer keeps organic material from being buried unevenly.
Never bury thick layers of sod under new fill. They rot unevenly and cause soft spots and sinkholes in future lawns.
After stripping, start cutting high spots first. Move soil in thin layers, checking your string lines or level often.
- Save good topsoil: Keep the dark upper layer separate to spread back on top later.
- Avoid heavy machines on wet soil: It compacts badly and is hard to fix.
- Shape with rakes: A sturdy landscape rake helps feather small grade transitions.
Let the New Grade Settle So It Stays Put
Loose fill settles after the first rains, and any soil that settles unevenly turns into dips. The goal for a lawn is soil that is firm enough not to sink, without being packed so hard that roots and water cannot get in.
Penn State Extension describes the right surface for seeding or sodding as smooth and firm but not compacted. The University of Nebraska suggests firming tilled soil lightly with a tractor or similar weight, or preferably letting it settle, and notes that heavy rain or irrigation speeds settling.
Michigan State gives a simple test. Roll the seedbed with a 200 to 300 pound roller, or water it thoroughly and let it settle. If the heel of your shoe sinks about 1/2 inch, the bed is ready for seed.
Never work or roll saturated soil. Michigan State's guide is to wait until the soil is dry enough not to stick to tools or compact.
Rolling cannot fix bad grading. A Purdue and University of Illinois turf publication warns that rolling should never be used to correct bumps and dips left by improper grading, so fix the grade with soil first, then firm it.
Edges along sidewalks and patios can sink if the fill there is not settled. Fill and settle those strips carefully so water does not collect against the pavement.
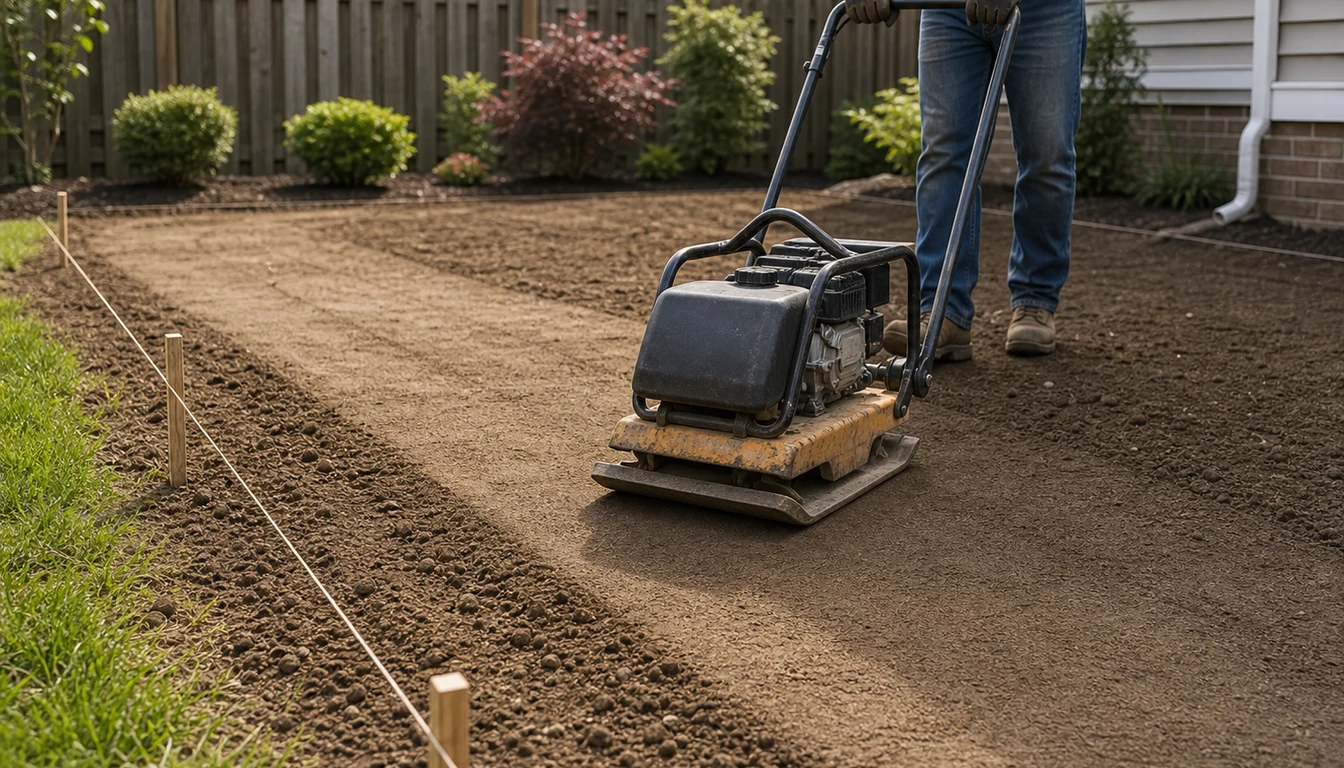
- Fill depth: Add soil in several thin layers rather than one deep pile.
- Firming method: Water and let it settle, or roll with a light lawn roller.
- Ready test: A heel print about 1/2 inch deep.
- Plate compactors: Save them for gravel bases under patios and paths, not lawn topsoil.
If you are seeding, lightly rake the top of the settled bed before sowing so seed can make good contact with the soil.
Handle Drainage Before You Put Grass Back
Water is the real reason most yards get regraded. If you still have puddles or water against the house after leveling, the job is not finished.
Walk the yard right after a hose test or rain. Follow where the water naturally wants to go, then decide if you need surface fixes, a buried drain, or both.
Shallow swales are often enough. A swale is a wide, gentle channel that moves water toward a safe outlet like the street, a storm drain where allowed, or a rain garden.
Do not send water at your neighbor's house or yard. North Dakota's guidance warns that drainage rules apply and that you must not change water flow in a way that harms a neighbor, so check with neighbors and local officials before you start.
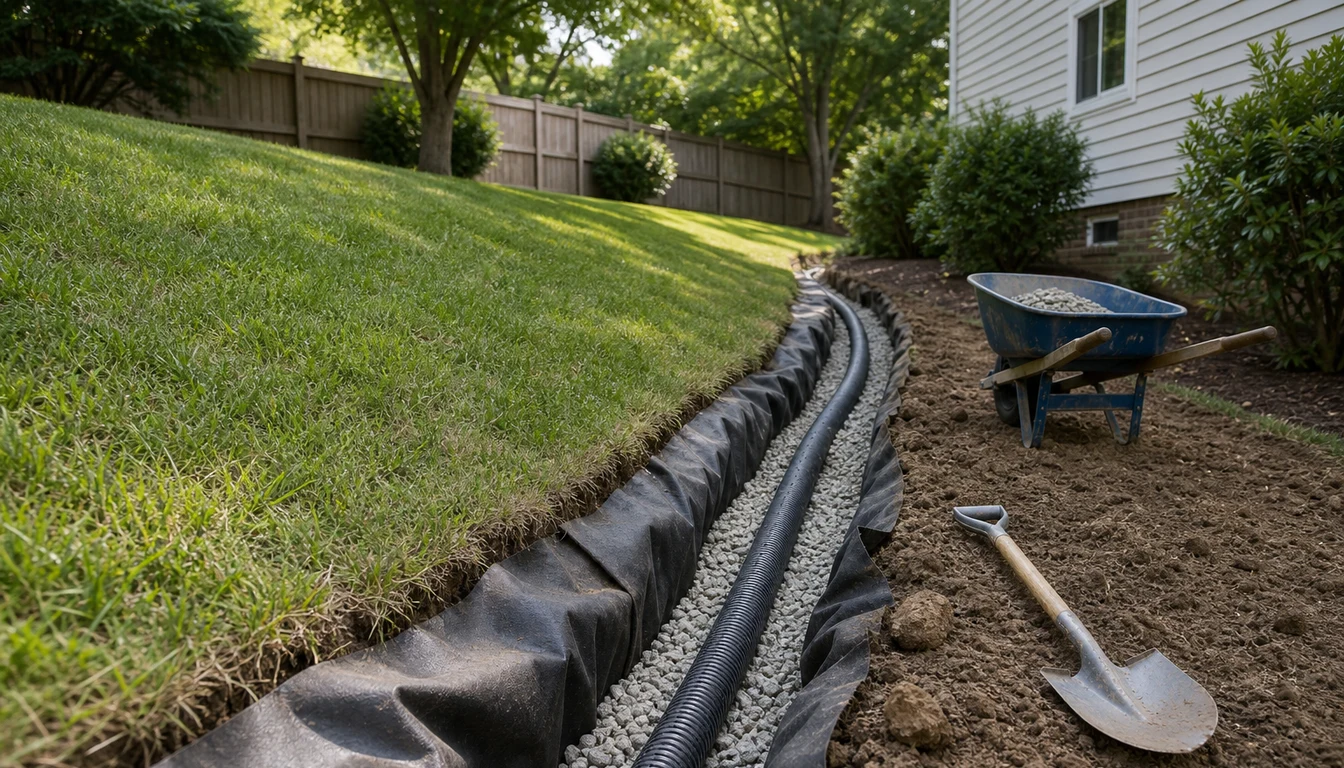
Where a swale is not enough, a buried drain such as a French drain, a perforated pipe in gravel, can carry water from the low side of the slope. Sizing and outlet design depend on the site, so this is a good point to get professional advice.
Downspouts matter as much as grading. The North Dakota guidance says that on houses with basement water problems, downspout water should be released at least 5 to 10 feet from the house, or carried into a drain.
Plan where you want turf and where turf is a headache. Steep corners might be better as a bed of ground cover plants or mulch, which Cornell's turfgrass program suggests for slopes that are hazardous to mow.
Choose Sod or Seed and Keep It From Washing Away
Once the soil is right, cover it quickly. Bare soil on a slope will move in the first heavy rain no matter how well it was graded.
Sod gives instant cover. On slopes, Penn State Extension recommends staking each strip as it is laid so it does not slip, and removing the stakes once the sod is rooted. The University of Nebraska advises starting at the bottom of the slope, running the strips across it, and pegging or stapling sod on slopes of 10 percent or more.
Seed can work on gentler grades if it is protected. Penn State says mulch is particularly important on slopes because of erosion, that steeper slopes may need more straw than the 80 to 100 pounds per 1,000 square feet used on level ground, and that hydroseeding is efficient for steep slopes. Use the seeding rate on the label rather than doubling it, since overly heavy seeding creates crowded, disease-prone stands.
Match your grass to your sun and region. Warm-season types like bermudagrass behave very differently than cool-season lawns such as fescue in temperate zones.
Lay sod in a brick pattern with joints staggered, and keep seams tight without stretching the strips.
- Sod on slopes: Stake or staple, starting at the bottom and running across the slope.
- Seed cover: Straw mulch, or an erosion blanket on steeper ground.
- Watering: Light and frequent, which Michigan State says can mean two or three times a day on warm, sunny days.
- First mowing: When the grass is no more than one-third taller than its mowing height.
Mowing new grass covers how to judge that first cut on seed and sod.
Time Your Project With Weather and Season
Leveling is heavy work even on a cool day, and the timing of the seeding or sodding that follows matters most.
For cool-season lawns, late summer and early fall are best. Michigan State gives August 15 to September 15 as the best seeding time in Michigan, and Penn State calls late summer and early fall the optimum seeding period. Fall rain and cooler air suit new fescue or bluegrass.
Warm-season grasses like zoysiagrass are planted in late spring, when the soil has warmed. Clemson Extension targets early May for warm-season seeding in South Carolina.
Spring grading can work if the ground is not saturated. If soil sticks to your shovel, wait until it dries.
Do not grade or lay sod on frozen ground. Penn State notes that sod can be laid almost any time of year except when soils are frozen.
Try to schedule the grading itself for a dry stretch, then let rain or irrigation help settle the soil before seeding.
- Best for cool-season grass: Late summer to early fall
- Best for warm-season grass: Late spring
- Skip: Frozen or saturated ground
If you are also overseeding thin spots, pair this project with the window in your overseeding schedule so you are not doing two big lawn jobs in different months.
Avoid the Mistakes That Ruin a New Grade
Most bad grades fail for the same handful of reasons, and they usually show up in the first serious storm.
Low spots near patios and walkways are first. Fill piled there without settling sinks below everything else.
Another trouble spot is around tree roots. Scraping soil off the high side of a mature oak can expose and cut roots, and piling soil on the low side can smother them.
Keep the grade unchanged inside the dripline of established trees unless an arborist plans the work.
Buried utilities are both an immediate and a long-term risk. Contact 811 before digging, and remember that a deep cut can leave a shallow line close to the new surface.
The last mistake is skipping the soil test.
If you already have thin turf or lots of weeds, fix the soil chemistry while it is exposed, since phosphorus and potassium are best worked into the soil before planting.
Pair leveling with your next round of lawn fertilizing work.
- Do not: Flatten everything so water has nowhere to go
- Do: Keep at least 6 inches of fall in the first 10 feet from the house
- Do not: Leave ruts from heavy equipment
- Do: Fix the grade with soil before firming, never with a roller
If water still runs toward the foundation after grading, stop and correct the slope now. It only gets harder after grass is in.
Pro Tips
- Only level the area you truly need flat so you move less soil and keep drainage simple.
- Measure slope with a board or string line and level before you rent equipment or order fill.
- Keep at least 6 inches of fall away from the house over the first 10 feet.
- Call 811 a few business days before digging, every time.
- Strip and save healthy sod so you can relay it after grading, and relay it within a day or two.
- Do not bury thick chunks of old sod under fill or you will get bumpy, sinking spots later.
- Finish with at least 4 inches of topsoil before reseeding or sodding.
- Leave the grade alone inside the dripline of trees you want to keep.
Frequently Asked Questions
Can I level a sloping yard without heavy equipment?
Yes, if the elevation change is small and the area is modest. Shovels, a wheelbarrow, a rake, and a light lawn roller handle a small cut-and-fill job, while a tall bank or a retaining wall is work for a professional.
How much slope should I keep away from my house?
At least 6 inches of drop over the first 10 feet from the foundation, which is about a 5 percent slope. Beyond that strip, lawns drain well at about 1 to 4 percent.
Will leveling my yard hurt existing trees and shrubs?
It can. Iowa State Extension notes that most tree roots are in the top 12 to 18 inches of soil and often reach past the canopy edge, so cutting soil away injures them and piling soil on top starves them of oxygen. Leave the grade unchanged inside the dripline of trees like maples.
How long before I can mow after regrading?
For seed, mow when the grass is no more than one-third taller than its mowing height and the soil is firm underfoot. For sod, the University of Nebraska says it usually resists a firm lift within 10 to 14 days in good weather, and mowing can begin once it is rooted and growing.
Do I need a permit to change the slope of my yard?
Sometimes. Drainage rules and local permits can apply, especially near property lines, easements, or retaining walls. Check with your local building or zoning office and your neighbors before you start, and contact 811 before any digging.
Sources & References
- Penn State Extension, Lawn Establishment
- Michigan State University Extension, Establishing a New Lawn Using Seed (E2910)
- University of Nebraska-Lincoln Turfgrass Science Program, Establishing Lawns From Sod
- North Dakota Department of Emergency Services, Basements May Flood if Drainage is Poor
- 811, Before You Dig
- Iowa State University Extension and Outreach, What effects will construction activities have on nearby trees?
- Cornell Turfgrass Program, Use Alternatives
- Purdue University and University of Illinois, Mowing, Dethatching, Aerifying and Rolling Turf (AY-8-W)
- Clemson Cooperative Extension, Lawn Establishment (HGIC 1203)
Related Guides
Best Time to Aerate and Overseed for a Thicker Lawn
Most lawns never reach their potential because aeration and overseeding happen at the wrong time.
11 min read
Best Time to Overseed a Northeast Lawn for Thick Turf
Overseeding in the Northeast is all about catching that short window when soil is warm, air is…
11 min read
Can You Overseed a Lawn Without Aerating It First?
Thin turf and bare patches do not always mean you need to rent an aerator.
11 min read
Dethatching vs Aerating: Which Does Your Lawn Need?
Choose dethatching when a measured layer of thatch has become excessive.
16 min read
How Long After Planting Grass Seed Can You Walk On It Safely
Most new lawns fail not from bad seed, but from feet, paws, and mower wheels showing up too soon…
11 min read
How to Fertilize a Lawn Without Burning It
Those yellow stripes and crispy patches after fertilizing are almost always user error, not bad…
14 min read