
How Long Does Compost Take To Be Ready To Use
Compost does not follow a calendar, it follows conditions. A backyard bin can finish in 6 to 8 weeks, or sit half-rotted for a year if the balance is off. The goal is not speed alone but dark, crumbly compost that feeds roots safely.
What matters is the backyard version, not the lab version. We break down what to expect from hot vs cold piles, how often turning matters, and how to tell finished compost from half-baked material before you spread it around heavy-feeding tomatoes.
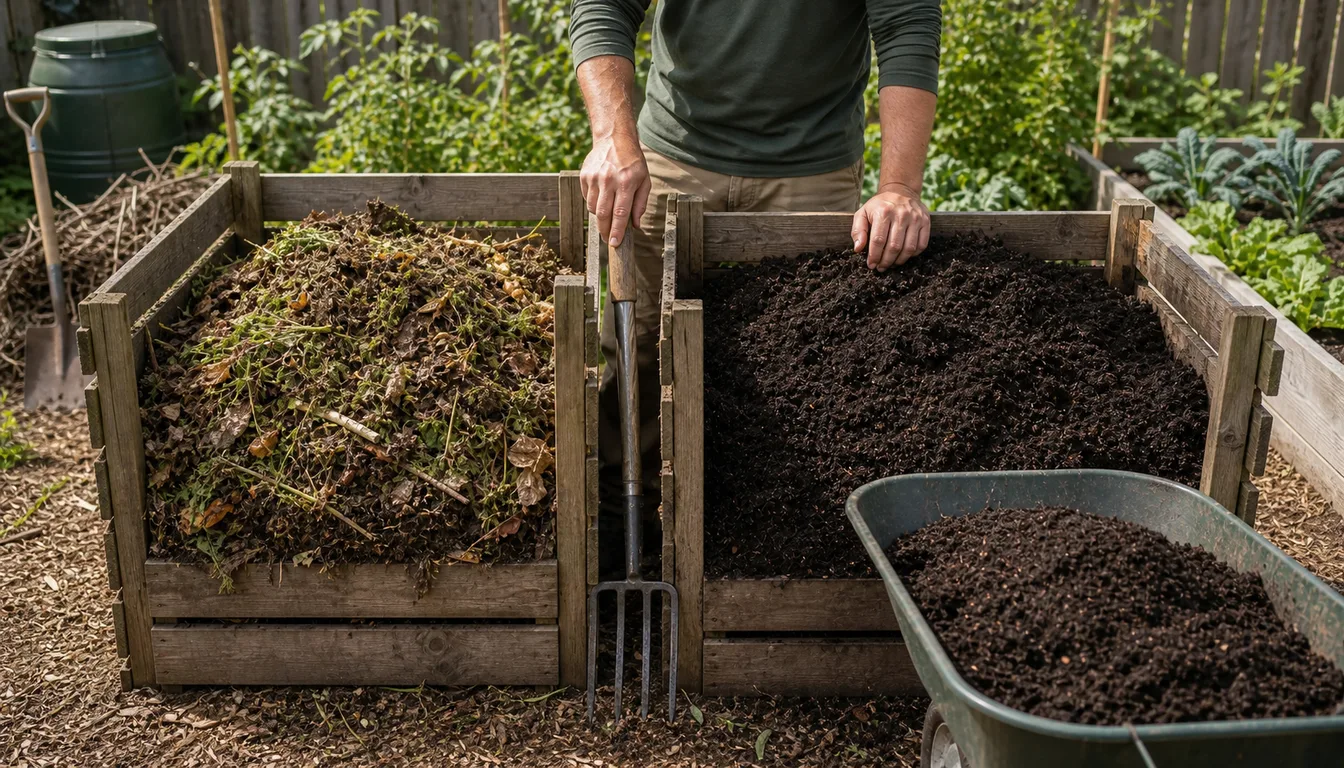
Typical Compost Timelines You Can Actually Expect
Backyard compost can finish anywhere from 6 weeks to 18 months depending on how you build and manage it. Most home piles land in the 3 to 9 month range when we are reasonably consistent with moisture and turning.
A hot, well balanced pile with plenty of nitrogen, enough moisture, and regular turning will break down fastest. A cool, lazy pile still works; it just trades speed for convenience and can take a full year in cooler climates like zone 5 yards.
Most backyard piles finish in 3 to 9 months; hot piles can be ready in 6 to 12 weeks, while passive piles often take 9 to 18 months. A random heap of yard waste with dry pockets and no air pockets will sit half-finished and chunky for a long time.
Season makes a big difference. A new pile built in mid-summer can heat quickly and finish by fall. The same size pile started late fall in zone 3 or 4 may pause under snow, then resume in spring when microbes warm back up.
Use these rough timelines as a starting point:
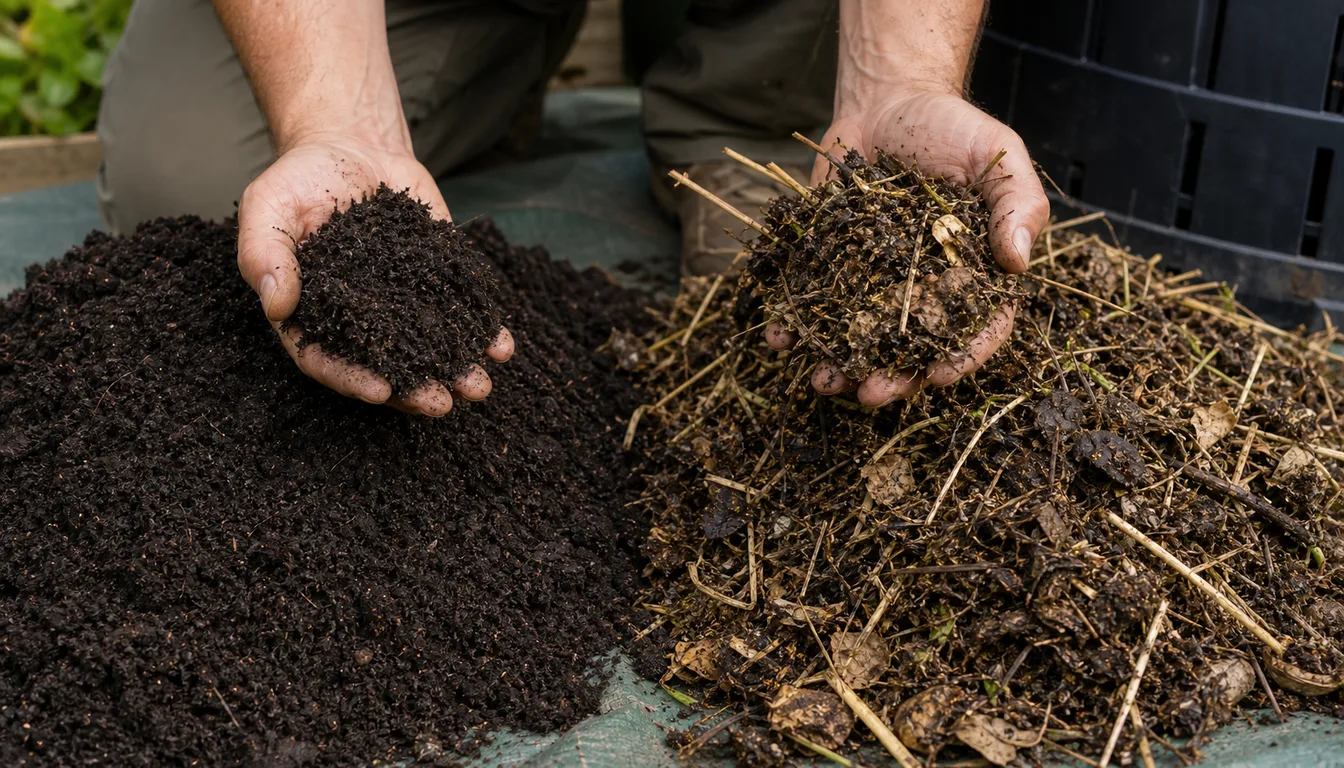
- Fast hot pile: 6 to 12 weeks with turning every 3 to 7 days
- Average managed pile: 3 to 6 months with turning every 2 to 3 weeks
- Passive cold pile: 9 to 18 months with rare or no turning
Finished texture matters more than beating the fastest timeline.
Do not rush and spread half-finished compost around roots of acid loving shrubs or vegetables. It can rob nitrogen from soil while it finishes decomposing.
Four Factors That Control Compost Speed
Compost speed comes down to four main levers you control, even in a simple bin. These are pile size, carbon to nitrogen ratio, moisture, and oxygen. Get those close and microbes do the rest.
Size is the first lever. A tiny pile does not hold heat, so decomposition stays slow. Aim for at least 3 feet wide, 3 feet deep, 3 feet tall if space allows. Larger piles break down faster but need more frequent turning.
The carbon to nitrogen mix is next. Browns like dry leaves and shredded cardboard provide carbon. Greens like grass clippings and kitchen scraps supply nitrogen. A rough rule is two parts brown to one part green by volume for an active pile.
Moisture works like a throttle. Squeeze a handful of material. It should feel like a wrung-out sponge, damp but not dripping. Long dry spells or heavy rain without cover can both stall composting in open bins.
Air keeps the process aerobic and smell-free. Turning with a fork or using an aerating tool every week or two pushes fresh oxygen into the pile. In very wet climates, extra air also helps keep piles from going slimy around flower beds.
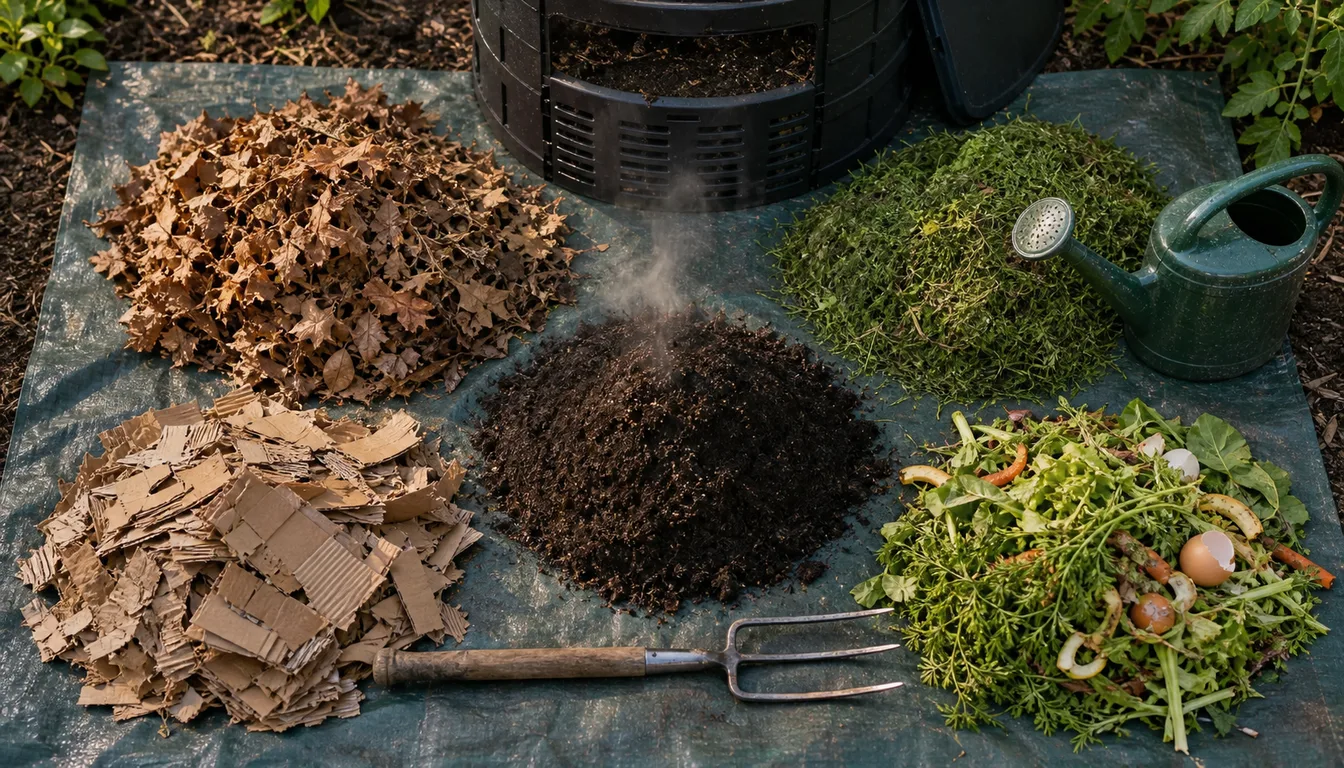
- Pile size: At least 3 x 3 x 3 feet for quick heating
- Material ratio: About 2 parts brown to 1 part green by volume
- Moisture level: Like a damp sponge when squeezed
- Oxygen: Turning or aerating on a steady schedule
Fix the missing lever first before buying additives.
If your pile never warms past cool to the touch, check these four levers before adding any "compost accelerator" products.
Hot Composting: Fast Results With More Effort
Hot composting is the method that delivers finished compost in as little as 6 to 8 weeks. It relies on high temperatures, frequent turning, and a balanced recipe to keep microbes working at top speed.
Start by building the pile all at once if possible. Alternate layers of dry browns and fresh greens until you reach at least 3 feet tall. Water each layer so the whole pile is evenly moist. A pile built slowly over months rarely gets hot enough.
If conditions are right, the center should warm to 130 to 160°F within a few days. You can slide in a compost thermometer or use a metal rod and feel for heat. Once temperature peaks, turning becomes your main job.
Turn a hot pile every 3 to 7 days. Pull the hot center material to the outside and bury cooler outer material into the middle. This evens out decomposition and keeps temperatures in the active range.
Hot piles are ideal when you are prepping beds for heavy feeders like summer peppers or zucchini hills and want finished compost ready by planting time.
- Build all at once: Pile up enough material in a day or two
- Check heat often: Aim for 130-160°F in the core
- Turn frequently: Every 3-7 days while temperatures stay high
That speed comes with more dust, steam, and lifting.
Wear gloves and a mask when turning a steaming pile, especially in dry weather, to avoid breathing in fine moldy dust.
Cold Composting: Slower But Less Work
Cold composting is the "set it and wait" method. You keep adding kitchen scraps and yard waste as they appear, with little or no turning. It takes longer, usually 9 to 18 months, but it works well for busy gardeners.
A cold pile rarely heats past warm to the touch. Microbes still break things down, just at a lower gear. Decomposition also slows over winter, especially in cooler regions like zone 4. The payoff is less labor than a hot pile needs.
Cold compost suits steady household waste, like coffee grounds, vegetable trimmings, and shredded mail. If you plant quick herbs in containers and do not need wheelbarrows of compost on a fixed date, this method is usually enough.
Because temperatures stay lower, seeds and some plant diseases may survive. We avoid tossing seedy weeds or clearly diseased foliage from plants like blight prone tomatoes into a cold pile.
- Timeline: Plan on 1 full year before most material is finished
- Labor level: Minimal turning, maybe a stir every month or two
- What to avoid: Weed seeds and diseased plant parts
Cold piles are forgiving, but they need stricter rules on risky material.
If you have only one bin and use cold composting, keep a simple second pile or bag for truly nasty weeds so they do not spread back into beds later.
How To Tell When Compost Is Actually Finished
Knowing when a pile is done saves you from spreading half-rotted chunks that steal nitrogen from your beds. Finished compost should look more like soil than like the stuff you originally tossed in.
Color is your first clue. Mature compost is dark brown to almost black, more like ground coffee than shredded leaves. Orange peel, grass clippings, or recognizable food scraps mean it still needs time.
Texture matters as much as color. You want a crumbly, loose mix that falls apart in your hand, not stringy mats of grass or slimy clumps. A few small wood chips are fine, they keep breaking down in beds around heavy-feeding vegetables.
Smell is the final test. Good compost smells like fresh forest soil, not like garbage or ammonia. If it stinks, it is not finished or it is going anaerobic. Spread a thin layer, wait 24 hours, and make sure there is no sour odor.
Temperature tells you what is happening inside. A finished pile will be close to outdoor air temperature for at least a week. If it keeps reheating after you turn it, it is still active and needs more curing time before you screen and store it.
Never rush compost onto young seedlings if you still see slimy bits, that half-finished material can tie up nitrogen and burn tender roots.
Use more than one check before calling the pile done.
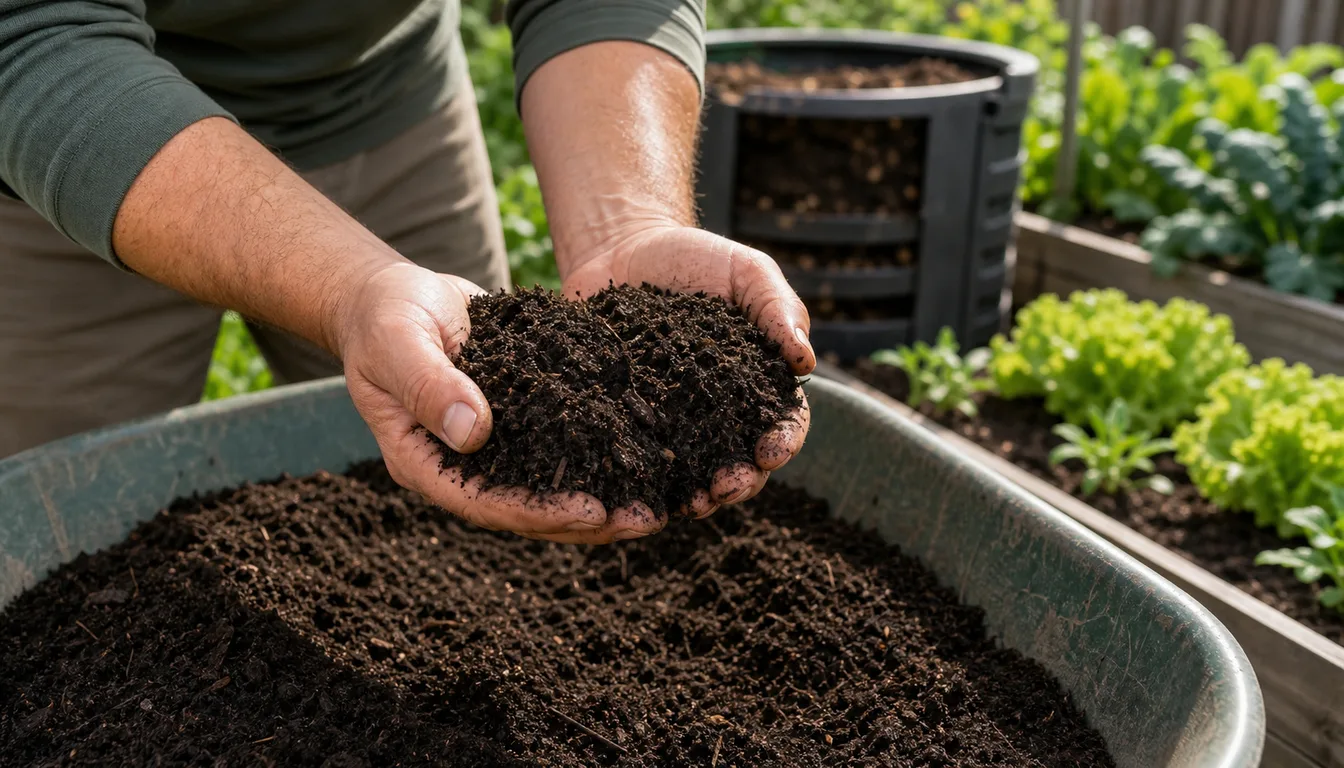
- Color check: Dark, even brown with few light pieces left
- Texture test: Crumbly, loose, no slimy strands or wet mats
- Smell test: Earthy scent, no sour or strong ammonia smell
- Temperature: Same as air temp for 7–10 days
- Chunk test: Only small, hard bits like twigs remain
Seasonal Timing: How Long Compost Takes In Each Season
The same recipe behaves very differently in July than it does in January. Air temperature and moisture decide whether your pile sprints or crawls toward the finish line.
In warm weather, especially late spring through early fall, an active hot pile can finish in 6–10 weeks if you have a good carbon to nitrogen balance. That timing matches the growing season for things like fast squash plants that love steady feeding.
In cooler months, everything slows down. A pile started in late fall might not reach full finished compost until late spring, especially in zone 3–5 climates like colder northern gardens. Microbes still work, they just move in slow motion.
Winter does not stop compost, it just changes the schedule. In cold regions, keep building your pile through winter, then expect the real breakdown to happen once daytime highs consistently hit 50–60°F again. That is when you will see steam and shrinking material.
Moisture shifts with the seasons too. Summer piles dry out faster and may need water every week. In rainy shoulder seasons, you might cover the pile with a tarp so it does not turn into soggy anaerobic muck.
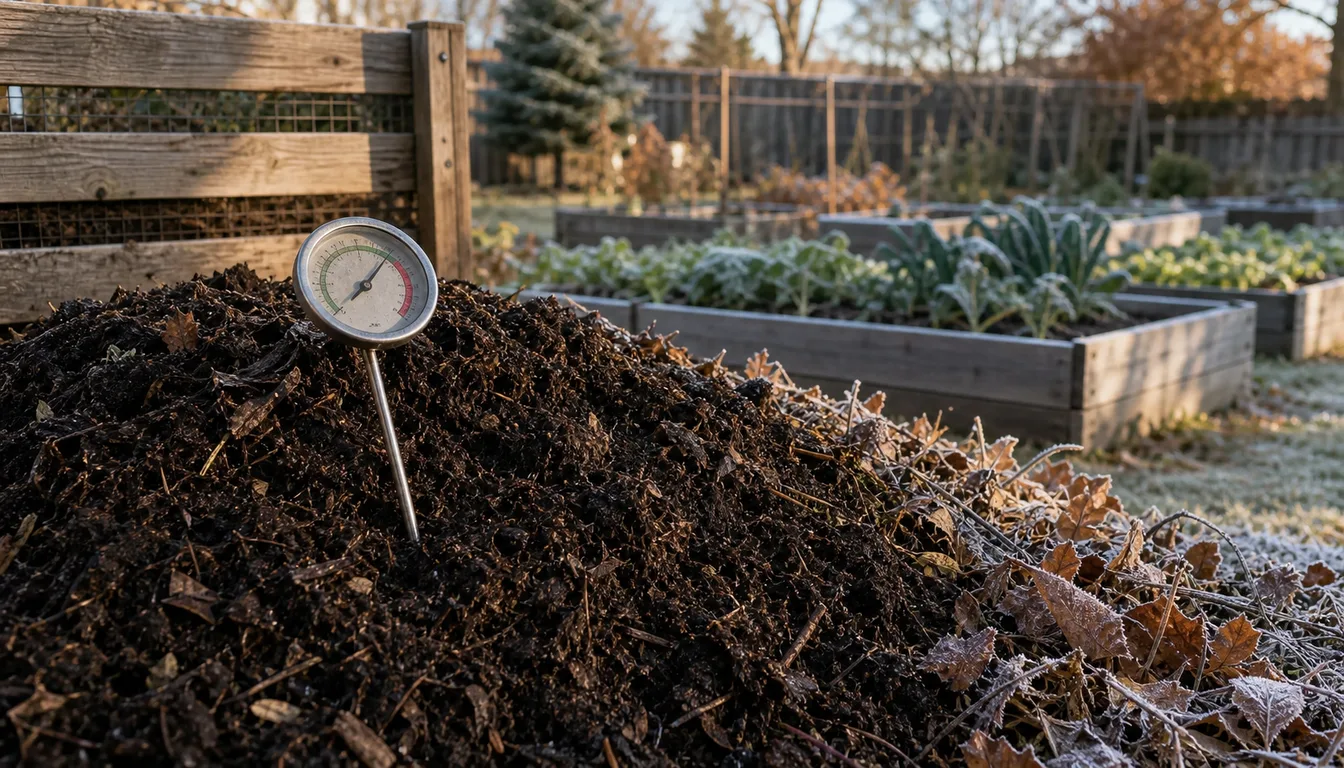
- Summer piles: Fastest breakdown, need more water and turning
- Spring and fall: Steady progress, great for starting new bins
- Winter piles: Collection and slow pre-composting phase
- Cold zones: Expect 9–12 month timelines outdoors
- Warm zones: Many zone 8–11 piles finish within one growing season
Using Partially Finished Compost Without Harming Plants
Impatient gardeners often have a half-cooked pile right when planting time hits. You can still use that material, you just need to place it where ongoing breakdown will not steal nutrients from roots.
Partially finished compost works best as a rough mulch. Spread it 1–2 inches thick on top of beds, then cap it with a thin layer of finished compost or soil. That keeps microbes busy at the surface, away from delicate roots of shallow greens.
Avoid burying chunky compost right in planting holes for things like young fruit trees. Woodier bits will keep decaying and can cause the soil to settle, dropping roots deeper than you planned and creating air pockets.
Half-done compost is useful in paths and future beds. Lay it where you plan to plant next year, then cover with leaves or straw. By the time you are ready to tuck in perennials or shrubs, most of that material will be finished.
Do not top-dress containers or houseplants with half-rotted compost, it can grow fungus gnats and mold in small pots.
Keep half-finished material away from tight root zones and indoor media.
- Good uses: Mulch on mature beds, future garden paths, sheet mulching
- Skip for now: Seed-starting mixes and indoor potting soil
- Depth limit: Keep layers to 2 inches so they still get air
- Mixing tip: Blend one part rough compost with two parts finished before spreading
- Timing: Give it another 2–3 months on the surface to fully cure
Troubleshooting Slow Piles And Getting Them Back On Track
A pile that sits for months without shrinking is sending you a clear message. Most of the time, the problem is simple balance or moisture, not some mysterious failure.
If your compost looks dry and fluffy, the microbes are thirsty. Grab a handful and squeeze hard. You want it to feel like a wrung-out sponge, not a brittle armful of straw used under tomato cages; add water slowly and mix until the texture improves.
Wet, slimy piles have the opposite problem because there is not enough air. Add dry browns like shredded leaves or cardboard and turn everything thoroughly. Any smell of rotten eggs means you need air and structure immediately.
A cold pile with no smell and little change usually needs more nitrogen. Mix in fresh grass clippings, manure, or a shovel or two of unfinished kitchen scraps. Follow that with a good turning to tuck new greens through the whole bin.
If you are adding a lot of kitchen waste, always cap new layers with browns to block flies and smells.
Match the fix to what the pile is actually showing you.
- Too dry: Add water and more greens, then turn the pile
- Too wet: Mix in dry browns and open the bin to vent
- No heat: Boost nitrogen sources and check pile size
- Smelly: Turn deeply and break up dense clumps
- Full of gnats: Bury food scraps and avoid adding oily leftovers
Planning Compost Timing Around Your Garden
Working backward from planting dates helps answer the real question, how long does compost take to be ready when you need it. A little planning keeps you from buying bags right before spring.
For spring beds, aim to start a serious pile by late summer or early fall. That gives you 6-9 months for material to cycle, even in cooler places where zone 5 winters slow things down.
Heavy feeders like sweet corn or brassicas appreciate fresh compost at planting time. Plan to have at least one bin fully finished by your typical last frost date, then keep a second bin aging for midseason top-dressing.
Perennial beds and shrubs need less exact timing. You can top-dress around flowering shrubs or hosta clumps in early spring or fall, whenever your pile reaches that dark, crumbly finished stage.
- Fall start: Build the main pile with leaves and yard waste
- Winter: Keep adding kitchen scraps, ignore the clock
- Early spring: Turn, adjust moisture, and watch for new heating
- Late spring: Screen finished compost for vegetables and annuals
- Summer: Start the next pile with grass and trimmings
Pro Tips
- Keep a compost thermometer on hand so you are judging progress by temperature, not just appearance.
- Chop or shred tough stems and cardboard smaller than a credit card to shave weeks off the composting timeline.
- Cover open piles in heavy rain so they do not get waterlogged and stall for months.
- Batch-build at least one hot pile in mid-summer if you want finished compost ready for fall vegetable beds.
- Store a dry bag of leaves each fall so you always have browns to balance fresh kitchen greens.
- Sift finished compost before using it around seedlings so large, unfinished chunks do not tie up nitrogen near new roots.
- Use slow, cold compost around established shrubs and trees, and save faster, fully finished batches for vegetables and annual flowers.
Frequently Asked Questions
Can I speed up compost by adding fertilizer?
A small sprinkle of high-nitrogen fertilizer can wake up a slow, carbon-heavy pile, but it is rarely needed. It is usually better to add grass clippings or manure and adjust moisture instead of buying extra products.
How long does compost take in a tumbler?
With frequent turning and good moisture, tumbler compost can finish in 4–8 weeks during warm weather. In cool seasons it behaves more like a regular bin and might need 3–6 months to fully break down.
Is one-year-old compost always finished?
Age alone does not guarantee finished compost. A neglected, dry pile can sit mostly unchanged for a year. Check color, smell, and texture to confirm it is dark, crumbly, and earthy before using it around young roots.
Can unfinished compost harm vegetables?
Yes, if you mix very fresh compost deep into soil, microbes can tie up nitrogen and stress plants. Use unfinished compost as surface mulch and save the fully finished material for direct contact with vegetable roots.
How long should compost cure after it cools down?
Once active heating stops, let compost cure 4–8 weeks before heavy use. Curing lets slower microbes finish their work so the material stabilizes, which reduces the risk of burning seedlings or drawing pests.
Sources & References
Related Guides
Benefits of Composting for Healthier Soil and Plants
Composting is basically free fertilizer that you make in your own yard. It turns kitchen scraps and…
12 min read
Best Fertilizer for Indoor Plants Depends on the Pot
Fertilizer is where a lot of indoor plant care goes sideways. Too weak and you get leggy, pale…
14 min read
Best Fertilizer for Vegetables by Garden Type
Fertilizer only helps vegetables if it matches what your soil and crops need. Random products and…
11 min read