
How to Use Neem Oil on Houseplants Safely and Effectively
A neem treatment starts with an identified pest and a product labeled for that pest and indoor plants. The label determines dilution, application, precautions, and repeat timing. Isolating the plant and testing a small area of foliage help reduce risks, but neither makes every neem product suitable for every houseplant.
Clarified neem oil acts mainly by contact. Coverage of exposed pests matters more than a stronger mixture. Products containing azadirachtin can also affect insect feeding and development, so the name neem alone does not tell you how a bottle works.
A ready-to-use product avoids dilution errors when it fits the plant, pest, and site. It can still injure sensitive or stressed foliage. More concentrate is never a substitute for correct identification and coverage.
At a glance
Start With the Label, Not a Universal Recipe
The words neem oil cover several different pesticide formulations. A ready-to-use spray may contain a low percentage of clarified hydrophobic extract of neem oil, while a concentrate can contain far more oil or a measured amount of azadirachtin. Those products cannot share one safe mixing rate.
Three parts of the label determine whether a product fits the job. The allowed site must include houseplants, indoor ornamentals, or an equivalent use. The pest must appear in the control list, and the directions must explain whether the bottle is ready to spray or needs dilution.
In the United States, using a registered pesticide outside its label directions is against federal law.
Clarified hydrophobic neem oil works mainly as a horticultural oil, acting on susceptible pests and eggs it contacts. Azadirachtin-containing products can also disrupt feeding and development in susceptible insects. A ready-to-use spray is not necessarily an oil-only product, and a concentrate is not necessarily an azadirachtin product. The active ingredient matters.
That difference explains why two bottles bearing the word neem can give different directions and results. It also makes the product label a better authority than a recipe based only on teaspoons per quart.
- Dilution-free option
- A ready-to-use product labeled for the plant, indoor site, and target pest
- Before spraying
- Confirm the site, pest, dilution, interval, and precautions on the label
- For concentrate
- Measure only the label rate and use any required surfactant exactly as directed
- Do not add
- Dish soap, fertilizer, alcohol, or another pesticide unless the label specifically allows it
Some cold-pressed products direct the user to add a surfactant, while other concentrates already contain the ingredients needed to mix with water. Adding scented dish detergent or extra soap to every neem product can raise the risk of leaf injury without improving control.
If a concentrate has thickened in a cool room, follow its storage and warming directions before measuring. Do not guess the amount from the texture, and do not transfer pesticide into an unlabeled household bottle for storage.
Make Sure Neem Matches the Pest You Found
Damage patterns help locate a pest, but they do not identify every cause of a damaged leaf. A phone magnifier or a 10× hand lens makes leaf undersides, new growth, stem joints, and leaf bases easier to inspect.
Pale stippling with fine webbing suggests spider mites, especially when live mites are visible. Cottony colonies suggest mealybugs. Sticky honeydew can accompany soft scale, mealybugs, aphids, or whiteflies, while armored scales do not produce it. Whiteflies flutter up when foliage is disturbed, and aphids often cluster on tender shoots.
The expected result depends on the pest, its life stage, and the formulation. In its houseplant-pest comparison, Colorado State University rates neem oil as suppression rather than full control for aphids, mealybugs, spider mites, and scales, while the same table shows control of whitefly nymphs but not adults. Suppression means a treatment may reduce numbers without resolving the infestation by itself; those ratings do not guarantee the performance of every neem formulation.
| What you see | Likely pest | What neem can do | First move |
|---|---|---|---|
| Pale speckles and fine webbing under leaves | Spider mites | Suppress exposed mites when coverage is thorough | Rinse sturdy foliage and remove the worst webbing |
| White cottony tufts in leaf joints | Mealybugs | Suppress exposed young stages; wax protects older insects | Wipe off visible clusters before spraying |
| Attached shell-like bumps, sometimes with honeydew | Scale insects; honeydew suggests soft scale rather than armored scale | Exposed crawlers are generally more accessible than protected stages | Examine a bump with magnification and gently lift it to distinguish an insect from plant tissue |
| Tiny white insects that flutter when disturbed | Whiteflies | May control exposed nymphs better than flying adults | Wash leaves and use yellow cards to monitor adults |
| Pear-shaped insects on soft new growth | Aphids | Suppress insects the spray contacts | Wash off the colony before treating survivors |
| Small dark flies near wet potting mix | Fungus gnats | Foliar neem oil is a poor match | Correct wet soil and target larvae with a labeled treatment |
Fungus gnats need a different treatment decision because their larvae live in the growing mix. Standard neem oil applied to leaves does not reach larvae living in the growing mix, and Colorado State rates neem oil ineffective against both fungus gnat larvae and adults.
Some azadirachtin products are specifically labeled as soil drenches for fungus gnat larvae. Use one only when its own label allows that site and pest, since a foliar product does not become a soil treatment just because both contain neem.
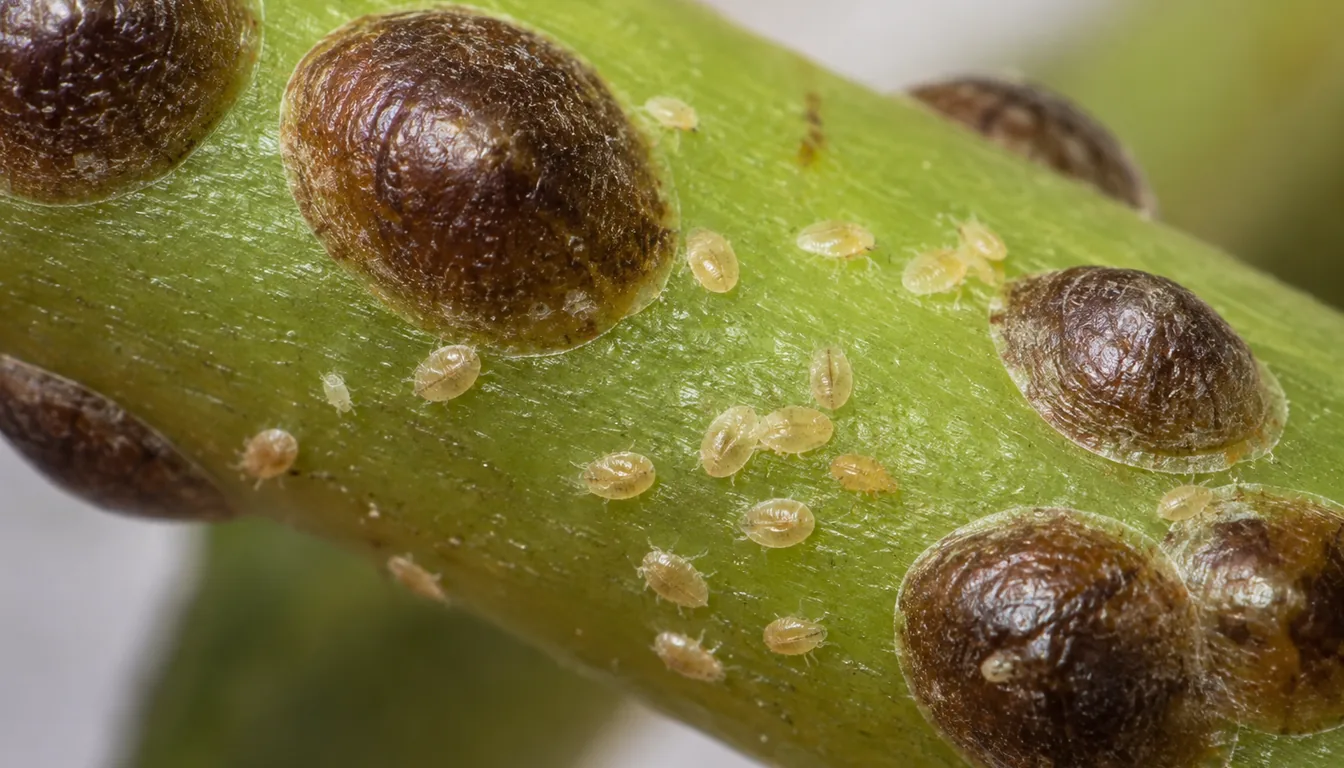
If the pest remains unclear, isolation and closer inspection are more useful than oil on unexplained damage. An extension office can help identify a specimen or clear close-up photographs.
Prepare the Plant and the Room Before You Spray
Move the affected plant away from the collection as soon as you confirm a pest. Nearby plants need inspection because mites, crawlers, and winged adults may have moved before the damage became obvious.
Oil can injure wilted, drought-stressed, recently transplanted, or otherwise struggling plants. A dry plant needs appropriate watering and recovery before treatment. An already wet pot needs no extra water simply because a spray is scheduled, and continued wilt needs investigation before pesticide use.
Plain-water washing can take place in a sink or shower. Pesticide application needs a separate setup permitted by the label, with ventilation and protection against drift and runoff. A food-handling surface or an open drain is a poor place to mix or spray. Outdoor application may reduce indoor exposure when the label and weather allow it, but a shade-grown houseplant still needs protection from direct outdoor sun.
- Keep treatment away from food-handling areas and protect household surfaces as the label directs
- Move children, pets, and birds out of the treatment area
- Keep spray away from aquariums and follow the product precautions for covering them
- Wear any gloves, eye protection, or other equipment required by the label
- Keep the plant away from direct sun and active grow lights while the foliage dries
A small-area test checks the plant and the exact product together. Treat inconspicuous foliage at the intended label rate, then observe it for the period the product specifies before treating the rest. If the label gives no waiting period, ask the manufacturer for plant-tolerance guidance. There is no universal 24- or 48-hour clearance. New spots, browning, curl, or wilt are reasons to stop and investigate.
Test again after changing brands or concentrations. A pothos that tolerated one ready-to-use spray may react differently to a concentrate with another active ingredient percentage.
Tender new growth and plants with hairy, waxy, or unusually thin foliage deserve extra care because spray can pool or spread unevenly. The pesticide label still determines which plants and uses are allowed, and a clean patch test does not cancel other label restrictions.
How to Apply Neem Oil to a Houseplant Step by Step
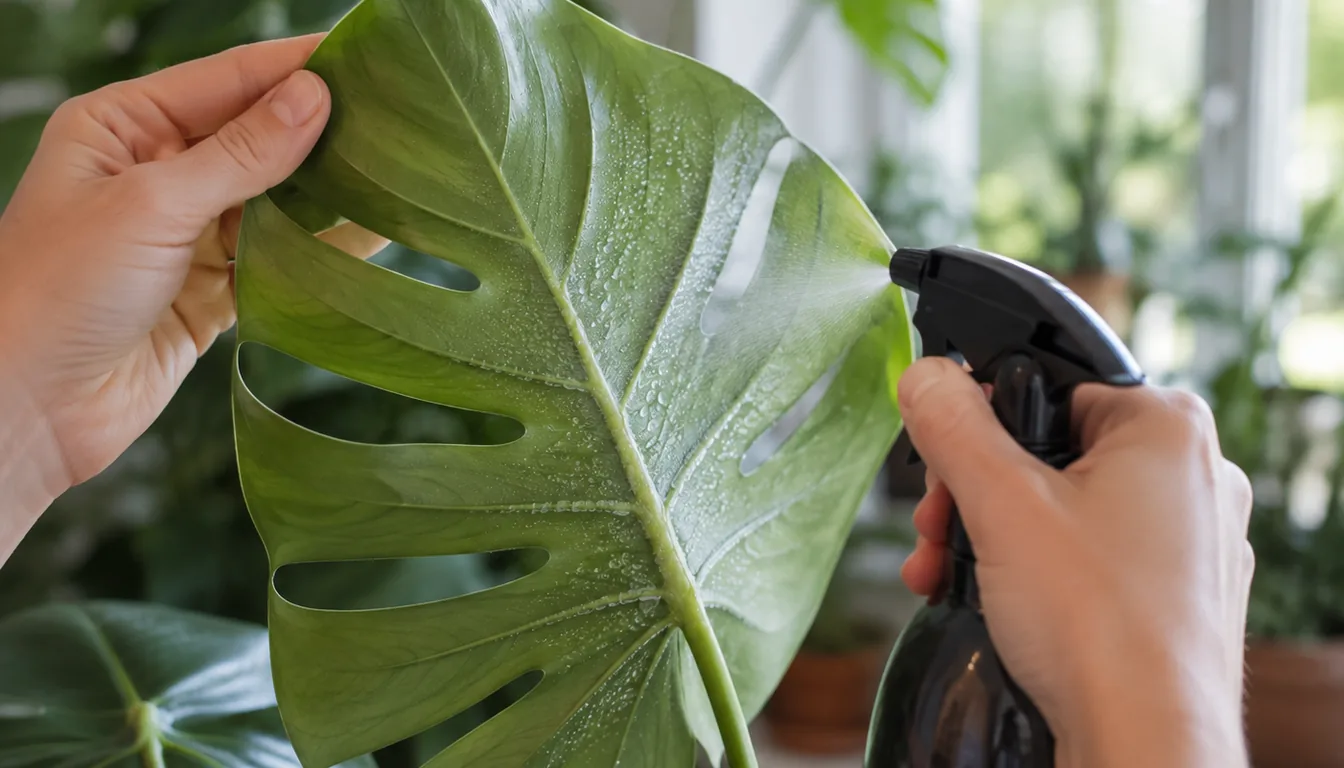
A contact-oil treatment depends on reaching the pest. Spraying the glossy top of a few leaves will miss mites, whitefly nymphs, scale crawlers, and mealybugs tucked underneath or inside leaf joints.
Physical removal reduces the population before any pesticide is applied. Carry the plant to the sink or shower, rinse sturdy leaves with plain water, and wipe or prune away heavily infested material. This lowers the pest population immediately and leaves fewer survivors for the pesticide to reach.
- Read and prepareRecheck the label, put on the required protective equipment, and shake a ready-to-use bottle. If dilution is required, measure the exact label rate and keep the mixture agitated as directed.
- Clean the foliageRemove dust and visible pest clusters so the spray can reach insects instead of settling on debris. Let excess rinse water drain before applying neem.
- Turn every leafBegin low on the plant and lift each leaf to expose the underside. Spray the veins, petioles, stem joints, new growth, and other crevices where the identified pest is hiding.
- Wet as directedFollow the label coverage instructions. Where it directs spraying to runoff, use a permitted setup that contains drips and prevents them entering drains, surface water, or household areas. Dispose of collected pesticide according to the label.
- Let the plant dry in shadeKeep the treated plant isolated with moving air, away from direct sunlight and active grow lights, until the foliage is dry.
- Clean up by the labelWash your hands and reusable equipment, then store or dispose of pesticide and leftover mix exactly as the container directs. Never pour unused product down an indoor or outdoor drain.
For a trailing plant, support one vine at a time over the protected treatment area rather than trying to fog the entire basket. For a large upright plant, rotate the pot in quarters so the back of the canopy receives the same attention as the front.
Do not spray the potting mix as a routine final step. A foliar treatment belongs on foliage unless the label separately gives soil-drench directions for the target pest.
Flower treatment must fit the label too. Neem is not automatically harmless to pollinators. The cited Neem Oil RTU label warns that direct treatment is toxic to bees and prohibits application while bees are visiting the treatment area.
A stronger dose cannot compensate for missed leaf undersides. Coverage, pest stage, and repeat timing all affect whether a contact product succeeds.
What to Do After the Neem Spray Dries
Leave the plant isolated and inspect it in good side light the next day. Look for new spotting or wilt, then use a white sheet of paper beneath a leaf and tap the leaf to check for moving mites or other tiny pests.
Do not rinse automatically unless the product label says to do so. Contact oils have little residual insecticidal activity, but neem formulations containing azadirachtin differ. Rinsing is not a universal extra treatment step or a way to make an unsuitable application safe.
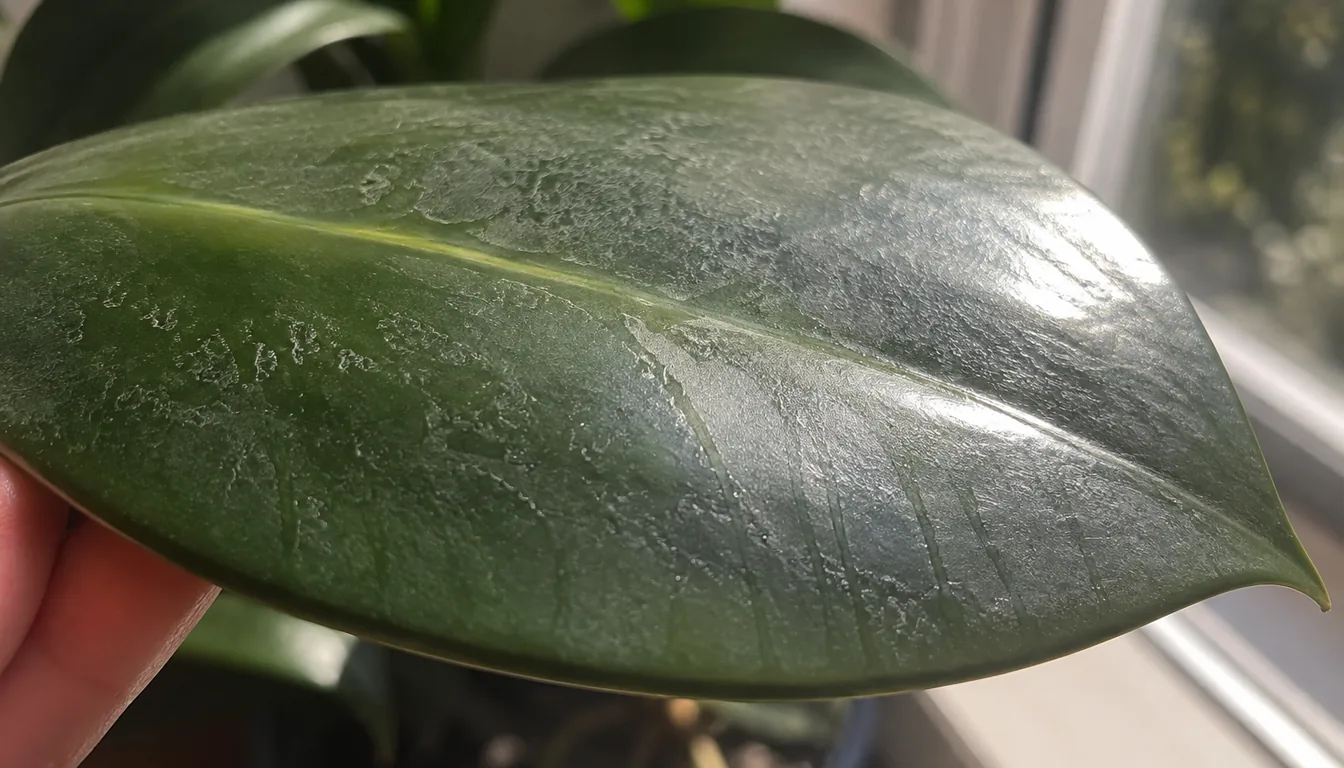
A light film is different from a leaf that looks water-soaked, translucent, brown, or curled. If the plant looks normal, keep monitoring the pest rather than polishing every leaf for appearance.
Old feeding scars will not turn green again. Judge progress by fewer live pests, no fresh webbing or honeydew, and clean new growth, not by the color of leaves that were already damaged.
The watering schedule follows the potting mix and plant needs, separately from pesticide timing. Any pesticide runoff collected in a cachepot needs label-compliant disposal, not pouring down a household drain.
Household access follows the product reentry instructions, which may include waiting for the spray to dry. Keep the concentrate in its original container, tightly closed, and somewhere children and animals cannot reach.
How Often to Repeat Neem and When to Stop
The repeat interval comes from the bottle, not from a universal three-spray rule. For example, the cited March 2025 EPA label for Neem Oil RTU, registration 70051-13, gives a 7- to 14-day insect-treatment interval, with 7 days for heavy populations. That is a dated example for one product, not a schedule for every neem spray. The directions attached to your own bottle govern its use.
Repeat treatment is often necessary because contact sprays miss protected eggs and pests hidden deep in a crown. Newly hatched insects may appear after the first application even when coverage was good.
- Record the treatment date and exact product name on a plant tag or calendar
- Inspect the same leaf undersides, stem joints, and new growth before the next allowed spray
- Rinse sturdy foliage, wipe accessible mealybugs, remove badly infested leaves, and refresh sticky cards when needed
- Use repeated inspections and the labeled treatment course to decide when further applications are unnecessary
- Recheck the diagnosis, coverage, and pest life stage if the population is not clearly falling within the label's allowed treatment course
One inspection with no visible pests does not establish eradication. Continued checks of the treated plant and its neighbors can reveal surviving or newly hatched stages.
Weekly coating without an identified pest adds exposure without establishing a need. If control is poor, the next question is whether identification, accessible life stages, coverage, or the product choice was wrong, not whether to add more concentrate.
A severe infestation may justify discarding one inexpensive plant to protect a larger collection. Bag it before carrying it through the room so crawling pests do not brush onto healthy foliage.
What Leaf Burn Looks Like and How to Respond
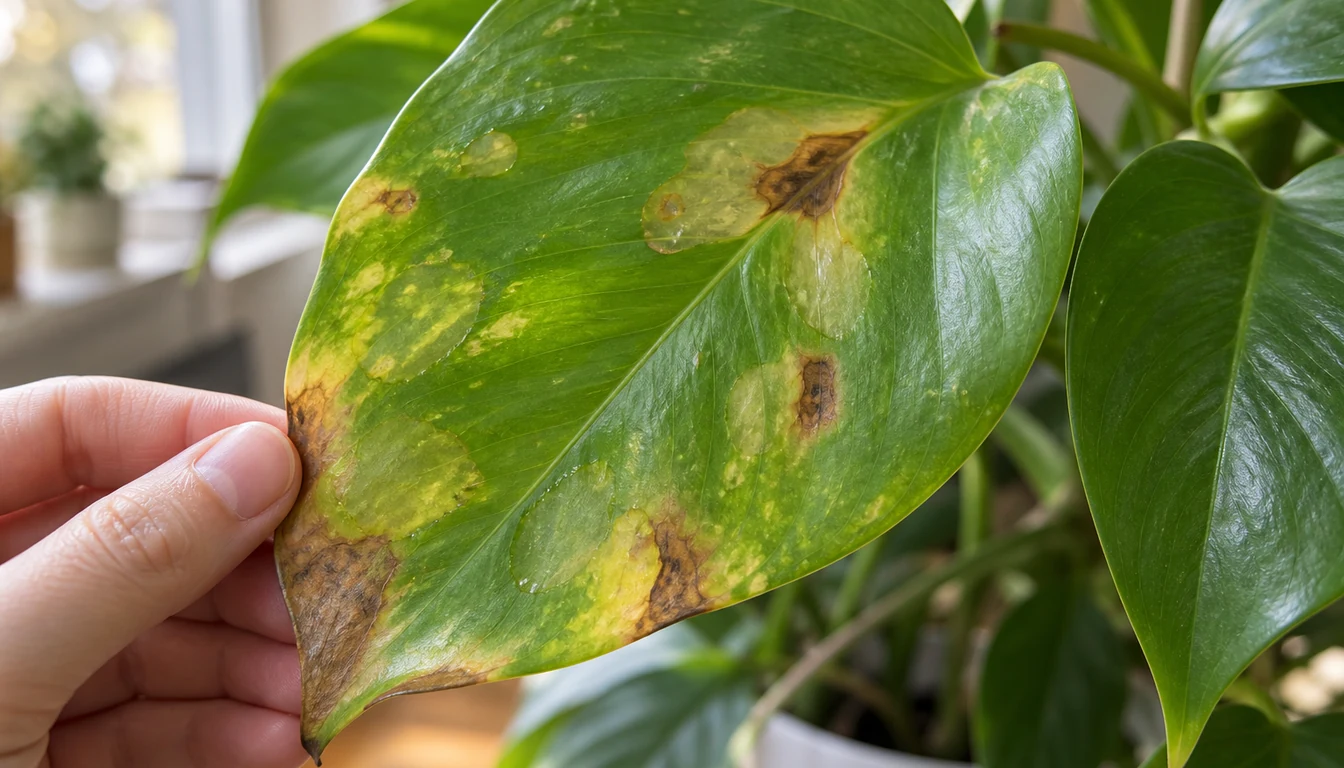
New translucent patches, dead spots, browned edges, curled tender growth, or wilt after treatment can fit spray injury. Timing and the pattern of exposure are useful clues, but similar damage can have other causes.
Move the plant into bright indirect light and stop applying neem. Check soil moisture, temperature, and recent fertilizer or pesticide use before deciding that the oil alone caused the problem.
Ask about residue
Follow product-specific label or manufacturer instructions before trying to remove residue. Added soap or vigorous scrubbing can injure the leaf further, and a rinse cannot reverse dead tissue.
Protect new growth
Do not fertilize to force recovery. Stable moisture, suitable light, and time support new growth while the reaction settles.
Assess damaged tissue
Dead tissue will not turn green again. Retain useful living foliage while assessing the cause. Soft decay or a localized infestation may justify selective removal, but removing every marked leaf can leave too little foliage.
Keep an exposure record
Write down the product, dilution, date, and plant species. Those details help a poison-control center, veterinarian, extension office, or manufacturer assess a serious reaction.
Handle personal exposure first
For eye, skin, inhalation, or ingestion exposure, use the first-aid directions on the container and contact the service named on the label.
A plant-derived pesticide still requires the same careful response as any other pesticide.
When Neem Oil Is the Wrong Tool Indoors
An appropriate neem product can help with some houseplant pests. Identification and the accessible life stage determine whether it offers useful control or whether another approach better fits the problem.
| What you found | Better first move | Where neem may fit |
|---|---|---|
| Fungus gnats | Correct chronically wet mix and target larvae with a treatment labeled for the growing medium | Foliar neem is a poor match; use a soil drench only when the exact label permits it |
| Adult scale or established mealybugs | Wipe or remove shielded and wax-covered insects | Suppress exposed crawlers and younger stages after physical removal |
| Spider mites with extensive webbing | Wash foliage and monitor every nearby plant | Reassess coverage, life stage, and diagnosis if live mites persist, then select a treatment labeled for mites and indoor plants |
| Thrips in folds or flowers | Remove damaged flowers and leaves, then isolate the plant | Choose a product labeled for thrips and indoor plants because surface oil may miss hidden stages |
| No insect, mite, webbing, honeydew, cast skin, or fresh feeding mark | Check roots, watering, light, temperature, and disease | Do not add oil to a physiological problem |
This sequence makes failure easier to diagnose. You know which pest remained, where it remained, and whether the spray reached that location.
Frequently Asked Questions
Can neem oil treat powdery mildew on houseplants?
Some neem products are labeled as fungicides for powdery mildew and other leaf diseases, but the insect directions in this guide do not set the disease schedule. Confirm the diagnosis, then follow the fungicide directions on the exact product label.
Sources & References
- US EPA, Neem Oil RTU Product Label, March 20, 2025
- University of Minnesota Extension, Managing Insects on Indoor Plants
- Colorado State University Extension, Managing Houseplant Pests
- University of New Hampshire Extension, What Should Neem Be Used for on Plants?
- UC Statewide IPM, Houseplant Problems
- National Pesticide Information Center, Neem Oil General Fact Sheet
Related Guides
Dawn Dish Soap for Grubs: What Actually Works
Soap solutions can help you spot-check for grubs and knock back a few pests, but they are not…
10 min read
Do Marigolds Keep Squirrels Away From Your Garden?
Squirrels can strip a bed of seedlings or freshly planted bulbs in a single morning.
11 min read
Do Squash Bugs Bite People?
No. A squash bug cannot bite you. Its mouthparts are a slender stylet built to pierce plant tissue…
9 min read
How Do You Get Rid of Spider Mites on Houseplants?
Spider mites on houseplants often can be reduced by repeatedly washing the leaf undersides.
11 min read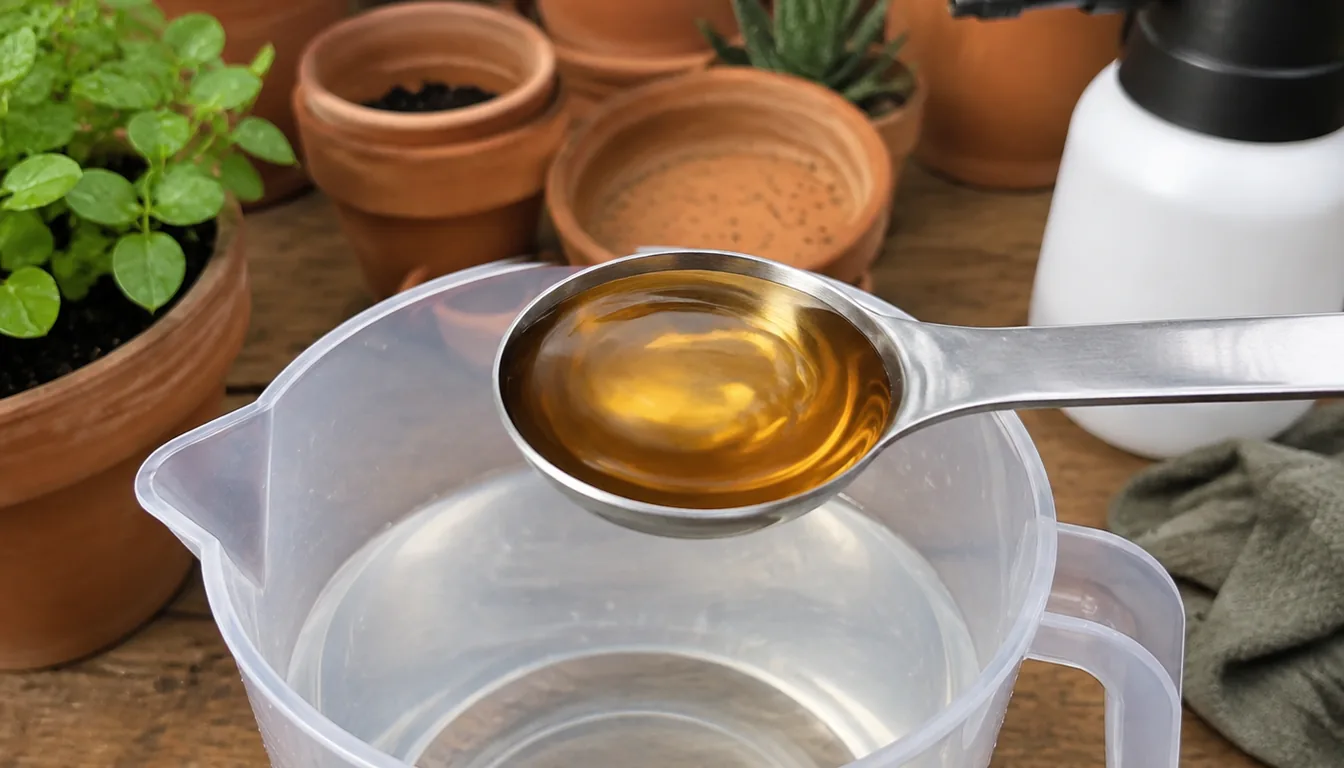
How Much Neem Oil Per Gallon? Read and Scale the Label Rate
There is no universal amount of neem oil per gallon. The rate belongs to the exact product and its…
11 min read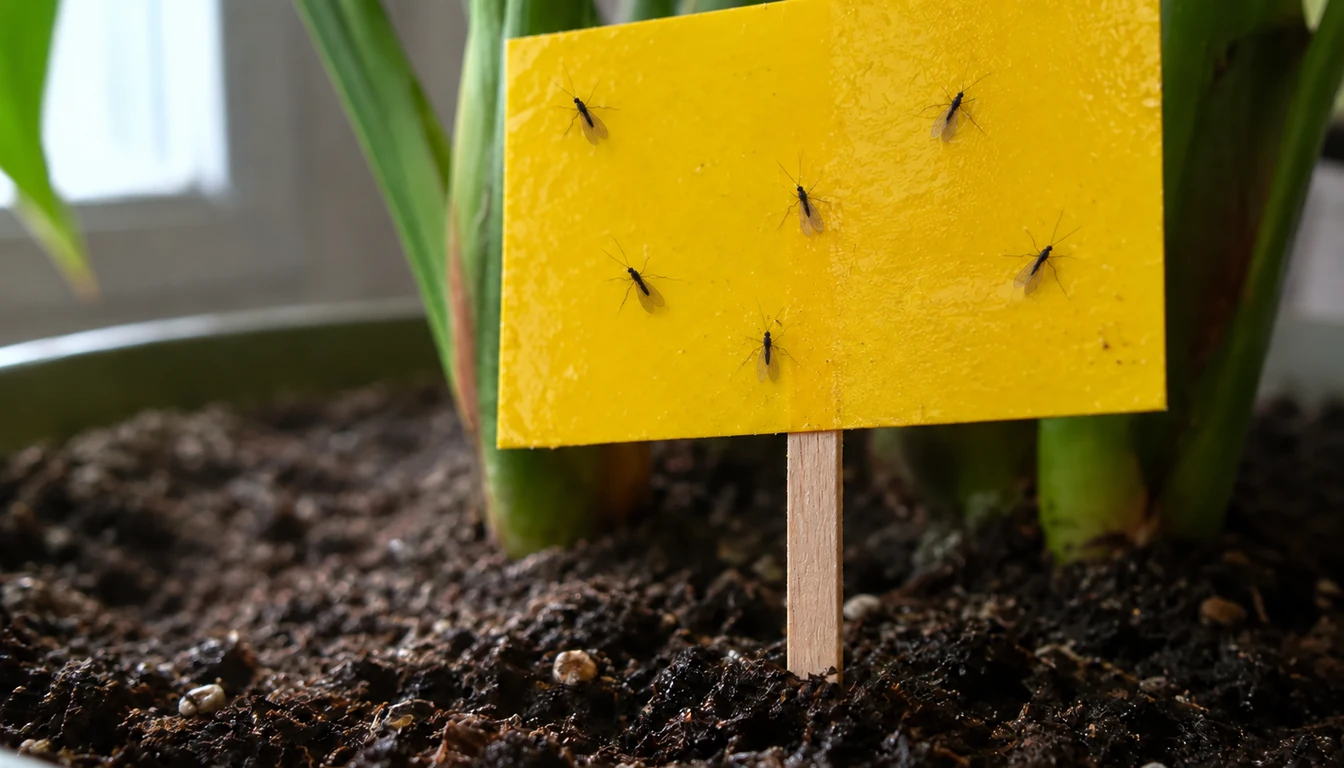
How to Control Fungus Gnats in Houseplant Soil
Fungus gnat control works best when it addresses the larvae in potting mix as well as the adults…
15 min read